Step 1 of 8
Choose Meaningful Scan Checkpoints
Identify the interface states that need separate accessibility scans before adding axe to the Playwright suite.

Learning path · Level 12 · Tutorial 5
Integrate axe into local Playwright tests and scan meaningful interface states, interpreting reported violations without treating a clean result as proof of accessibility.
 Choose Meaningful Scan Checkpoints
Identify the interface states that need separate accessibility scans before adding axe to the Playwright suite. 1 min
Choose Meaningful Scan Checkpoints
Identify the interface states that need separate accessibility scans before adding axe to the Playwright suite. 1 min
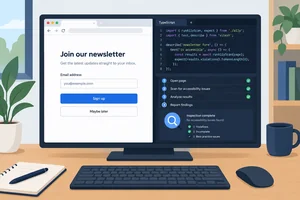 Add the First Local Axe Check
Install axe in a local Playwright project, create the Newsletter signup fixture, and run an initial-state accessibility assertion. 3 min
Add the First Local Axe Check
Install axe in a local Playwright project, create the Newsletter signup fixture, and run an initial-state accessibility assertion. 3 min
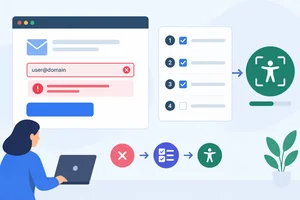 Scan Visible Form Errors
Reach the custom validation-error state deterministically, verify that it is rendered, and scan it only after those readiness checks pass. 2 min
Scan Visible Form Errors
Reach the custom validation-error state deterministically, verify that it is rendered, and scan it only after those readiness checks pass. 2 min
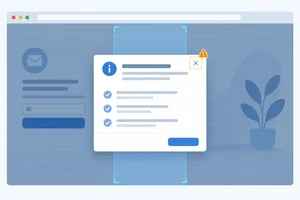 Expose a Dialog-Only Violation
Open the help dialog in a fresh Playwright test, verify that it is visible, and scan the rendered dialog state to expose an intentional accessibility finding. 2 min
Expose a Dialog-Only Violation
Open the help dialog in a fresh Playwright test, verify that it is visible, and scan the rendered dialog state to expose an intentional accessibility finding. 2 min
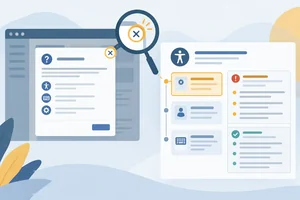 Trace a Report to the Affected Element
Trace an axe violation from its rule entry to the affected dialog control, using node-level evidence without overstating what the report proves. 2 min
Trace a Report to the Affected Element
Trace an axe violation from its rule entry to the affected dialog control, using node-level evidence without overstating what the report proves. 2 min
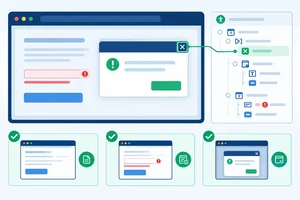 Fix the Defect Without Hiding It
Correct the dialog close button at its source, keep the original dialog scan intact, and verify all three state checks locally. 2 min
Fix the Defect Without Hiding It
Correct the dialog close button at its source, keep the original dialog scan intact, and verify all three state checks locally. 2 min
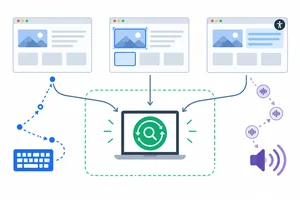 State What a Clean Scan Can Prove
Interpret clean axe results without overstating what state-based automated scans establish. 1 min
State What a Clean Scan Can Prove
Interpret clean axe results without overstating what state-based automated scans establish. 1 min
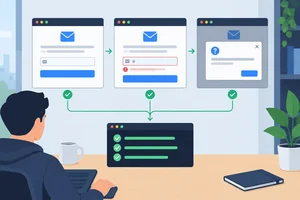 Run and Summarize the State-Based Suite
Run a local three-state axe regression suite, verify the targeted dialog correction, and communicate what the passing scans do and do not establish. 2 min
Run and Summarize the State-Based Suite
Run a local three-state axe regression suite, verify the targeted dialog correction, and communicate what the passing scans do and do not establish. 2 min
Step 1 of 8
Identify the interface states that need separate accessibility scans before adding axe to the Playwright suite.
An accessibility scan evaluates the interface as it is rendered when the analysis runs. It does not automatically visit every conditional state on a route.
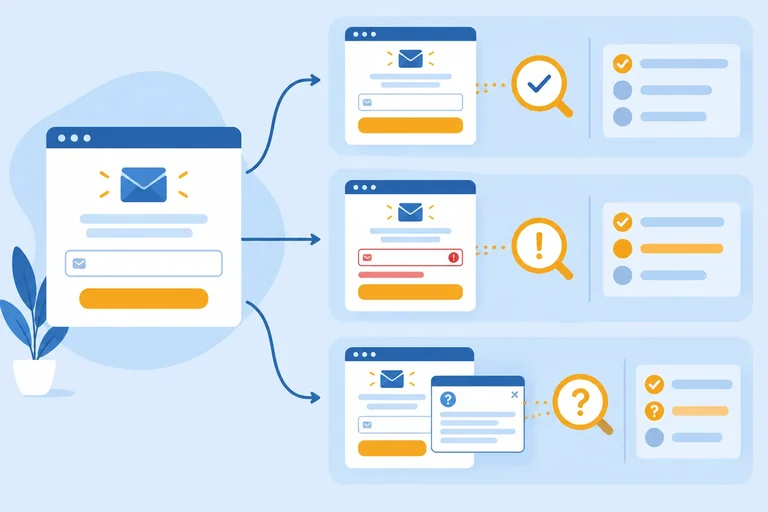
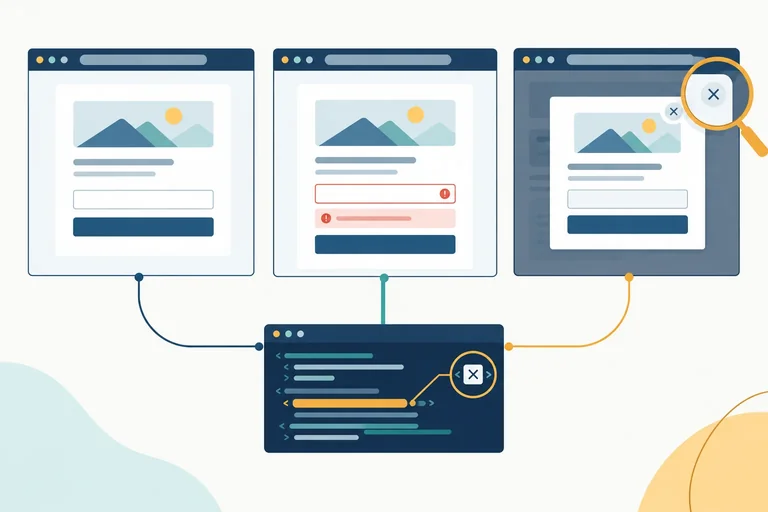
For the Newsletter signup page, plan three separate checkpoints:
Treat each checkpoint as its own destination: reach the state, confirm that it is ready, then scan it in a later step.
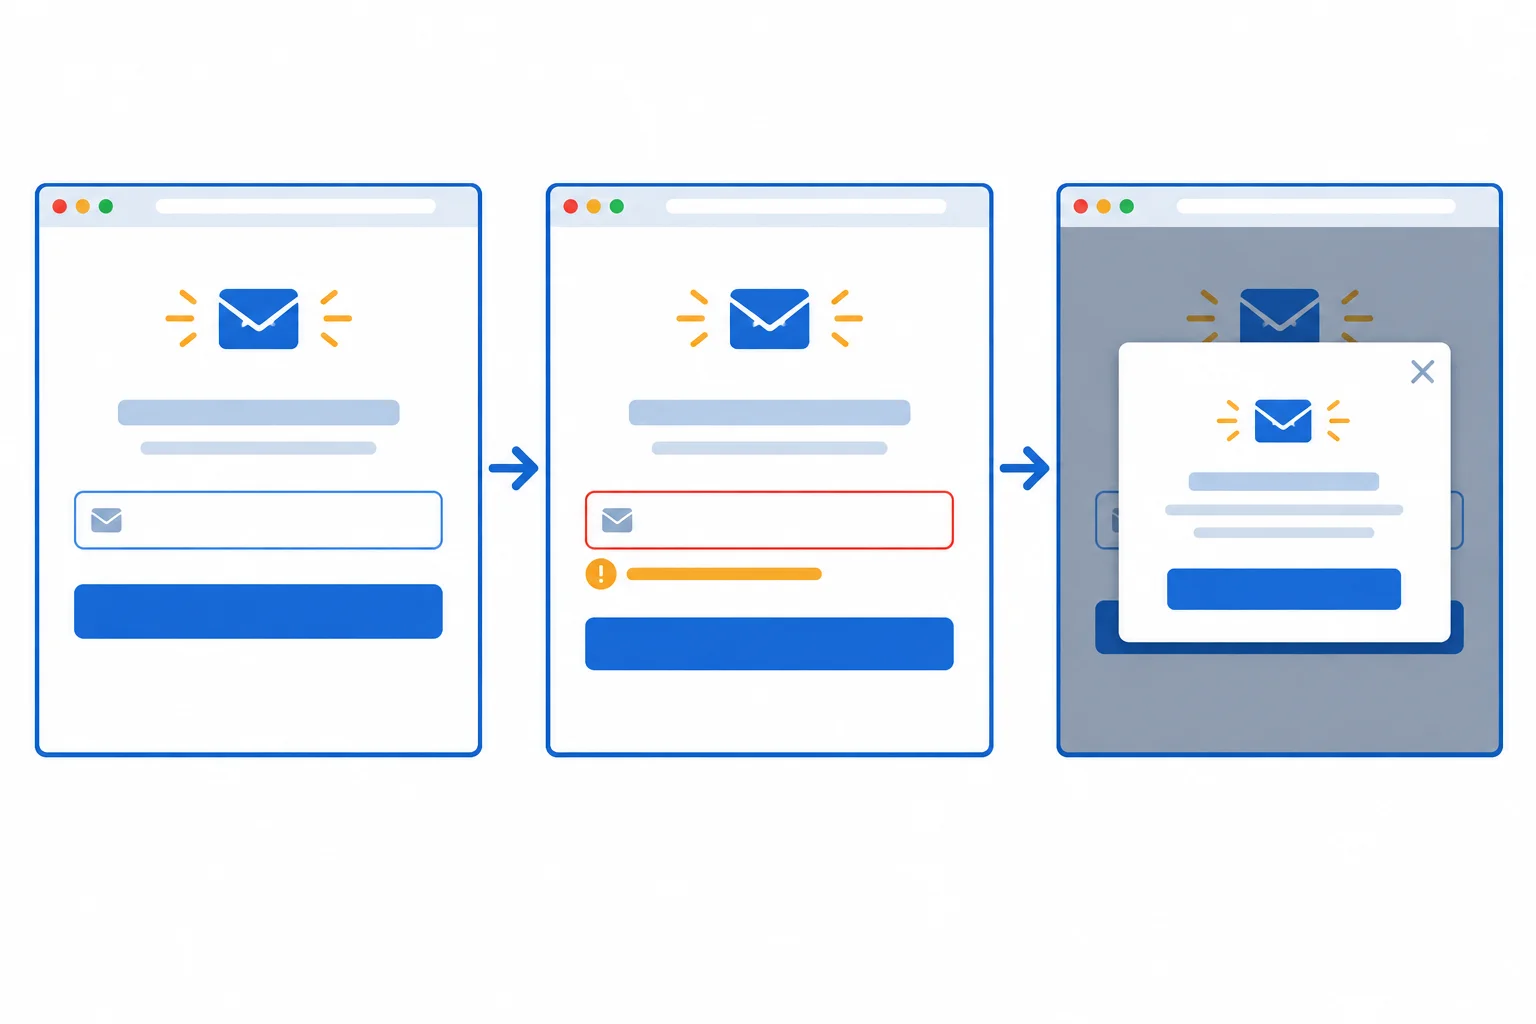
The route stays the same, but the rendered controls and feedback differ by state.
A state map makes a checkpoint reproducible. For each one, record both:
An action finishing is not itself proof that all feedback is now rendered. Evidence such as visible text, an invalid field state, or a visible dialog tells the test it reached the intended checkpoint.
Use this map when you create the state-specific tests in the next steps.
| Checkpoint | Triggering action | Readiness evidence |
|---|---|---|
| initial | Navigate to the page | Newsletter signup heading is visible |
| form errors | Enter not-an-email; activate Subscribe | Error text is visible and Email is marked invalid |
| dialog open | Activate Email help | Dialog named Email help is visible |
The initial page can look sound while a control that appears only later has an accessibility problem. In this practice page, the dialog contains a close control that matters only after the dialog opens.
Therefore, a clean initial-state result would say something narrow: no reported violations were found in that rendered initial state. It would not establish anything about error feedback that was not visible or controls inside a dialog that was not open.
Keep the checkpoints rather than choosing only the easiest state to scan.
Tip
A useful checkpoint has three parts: a distinct state, a deterministic action to reach it, and visible evidence that the state is ready. This pattern avoids treating one page load as coverage of every interaction outcome.
Write a short state map for Newsletter signup. Match initial, form errors, and dialog open to their triggering actions and readiness evidence. Then explain why scanning only the initial page leaves accessibility coverage gaps.
Write at least 120 characters (0/120).
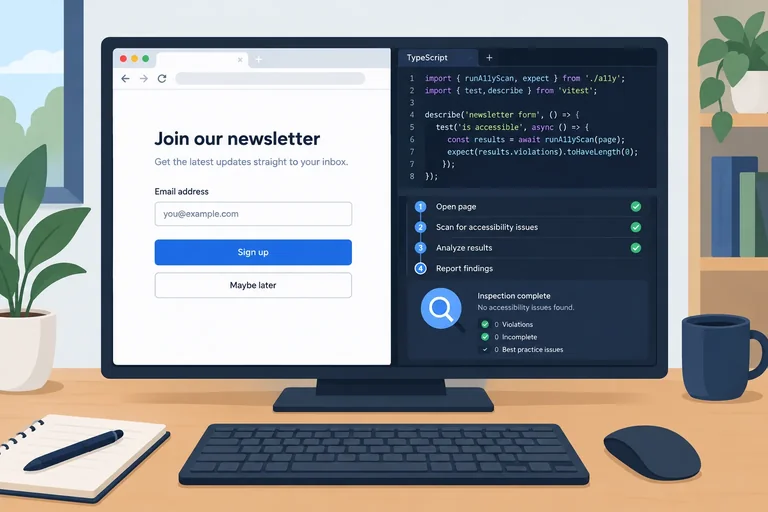
Step 2 of 8
Install axe in a local Playwright project, create the Newsletter signup fixture, and run an initial-state accessibility assertion.
This step adds an axe check to the local Playwright setup you used previously. Create the two files below in your project. The page is intentionally text-only and needs no backend or external assets.
First, add axe as a development dependency.
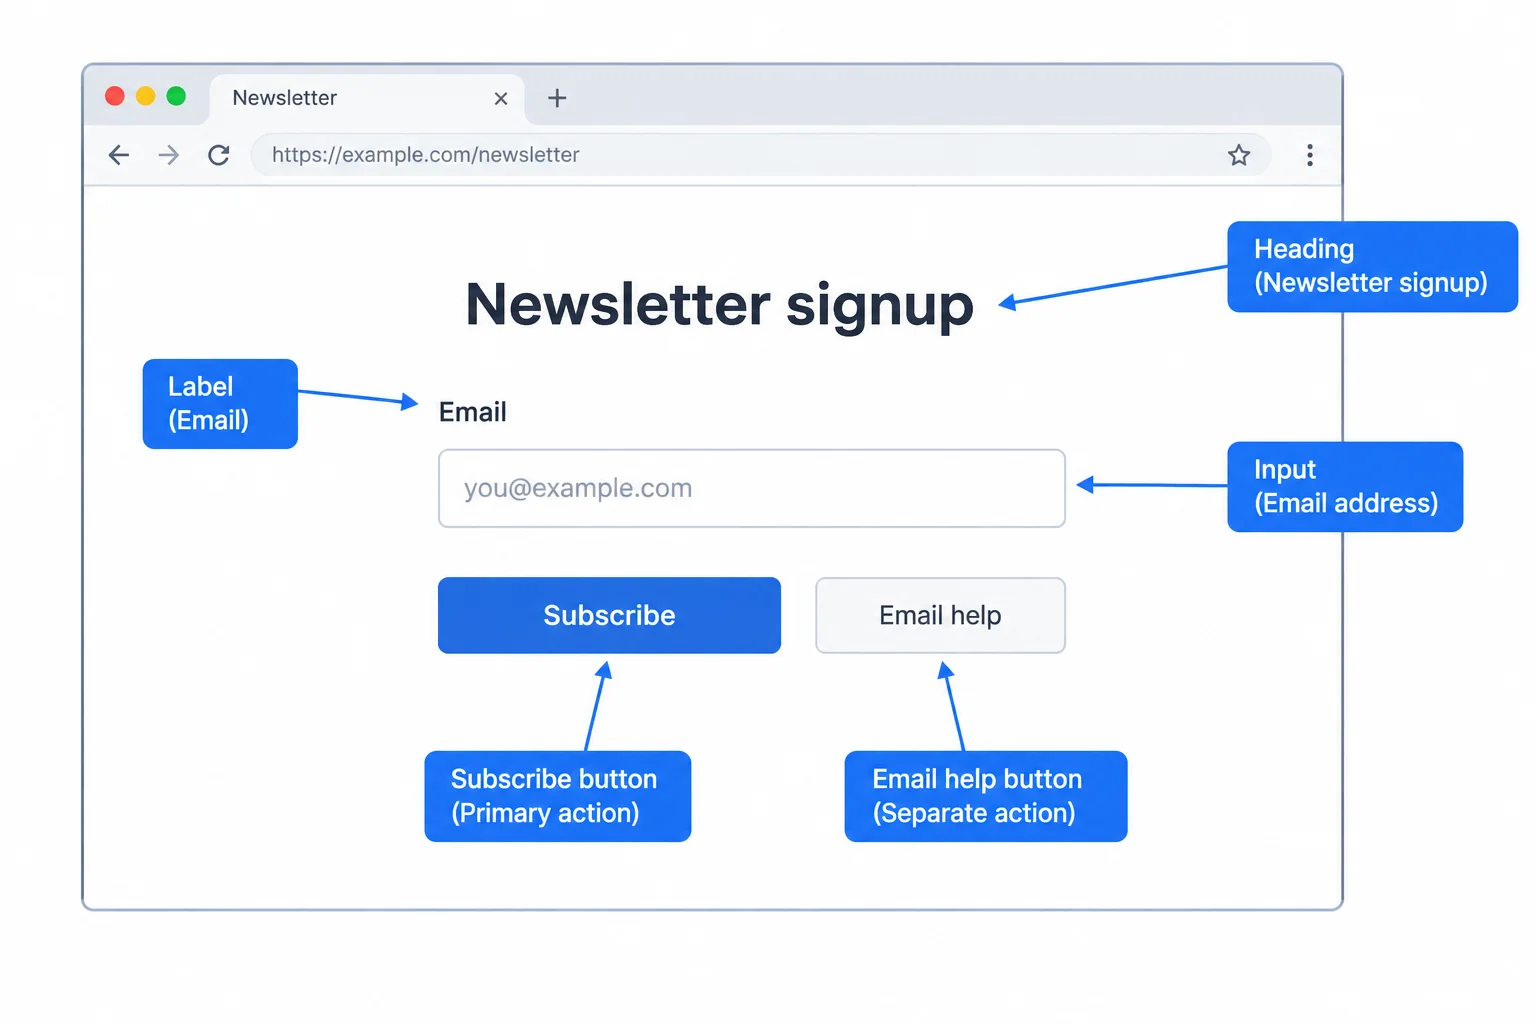
The first scan observes this rendered initial state after its main heading is visible.
npm install --save-dev @axe-core/playwrightadded 1 package, and audited packages found 0 vulnerabilities
Package-manager output, package versions, and audit messages vary by machine.
<!doctype html>
<html lang="en">
  <head>
    <meta charset="UTF-8">
    <meta name="viewport" content="width=device-width, initial-scale=1.0">
    <title>Newsletter signup</title>
  </head>
  <body>
    <main>
      <h1>Newsletter signup</h1>

      <form id="newsletter-form" novalidate>
        <label for="email">Email</label>
        <input id="email" name="email" type="email" aria-describedby="email-error">
        <p id="email-error" role="alert" hidden>Enter a valid email address.</p>
        <button type="submit">Subscribe</button>
      </form>

      <button id="open-help" type="button" aria-haspopup="dialog" aria-controls="help-dialog">Email help</button>

      <dialog id="help-dialog" aria-labelledby="help-title">
        <h2 id="help-title">Email help</h2>
        <p>Use an email address you can access.</p>
        <button id="close-help" type="button"><span aria-hidden="true">×</span></button>
      </dialog>
    </main>

    <script type="module" src="/a11y-demo.js"></script>
  </body>
</html>Add the page behavior in public/a11y-demo.js. It exposes custom validation feedback instead of relying on a browser validation popup, and it controls the native dialog.
Keep the dialog markup exactly as provided for now. A later state-specific scan will inspect it.
const form = document.querySelector('#newsletter-form');
const email = document.querySelector('#email');
const emailError = document.querySelector('#email-error');
const openHelp = document.querySelector('#open-help');
const helpDialog = document.querySelector('#help-dialog');
const closeHelp = document.querySelector('#close-help');

form.addEventListener('submit', (event) => {
  event.preventDefault();

  const hasError = !email.validity.valid;
  email.setAttribute('aria-invalid', String(hasError));
  emailError.hidden = !hasError;
});

openHelp.addEventListener('click', () => {
  helpDialog.showModal();
});

closeHelp.addEventListener('click', () => {
  helpDialog.close();
});Use this concise configuration reference if your existing Playwright configuration does not already provide these values. It keeps browser journeys and accessibility tests separated from other test discovery, starts the local server, and retains the existing Chromium and Firefox projects.
import { defineConfig, devices } from '@playwright/test';

export default defineConfig({
  testDir: './e2e',
  testMatch: '**/*.e2e.ts',
  use: {
    baseURL: 'http://127.0.0.1:5173'
  },
  webServer: {
    command: 'npm run dev -- --host 127.0.0.1 --port 5173 --strictPort',
    url: 'http://127.0.0.1:5173',
    reuseExistingServer: !process.env.CI
  },
  projects: [
    {
      name: 'chromium',
      use: { ...devices['Desktop Chrome'] }
    },
    {
      name: 'firefox',
      use: { ...devices['Desktop Firefox'] }
    }
  ]
});import { test, expect } from '@playwright/test';
import AxeBuilder from '@axe-core/playwright';
test('initial state', async ({ page }) => {
await page.goto('/a11y-demo.html');
await expect(
page.getByRole('heading', { name: 'Newsletter signup', exact: true })
).toBeVisible();
const results = await new AxeBuilder({ page }).analyze();
expect(results.violations).toEqual([]);
});npx playwright test e2e/accessibility.e2e.ts --project=chromiumRunning 1 test using 1 worker ✓ 1 [chromium] › e2e/accessibility.e2e.ts:4:1 › initial state 1 passed
Elapsed time and Playwright formatting vary by version. A passing result here means axe reported no violations for this rendered state and scan scope; it is not proof of universal accessibility.
Complete the initial-state test. Then save the completed code as e2e/accessibility.e2e.ts and run npx playwright test e2e/accessibility.e2e.ts --project=chromium on your computer.
import { test, expect } from '@playwright/test';
import  from '@axe-core/playwright';

test('initial state', async ({ page }) => {
  await page.goto('/a11y-demo.html');

  await expect(
    page.getByRole('heading', { name: 'Newsletter signup', exact: true })
  ).toBeVisible();

  const results = await .();

  expect(results.).([]);
});
Step 3 of 8
Reach the custom validation-error state deterministically, verify that it is rendered, and scan it only after those readiness checks pass.
An axe analysis examines the page as it is rendered when analyze() runs. The existing initial-state test remains separate coverage; it does not inspect feedback that appears after an invalid submission.
For the form errors state, begin with a fresh navigation. Fill the Email field with the known invalid value and activate Subscribe. The fixture then exposes its custom inline validation feedback instead of relying on a browser validation popup.
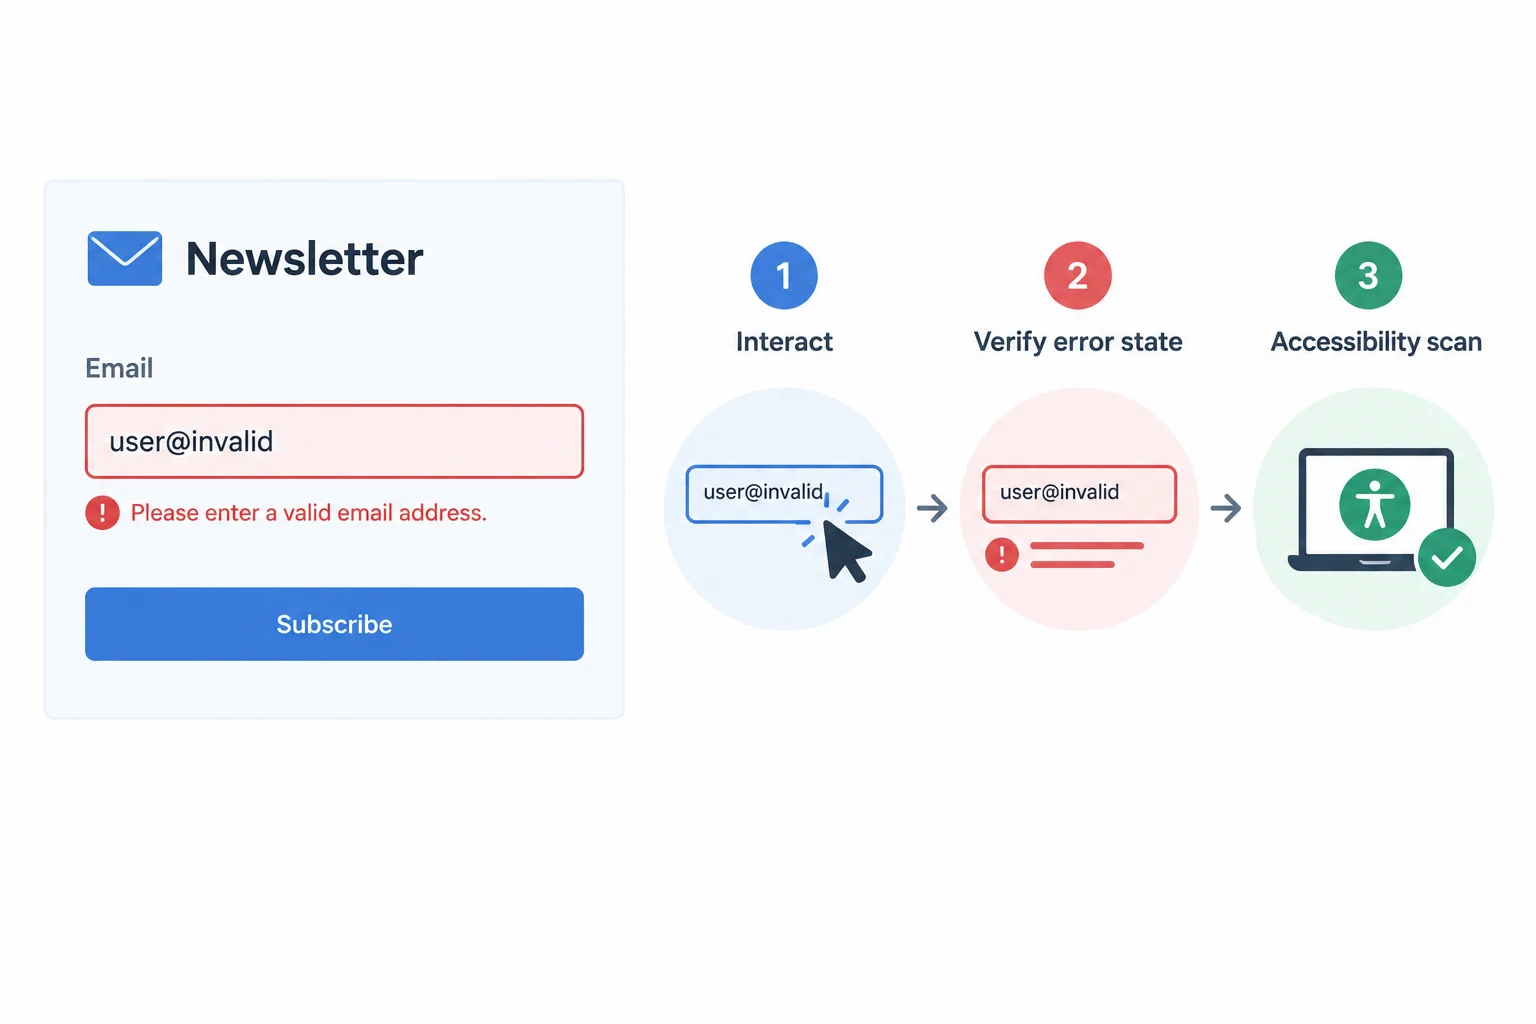
Scan only after observable evidence confirms that the form-error state is rendered.
Tip
Do not replace readiness checks with a fixed delay such as waitForTimeout. Awaiting a click confirms that Playwright performed the action; it does not by itself establish that the update you intend to scan is rendered.
For this checkpoint, use two observable signals:
aria-invalid set to true;Each test navigates to the page and reaches its own checkpoint. This keeps the form-errors scan independent from the initial-state scan.
In e2e/accessibility.e2e.ts, retain the existing initial state test and add this independent test below it. The imports already at the top of the file remain unchanged.
test('form errors state', async ({ page }) => {
  await page.goto('/a11y-demo.html');

  const email = page.getByLabel('Email', { exact: true });
  await email.fill('not-an-email');
  await page.getByRole('button', { name: 'Subscribe', exact: true }).click();

  await expect(email).toHaveAttribute('aria-invalid', 'true');
  await expect(page.getByRole('alert')).toHaveText(
    'Enter a valid email address.'
  );

  const results = await new AxeBuilder({ page }).analyze();

  expect(results.violations).toEqual([]);
});The readiness assertions deliberately come before analyze(). They ensure axe observes the visible error feedback rather than a state that happens to exist immediately after the button action.
After saving the added test, run the complete accessibility file in Chromium. With the initial-state and form-errors tests present, both checkpoints should pass.
npx playwright test e2e/accessibility.e2e.ts --project=chromiumRunning 2 tests using 1 worker ✓ 1 [chromium] › e2e/accessibility.e2e.ts:4:1 › initial state (404ms) ✓ 2 [chromium] › e2e/accessibility.e2e.ts:15:1 › form errors state (317ms) 2 passed (2.1s)
Exact durations, line numbers, and reporter formatting vary by machine and Playwright version. The important result is that both named tests pass.
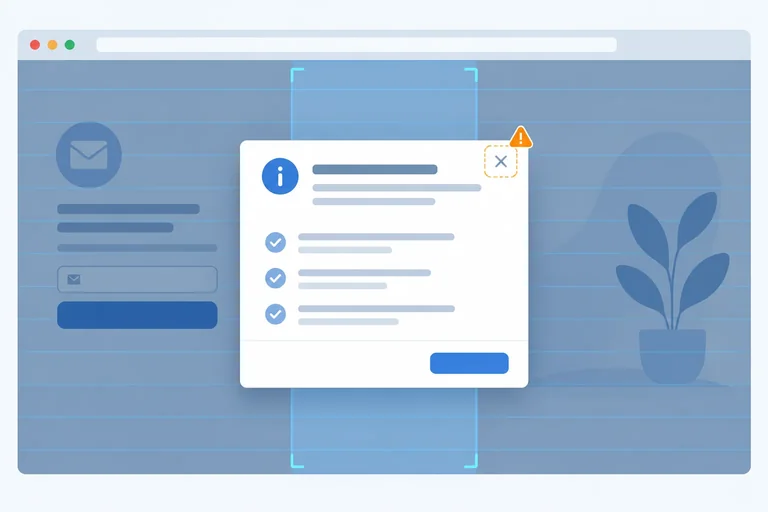
Put the phases of the independent form-error accessibility test in the only valid order.
Complete the independent test for the visible form-errors checkpoint. Save it in e2e/accessibility.e2e.ts, then use the earlier run command to confirm both current tests pass.
test('form errors state', async ({ page }) => {
  await page.goto('/a11y-demo.html');

  const email = page.getByLabel('Email', { exact: true });
  await email.fill('');
  await page.getByRole('button', { name: '', exact: true }).click();

  await expect(email).toHaveAttribute('', '');
  await expect(page.getByRole('alert')).toHaveText(
    'Enter a valid email address.'
  );

  const results = await new ({ page }).analyze();

  expect(results.).toEqual([]);
});
Step 4 of 8
Open the help dialog in a fresh Playwright test, verify that it is visible, and scan the rendered dialog state to expose an intentional accessibility finding.
Axe evaluates the page as it is rendered when analyze() runs. It does not replay earlier interactions or inspect a dialog that is still hidden.
The initial and form-errors checkpoints remain useful, but neither exposes controls inside the hidden help dialog. Add a separate dialog open state test: start with a fresh navigation, open Email help, confirm the named dialog is visible, then scan the page.
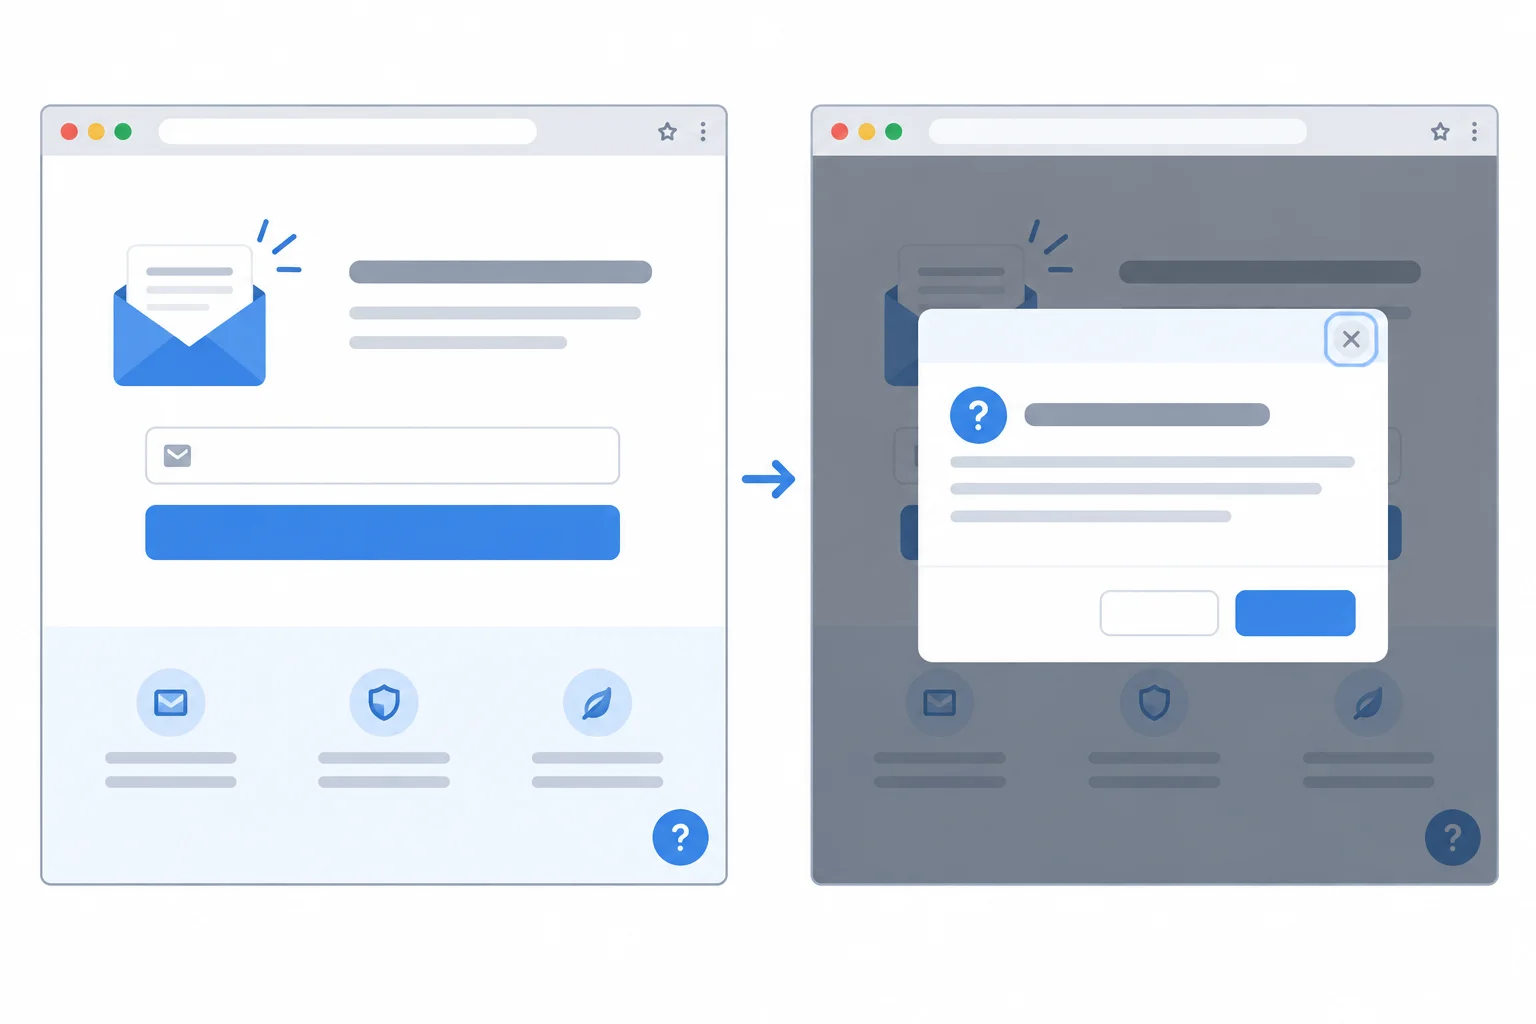
A page-level scan observes the current rendered state, including controls revealed by the open dialog.
In e2e/accessibility.e2e.ts, keep the existing initial state and form errors state tests. Use the exercise below to add one new test below them.
Its visibility assertion is the readiness evidence. The analyzer runs only after the named dialog is confirmed visible.
Complete this test, then add it once below the two existing tests in e2e/accessibility.e2e.ts. Save the file before using the run command on the next screen.
test('dialog open state', async ({ page }) => {
  await page.goto('/a11y-demo.html');

  await page.getByRole('button', { name: 'Email help', exact: true }).click();
  const dialog = page.getByRole('dialog', {
    name: 'Email help',
    exact: true
  });
  await expect(dialog).();

  const results = await new ({ page }).analyze();

  expect(results.violations).toEqual([]);
});Warning
This final assertion is expected to fail initially. Opening the dialog exposes the fixture's intentionally unnamed close control to the scan. Keep this checkpoint and its empty-violations assertion intact: the failure is evidence to investigate in the next step, not a reason to omit the dialog state.
Run the complete accessibility file in Chromium. With exactly three tests in the file, the initial and form-errors checkpoints should pass, while the dialog checkpoint should fail at its final empty-array assertion.
npx playwright test e2e/accessibility.e2e.ts --project=chromiumRunning 3 tests using 1 worker
✓ 1 [chromium] › e2e/accessibility.e2e.ts:... › initial state
✓ 2 [chromium] › e2e/accessibility.e2e.ts:... › form errors state
✘ 3 [chromium] › e2e/accessibility.e2e.ts:... › dialog open state
1) [chromium] › e2e/accessibility.e2e.ts:... › dialog open state
Error: expect(received).toEqual(expected) // deep equality
Expected: []
Received: [ ... ]
2 passed
1 failedExact durations, line numbers, and failure formatting vary by Playwright and axe versions. The important result is two passing tests and one failure at the final empty-array assertion. If the visibility assertion fails instead, the dialog was not ready for scanning.
The key sequence is: the dialog visibility check succeeds, axe analyzes the open rendered state, and then the empty-violations expectation fails. This distinguishes a meaningful reported finding from a test that never reached its intended checkpoint.
Leave the state-specific test in place. The next step uses the report as evidence to investigate the finding.
Step 5 of 8
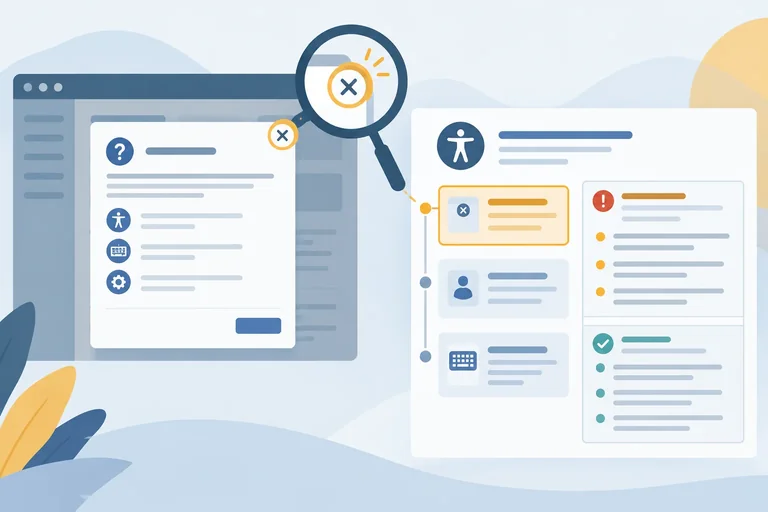
Trace an axe violation from its rule entry to the affected dialog control, using node-level evidence without overstating what the report proves.
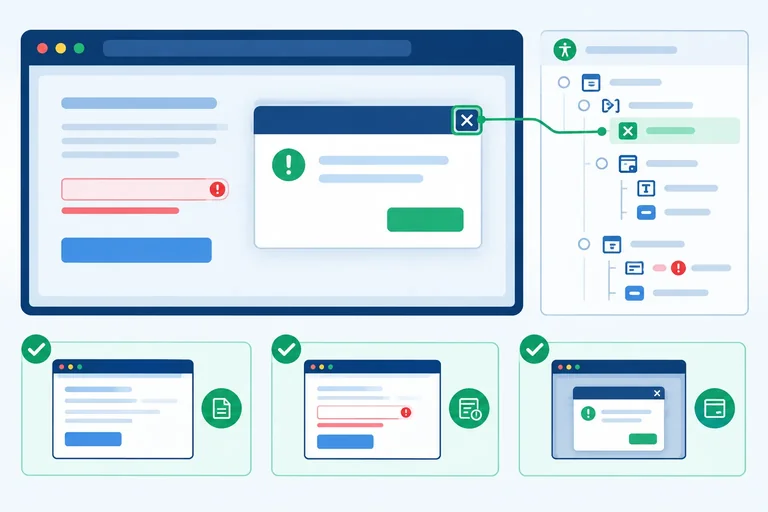
A violation is organized around a rule, not around a single control. Start with id to see which rule reported a problem and help to read its plain-language expectation. Then inspect nodes: one rule can contain one or several affected elements.
For the open Email help dialog, the worked rule is button-name. Its node information connects the report to the close control. A visible × is a visual symbol; it does not automatically give the button an accessible name.
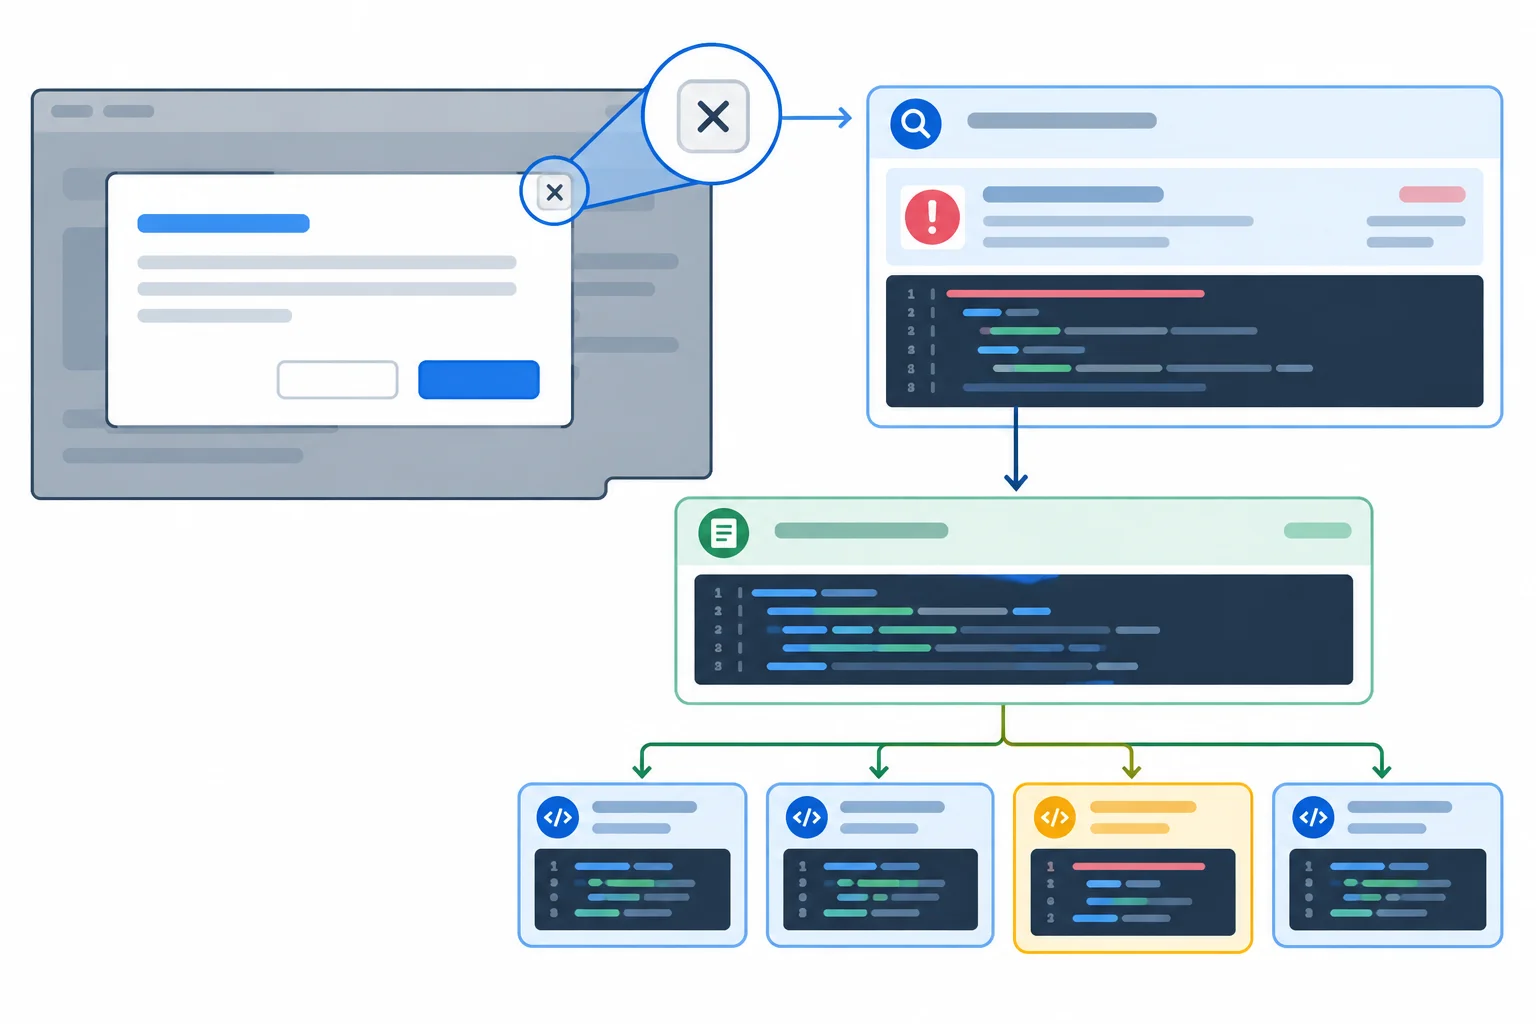
Read from the rule entry to its nodes, then use node details to locate and understand each affected element.
Illustrative report excerpt; exact details can vary by axe version.
const violation = {
  id: 'button-name',
  help: 'Buttons must have discernible text',
  impact: 'critical',
  nodes: [
    {
      target: ['#close-help'],
      html: '<button id="close-help" type="button"><span aria-hidden="true">×</span></button>',
      failureSummary: 'Element does not have inner text that is visible to screen readers'
    }
  ]
};Use the fields as evidence, in this order: identify the rule, find the affected node, locate its source, and read the diagnostic reason. Here, target identifies the close control, while html shows that its only visible content is hidden from assistive technology. The failureSummary supports the conclusion that this control has no accessible name.
impact helps prioritize investigation. It is not a complete measure of user impact, proof of the whole dialog experience, or a reason to change unrelated markup.
The excerpt is illustrative; report wording and detail can vary by axe version.
| Field | Diagnostic role | Evidence in the excerpt |
|---|---|---|
| id | Identifies the violated rule | button-name |
| help | States the rule expectation | Buttons need discernible text |
| impact | Supports triage | critical |
| nodes | Lists affected occurrences | One reported node |
| target | Locates an occurrence | #close-help |
| html | Shows reported source | Button contains an aria-hidden × |
| failureSummary | States why the node fails | No screen-reader-visible inner text |
Match each accessibility report field to the diagnostic role it plays.
Tap an item and then its matching pair.
Step 6 of 8
Correct the dialog close button at its source, keep the original dialog scan intact, and verify all three state checks locally.
The report already traced the button-name violation to #close-help. Correct that control at its source: give the button the meaningful accessible name Close help while retaining the visible × as decoration.
Do not weaken the evidence. Keep the dialog-opening action, dialog visibility assertion, page-level scan, and expect(results.violations).toEqual([]); unchanged. After the source change, the same dialog-state test should pass because the reported problem is no longer present in that rendered state.
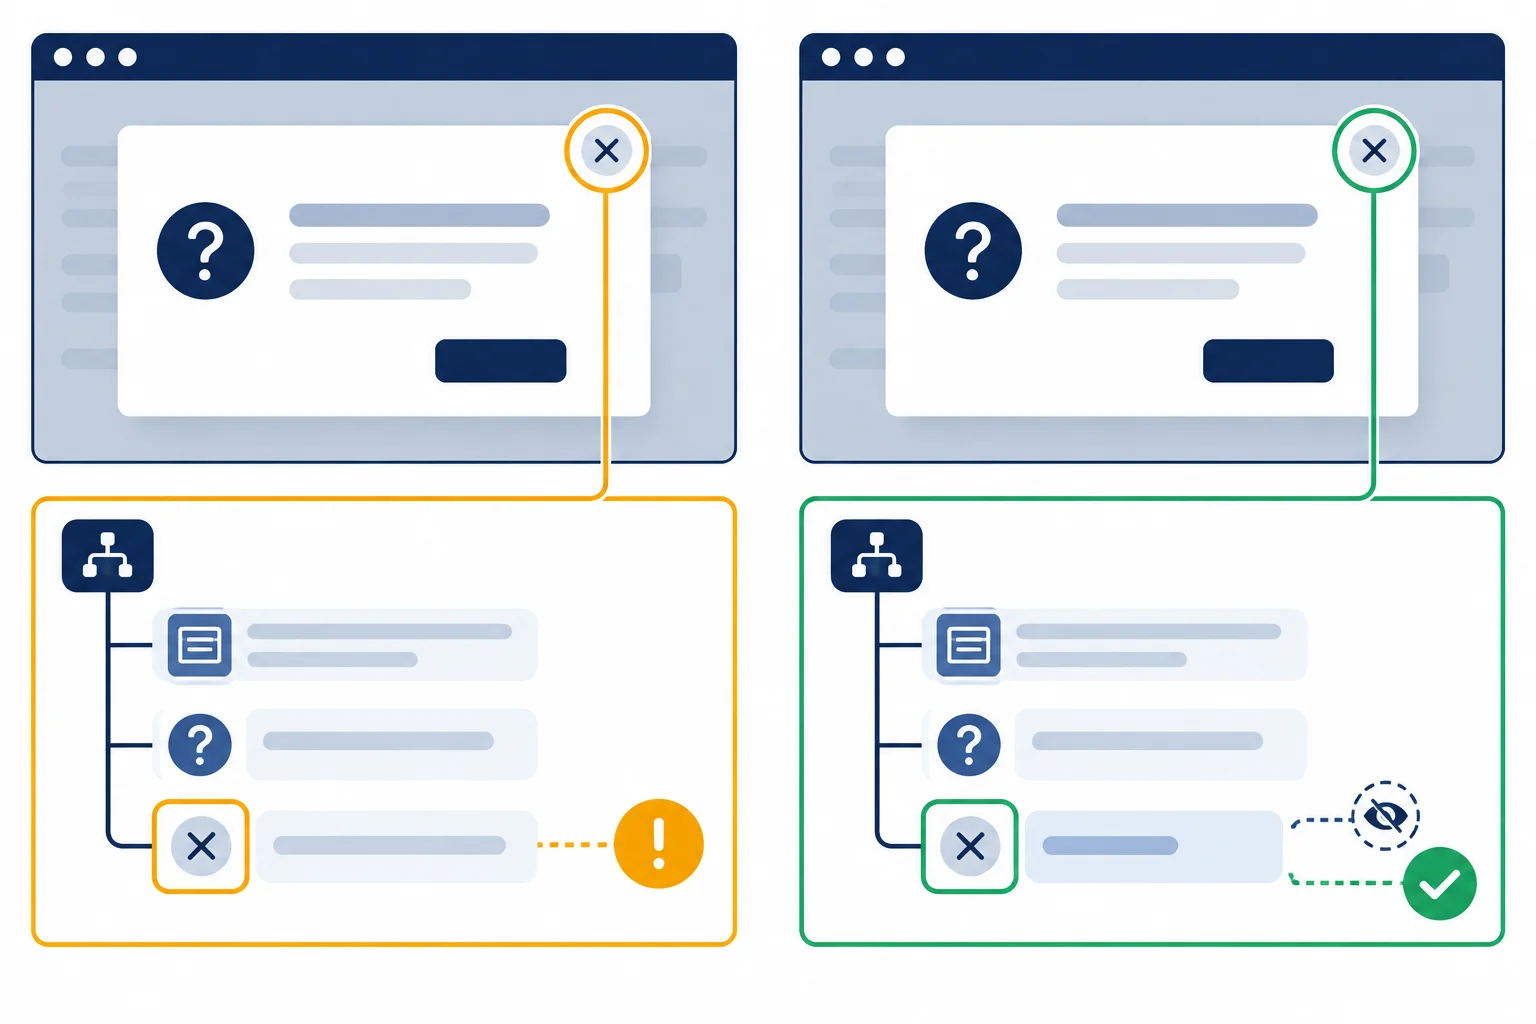
The symbol can remain decorative when the button itself exposes a meaningful accessible name.
Tip
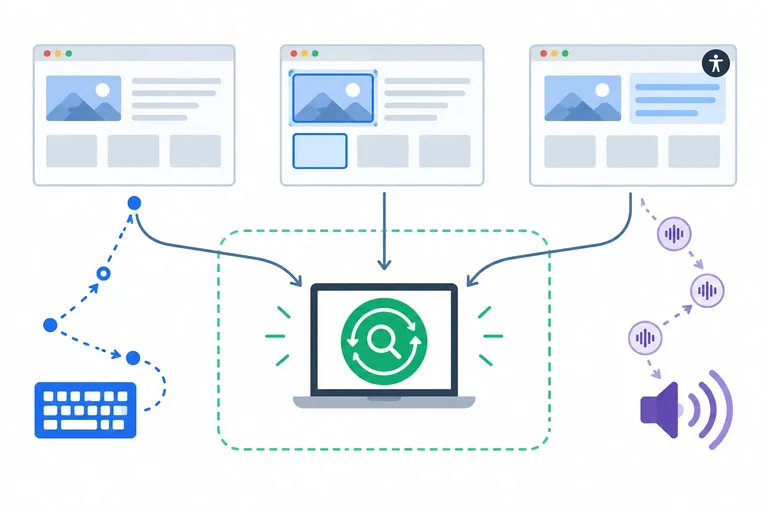
A passing rerun is bounded evidence: axe found no reported violations under the current rules, page-level scope, and rendered dialog state. It does not justify removing coverage or claiming that every aspect of the dialog is accessible.
In public/a11y-demo.html, replace the existing close control with this corrected version.
<button id="close-help" type="button" aria-label="Close help">
  <span aria-hidden="true">×</span>
</button>Keep this existing test block in e2e/accessibility.e2e.ts unchanged. The source correction, rather than a narrower scan or weaker assertion, makes the test pass.
test('dialog open state', async ({ page }) => {
  await page.goto('/a11y-demo.html');

  await page.getByRole('button', { name: 'Email help', exact: true }).click();
  await expect(
    page.getByRole('dialog', { name: 'Email help', exact: true })
  ).toBeVisible();

  const results = await new AxeBuilder({ page }).analyze();

  expect(results.violations).toEqual([]);
});Complete the targeted correction, then save it in public/a11y-demo.html.
<button id="close-help" type="button" >
  <span aria-hidden="true">×</span>
</button>After saving the correction, run the complete local accessibility file. This reruns the independent initial, form-errors, and dialog-open checkpoints.
npx playwright test e2e/accessibility.e2e.ts --project=chromiumRunning 3 tests using 1 worker ✓ 1 [chromium] › e2e/accessibility.e2e.ts:4:1 › initial state (512ms) ✓ 2 [chromium] › e2e/accessibility.e2e.ts:13:1 › form errors state (478ms) ✓ 3 [chromium] › e2e/accessibility.e2e.ts:29:1 › dialog open state (441ms) 3 passed (2.0s)
Test durations and source locations vary by machine and Playwright version. Confirm that all three named tests pass.
Which sequence genuinely fixes the reported issue and preserves meaningful coverage across the three scan states?
Step 7 of 8
Interpret clean axe results without overstating what state-based automated scans establish.
When this assertion passes:
expect(results.violations).toEqual([]);axe reported no violations for the rendered state, scan scope, and rules used in that run. It does not inspect every state the page could reach, every browser environment, or every part of a person’s experience.
Use a precise conclusion: “No axe violations were reported for this scanned state.” Do not turn it into a general claim that the interface is fully accessible.
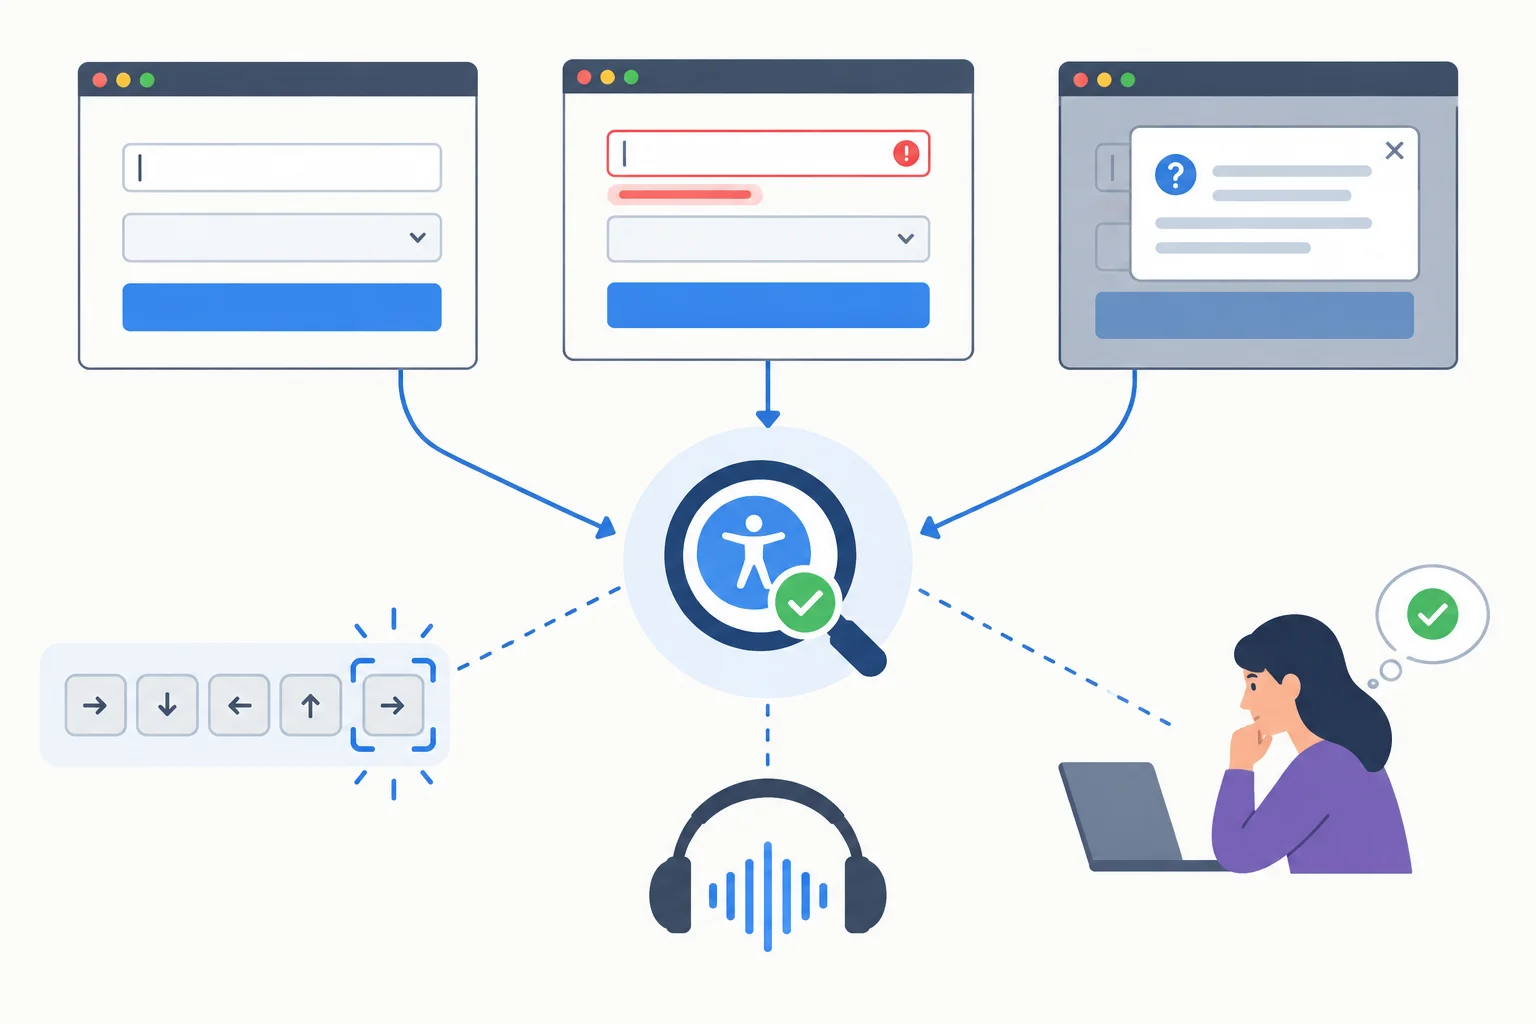
A scan result describes the states and conditions that were actually scanned; it is not evidence about untested behavior.
Automated rules are valuable evidence, but they cannot answer every accessibility question. Some outcomes depend on interaction, assistive technology, context, or human judgment.
Use the passing scans as regression coverage, then record the questions they leave open for a later manual audit.
| Question or claim | What the clean scan supports |
|---|---|
| No reported axe violations in a scanned state | Supported, within that run's rules and scope |
| Logical keyboard focus order | Still unverified |
| Focus returning reliably after the dialog closes | Still unverified |
| Useful screen-reader announcements | Still unverified |
| Understandable error recovery | Still unverified |
| WCAG conformance in all states and environments | Not established |
Warning
Do not disable rules, exclude broad page regions, or omit difficult states merely to keep results empty. A passing report is most useful when its scope remains meaningful.
Which summary makes an appropriately limited conclusion after the three corrected state scans pass?
Select the statement that accurately summarizes the result.
Step 8 of 8
Run a local three-state axe regression suite, verify the targeted dialog correction, and communicate what the passing scans do and do not establish.
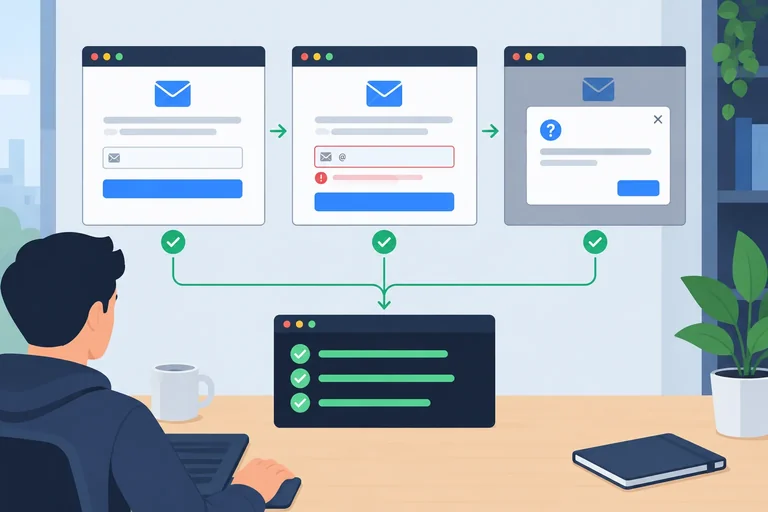
A regression scan is a repeatable loop, not a single page check. For each checkpoint, start from a fresh page, perform the action that exposes the state, confirm visible readiness evidence, then analyze.
Keep the three checkpoints as separate tests. That makes a failure tell you which rendered state needs investigation and prevents one interaction from leaking into another test.
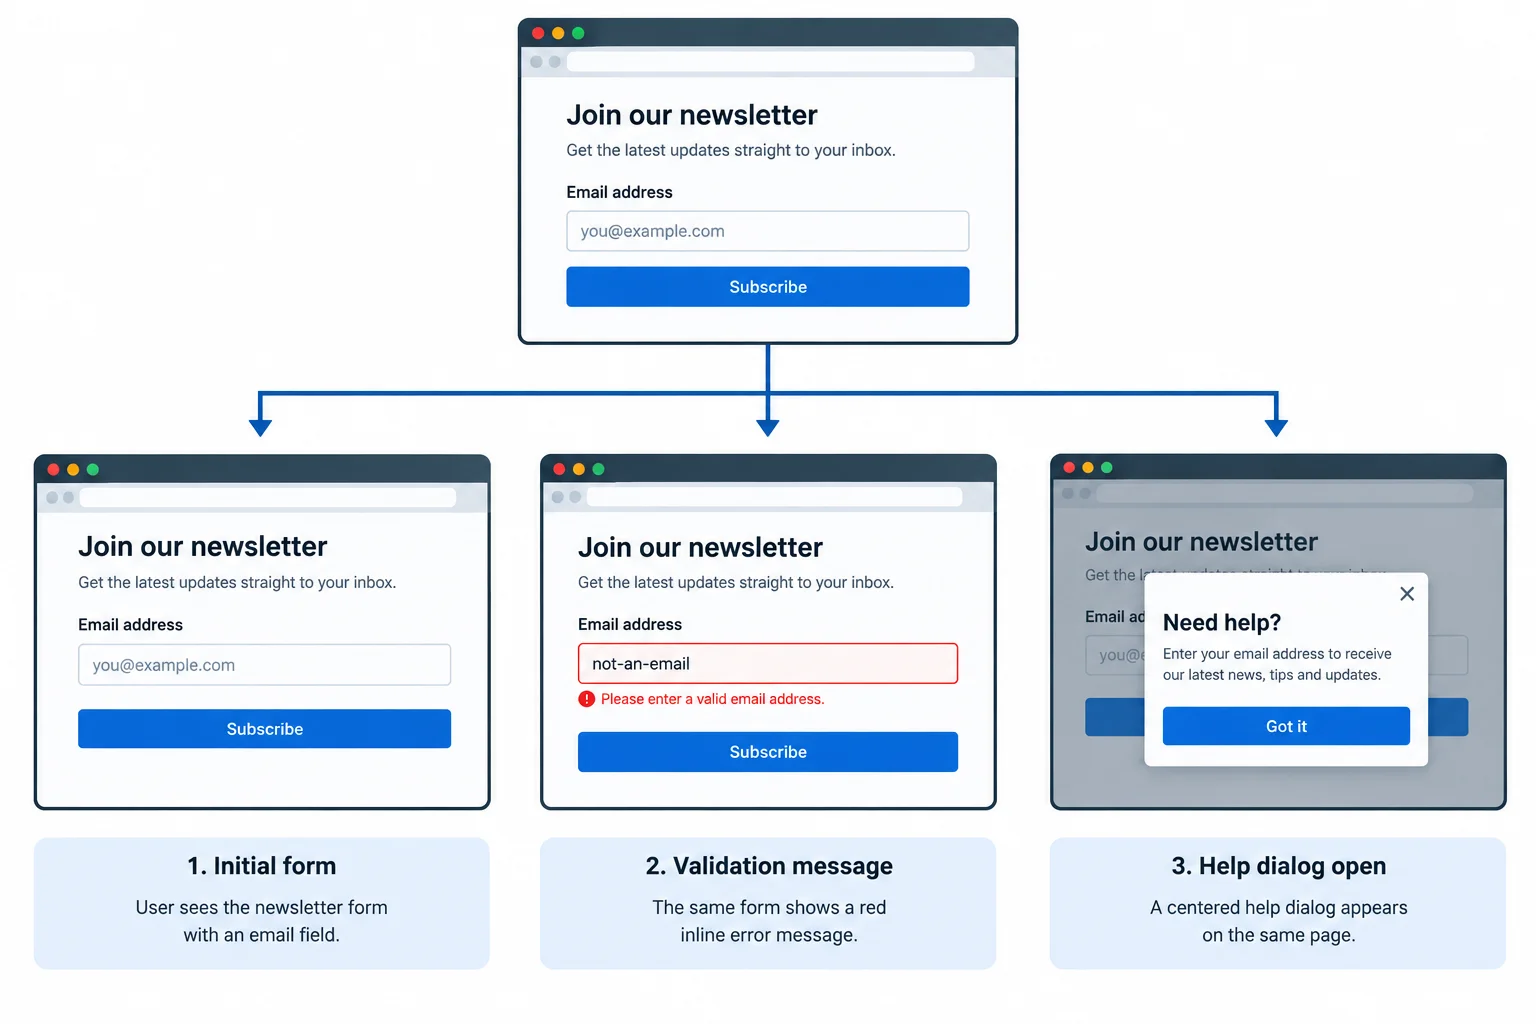
Each scan observes the state currently rendered in its own test.
Use this state map as a final check that each test has both an action and observable readiness evidence.
| Checkpoint | Reach it | Readiness evidence |
|---|---|---|
| initial | Navigate to the page | Newsletter signup heading is visible |
| form errors | Enter an invalid email and activate Subscribe | Visible alert and invalid field state |
| dialog open | Activate Email help | Named dialog is visible |
Replace e2e/accessibility.e2e.ts with this final regression suite. It preserves a separate navigation, readiness check, and page-level scan for every checkpoint.
import { test, expect } from '@playwright/test';
import AxeBuilder from '@axe-core/playwright';

test('initial state', async ({ page }) => {
  await page.goto('/a11y-demo.html');
  await expect(page.getByRole('heading', { name: 'Newsletter signup', exact: true })).toBeVisible();
  const results = await new AxeBuilder({ page }).analyze();
  expect(results.violations).toEqual([]);
});

test('form errors state', async ({ page }) => {
  await page.goto('/a11y-demo.html');
  await page.getByLabel('Email', { exact: true }).fill('not-an-email');
  await page.getByRole('button', { name: 'Subscribe', exact: true }).click();
  await expect(page.getByRole('alert')).toHaveText('Enter a valid email address.');
  await expect(page.getByLabel('Email', { exact: true })).toHaveAttribute('aria-invalid', 'true');
  const results = await new AxeBuilder({ page }).analyze();
  expect(results.violations).toEqual([]);
});

test('dialog open state', async ({ page }) => {
  await page.goto('/a11y-demo.html');
  await page.getByRole('button', { name: 'Email help', exact: true }).click();
  await expect(page.getByRole('dialog', { name: 'Email help', exact: true })).toBeVisible();
  const results = await new AxeBuilder({ page }).analyze();
  expect(results.violations).toEqual([]);
});With the local server configured in Playwright, run the suite in Chromium after saving the corrected fixture.
npx playwright test e2e/accessibility.e2e.ts --project=chromiumRunning 3 tests using 1 worker 3 passed (2.1s)
The duration and worker details vary by machine. This representative result is expected after the targeted correction is saved.
In public/a11y-demo.html, complete the opening close-button tag with the targeted correction. Then save the file and rerun the unchanged three-state suite.
<button id="close-help" type="button" >
  <span aria-hidden="true">×</span>
</button>Summary
A useful final report is specific about what was exercised and modest about what was not. Keep the independent checkpoints, retain the relevant scan scope, and describe a passing automated result as scoped evidence rather than a complete accessibility verdict.
After running your local suite, write a short regression report. Name every scanned state, identify the defect you corrected, state your observed test outcome, and list two accessibility questions that still require manual evaluation.
Write at least 180 characters (0/180).
Congratulations! You completed: Run State-Based Accessibility Scans with Playwright
Thousands of online courses in video, ebooks and audiobooks.
To test your knowledge during online courses
Generated directly from your cell phone's photo gallery and sent to your email

Download our app via QR Code or the links below:.



Carry knowledge in your pocket.
Download the Cursa app.
There are hundreds of free courses available, with a free certificate of completion that is saved in your mobile image gallery.
Download the app to access the Course Completion Certificate for Free.


+ 10 million
students

Free and Valid
Certificate

60 thousand free
exercises

4.8/5 rating in
app stores

Free courses in
video and ebooks