Step 1 of 9
Understand What a Link Contains
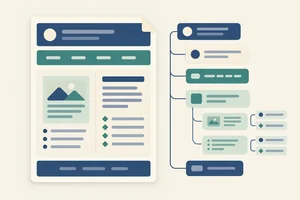
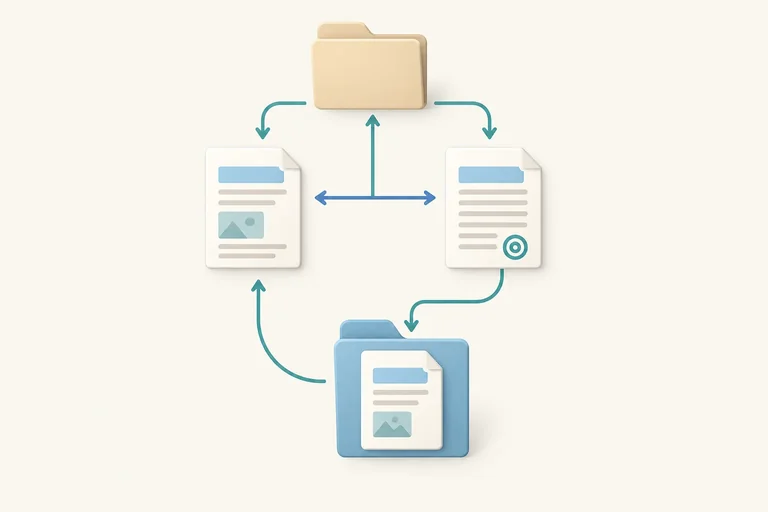
Identify what an anchor link contains and distinguish an absolute URL from a document-relative path.

Learning path · Level 1 · Tutorial 3
Connect local pages with reliable links, check keyboard navigation, and explain how native elements communicate a control's name and role.
 Understand What a Link Contains
Identify what an anchor link contains and distinguish an absolute URL from a document-relative path. 2 min
Understand What a Link Contains
Identify what an anchor link contains and distinguish an absolute URL from a document-relative path. 2 min
 Connect Pages in the Same Folder
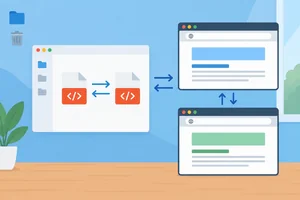
Create two local HTML pages in the same folder, link them in both directions, and verify each destination in the browser. 2 min
Connect Pages in the Same Folder
Create two local HTML pages in the same folder, link them in both directions, and verify each destination in the browser. 2 min
 Navigate Into and Out of Folders
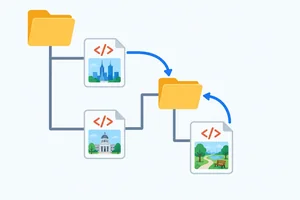
Create child-folder and parent-folder links by resolving each path from the document that contains it. 3 min
Navigate Into and Out of Folders
Create child-folder and parent-folder links by resolving each path from the document that contains it. 3 min
 Link to a Specific Place on a Page
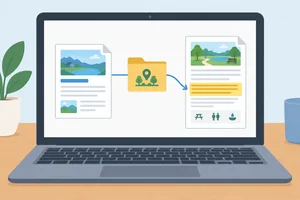
Create same-page and cross-page fragment links that reach one uniquely identified paragraph. 2 min
Link to a Specific Place on a Page
Create same-page and cross-page fragment links that reach one uniquely identified paragraph. 2 min
 Give Links Clear Names and Native Roles
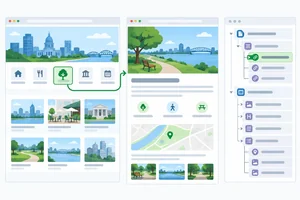
Make local links understandable by their text and inspect the semantic Name and Role that native HTML exposes. 3 min
Give Links Clear Names and Native Roles
Make local links understandable by their text and inspect the semantic Name and Role that native HTML exposes. 3 min
 Choose Links for Navigation and Buttons for Actions
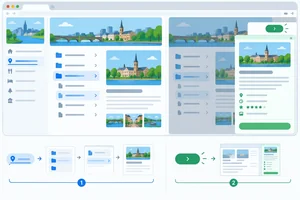
Choose native links for navigation and native buttons for current-interface actions, without expecting a role alone to supply behavior. 2 min
Choose Links for Navigation and Buttons for Actions
Choose native links for navigation and native buttons for current-interface actions, without expecting a role alone to supply behavior. 2 min
 Follow Your Links with the Keyboard
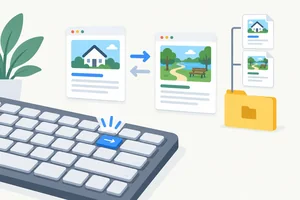
Use native keyboard behavior to move through and activate links in your local City Guide. 2 min
Follow Your Links with the Keyboard
Use native keyboard behavior to move through and activate links in your local City Guide. 2 min
 Find and Repair Broken Local Links
Diagnose local path and fragment mistakes by tracing from the current document, comparing destination details, and validating repairs in the browser. 2 min
Find and Repair Broken Local Links
Diagnose local path and fragment mistakes by tracing from the current document, comparing destination details, and validating repairs in the browser. 2 min
 Complete and Check Your Local Guide
Complete the three-page City Guide, verify each local route, and confirm that its native links work clearly with both assistive semantics and the keyboard. 3 min
Complete and Check Your Local Guide
Complete the three-page City Guide, verify each local route, and confirm that its native links work clearly with both assistive semantics and the keyboard. 3 min
Step 1 of 9
Identify what an anchor link contains and distinguish an absolute URL from a document-relative path.
A hyperlink is made with an <a> (anchor) element. Its href attribute supplies the destination. The text between the opening and closing tags is the visible text a reader encounters.
In this example, about.html is the destination reference, and About this guide is the link text. They have different jobs.
Example location: city-guide/index.html, inside the existing body element.
<p><a href="about.html">About this guide</a></p>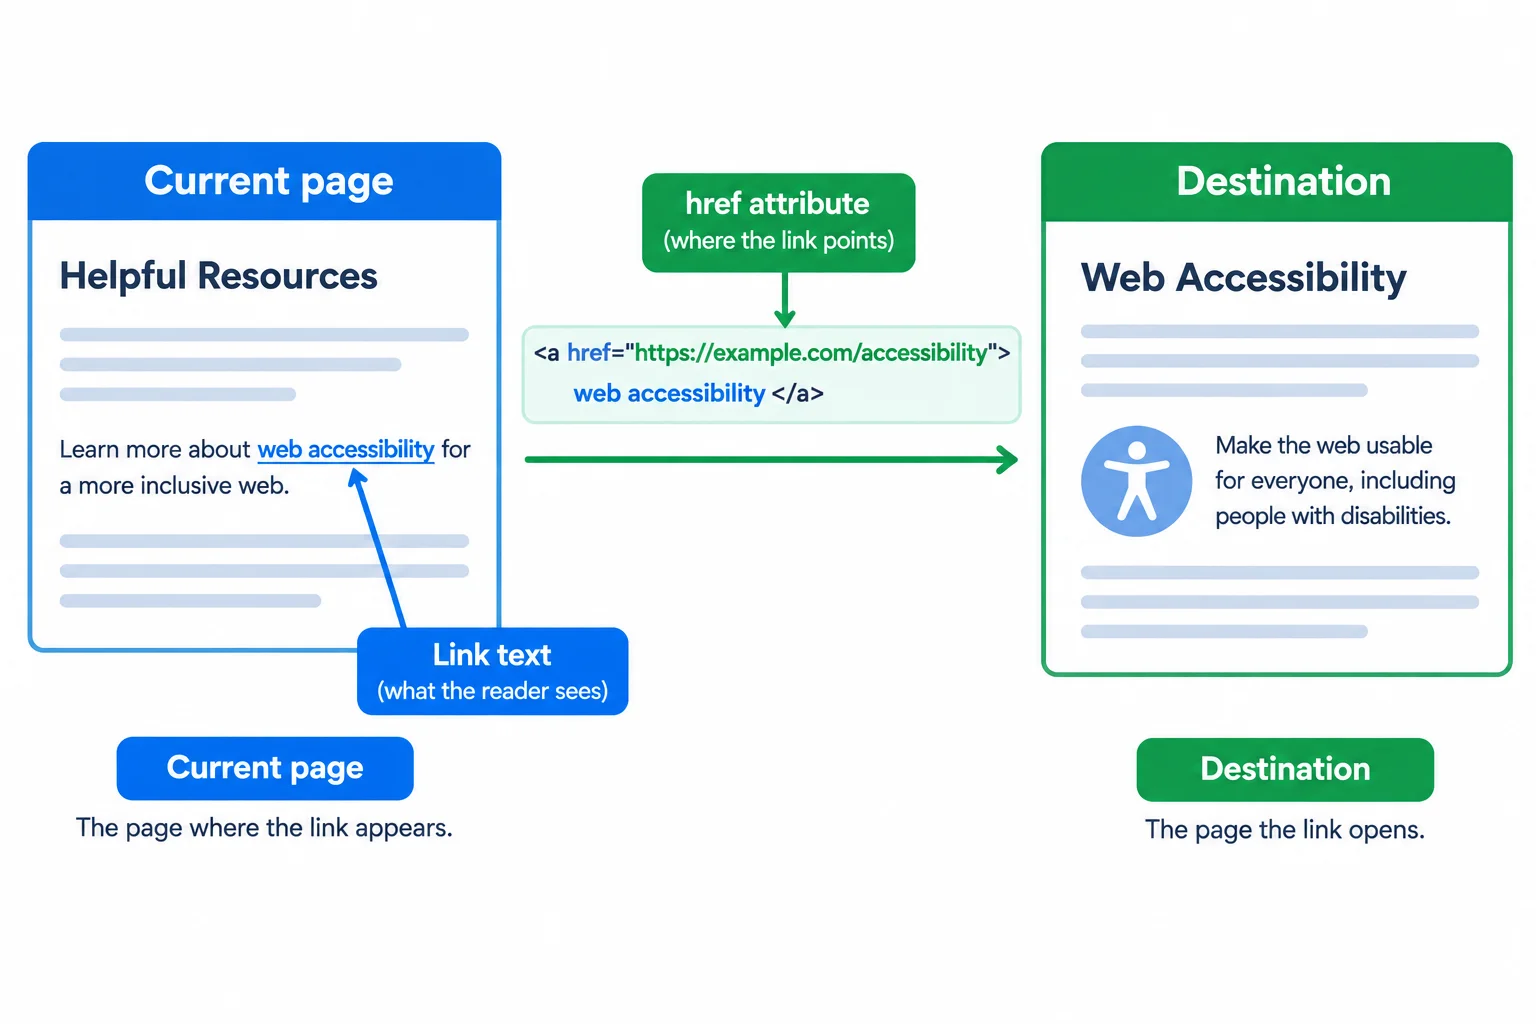
href points to a destination; enclosed text is what the reader sees.
The anchor structure stays the same, but an href can describe different kinds of destinations. For this tutorial, you will create document-relative paths that connect files on your own computer.
Compare each reference from the current page. The absolute URL is only a comparison here; you do not need to open an external website.
| href value | Reference type | What it includes |
|---|---|---|
| https://example.com/about.html | Absolute URL | Scheme, hostname, and path |
| about.html | Document-relative path | A location relative to the current page |
Which completed anchor is correctly classified as using a document-relative path?
Step 2 of 9
Create two local HTML pages in the same folder, link them in both directions, and verify each destination in the browser.
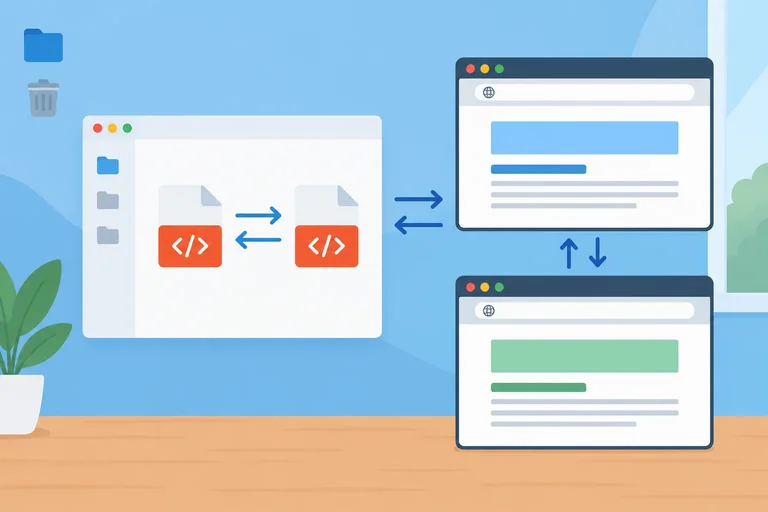
Before writing an href, locate the document that contains the link. In city-guide/, index.html is the current page. Because about.html sits directly beside it, its filename is a document-relative path: it means “look in this same folder.”
No hostname or leading slash is needed for this local link.
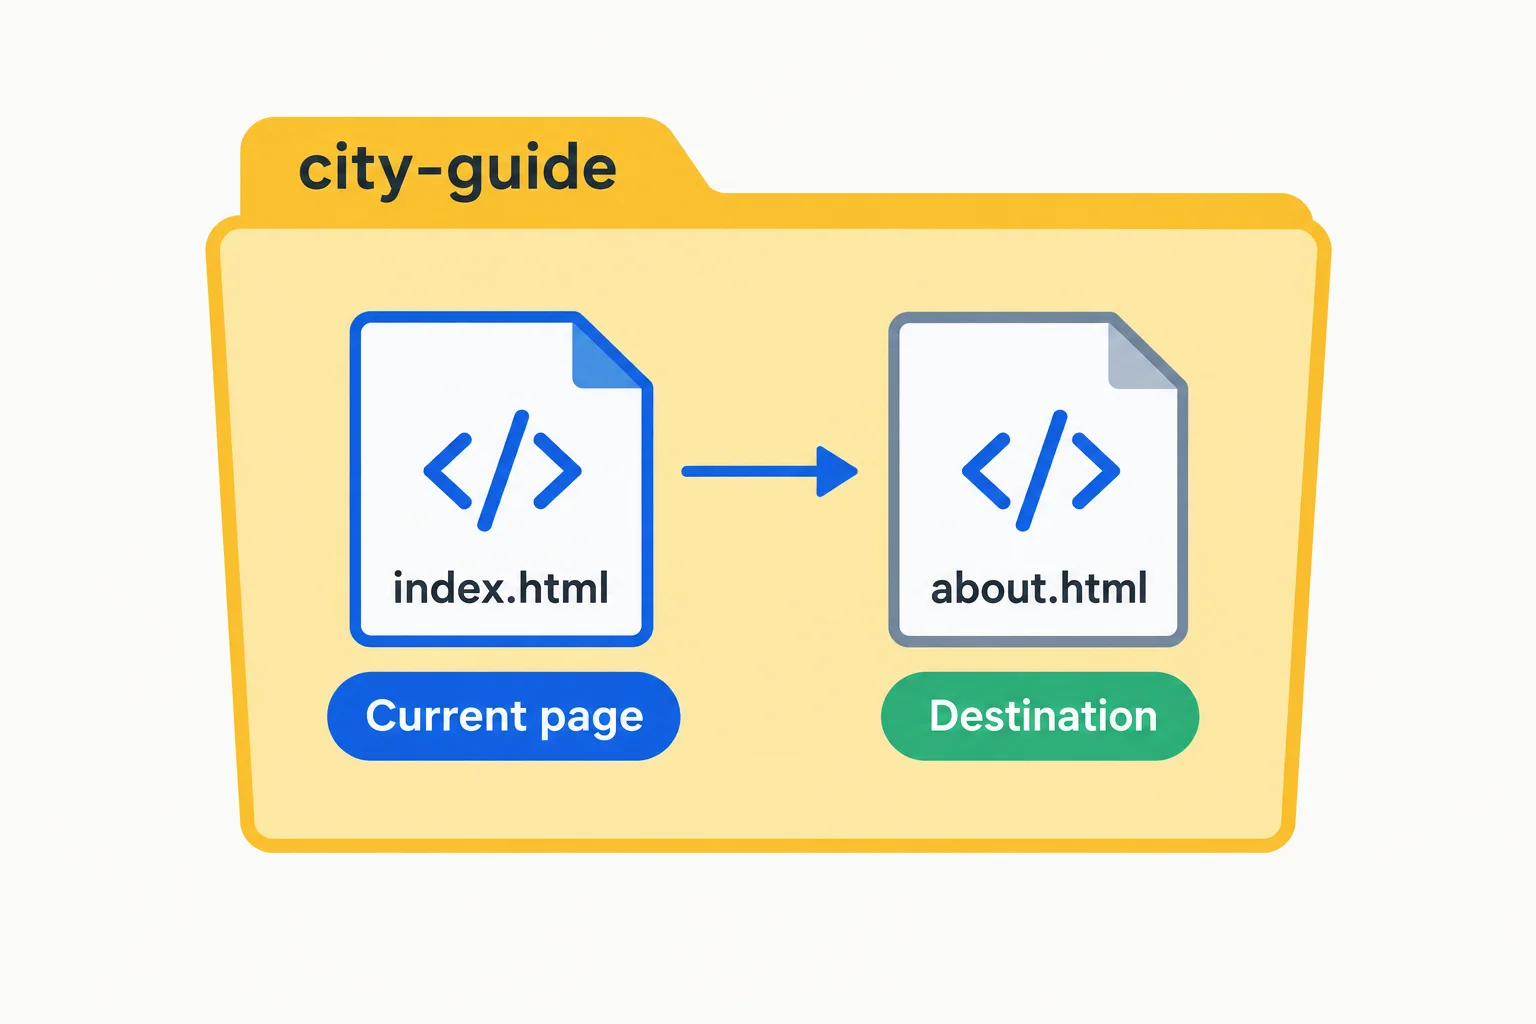
A filename alone can reach a destination file located beside the current page.
Tip
Use the filename exactly as it is saved. about.html, About.html, and about.htm are different references. Even if your computer appears to accept a mismatch, matching capitalization and the .html extension prevents broken links elsewhere.
Create a folder named city-guide, then save these two complete documents directly inside it. The links are reciprocal: each page provides a route to the other page. Keep the documents unstyled and script-free for this practice.
city-guide/index.html — complete document
<!doctype html>
<html lang="en">
<head>
  <meta charset="utf-8">
  <title>City Guide</title>
</head>
<body>
  <p>Welcome to the City Guide.</p>
  <p><a href="about.html">About this guide</a></p>
</body>
</html>Welcome to the City Guide. About this guide Activating “About this guide” opens: about.html
Expected browser rendering after opening this local file. The full local-file address varies by computer; activating the link should open `about.html`.
city-guide/about.html — complete document
<!doctype html>
<html lang="en">
<head>
  <meta charset="utf-8">
  <title>About This Guide</title>
</head>
<body>
  <p>This guide helps you explore the city.</p>
  <p><a href="index.html">Back to the guide</a></p>
</body>
</html>This guide helps you explore the city. Back to the guide Activating “Back to the guide” opens: index.html
Expected browser rendering after opening this local file. The full local-file address varies by computer; activating the link should open `index.html`.
Save both files before testing. Complete the missing href values, then open a file in your browser and follow both links. For each destination, check two things: the displayed page content changes, and the browser’s local-file address ends with the intended filename. If either check fails, compare the folder location, spelling, capitalization, and .html extension.
Complete the two link destinations, then test both directions in your browser.
<!-- city-guide/index.html -->
<p><a href="">About this guide</a></p>

<!-- city-guide/about.html -->
<p><a href="">Back to the guide</a></p>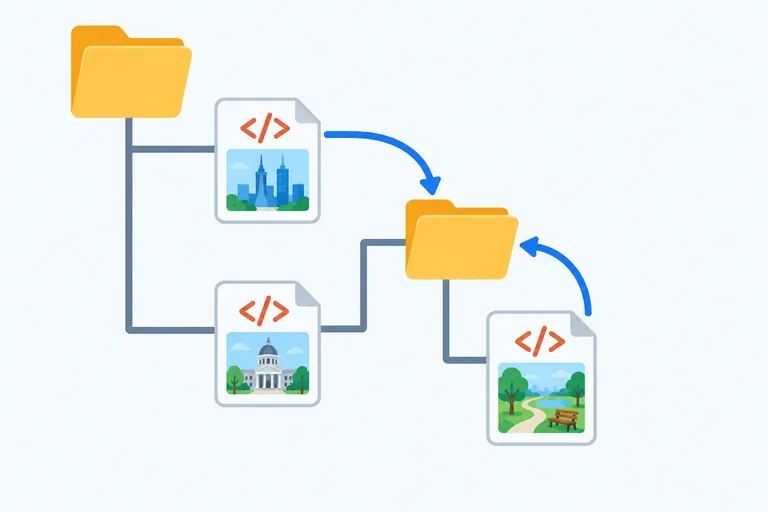
Step 3 of 9
Create child-folder and parent-folder links by resolving each path from the document that contains it.
A document-relative path begins in the folder that contains the current page—the file holding the link.
From city-guide/index.html, reach the park page by entering its child folder first: write the folder name, a forward slash, then the filename. From city-guide/places/park.html, ../ moves one folder upward, back to city-guide/.
Trace from the linking document, not from the project folder in general. The same destination can need a different href when the current page is in a different folder.
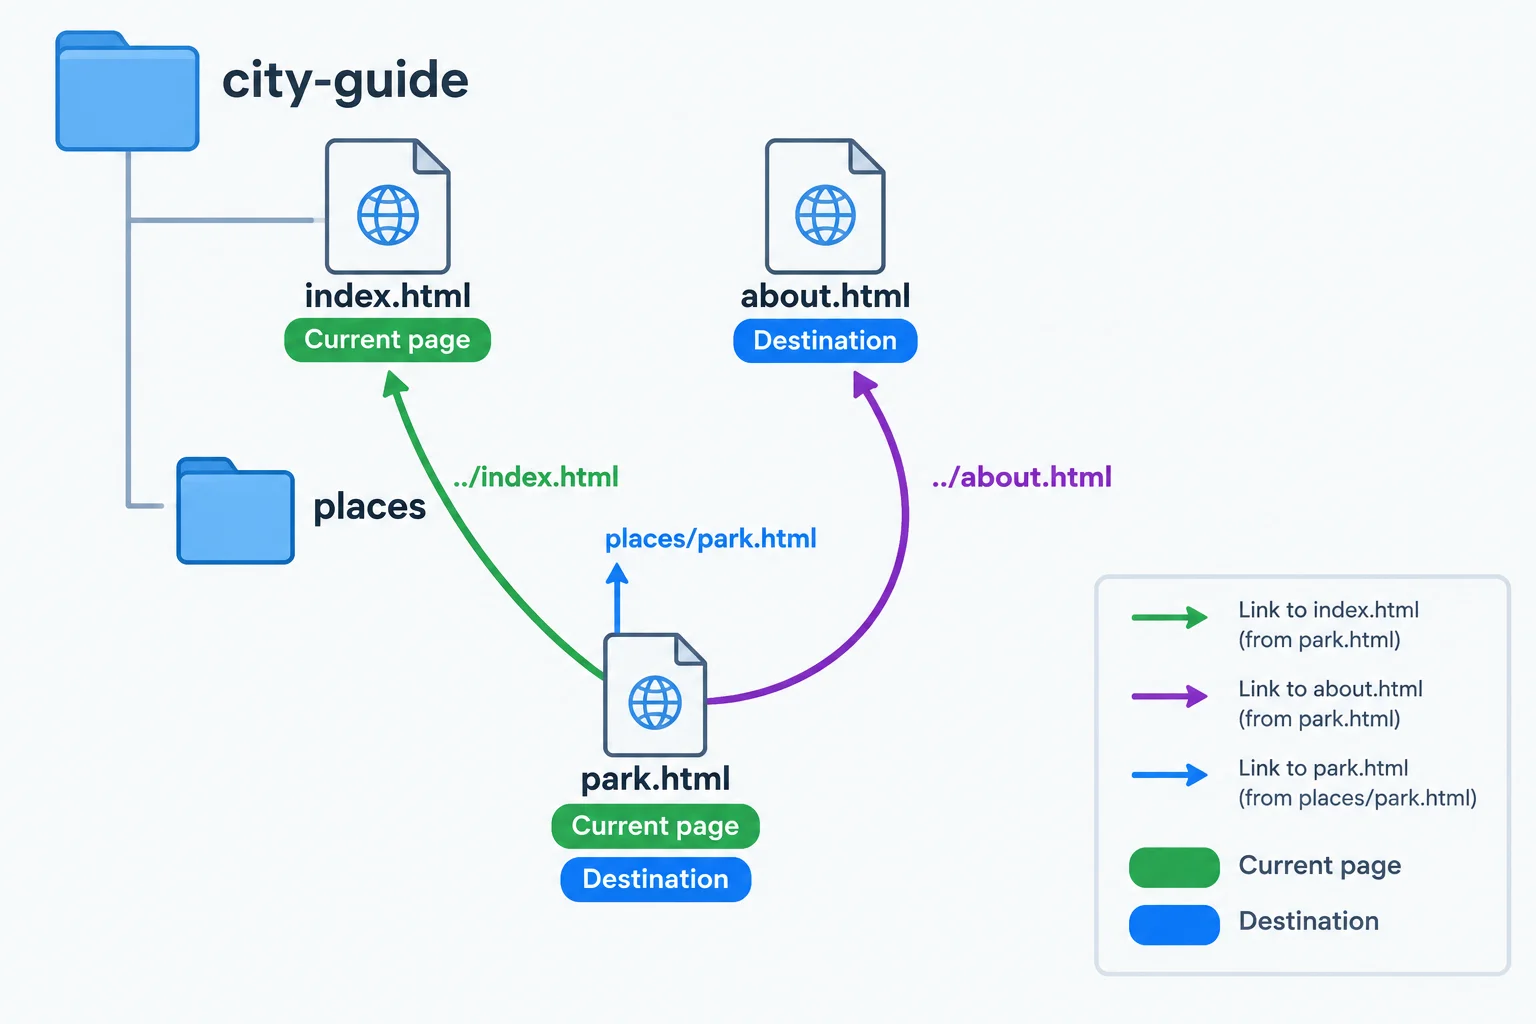
Each path starts from the folder containing the Current page. ../ moves upward one folder.
Create a folder named places inside city-guide/. Then create park.html inside places and save this complete document. Its two links leave the places folder before naming files in the parent folder.
city-guide/places/park.html — complete document
<!doctype html>
<html lang="en">
<head>
  <meta charset="utf-8">
  <title>Riverside Park</title>
</head>
<body>
  <p>Riverside Park has paths beside the river.</p>
  <p><a href="../index.html">Back to the guide</a></p>
  <p><a href="../about.html">About this guide</a></p>
</body>
</html>Riverside Park has paths beside the river. Back to the guide About this guide
When you open this file, the browser displays the text and both links below. Activating Back to the guide opens `index.html`; activating About this guide opens `about.html`. The full local-file address varies by computer.
city-guide/index.html — inside the existing <body>, add this paragraph alongside the existing page content.
<p><a href="places/park.html">Riverside Park</a></p>Welcome to the City Guide. About this guide Riverside Park
After saving and refreshing `index.html`, this link appears with the existing home-page content. Activating Riverside Park opens `park.html`; the full local-file address varies by computer.
Tip
Save both files and refresh your browser. From the home page, activate Riverside Park to open the nested page. Then activate Back to the guide to return.
The two directions use different paths because their current pages are in different folders.
Put the steps for resolving the park page’s link to About this guide in the only correct order.
Complete the three local navigation paths.
<!-- city-guide/index.html -->
<a href="">Riverside Park</a>

<!-- city-guide/places/park.html -->
<a href="">Back to the guide</a>
<a href="">About this guide</a>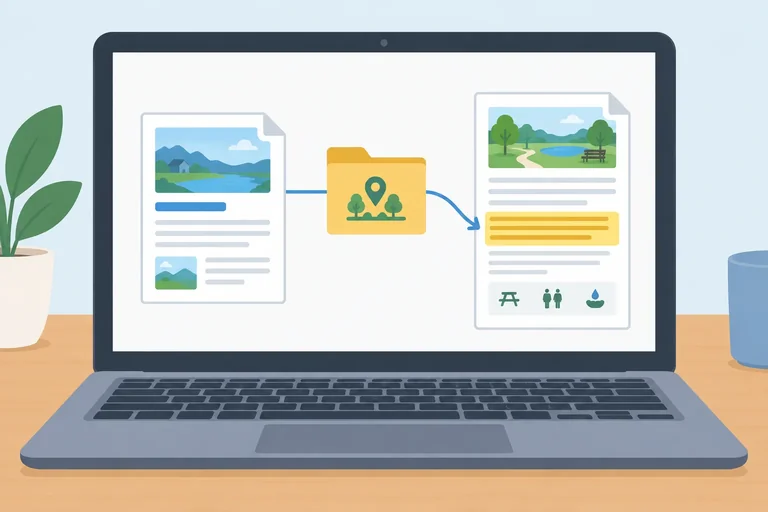
Step 4 of 9
Create same-page and cross-page fragment links that reach one uniquely identified paragraph.
A fragment link points to a specific element in an HTML document. Give the target element an id that is unique within that document. The link’s fragment begins with # and must match that id exactly.
For this guide, the target is id="facilities". Its same-page fragment is #facilities: the # belongs in the href, not in the id value.
A fragment can follow a document-relative path too. Start from the current page’s folder, reach the destination document, then add # and the target id.
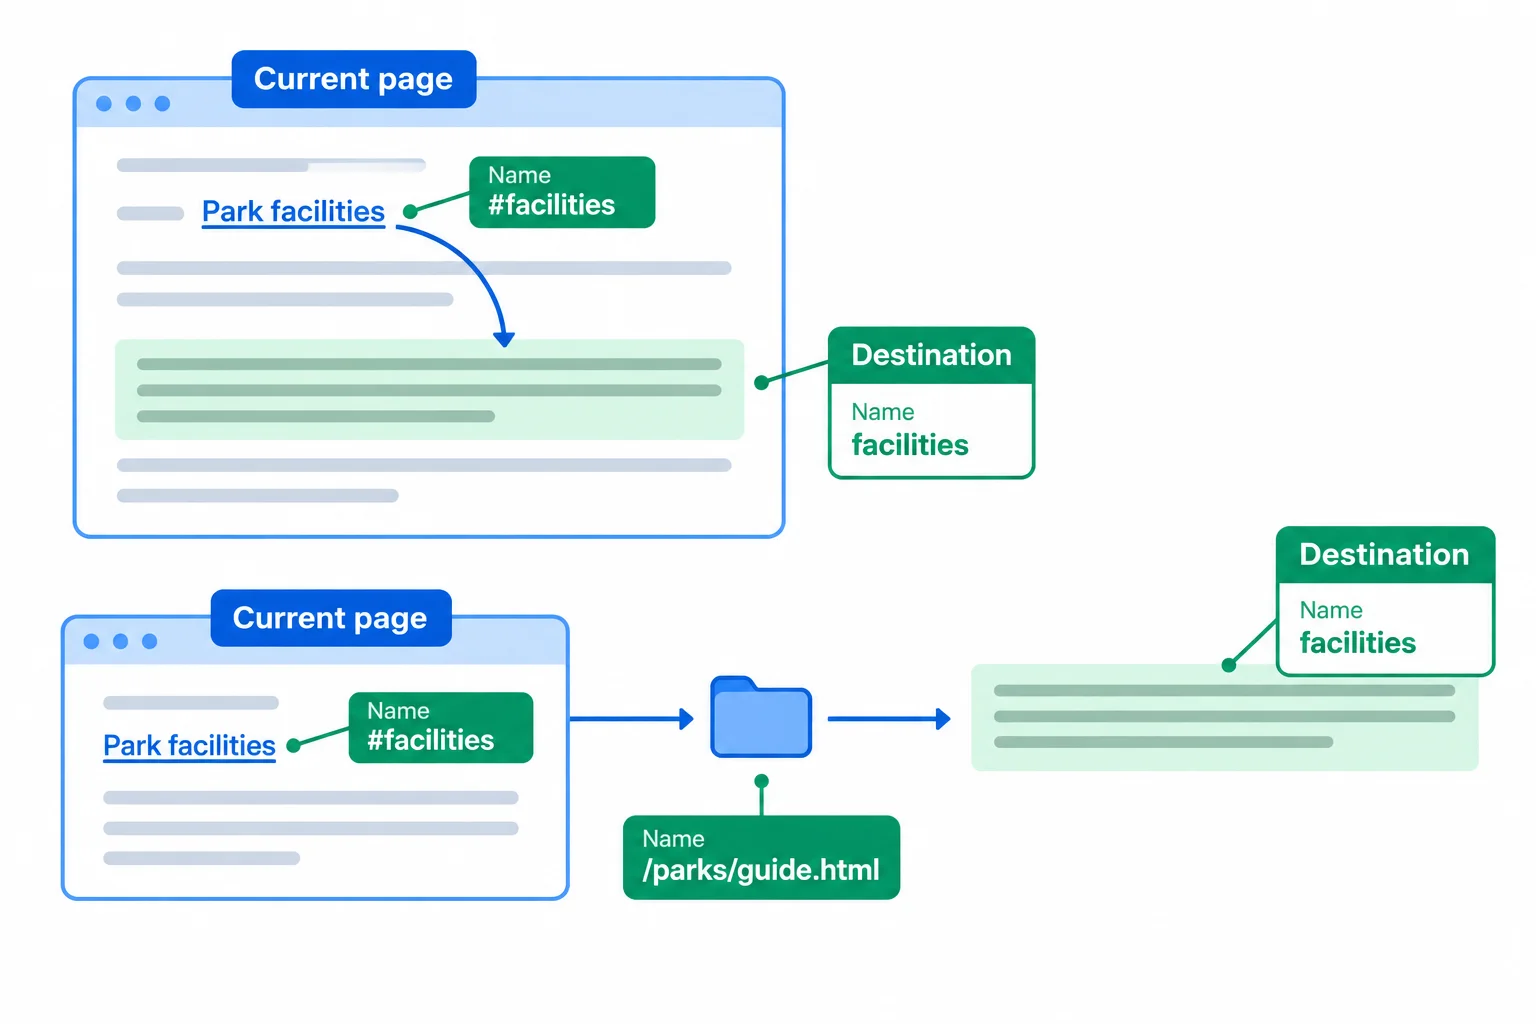
A same-page fragment stays in the current document. A cross-page fragment first locates the destination document, then locates its matching id.
Edit the existing park page. In city-guide/places/park.html, add these paragraphs inside the existing <body>, after its current links.
The first paragraph creates a same-page link. The second is the exact target. Keep this id on this one paragraph only.
city-guide/places/park.html — insert inside the existing <body> after the current link paragraphs.
<p><a href="#facilities">Park facilities</a></p>
<p id="facilities">Facilities: benches, picnic tables, and drinking water.</p>Riverside Park has paths beside the river. Back to the guide About this guide Park facilities Facilities: benches, picnic tables, and drinking water.
After you activate Park facilities, the browser’s local-file address ends with `park.html#facilities`. The facilities paragraph is the destination. If it was already visible, scrolling may be minimal or absent.
Tip
Save the file, refresh park.html, and activate Park facilities. Check both the browser address and the target paragraph. Little or no scrolling can still be correct when the target was already visible.
Now link directly to that paragraph from the home page. The current page is city-guide/index.html, so the document-relative path enters the places folder and finds park.html. Append the fragment after the filename.
Add this paragraph inside the existing <body> in the home page, after the existing park link. After saving and refreshing, activating it opens the park page at its facilities target.
city-guide/index.html — insert inside the existing <body> after the existing Riverside Park link.
<p><a href="places/park.html#facilities">Park facilities</a></p>Welcome to the City Guide. About this guide Riverside Park Park facilities
On the home page, this adds the Park facilities link shown below. After you activate it, the browser opens the park page and its local-file address ends with `places/park.html#facilities`. Confirm that the facilities paragraph is reached; scrolling may be minimal if it is already visible.
Tip
Check both parts of the browser address: places/park.html identifies the destination document, while #facilities identifies a place inside that document. A page can open successfully but still miss its fragment target if the id does not match exactly.
Complete the matching values. The target paragraph is the only element on the park page with this id.
<!-- city-guide/index.html -->
<p><a href="">Park facilities</a></p>

<!-- city-guide/places/park.html -->
<p><a href="">Park facilities</a></p>
<p id="">Facilities: benches, picnic tables, and drinking water.</p>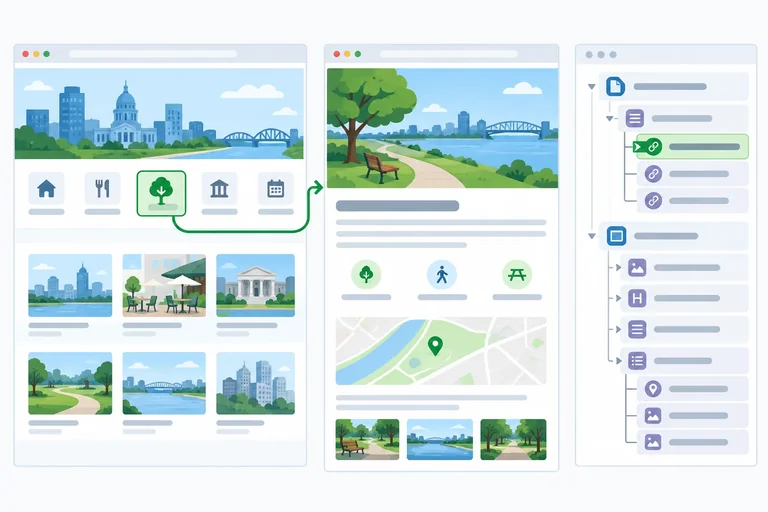
Step 5 of 9
Make local links understandable by their text and inspect the semantic Name and Role that native HTML exposes.
A reader should be able to predict where a link goes from its text. Compare “click here” with “Riverside Park.” The second label communicates a destination even when it is read out of its surrounding sentence or listed with other links.
For this guide, use the destination-specific text “Riverside Park” for the park page. The href still supplies the destination; changing the visible words does not change where the link goes.
In city-guide/index.html, inside the existing <body>, replace the park link paragraph with this markup. Save the file and refresh it in your browser.
<p><a href="places/park.html">Riverside Park</a></p>Welcome to the City Guide. About this guide Riverside Park Park facilities
Expected browser rendering includes the link text “Riverside Park.” When this selected link is inspected in browser accessibility information, expect Name: Riverside Park and Role: link. The accessibility panel’s name, location, and layout vary by browser.
An accessible name identifies a control for assistive technologies. For this plain-text link, the enclosed words “Riverside Park” provide that name. The href provides the destination, not the name.
A native role identifies what kind of control it is. An <a> element with href has the native role link. The browser exposes this semantic information in an accessibility tree, which represents controls and their meaning rather than merely copying the visual layout.
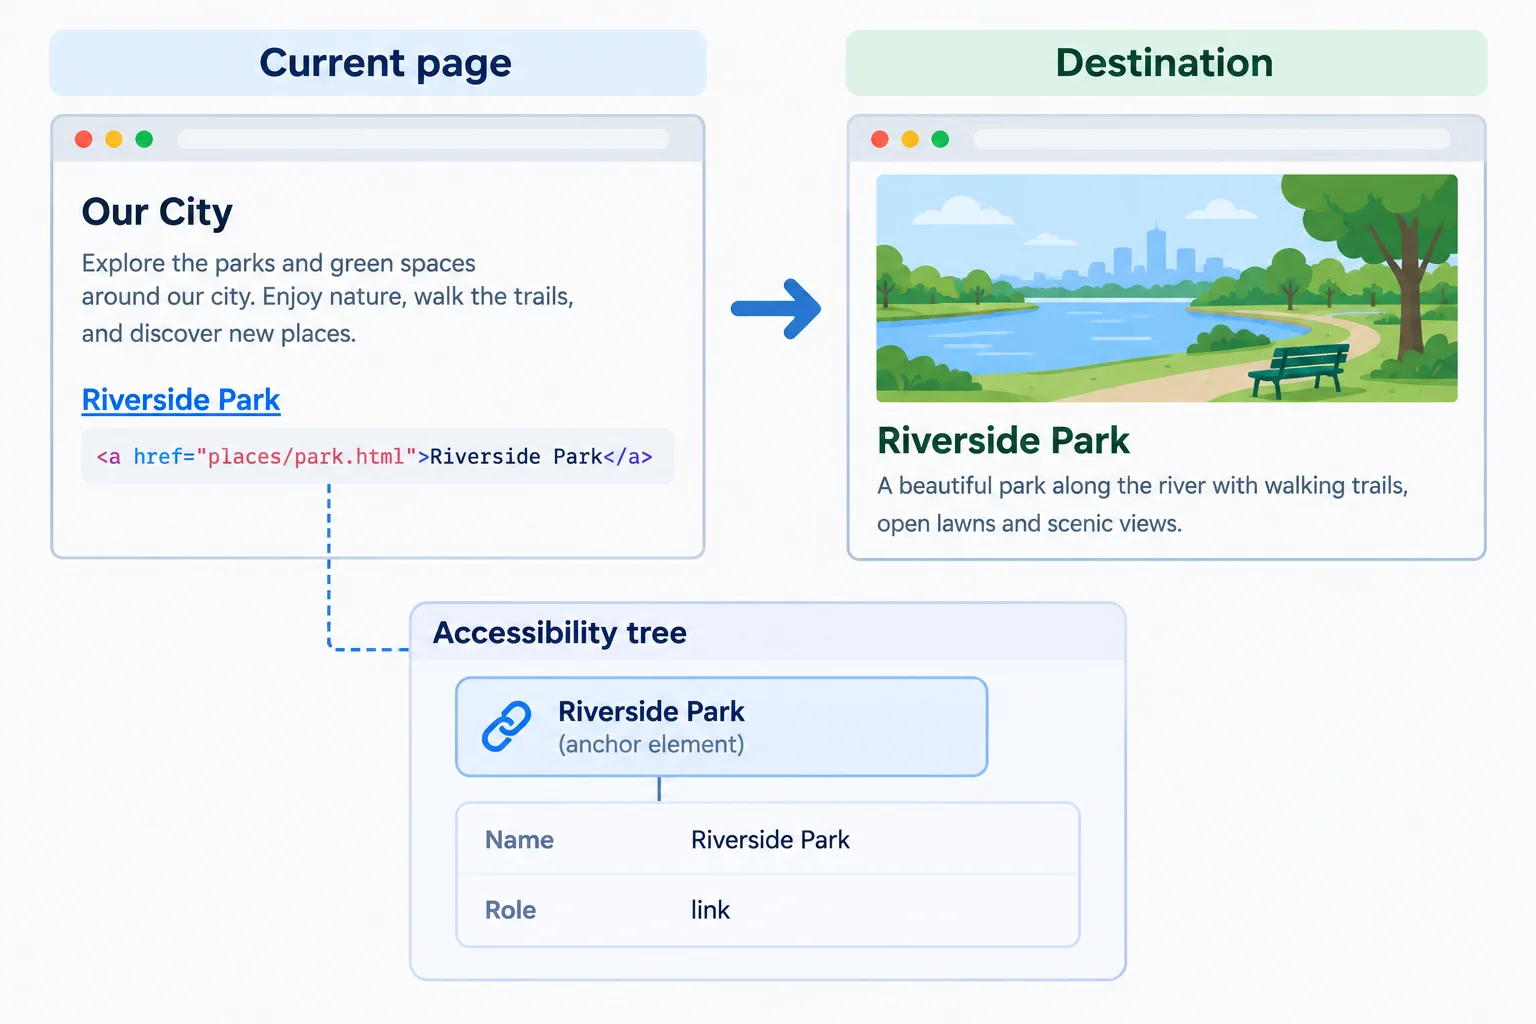
The href supplies the destination; the plain-text link supplies its accessible name.
Tip
Open your local city-guide/index.html in a browser and select the park link in the inspector. Find the browser’s accessibility information for the selected element and look for its Name and Role.
The panel name, location, and presentation vary by browser. You are checking the selected link’s semantic information—not adding attributes or custom code.
Match each part of a plain-text link to its meaning.
Tap an item and then its matching pair.
Replace the vague link label with a destination-specific label.
<p><a href="places/park.html"></a></p>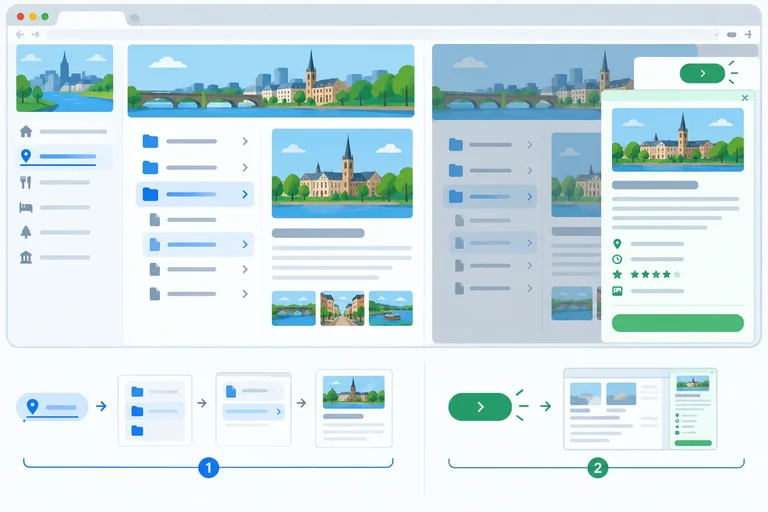
Step 6 of 9
Choose native links for navigation and native buttons for current-interface actions, without expecting a role alone to supply behavior.
Choose the element by what the person needs to accomplish:
Start with native HTML. A link with an href provides navigation; a native button provides button semantics and built-in keyboard support. The element choice comes from the requirement, not from the visual appearance you want.
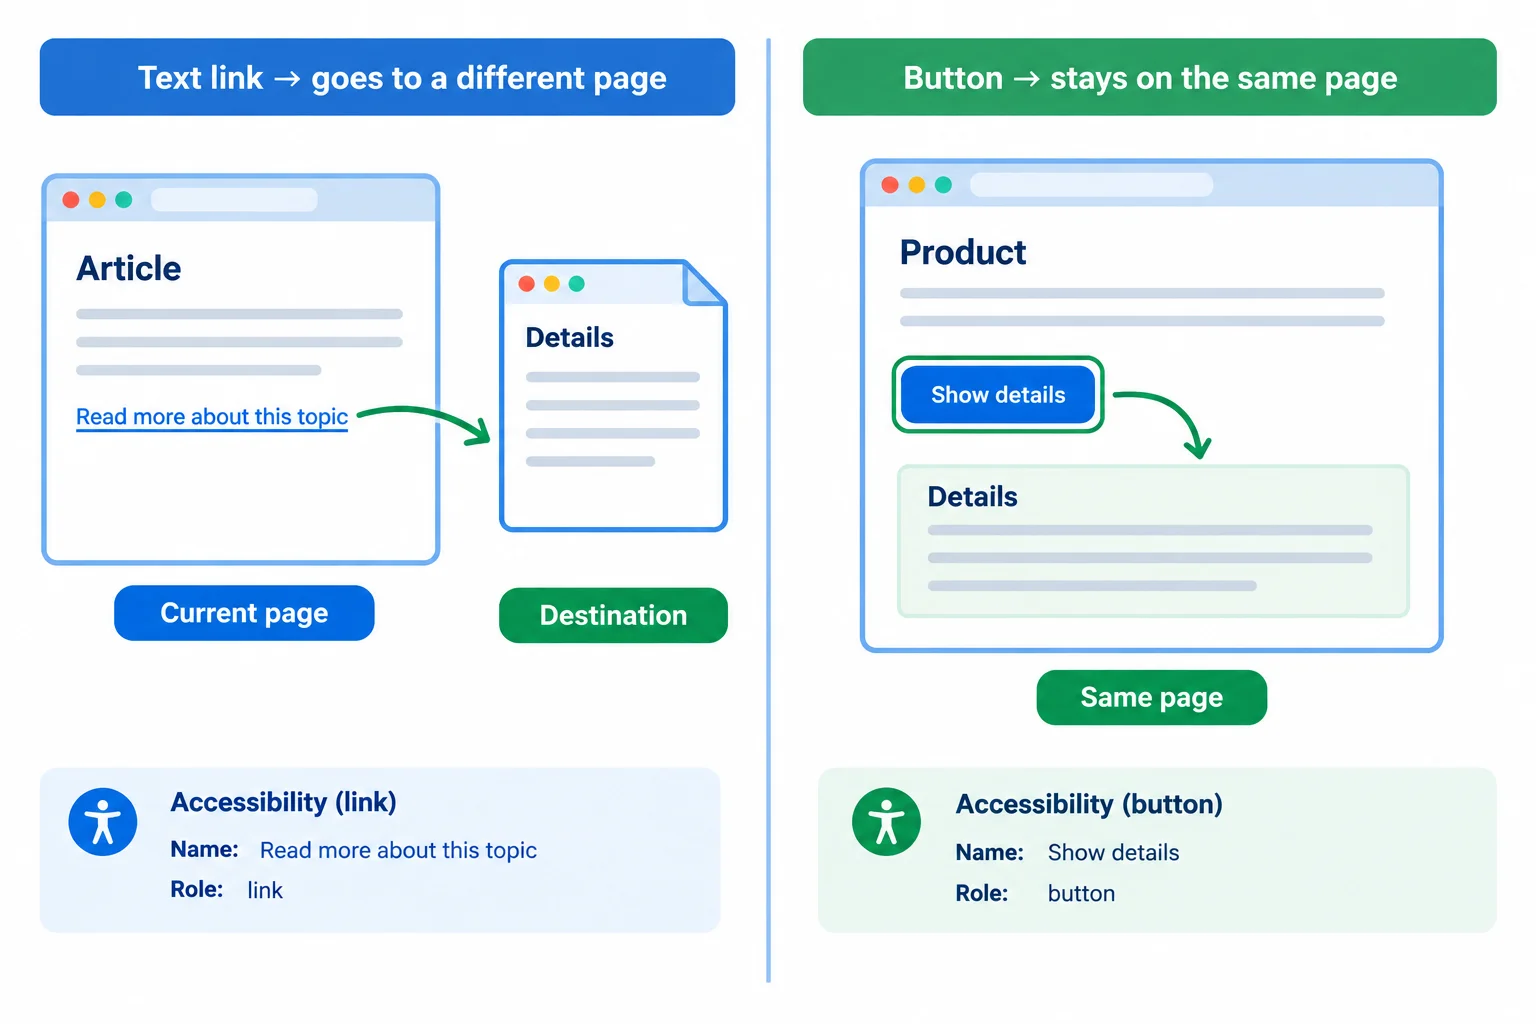
Use a link to move to a destination. Use a button for an action on the current interface.
Both elements may be keyboard accessible, but they communicate and support different intentions.
| Requirement | Use | Reason |
|---|---|---|
| Open another local page | Link | Navigation to a destination |
| Jump to a fragment | Link | Navigation within a document |
| Show extra details here | Button | Action on the current interface |
| Start an interface operation | Button | Action on the current interface |
In the City Guide, the about-page reference is navigation, so it remains a link. “Show details” describes an action on the current page, so it uses a native button.
The button below is illustrative markup only. This tutorial does not implement a show-details action.
<p><a href="about.html">About this guide</a></p>
<p><button type="button">Show details</button></p>
Warning
A role can communicate what an element is, but it does not create missing behavior. Adding an ARIA role alone does not create a destination, perform an action, make a generic element focusable, or provide keyboard support. Choose a native link or button first.
Complete the native elements for the two requirements in the City Guide.
city-guide/index.html — complete the two blanks
<p><a href="">About this guide</a></p>
<p>< type="button">Show details</button></p>Match each interface proposal to the appropriate decision.
Tap an item and then its matching pair.
Step 7 of 9
Use native keyboard behavior to move through and activate links in your local City Guide.
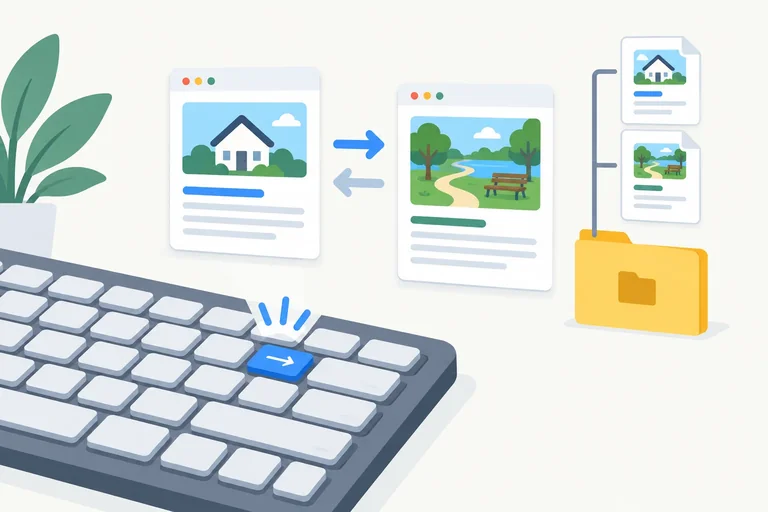
Native links can receive keyboard focus. Press Tab to move focus forward among focusable controls; press Shift+Tab to move it backward. The browser shows which control has focus with a visible focus indicator, such as an outline or highlight. Its appearance can vary by browser and operating system.
Keyboard focus is separate from the mouse pointer. Watch the focus indicator move so you know which link will receive the next keyboard command.
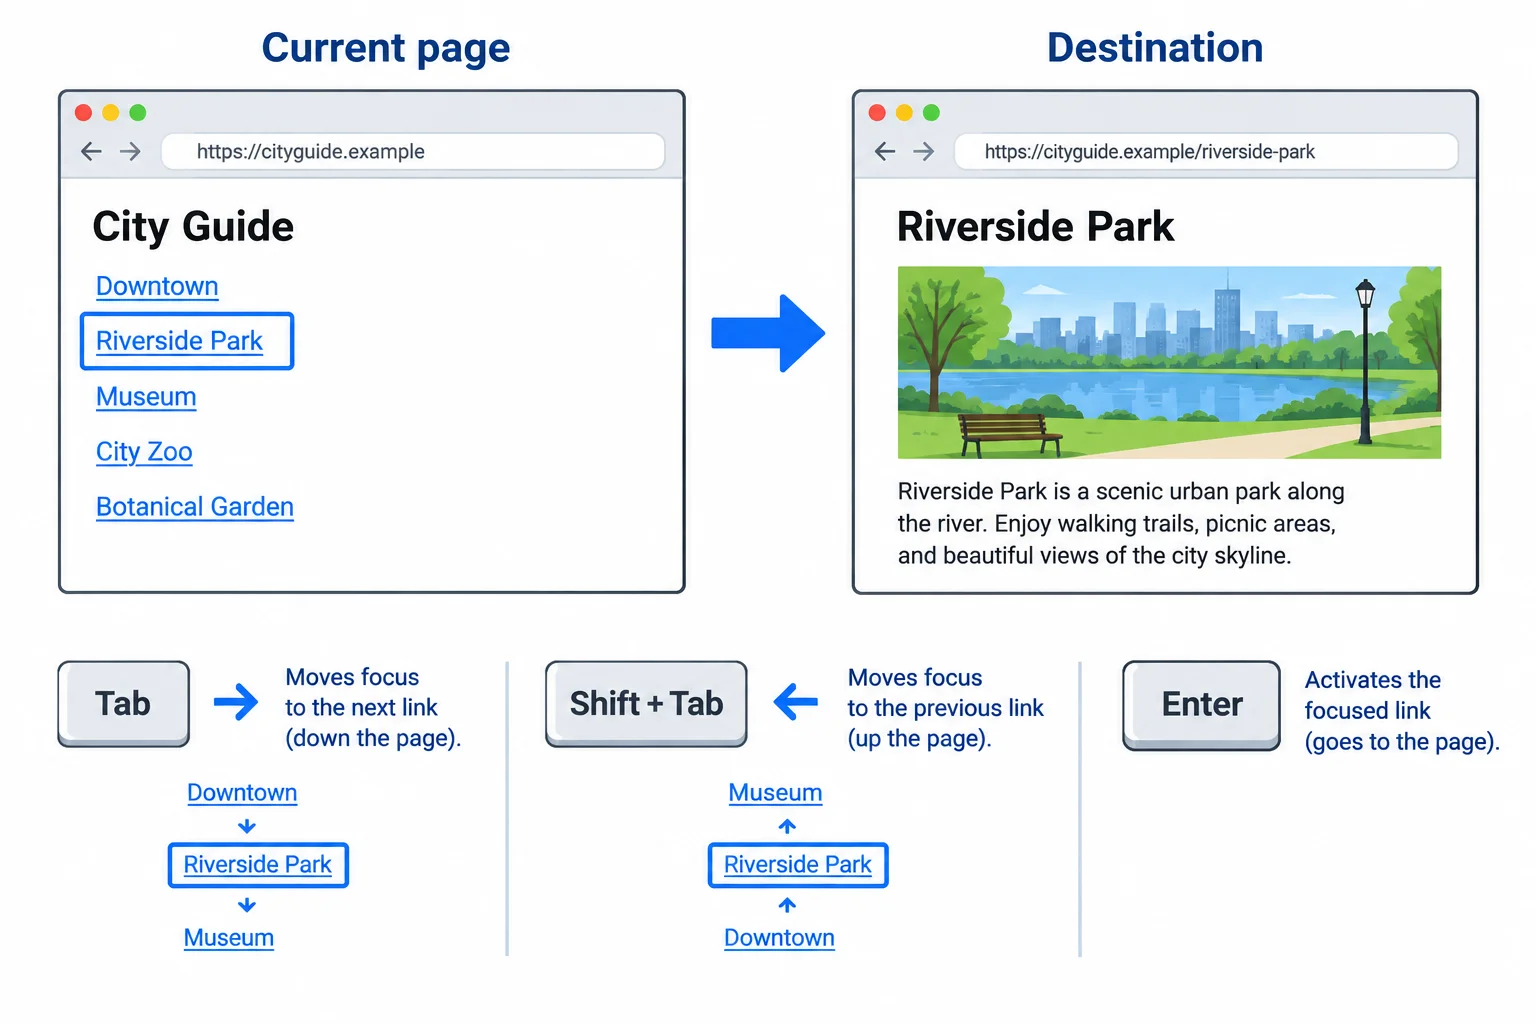
The focus indicator identifies the link that keyboard input will affect.
After a native link has focus, press Enter to activate it. The browser follows the link’s existing href; no custom JavaScript or custom keyboard handling is needed.
Use the focus indicator first, then activate the focused link. This lets you test the same local routes that a keyboard-only visitor uses.
Save your files and open city-guide/index.html in your browser. Press Tab until Riverside Park has visible focus, then press Enter. Confirm that the Riverside Park page opens and that the local-file address points to places/park.html.
On the park page, use Tab until Back to the guide has focus. Press Enter and confirm that the City Guide home page opens. Check the destination after each activation rather than relying only on the source markup.
Tip
If Tab appears to skip links, check your browser or operating-system keyboard-navigation setting, then test again. Do not change the HTML or add scripts to force keyboard behavior; native links already provide it when keyboard navigation is enabled.
Put the keyboard-testing actions in the order you would perform them.
On your own computer, start at city-guide/index.html and test one established local route using only the keyboard. Find a focused link, activate it, and inspect the page that opens.
Submit a short record of what you observed: the focused link text, the activation key, and the destination page or local-file address.
Write at least 25 characters (0/25).
Step 8 of 9
Diagnose local path and fragment mistakes by tracing from the current document, comparing destination details, and validating repairs in the browser.
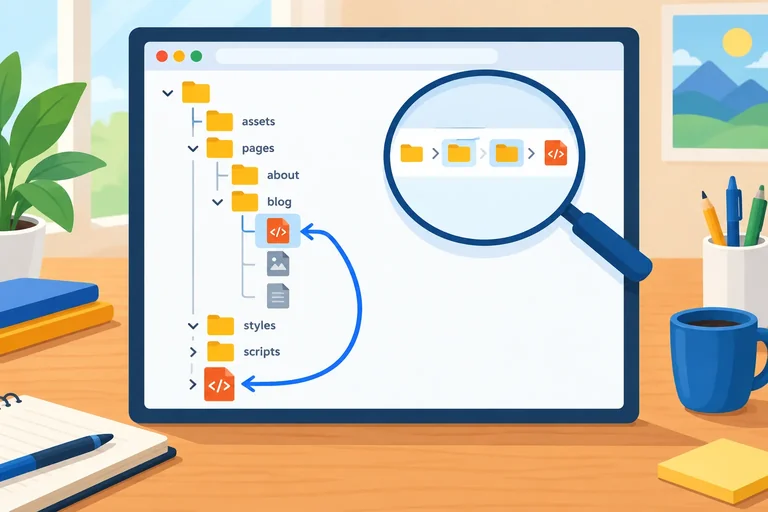
When a local link fails, first identify the current page: the document that contains the <a> element. Resolve its href from that document’s folder, not from the folder you expected to reach.
In city-guide/, a link in index.html starts in city-guide/. A link in places/park.html starts one level deeper, in places/. Only after locating that starting folder should you compare every path segment with the real destination.
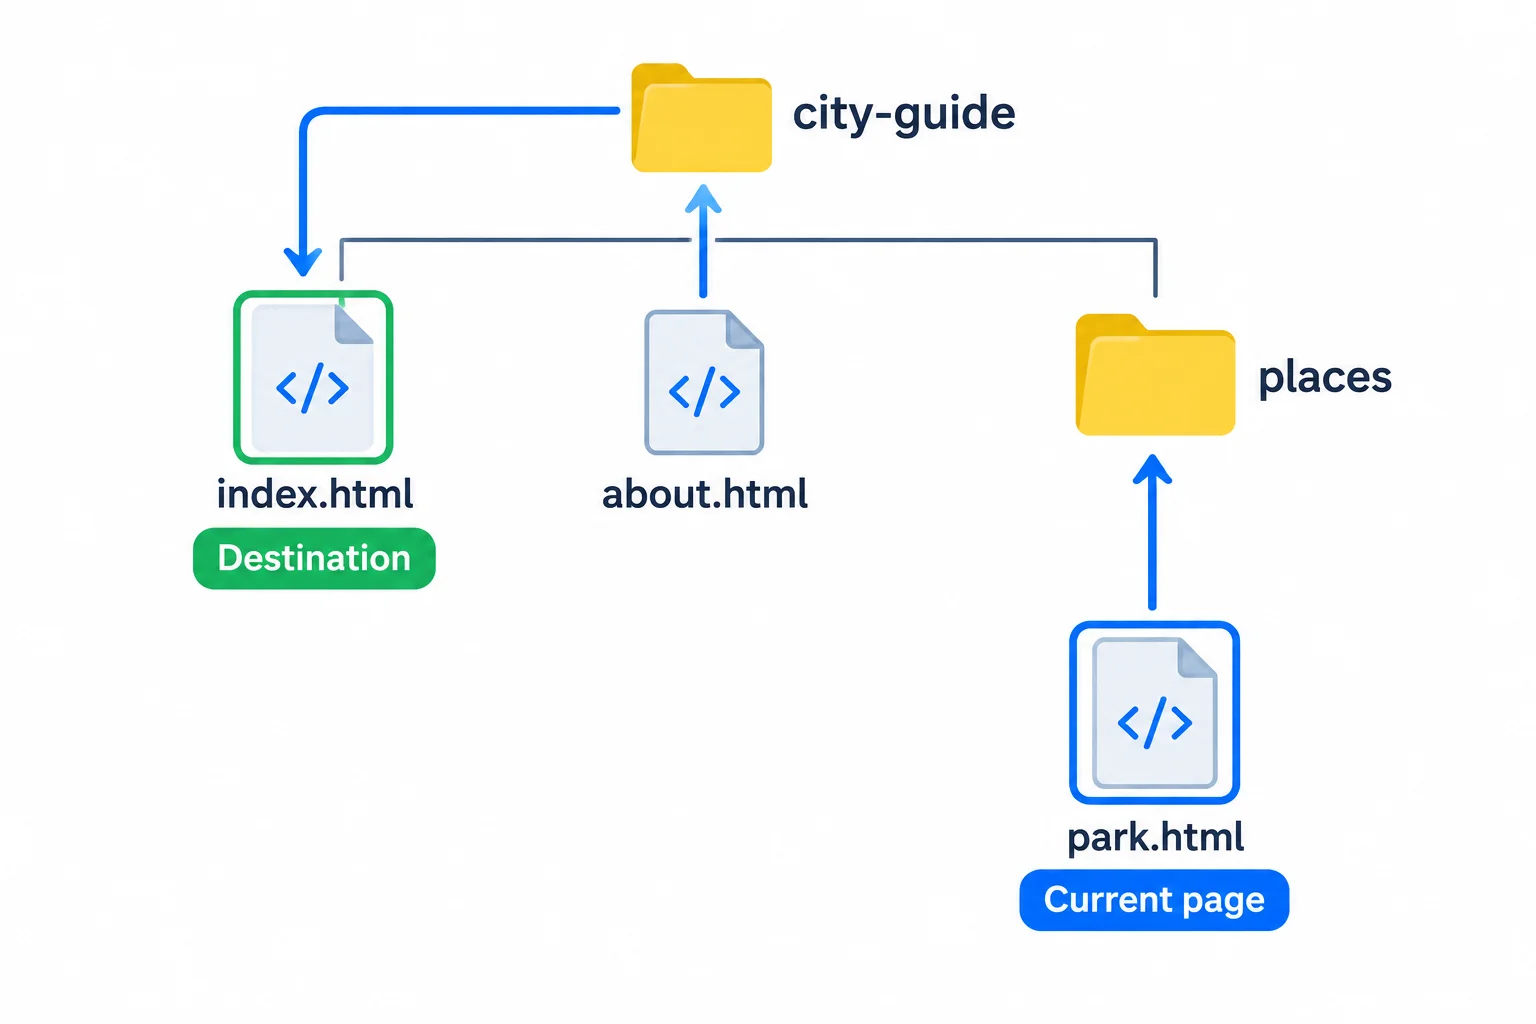
A path begins in the folder that contains the current page.
Compare the written href with the actual folder name, filename, .html extension, and capitalization.
A path problem can prevent the destination document from opening. A fragment problem is different: the destination page may open, but the fragment after # does not match an element id exactly. The # belongs in the link reference, not in the id value.
These are common repairs in the City Guide project.
| Current file | Faulty href | What is wrong | Repaired href |
|---|---|---|---|
| index.html | park.html | Child folder omitted | places/park.html |
| places/park.html | index.html | Parent-folder segment missing | ../index.html |
| index.html | places/park.html#facility | Fragment does not match the id | places/park.html#facilities |
city-guide/places/park.html — fragment target to inspect
<p id="facilities">Facilities: benches, picnic tables, and drinking water.</p>After editing and saving, validate the repair by using the link in the browser.
For a page link, activate it and confirm the destination’s visible page content and local-file address. For a fragment link, also confirm that the address ends with the expected fragment and that the target paragraph is reached. Little or no scrolling can still be correct when the target was already visible.
Warning
Do not decide that a repair works just because the source looks plausible. A missing file or wrong path stops the destination page from opening. A mismatched fragment can leave the destination page open without reaching the intended element.
Complete the two replacement href values: one repairs the nested-page return link, and one repairs the home-page fragment link.
<!-- city-guide/places/park.html -->
<p><a href="">Back to the guide</a></p>

<!-- city-guide/index.html -->
<p><a href="">Park facilities</a></p>Match each repaired link with the browser verification sequence that confirms it works.
Tap an item and then its matching pair.
Step 9 of 9
Complete the three-page City Guide, verify each local route, and confirm that its native links work clearly with both assistive semantics and the keyboard.
Your finished project should contain these three files:
city-guide/index.htmlcity-guide/about.htmlcity-guide/places/park.htmlBefore testing, save every file. Resolve each route from the current page—the document that contains the link—not from the project folder in general. Then verify the route in the browser rather than trusting the markup alone.
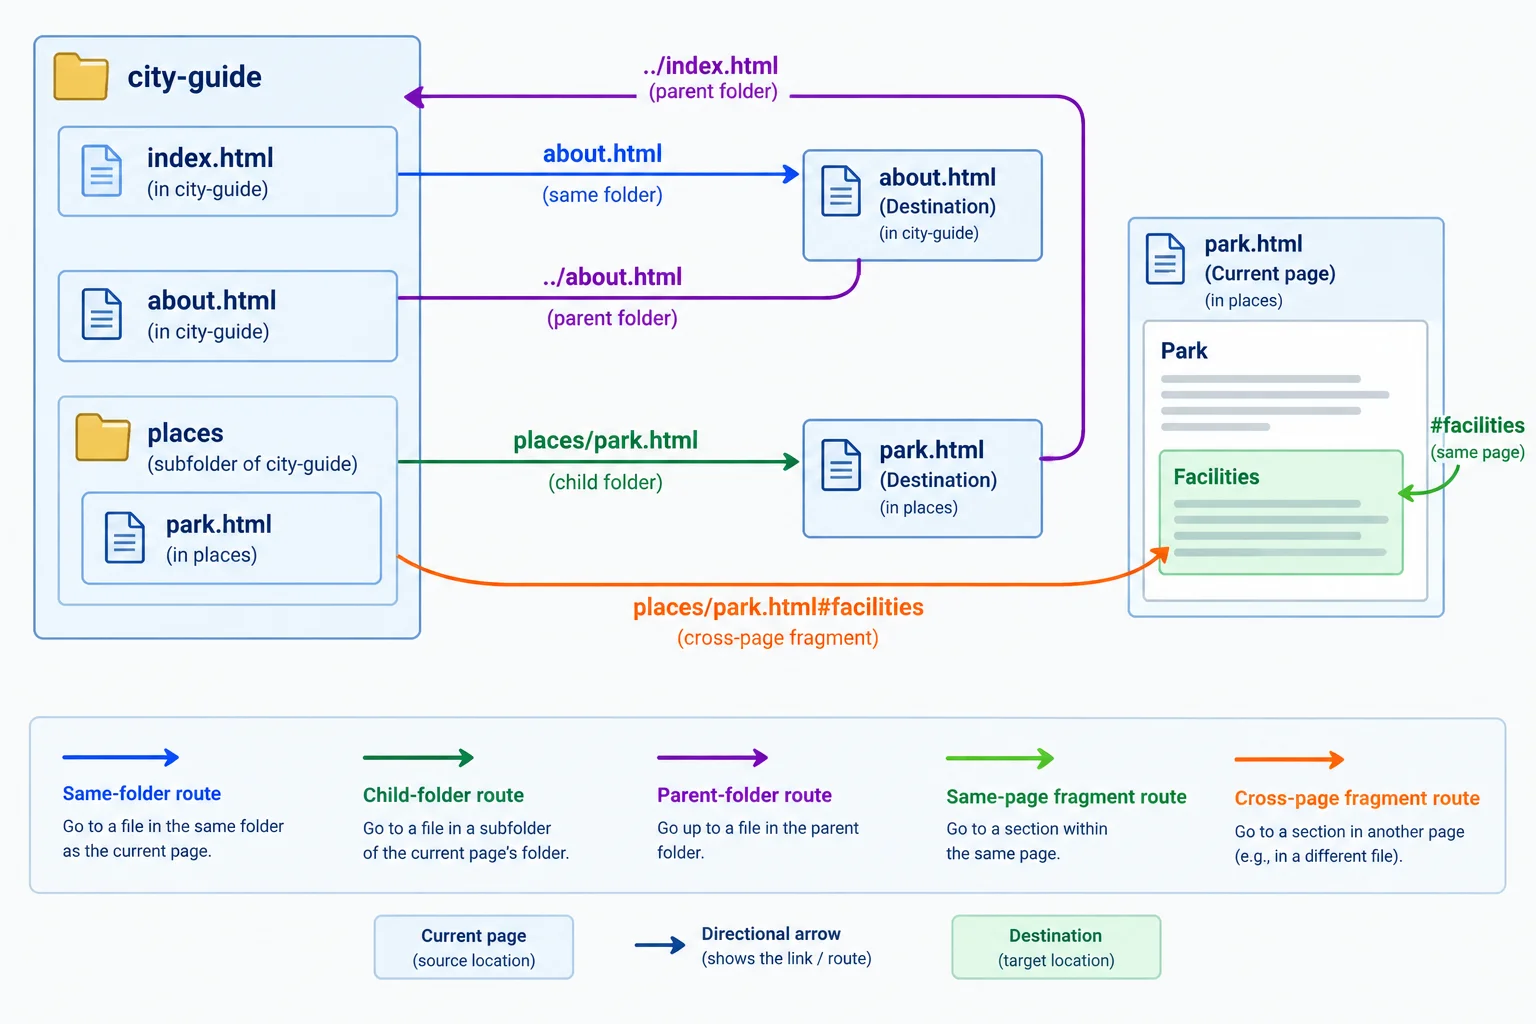
Follow an arrow from the linking document's folder. A fragment adds a target within the destination page.
Use this as a keyboard-testing checklist after you finish the missing paths.
| Current page | Link text | Destination | href |
|---|---|---|---|
| index.html | About this guide | about.html | about.html |
| about.html | Back to the guide | index.html | index.html |
| index.html | Riverside Park | places/park.html | places/park.html |
| park.html | Back to the guide | index.html | ../index.html |
| park.html | About this guide | about.html | ../about.html |
| park.html | Park facilities | Facilities paragraph | #facilities |
| index.html | Park facilities | Facilities paragraph | places/park.html#facilities |
File: city-guide/index.html.
Insertion location: inside the existing <body>. Complete the destinations for the home page links.
Complete each missing href value.
<p><a href="">About this guide</a></p>
<p><a href="">Riverside Park</a></p>
<p><a href="">Park facilities</a></p>File: city-guide/places/park.html.
Insertion location: inside the existing <body>. Complete the destinations for links that start from the park page.
Complete each missing href value.
<p><a href="">Back to the guide</a></p>
<p><a href="">About this guide</a></p>
<p><a href="">Park facilities</a></p>On your computer, save the files and open city-guide/index.html in your browser. Test with the keyboard only: use Tab until a link has visible focus, then press Enter. Use Shift+Tab when you need to move backward.
Submit a short self-check based on what you actually observed. Report Pass or Repair and the observed result for all seven routes in the checklist: home to about, about to home, home to park, park to home, park to about, park to its facilities, and home to park facilities. State whether Tab and Enter worked. Name one plain-text link you checked and give its accessible name and native role. Finally, choose the native element for each requirement—open the About This Guide page; show details on the current page—and explain why.
Write at least 300 characters (0/300).
Summary
You have completed the local City Guide check.
.html extensions, and forward slashes.#facilities for the target on the current park page and append it to the park path when linking from home.Tab and Enter before considering any repair complete.Congratulations! You completed: Link Local Pages with Relative Paths
40 XP
Thousands of online courses in video, ebooks and audiobooks.
To test your knowledge during online courses
Generated directly from your cell phone's photo gallery and sent to your email

Download our app via QR Code or the links below:.



Carry knowledge in your pocket.
Download the Cursa app.
There are hundreds of free courses available, with a free certificate of completion that is saved in your mobile image gallery.
Download the app to access the Course Completion Certificate for Free.


+ 10 million
students

Free and Valid
Certificate

60 thousand free
exercises

4.8/5 rating in
app stores

Free courses in
video and ebooks