Step 1 of 8
Recognize Where Your JavaScript Runs
Compare browser and Node.js execution, then identify when browser DOM APIs are required.

Learning path · Level 6 · Tutorial 1
Set up Node.js and npm on your computer, navigate to a project in a terminal, and run a simple JavaScript program through a repeatable package script.
 Recognize Where Your JavaScript Runs
Compare browser and Node.js execution, then identify when browser DOM APIs are required. 2 min
Recognize Where Your JavaScript Runs
Compare browser and Node.js execution, then identify when browser DOM APIs are required. 2 min
 Install Node.js and Verify npm
Install a supported Node.js LTS release and verify that Node.js and npm are available from your operating-system terminal. 4 min
Install Node.js and Verify npm
Install a supported Node.js LTS release and verify that Node.js and npm are available from your operating-system terminal. 4 min
 Create and Locate Your Project Folder
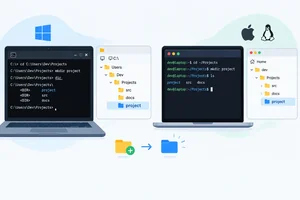
Create a fresh local-project folder, enter it, and verify the current working directory and contents with operating-system-appropriate terminal commands. 3 min
Create and Locate Your Project Folder
Create a fresh local-project folder, enter it, and verify the current working directory and contents with operating-system-appropriate terminal commands. 3 min
 Run a Local JavaScript File
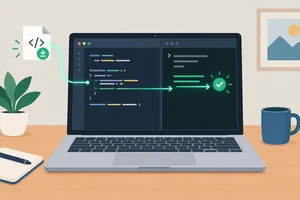
Save a local JavaScript file, run it with Node.js from the project folder, and check the terminal result. 2 min
Run a Local JavaScript File
Save a local JavaScript file, run it with Node.js from the project folder, and check the terminal result. 2 min
 Initialize Project Configuration
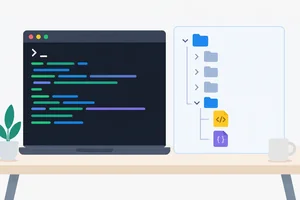
Create `package.json` in `local-project` and identify initialization as npm project configuration. 2 min
Initialize Project Configuration
Create `package.json` in `local-project` and identify initialization as npm project configuration. 2 min
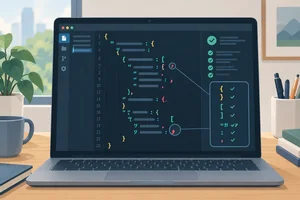 Read and Edit Valid JSON
Recognize the JSON syntax required to safely read and edit package.json. 3 min
Read and Edit Valid JSON
Recognize the JSON syntax required to safely read and edit package.json. 3 min
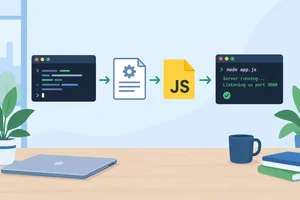 Run the Program Through a Package Script
Define a reusable npm package script, run the local program through it, and identify focused checks for common failures. 2 min
Run the Program Through a Package Script
Define a reusable npm package script, run the local program through it, and identify focused checks for common failures. 2 min
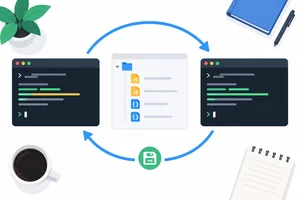 Verify Your Repeatable Local Workflow
Update the local program, rerun it through the existing package script, and verify the completed workflow. 3 min
Verify Your Repeatable Local Workflow
Update the local program, rerun it through the existing package script, and verify the completed workflow. 3 min
Step 1 of 8
Compare browser and Node.js execution, then identify when browser DOM APIs are required.
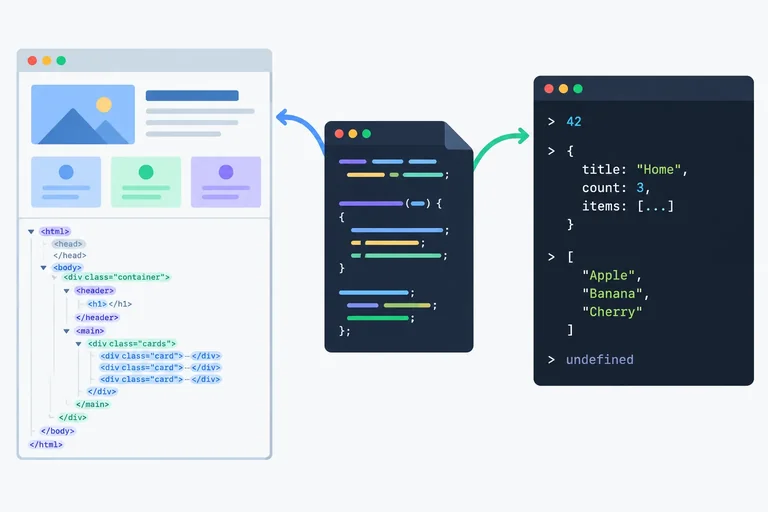
A runtime is an environment that executes JavaScript. A browser is one runtime: it runs scripts connected to a web page. Node.js is another runtime: it executes JavaScript outside the browser.
The JavaScript language is familiar in both places, but the surrounding capabilities are different. Where a program runs determines which built-in objects it can use.
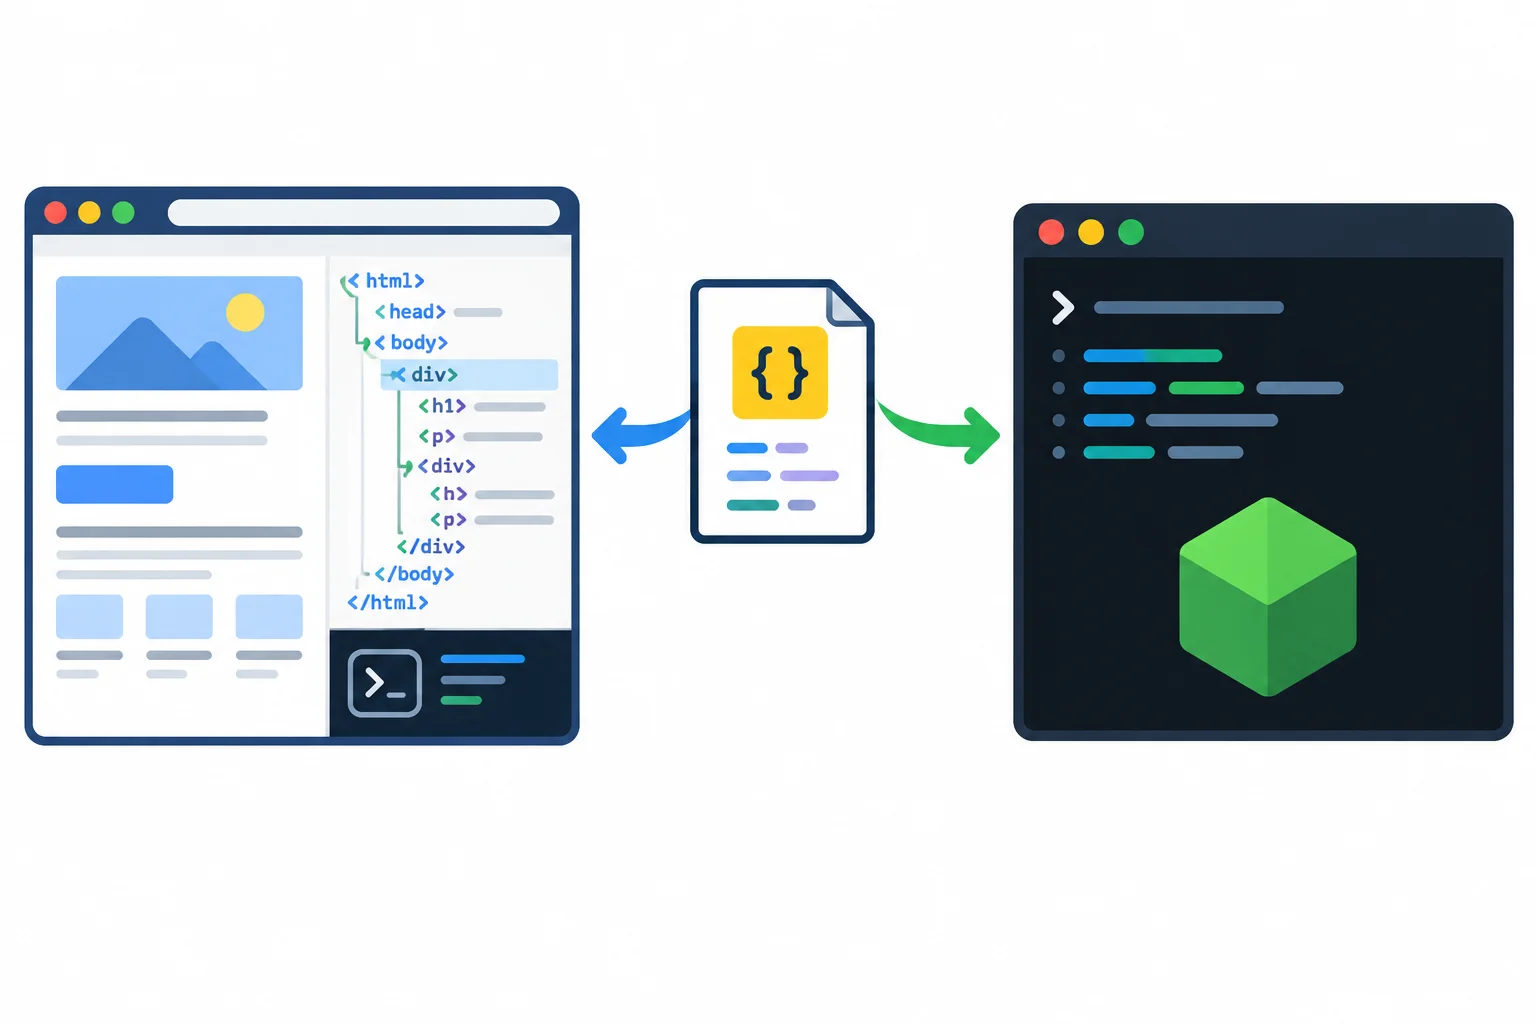
The same language can execute in either runtime, but each runtime supplies different APIs.
Browser code can work with the page's DOM (Document Object Model). For example, document.querySelector() looks for an element in the current browser document.
Standard Node.js execution does not include a browser document, so it does not provide document or browser DOM APIs. A line that needs document.querySelector() therefore requires a browser runtime.
Tip
Node.js is useful for running local development tools and JavaScript programs, but it does not replace the browser that displays a front-end interface.
npm is a separate command-line tool that comes with standard Node.js installations. Later in this tutorial, you will use npm to create project configuration and run a named package script.
Compare the capabilities before deciding where code should run.
| Capability | Browser | Standard Node.js |
|---|---|---|
| Display a web page | Yes | No |
| Provide document and DOM APIs | Yes | No |
| Run console output code | Yes | Yes |
| Run local development tools | Can use browser tools | Yes |
Match each JavaScript snippet to the environment that can execute it. Focus on whether the snippet only produces console output or needs a browser document.
Match each snippet with its required execution environment.
Tap an item and then its matching pair.
Step 2 of 8
Install a supported Node.js LTS release and verify that Node.js and npm are available from your operating-system terminal.
Install Node.js from the official Node.js website. Choose the latest supported LTS release by default—not the Current release just because it is newer.
Before selecting a release for a particular development tool, read that tool’s documented Node.js requirements. Choose an LTS release that is both supported now and compatible with the tool. An older release that still says LTS is not automatically suitable.
A standard Node.js installation includes npm. Finish the installation before opening a new terminal to verify both commands.
Use the route that matches your operating system. Keep the installer’s standard options that install npm and make the commands available in a terminal.
| Operating system | Action |
|---|---|
| Windows | On the official Node.js website, select the supported LTS Windows installer for your computer. Run it, keep npm and terminal-command availability selected, then finish the installer. |
| macOS | On the official Node.js website, select the supported LTS macOS installer for your Mac. Open it, keep npm included, follow the installation steps, and finish. |
| Linux | Identify your distribution and version. Follow the official distribution-appropriate Node.js instructions for a supported LTS release, run the documented installation steps, and confirm the installed package provides both node and npm. |
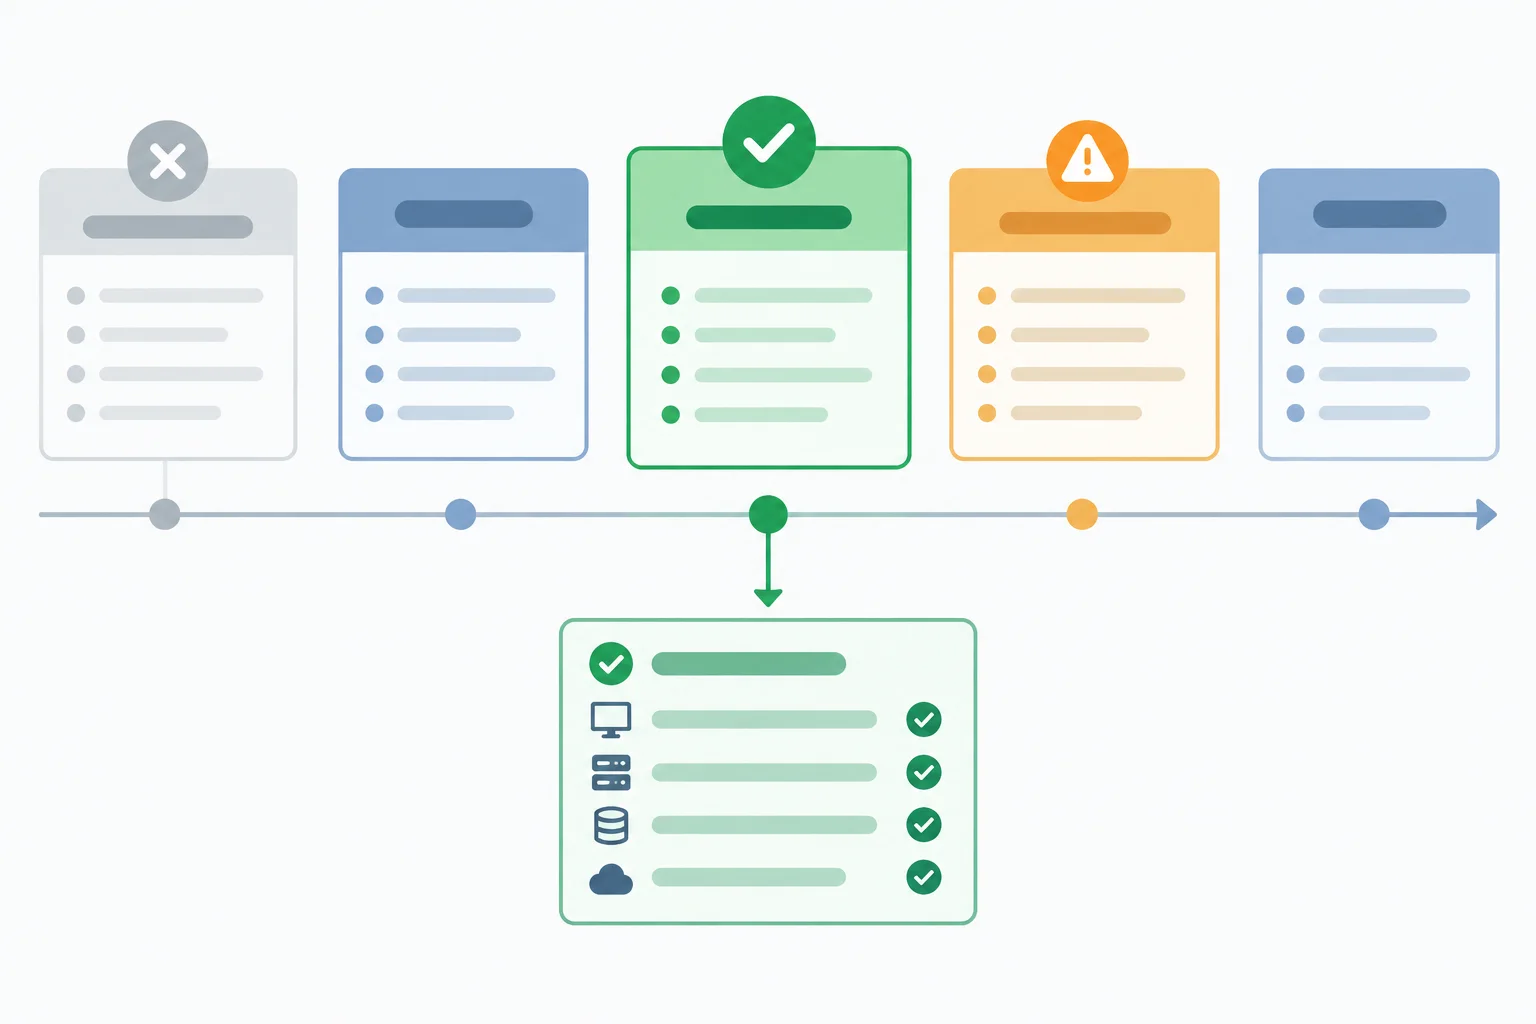
Select a supported LTS release that also meets the documented requirements of the tools you plan to use.
On Windows, open Command Prompt. On macOS or Linux, open Terminal.
A terminal shows a prompt when it is ready. The prompt belongs to the terminal, so do not type it. Enter a command, press Enter, then read the output that follows. When the prompt appears again, that command has finished.
After installation, run the two checks below in the operating-system terminal.
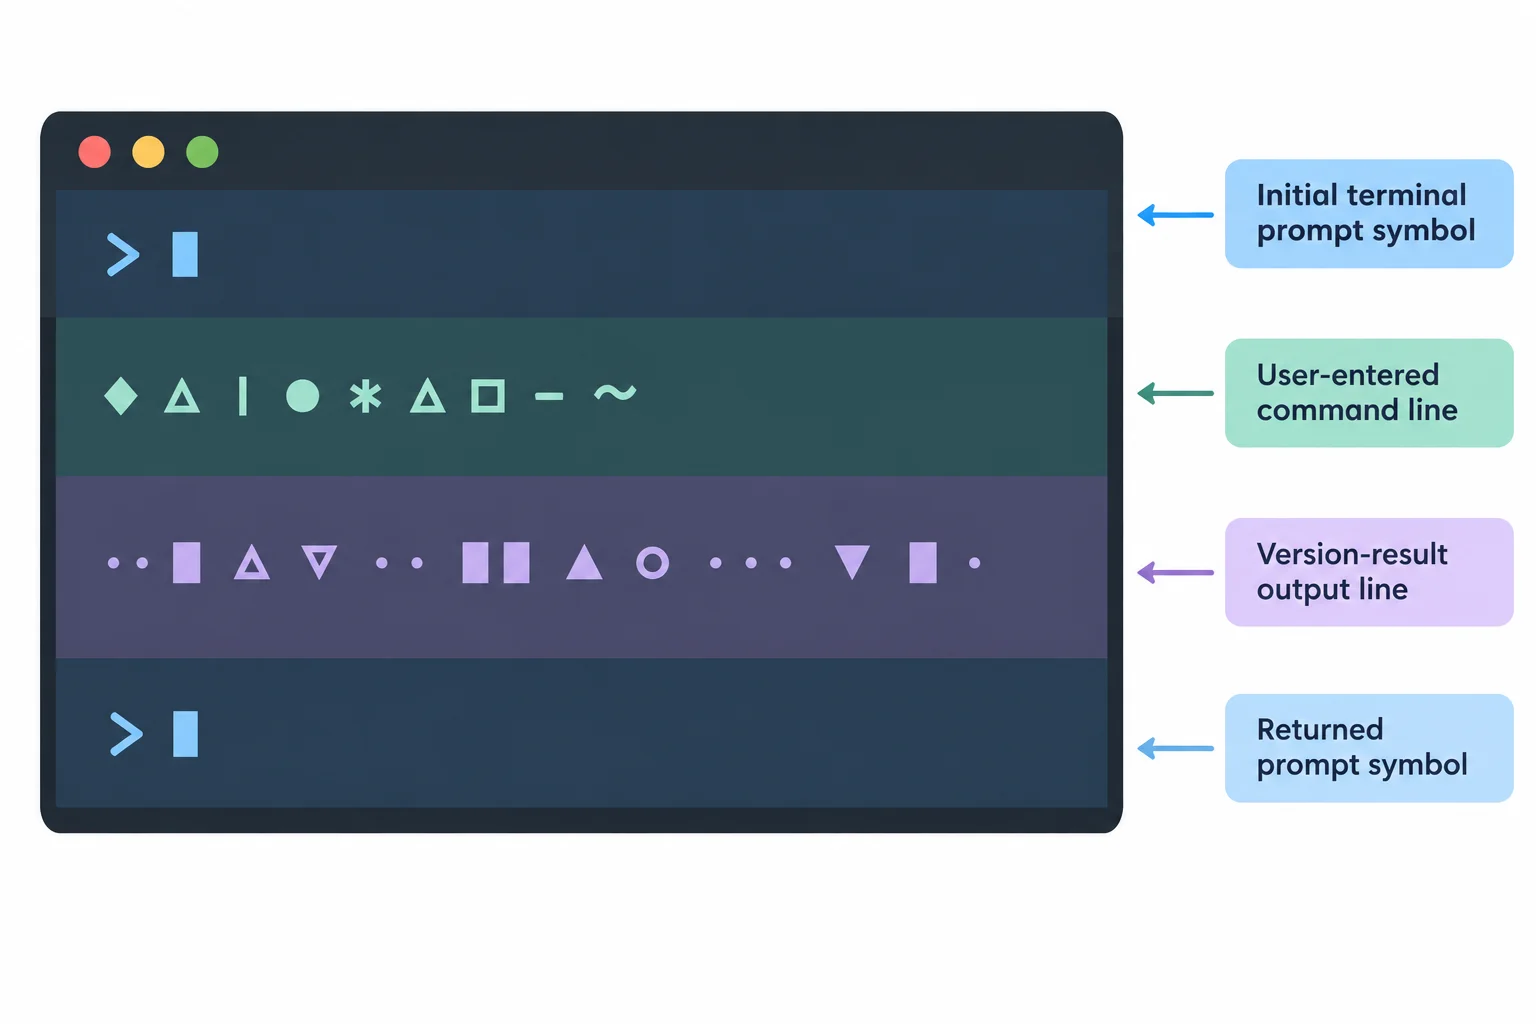
Read a terminal interaction in this order: prompt, entered command, output, then the returned prompt.
Command
node --version
npm --versionvX.Y.Z X.Y.Z
Output — placeholders only, not required versions. Your installed values can differ and do not need to match each other.
Tip
A successful check prints a version value. Node.js versions commonly begin with v; npm version output is usually numeric. The sample values are placeholders, not targets to match.
Your two successful version values can differ from each other and from this example.
If either check says that a command is unavailable, unrecognized, or not found, stop before continuing.
Do not bypass organization restrictions or change advanced system configuration just to make a command work.
Warning
A version value means that the command is available in this terminal. A command-not-found-style message means that it is not available here yet, even if installation appeared to finish.
Compare the two kinds of result.
| Terminal result | Meaning | Next action |
|---|---|---|
| vX.Y.Z or X.Y.Z | Command is available | Continue |
| Unavailable or not found message | Command is not available in this terminal | Reopen the terminal and recheck installation |
On your own computer, run the two version checks from the previous screen in Command Prompt or Terminal. In your answer, include:
Use your computer’s output, not the placeholder values from the lesson. If a command is unavailable, report its message and the recovery step you will take.
Write at least 40 characters (0/40).
Step 3 of 8
Create a fresh local-project folder, enter it, and verify the current working directory and contents with operating-system-appropriate terminal commands.
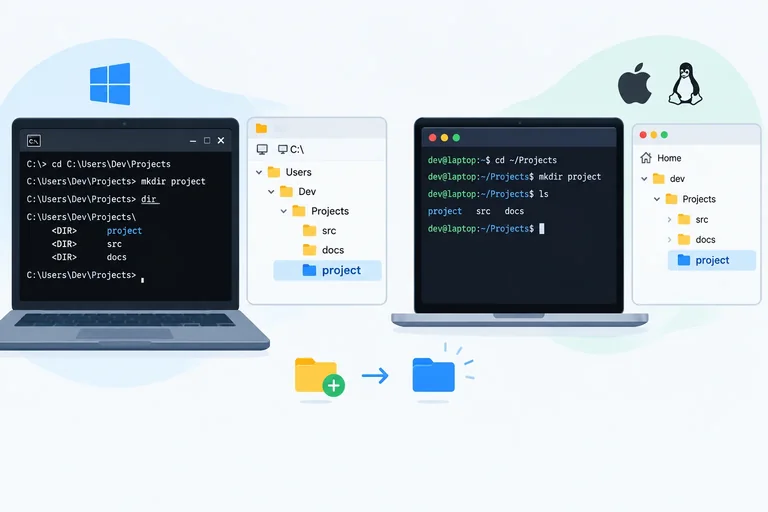
A terminal always has a current working directory: the folder where relative file and folder names are resolved. If the current working directory is a parent folder, mkdir local-project creates local-project inside that parent.
Before later project commands, confirm two things: where you are and what the folder contains. A directory listing shows contents; it does not move you to another folder.
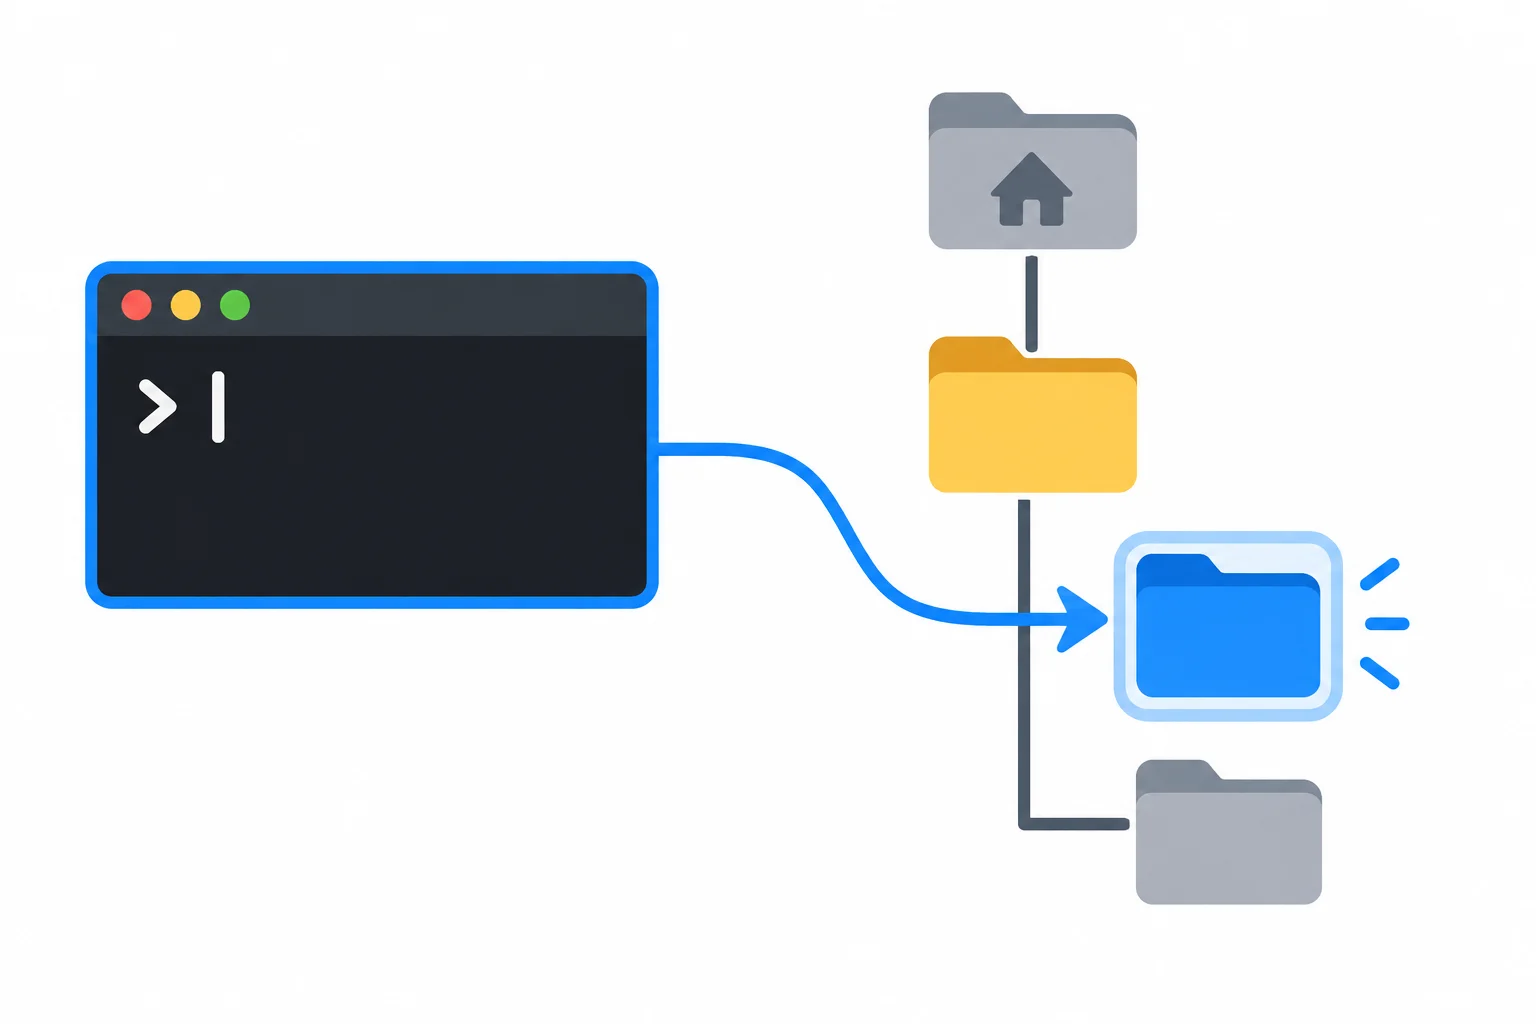
The highlighted folder is the terminal's current working directory. Relative names refer to items inside it.
Use commands that match your operating system. On Windows, use Command Prompt. On macOS or Linux, use Terminal with a standard shell.
cd local-project enters a child folder. cd .. moves up one level to the parent folder. Check the location and listing again after you move. Listing contents never changes the current working directory.
Commands for checking and changing the current working directory.
| Purpose | Windows Command Prompt | macOS/Linux Terminal |
|---|---|---|
| Show current location | cd | pwd |
| List contents | dir | ls |
| Enter child folder | cd local-project | cd local-project |
| Move to parent folder | cd .. | cd .. |
Command — Windows Command Prompt absolute path with spaces
cd /d "C:\Users\Alex\Front End"Command — macOS/Linux relative path with spaces
cd "Front End"Tip
Quotes keep a path containing spaces together as one destination. In the Windows example, /d also allows Command Prompt to change drives when necessary. Alex and the absolute path are examples: replace them with your own location.
Choose a writable parent folder that you can find again. The starting folder in your terminal may differ from the sample home folder below; first navigate to a parent folder where you are allowed to create files.
Inspect that parent folder's location and contents before creating anything. If it already contains a local-project folder that you need to keep, do not delete it. Choose another writable parent folder, inspect it, and then continue.
Command — inspect, create, enter, and verify in Windows Command Prompt
cd
dir
mkdir local-project
cd local-project
cd
dirC:\Users\Alex
Volume in drive C has no label.
Volume Serial Number is 1234-ABCD
Directory of C:\Users\Alex
03/14/2026 10:00 AM <DIR> .
03/14/2026 10:00 AM <DIR> ..
03/14/2026 10:00 AM <DIR> Desktop
03/14/2026 10:00 AM <DIR> Documents
0 File(s) 0 bytes
4 Dir(s) 100,000,000,000 bytes free
C:\Users\Alex\local-project
Volume in drive C has no label.
Volume Serial Number is 1234-ABCD
Directory of C:\Users\Alex\local-project
File Not FoundThis is representative sample output from a writable home folder. Replace `Alex` and the path with your own location. Dates, drive details, listings, and free space vary. `mkdir local-project` and `cd local-project` normally produce no output. The first `dir` inspects the parent; the final `dir` confirms that the new project folder is empty.
Command — inspect, create, enter, and verify in macOS/Linux Terminal
pwd
ls
mkdir local-project
cd local-project
pwd
ls/Users/alex Desktop Documents Downloads /Users/alex/local-project
This is representative sample output from a writable home folder. Replace `alex` and the path with your own location. The first `ls` inspects the parent folder. A final `ls` produces no file-name output when the newly created `local-project` folder is empty.
On macOS or Linux, which two commands verify your current working directory and list its contents?
Complete this Windows Command Prompt command using the example absolute path with spaces from the previous screen.
cd /d ""Put this workflow in order so that location and contents are verified before a later project command.
Step 4 of 8
Save a local JavaScript file, run it with Node.js from the project folder, and check the terminal result.
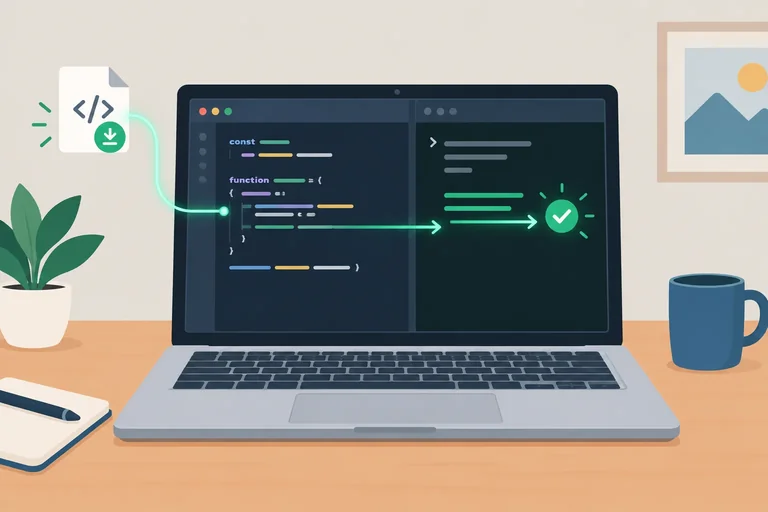
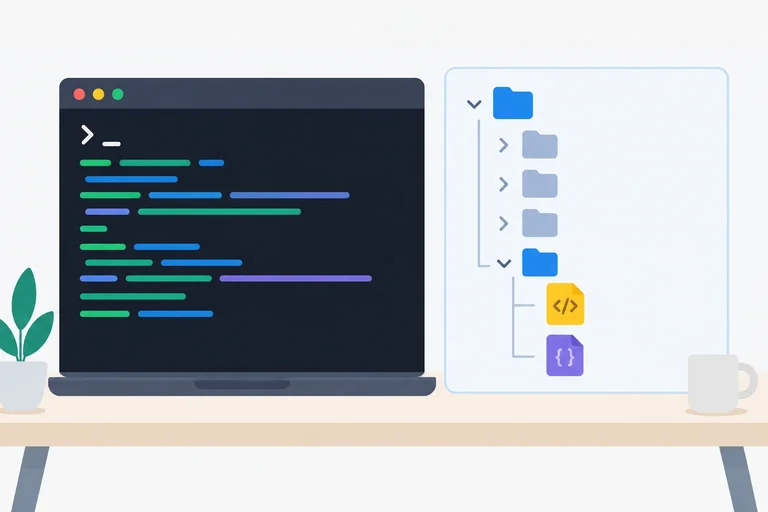
In your own editor, create a file directly inside local-project named hello.js. Paste this complete program and save the file. Keep it beside the other project files, not inside a nested folder.
Save this code in hello.js.
const message = "Hello from Node.js!";
console.log(message);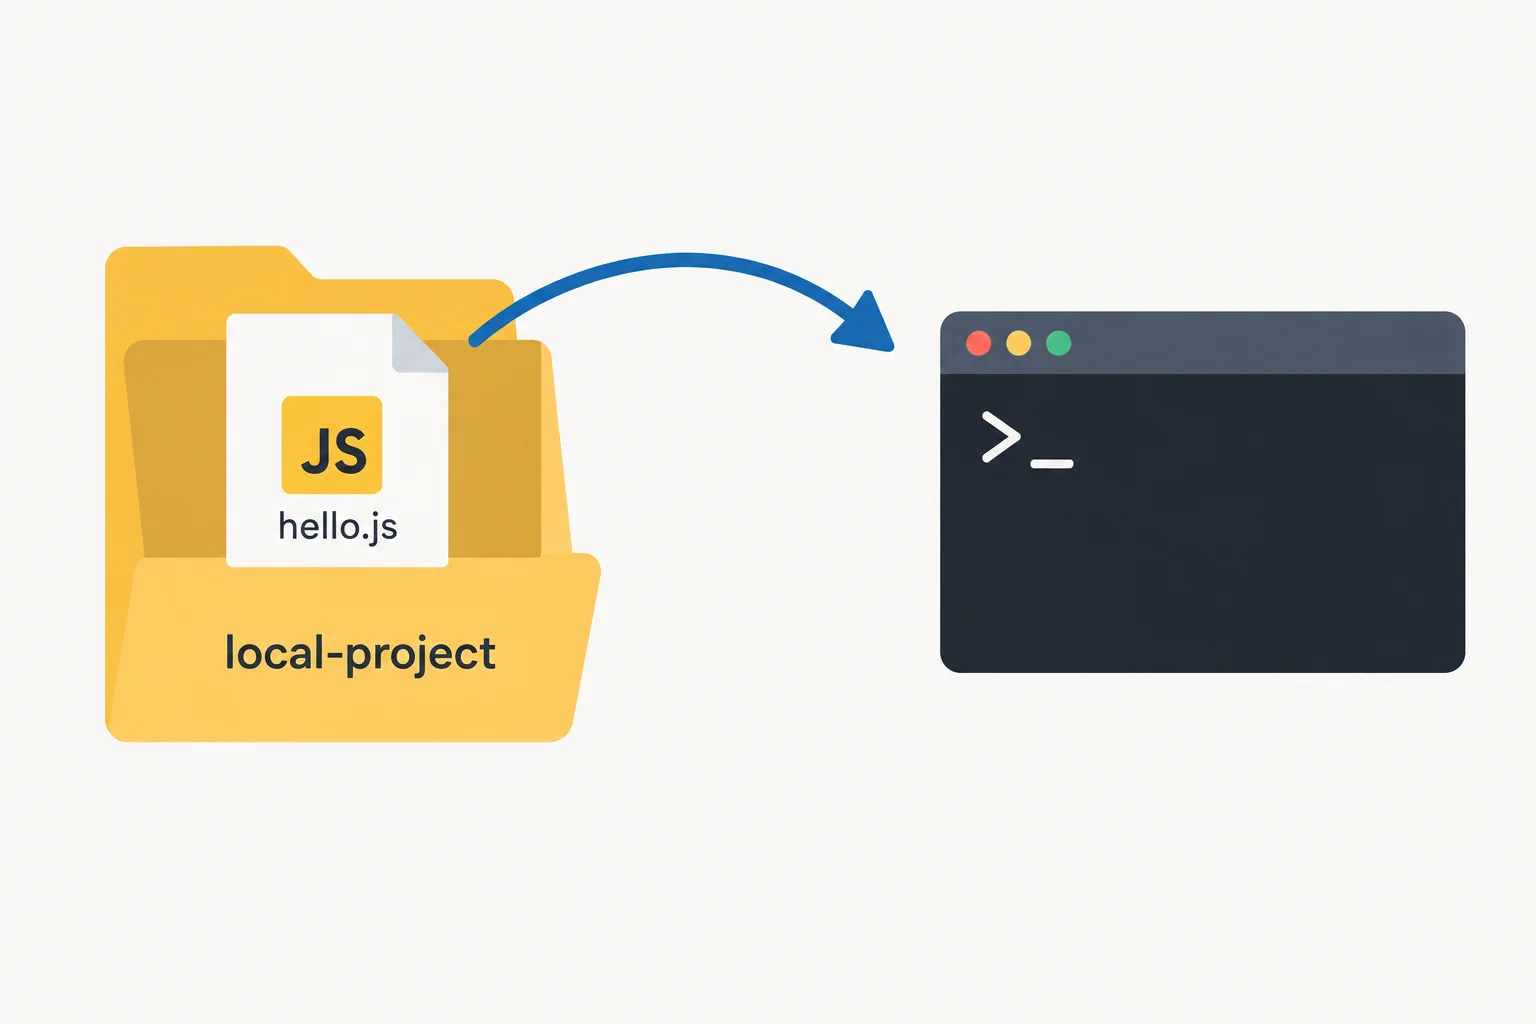
The filename in the terminal command must match the saved file directly inside local-project.
With local-project confirmed as your current working directory, run the saved file. Node.js reads the file from disk, prints its console message, and then finishes. When the terminal prompt returns, the program has ended.
Command
node hello.jsHello from Node.js!
Output — After this line, the terminal returns to its prompt. The prompt itself varies by computer.
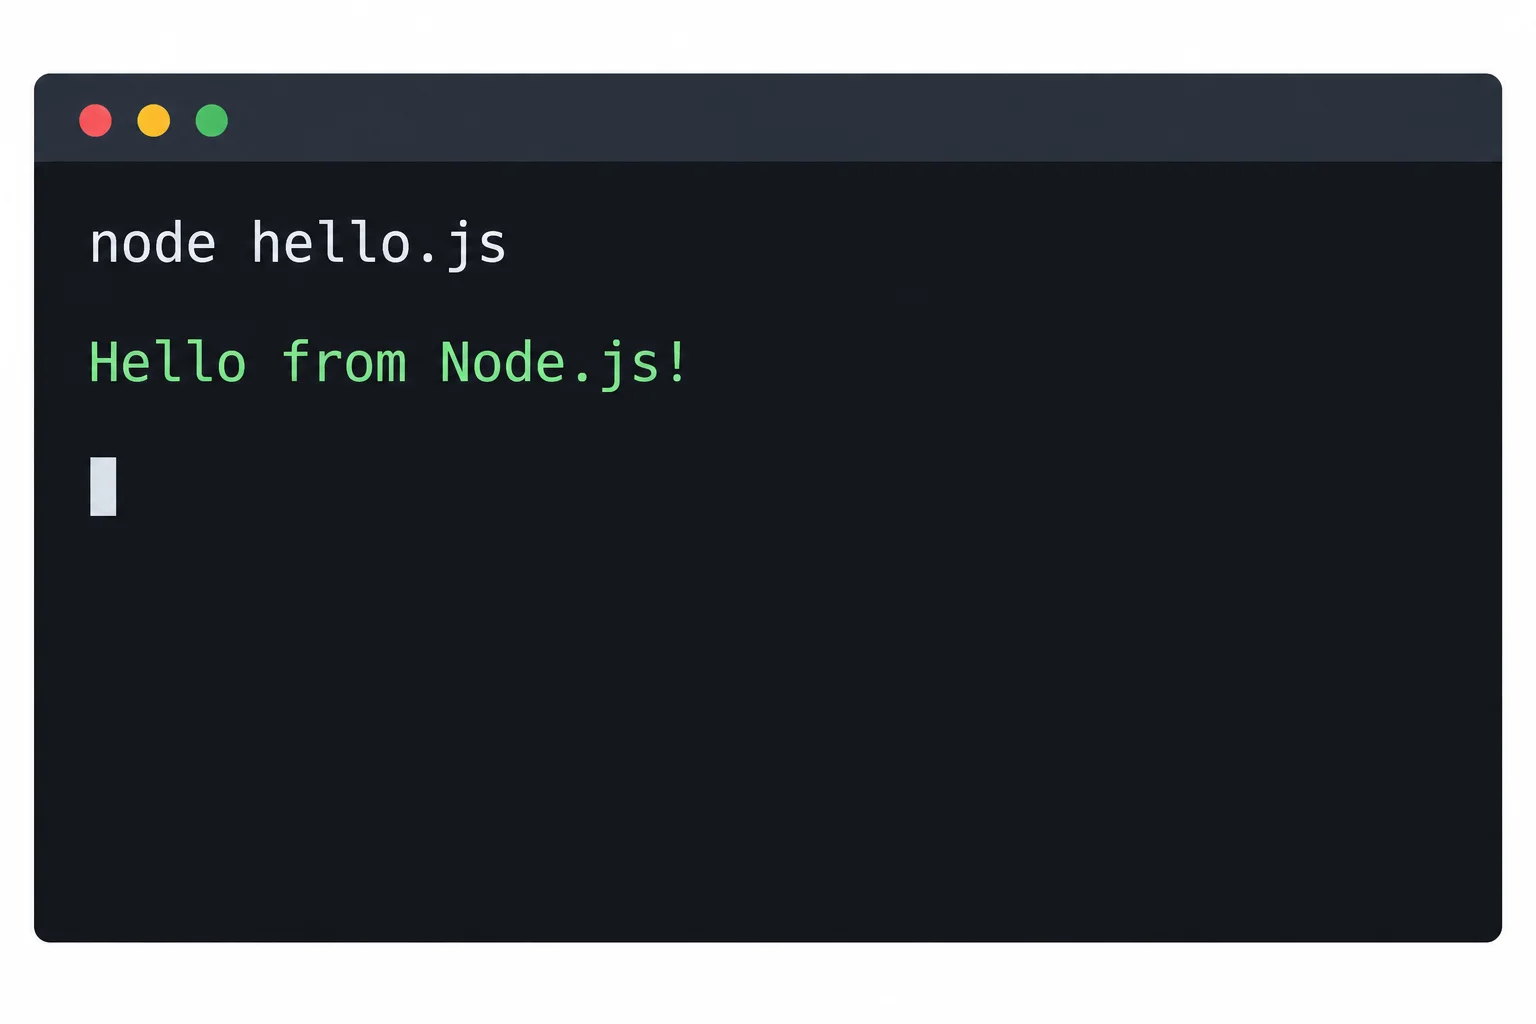
The console message is program output. The terminal becoming ready again shows that this short program has finished.
Tip
Save hello.js before every rerun. Node.js executes the contents stored on disk, not edits that are still unsaved in your editor.
If the file does not run, pause before changing code. Confirm where the terminal is, then confirm the exact name shown by your editor or directory listing.
Use the check that matches what you need to confirm.
| Check | Confirm | Command or action |
|---|---|---|
| Location | The current working directory is local-project | Windows: cd, then dir |
| Location | The current working directory is local-project | macOS/Linux: pwd, then ls |
| Filename | The file is named hello.js exactly | Inspect the editor tab or directory listing |
| Extension | The name does not end in .js.txt | Show file extensions in your file manager |
Complete this command. Then run the completed command in your own terminal while local-project is the current working directory.
hello.jsAfter you run the completed command, state whether the terminal displayed the program message from the earlier example. If it did not run, state which check you tried: current working directory, exact filename, or accidental .txt extension.
Write at least 10 characters (0/10).
Step 5 of 8
Create package.json in local-project and identify initialization as npm project configuration.
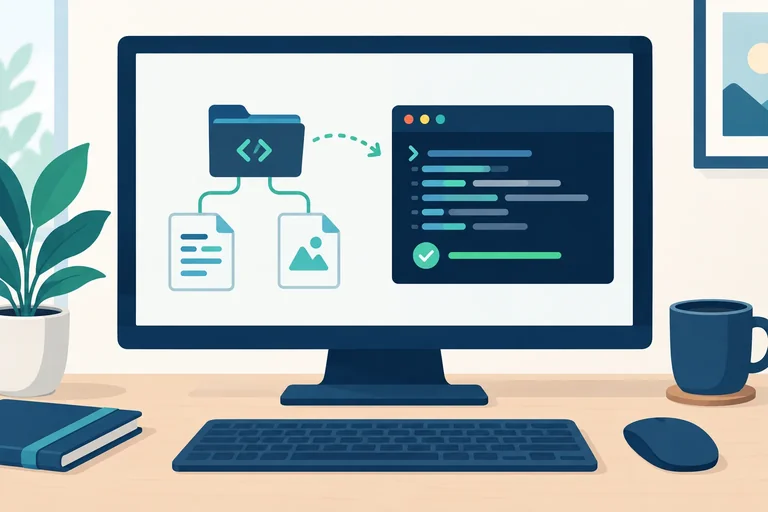
hello.js is already a local program in local-project. To make this folder an npm project, npm uses a second file named package.json.
package.json is project configuration: it records settings that npm can use for this specific folder. It belongs directly beside hello.js, not in a separate folder.
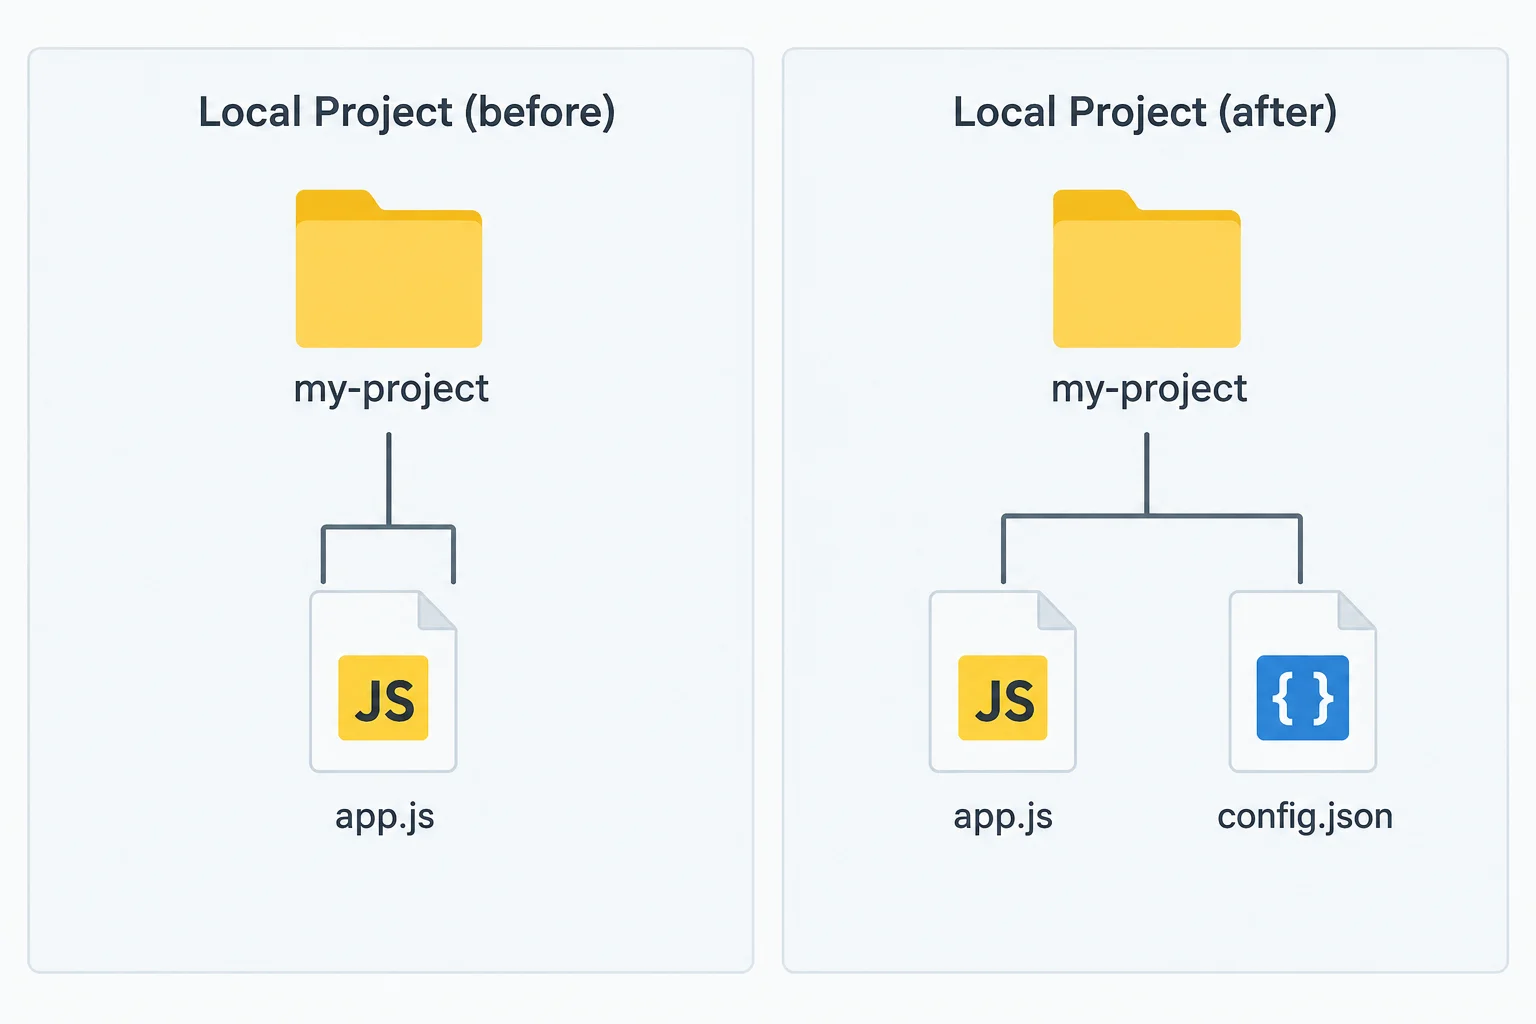
After initialization, package.json sits beside hello.js inside local-project.
First confirm that your current working directory is local-project. Then run this command once. The -y accepts npm’s default answers and creates package.json.
This initializes project configuration only. It does not install Node.js, and it does not execute hello.js.
Command
npm init -yWrote to C:\Users\Alex\Documents\local-project\package.json:
{
"name": "local-project",
"version": "1.0.0",
"description": "",
"main": "index.js",
"scripts": {
"test": "echo \"Error: no test specified\" && exit 1"
},
"keywords": [],
"author": "",
"license": "ISC"
}This is a representative npm output. The path, generated fields, and their values can vary with your npm version and settings. The important result is that `package.json` is created in `local-project`.
Open the new package.json in your editor. Near the top, you will normally find project metadata such as a name and version. Generated fields may differ, so do not try to interpret or change every field yet.
Confirm that the file is directly inside local-project, alongside hello.js.
True or false: npm init -y installs Node.js and runs hello.js.
While your current working directory is local-project, complete the command that creates default npm project configuration. It must not run the JavaScript program or install the Node.js runtime.
npm -y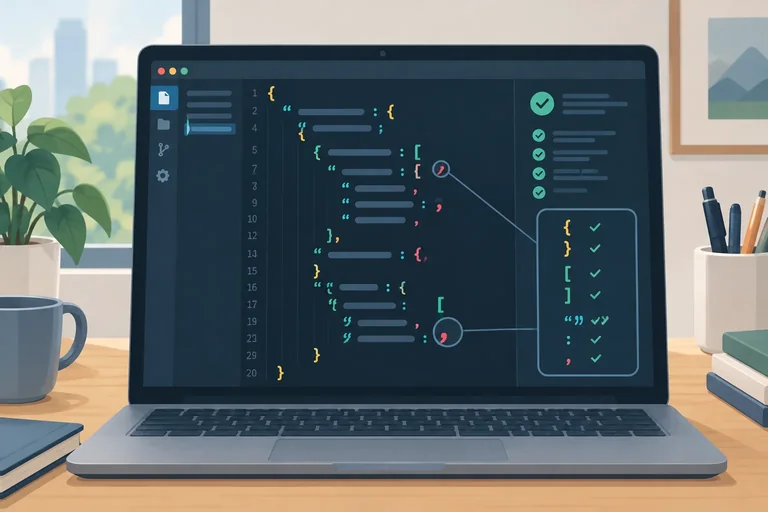
Step 6 of 8
Recognize the JSON syntax required to safely read and edit package.json.
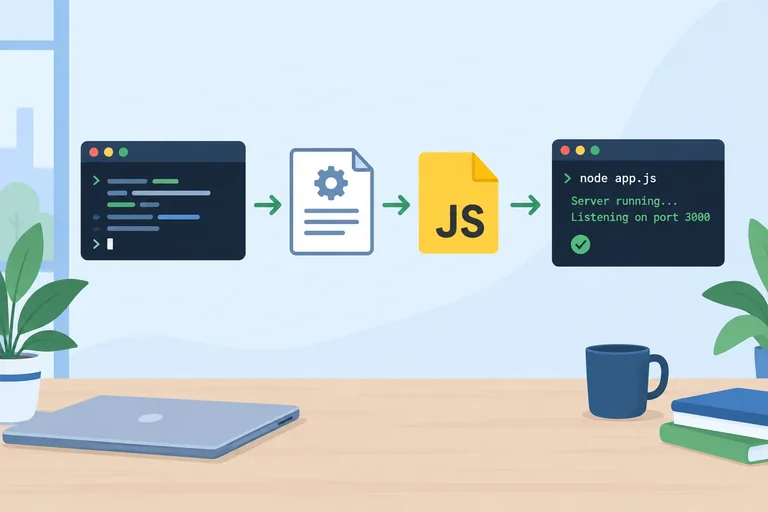
package.json is configuration data written in JSON, not arbitrary JavaScript. npm must be able to read the entire file, so one misplaced character can stop it from working.
A JSON object starts with { and ends with }. Inside it, each property has a double-quoted key, a colon, and a value. A comma separates one property from the next.
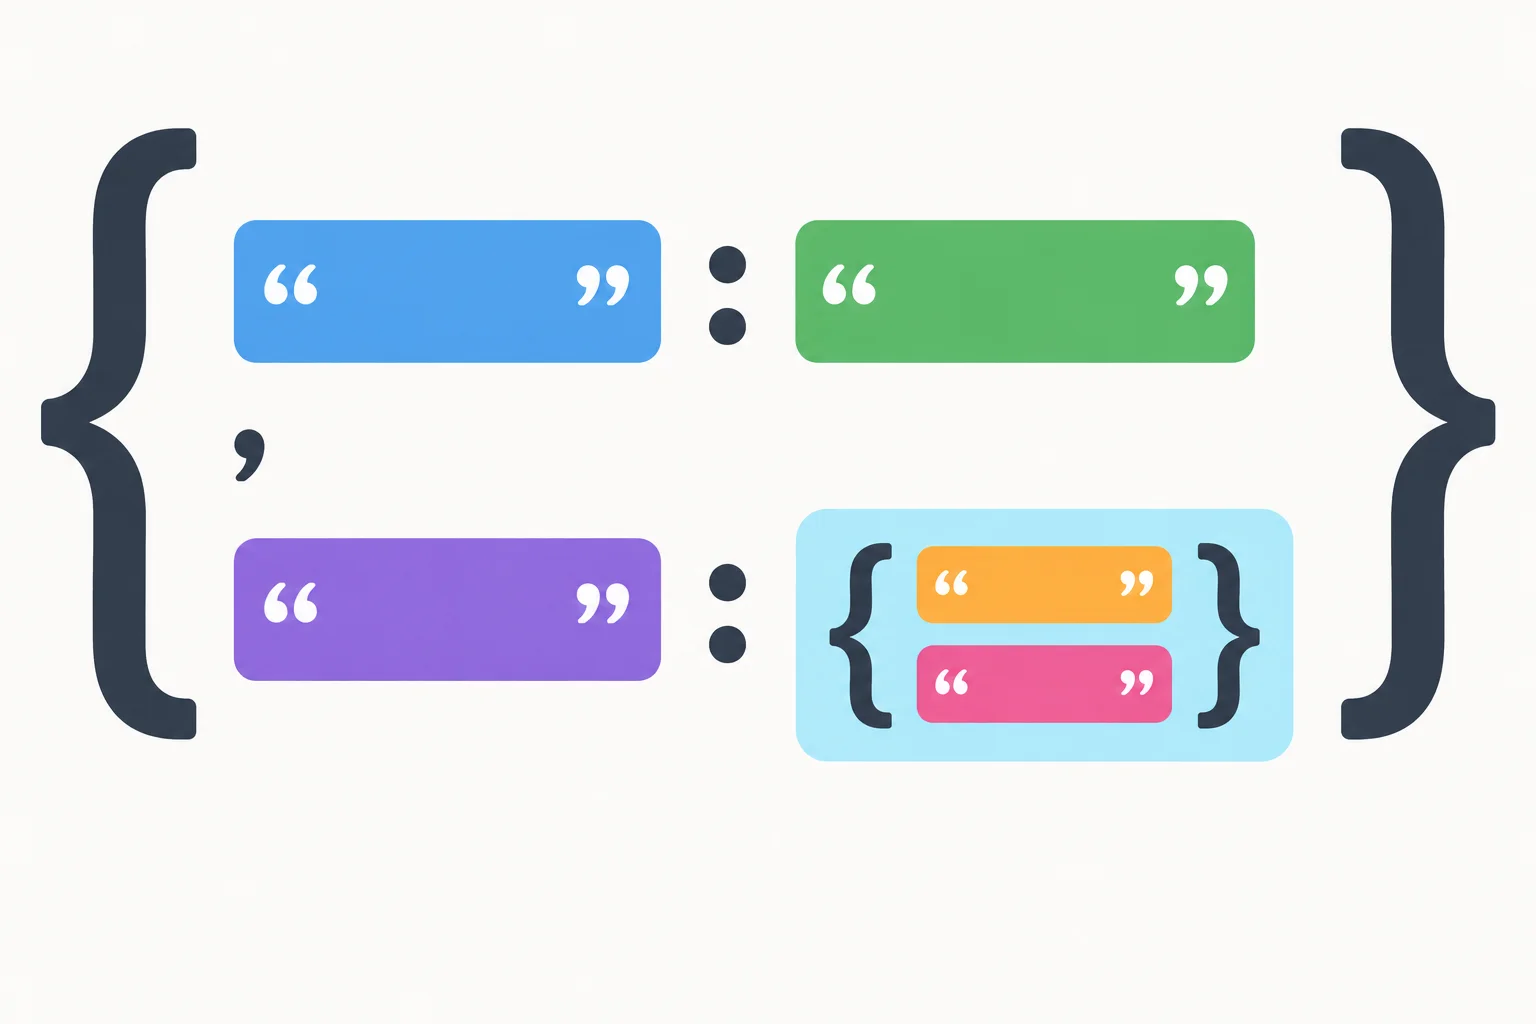
Braces contain an object. Colons connect keys to values, and commas separate properties.
This small valid JSON object uses the project metadata already introduced.
{
  "name": "local-project",
  "version": "1.0.0"
}
Tip
A value can also be another object, using braces inside braces: "section": { ... }. The inner object follows the same rules. This nested shape will be useful for configuration later; do not add a new section yet.
Indentation and line breaks make JSON easier to inspect, but punctuation makes it valid. In particular, JSON strings use double quotes—not single quotes. JSON also does not allow comments or a comma after the final property.
This looks neatly formatted, but it is invalid JSON.
{
  "name": 'local-project',
  "version": "1.0.0", // initial release
}Use this quick check when you edit package.json.
| Problem | Why it is invalid | Required repair |
|---|---|---|
| Single-quoted string | JSON strings require double quotes | Use double quotes |
| No comma between properties | Properties are not separated | Add a comma after the earlier value |
| Comma before `}` | There is no following property | Remove the final comma |
| `//` comment | JSON has no comment syntax | Remove the comment |
Complete the two missing JSON syntax pieces.
{
  : "local-project"
  "version": "1.0.0"
}Match each invalid fragment to the repair or reason that makes the JSON valid.
Tap an item and then its matching pair.
Step 7 of 8
Define a reusable npm package script, run the local program through it, and identify focused checks for common failures.
A package script gives a command a reusable name inside package.json. The scripts object maps that name to the command npm should run.
Here, greet maps to node hello.js. When you enter npm run greet from local-project, npm reads that mapping and runs the same local program you previously ran directly.
The script does not change JavaScript behavior and does not start a browser server. hello.js still runs in Node.js and prints its message in the terminal.
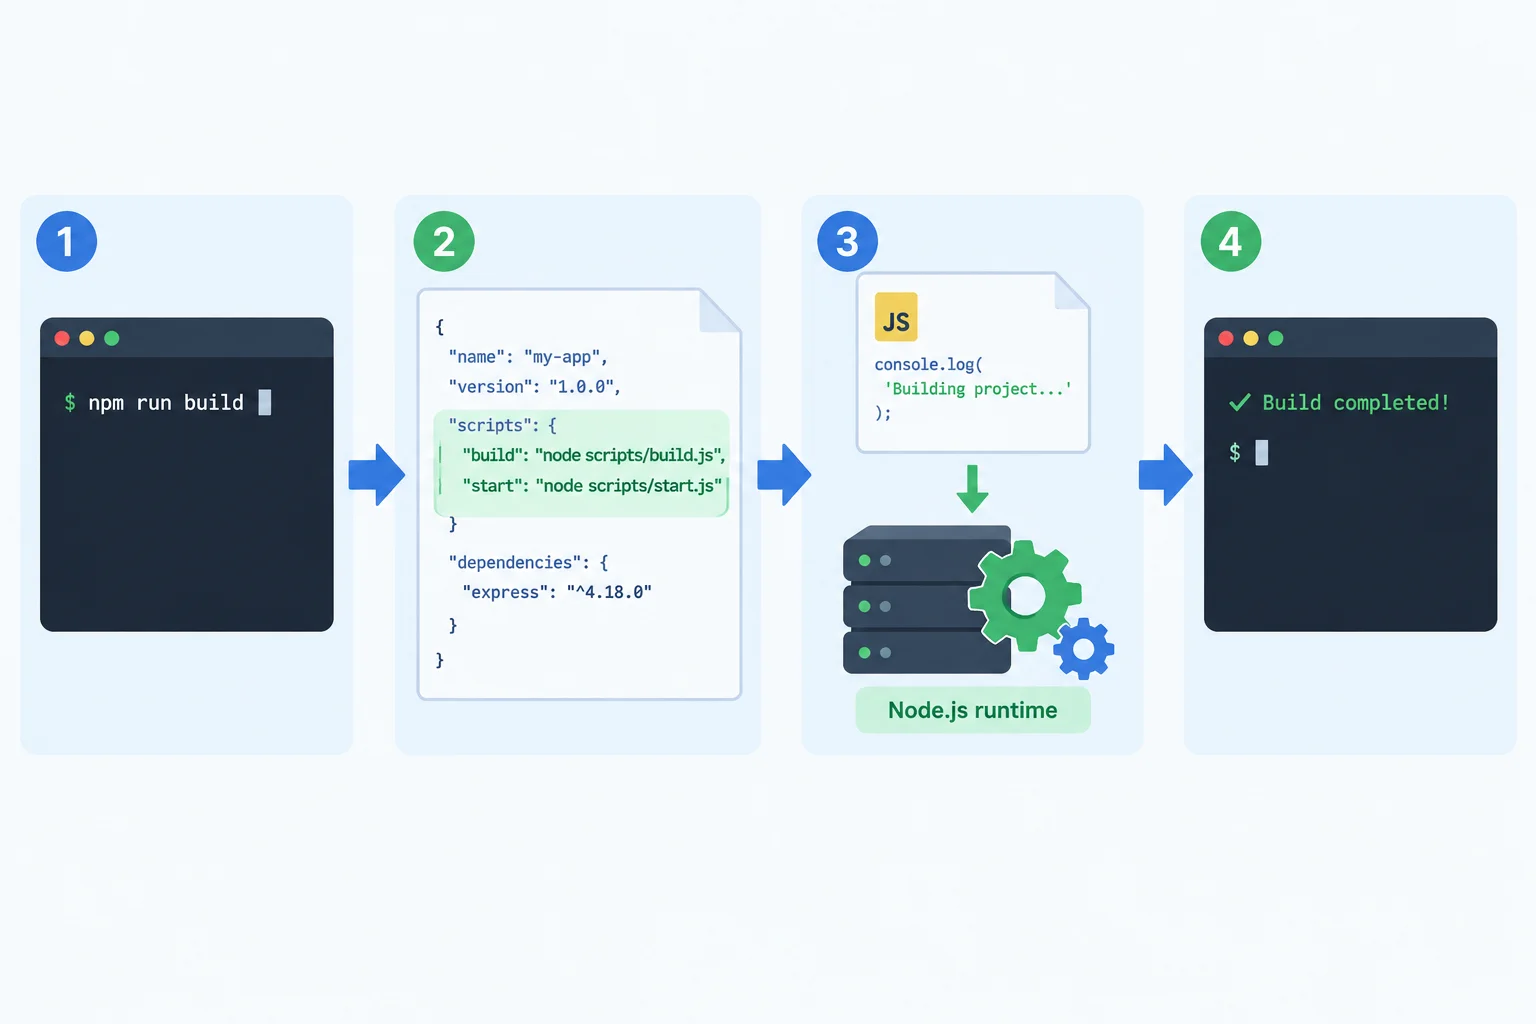
The named command leads npm to the stored command string, which runs hello.js and returns its console output.
Open package.json inside local-project and make its contents match this small manifest. The nested scripts object contains the mapping npm will use.
Use valid JSON: keys and string values need double quotes, and properties need commas between them. Save the file before running the command.
package.json
{
  "name": "local-project",
  "version": "1.0.0",
  "scripts": {
    "greet": "node hello.js"
  }
}Command
npm run greet> local-project@1.0.0 greet > node hello.js Hello from Node.js!
Output — example. The first two lines are npm’s script header; the final line is produced by `hello.js`. Minor spacing can vary by npm version.
Complete the two missing parts of the scripts entry.
{
  "name": "local-project",
  "version": "1.0.0",
  "scripts": {
    "": ""
  }
}Match each command or symptom to the appropriate action or meaning.
Tap an item and then its matching pair.
Step 8 of 8
Update the local program, rerun it through the existing package script, and verify the completed workflow.
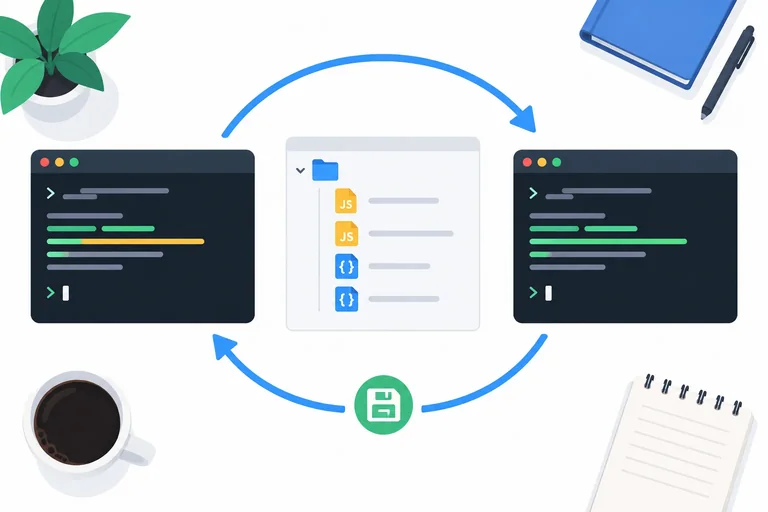
You now have a complete local workflow. In your verified local-project folder, keep package.json unchanged and edit hello.js so its saved message changes.
hello.js contains the program. package.json stores the named package script. When you run that script, npm reads the configuration and Node.js executes the saved file.
Before running anything, confirm that your current working directory is local-project and that both files are present. Save the edit before returning to the terminal.
Replace the contents of hello.js with this code, then save the file.
const message = "Hello again from Node.js!";
console.log(message);Run this from the local-project current working directory after saving hello.js.
npm run greet> local-project@1.0.0 greet > node hello.js Hello again from Node.js!
Output: The npm script header can vary slightly by npm version. The important program output is the final line.
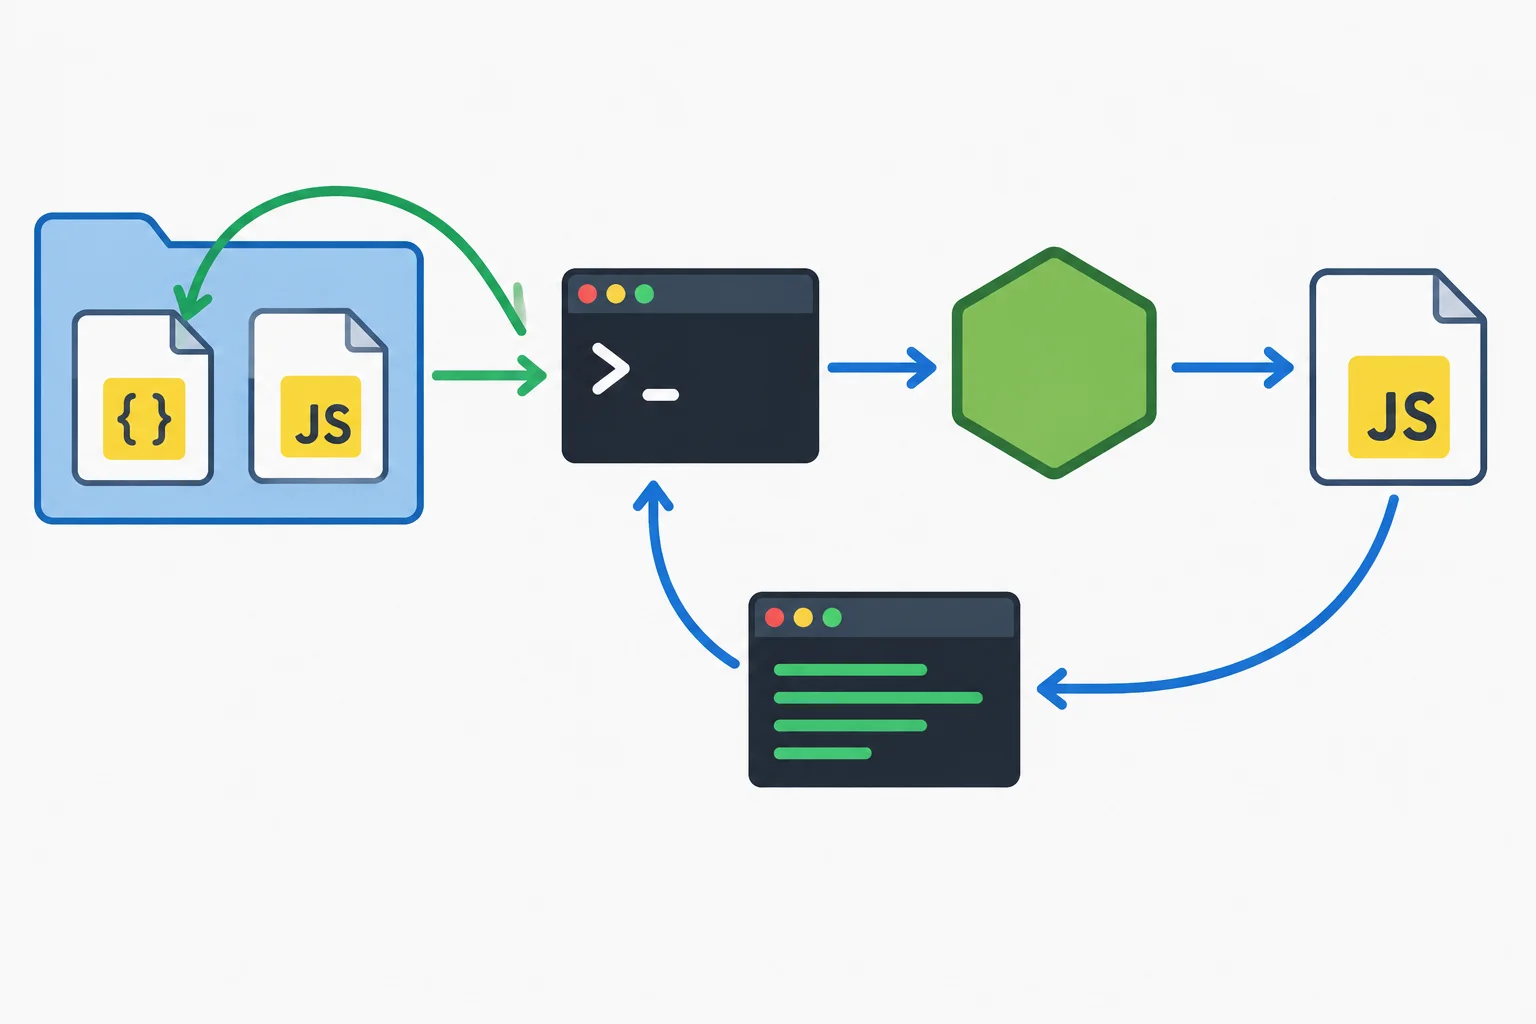
The package script stays the same. Because Node.js reads the saved hello.js file each time, the terminal shows the newly saved message.
Put these stages of one package-script run in order, starting when you enter the command.
Complete the terminal command that invokes the existing named package script.
npm run Use your own computer to perform the final check in local-project.
In your response, provide all of the following:
document.querySelector().Write at least 160 characters (0/160).
Summary
You can now repeat a small local Node.js workflow without adding any new tools or packages.
Congratulations! You completed: Prepare a Local Project with Node.js and npm
Thousands of online courses in video, ebooks and audiobooks.
To test your knowledge during online courses
Generated directly from your cell phone's photo gallery and sent to your email

Download our app via QR Code or the links below:.



Carry knowledge in your pocket.
Download the Cursa app.
There are hundreds of free courses available, with a free certificate of completion that is saved in your mobile image gallery.
Download the app to access the Course Completion Certificate for Free.


+ 10 million
students

Free and Valid
Certificate

60 thousand free
exercises

4.8/5 rating in
app stores

Free courses in
video and ebooks