
Step 1 of 8
Connect URLs to React Views
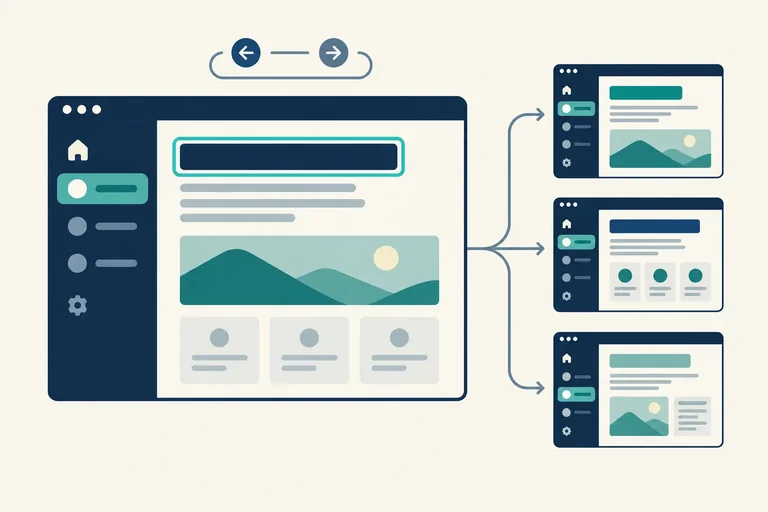
Build a local Field Notes application in which BrowserRouter, Routes, and Route map three static browser URLs to React views.

Learning path · Level 10 · Tutorial 1
Create multiple URL-addressable views in a local React application with persistent navigation. Make page changes understandable through active links, document titles, and deliberate keyboard-focus behavior.
 Connect URLs to React Views
Build a local Field Notes application in which BrowserRouter, Routes, and Route map three static browser URLs to React views. 4 min
Connect URLs to React Views
Build a local Field Notes application in which BrowserRouter, Routes, and Route map three static browser URLs to React views. 4 min
 Keep a Shared Layout Around Changing Views
Restructure the static routes beneath a persistent shared layout with an index child and an Outlet. 4 min
Keep a Shared Layout Around Changing Views
Restructure the static routes beneath a persistent shared layout with an index child and an Outlet. 4 min
 Navigate with Real Links
Add persistent Link-based primary navigation and verify client-side history alongside native browser link actions. 3 min
Navigate with Real Links
Add persistent Link-based primary navigation and verify client-side history alongside native browser link actions. 3 min
 Recover from an Unmatched URL
Add an in-app fallback for unsupported URLs while preserving the shared layout and a route back to Home. 2 min
Recover from an Unmatched URL
Add an in-app fallback for unsupported URLs while preserving the shared layout and a route back to Home. 2 min
 Make the Current View Clear
Use NavLink to show the current destination with aria-current while keeping keyboard focus visibly separate. 3 min
Make the Current View Clear
Use NavLink to show the current destination with aria-current while keeping keyboard focus visibly separate. 3 min
 Synchronize the Browser-Tab Title
Synchronize meaningful browser-tab titles with the current React Router pathname, including canonical static paths and unmatched URLs. 3 min
Synchronize the Browser-Tab Title
Synchronize meaningful browser-tab titles with the current React Router pathname, including canonical static paths and unmatched URLs. 3 min
 Move Focus Deliberately After Navigation
Add a route-change focus policy that orients keyboard users without overriding initial browser focus. 4 min
Move Focus Deliberately After Navigation
Add a route-change focus policy that orients keyboard users without overriding initial browser focus. 4 min
 Check the Complete Navigation Experience
Validate the completed Field Notes routes through direct URL entry, keyboard navigation, browser history, reloads, native link actions, and unmatched-path recovery. 3 min
Check the Complete Navigation Experience
Validate the completed Field Notes routes through direct URL entry, keyboard navigation, browser history, reloads, native link actions, and unmatched-path recovery. 3 min
Step 1 of 8
Build a local Field Notes application in which BrowserRouter, Routes, and Route map three static browser URLs to React views.
A client-side router reads the browser URL and chooses a React view. During ordinary in-app navigation, React can replace the rendered view without requesting a new HTML document.
In this first version of Field Notes, three static URLs map directly to three view components:
/ renders Home/guides renders Guides/about renders AboutBrowserRouter supplies the routing context. Inside it, Routes examines the current URL and Route connects a path to an element.
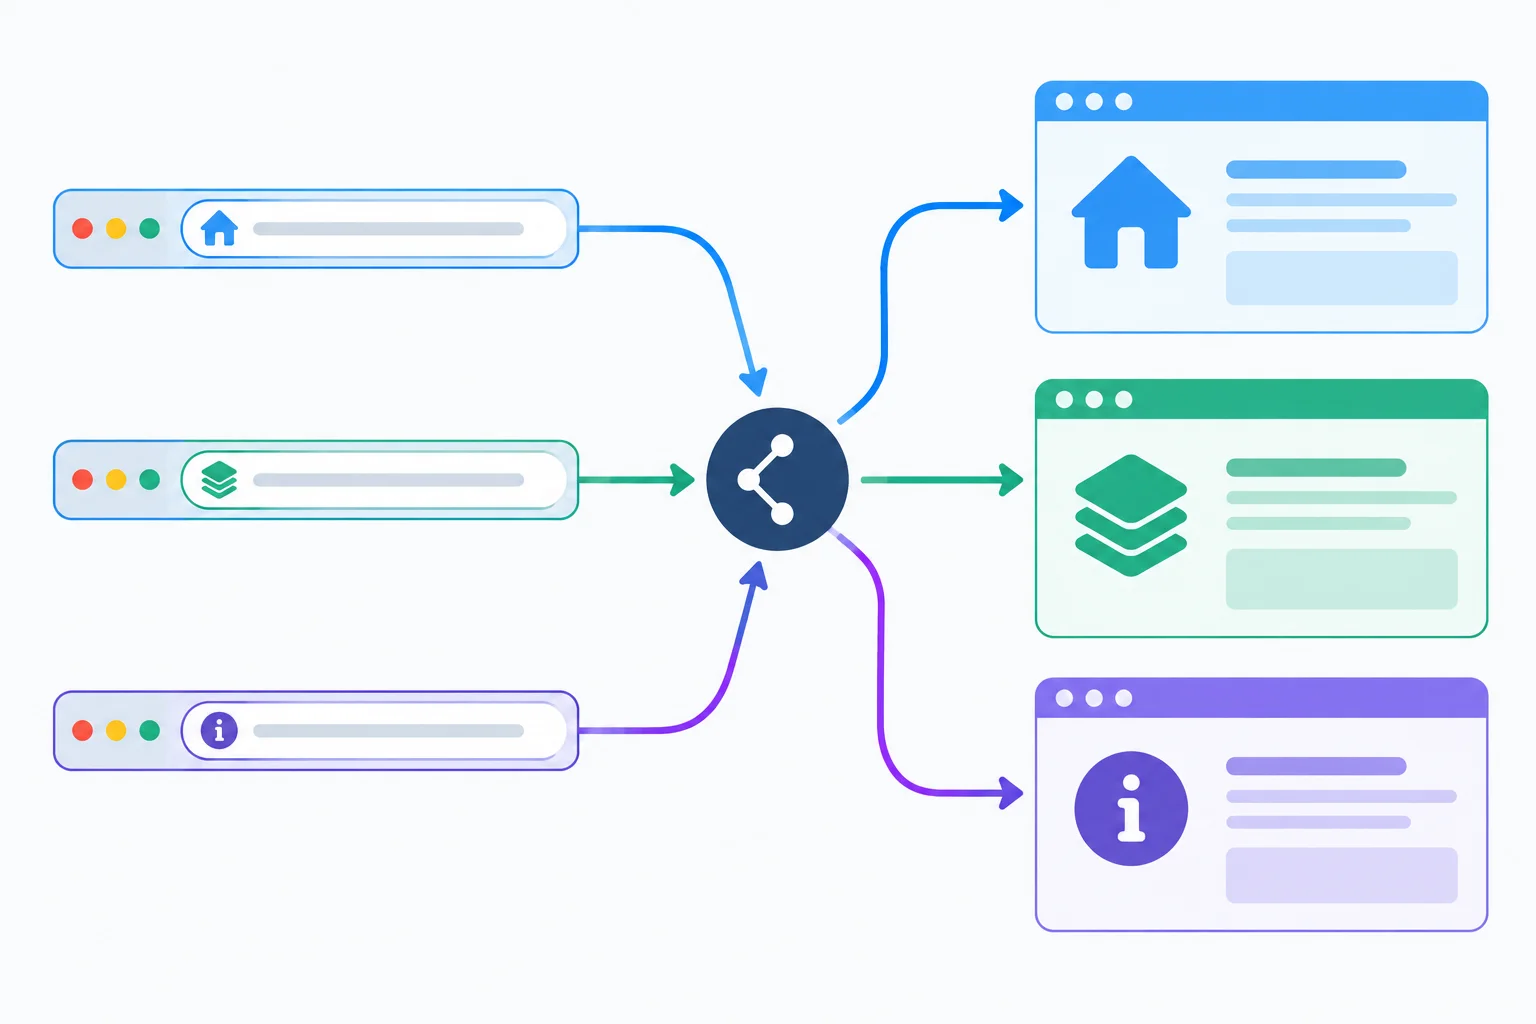
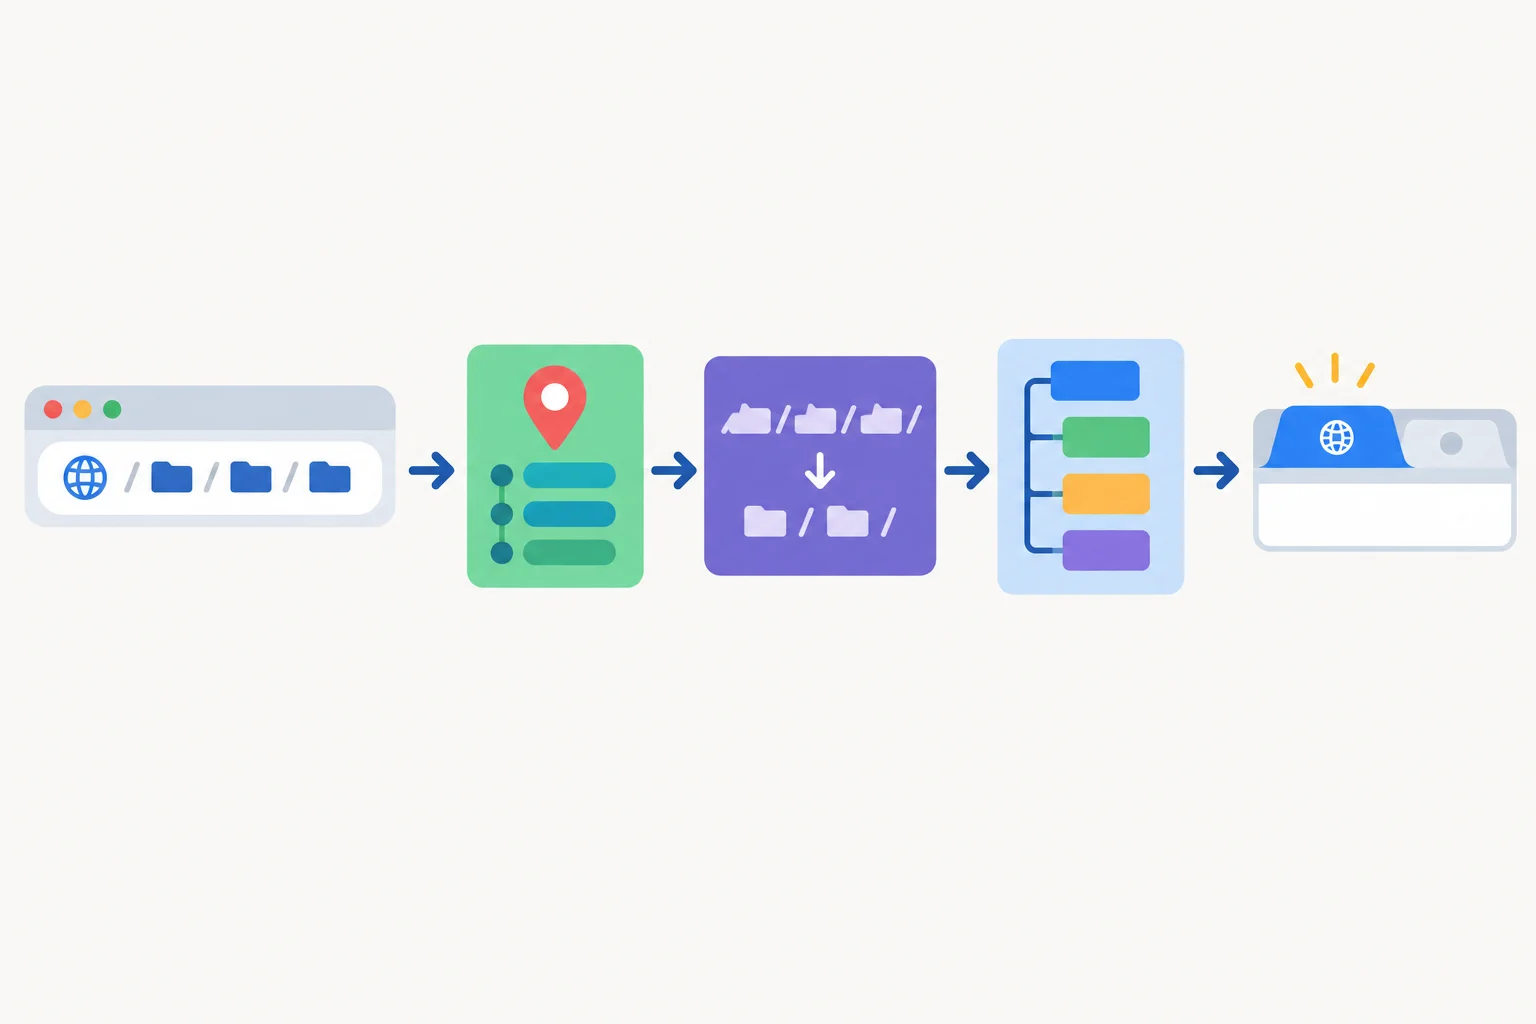
The router uses the current browser address to select one rendered view.
Create the local project, install React Router v7, and start Vite. If you already have a Vite React TypeScript project named field-notes, run the last two commands from that project instead.
Then replace the generated src/main.tsx and src/App.tsx files with the source on this screen.
Run these commands in your terminal.
npm create vite@latest field-notes -- --template react-ts
cd field-notes
npm install
npm install react-router@7
npm run dev> field-notes@0.0.0 dev > vite VITE v7.0.0 ready in 180 ms ➜ Local: http://localhost:5173/ ➜ press h + enter to show help
The Vite version and local port can differ. Open the Local address printed by your terminal.
src/main.tsx mounts one BrowserRouter around the application. Keep this router at the application entry point.
import { StrictMode } from "react";
import { createRoot } from "react-dom/client";
import { BrowserRouter } from "react-router";
import App from "./App";
import "./styles.css";

createRoot(document.getElementById("root")!).render(
  <StrictMode>
    <BrowserRouter>
      <App />
    </BrowserRouter>
  </StrictMode>,
);
src/App.tsx declares the three static path-to-view associations.
import { Route, Routes } from "react-router";
import { AboutView, GuidesView, HomeView } from "./views";

export default function App() {
  return (
    <Routes>
      <Route path="/" element={<HomeView />} />
      <Route path="/guides" element={<GuidesView />} />
      <Route path="/about" element={<AboutView />} />
    </Routes>
  );
}
Add the view components and small stylesheet below. Each component supplies a distinct h1, making the selected view easy to confirm.
At this stage, type a supported path directly into the browser address bar after the local server address. For example, use the path for the Guides view. The router should render the matching component.
src/views.tsx
export function HomeView() {
  return (
    <section>
      <h1>Home</h1>
      <p>Welcome to Field Notes.</p>
    </section>
  );
}

export function GuidesView() {
  return (
    <section>
      <h1>Guides</h1>
      <ul>
        <li>Layout basics</li>
        <li>Keyboard access</li>
      </ul>
    </section>
  );
}

export function AboutView() {
  return (
    <section>
      <h1>About</h1>
      <p>Field Notes collects practical interface guidance.</p>
    </section>
  );
}src/styles.css
:root {
  font-family: Arial, sans-serif;
  color: #18212f;
  background: #f5f7fa;
}

body {
  margin: 0;
}

section {
  max-width: 42rem;
  margin: 4rem auto;
  padding: 2rem;
  background: #ffffff;
  border-radius: 0.75rem;
  box-shadow: 0 0.25rem 1rem #18212f1a;
}

h1 {
  margin-top: 0;
}
Complete this static route declaration. Then use your local browser to directly enter each of its supported paths and verify that the rendered route heading matches the associated view.
<Routes>
  <Route path= element={<HomeView />} />
  <Route path= element={<GuidesView />} />
  <Route path= element={<AboutView />} />
</Routes>
Step 2 of 8
Restructure the static routes beneath a persistent shared layout with an index child and an Outlet.
Nested routes separate the stable parts of the interface from the view that changes with the URL.
Make the route at / render AppLayout. Its child route supplies the selected view through Outlet, which sits inside the shared main element. The header and the main landmark therefore stay mounted while a child view changes.
An index child has no path segment. It supplies HomeView at the parent URL, /. A relative child path such as "guides" combines with the parent path / to form /guides.
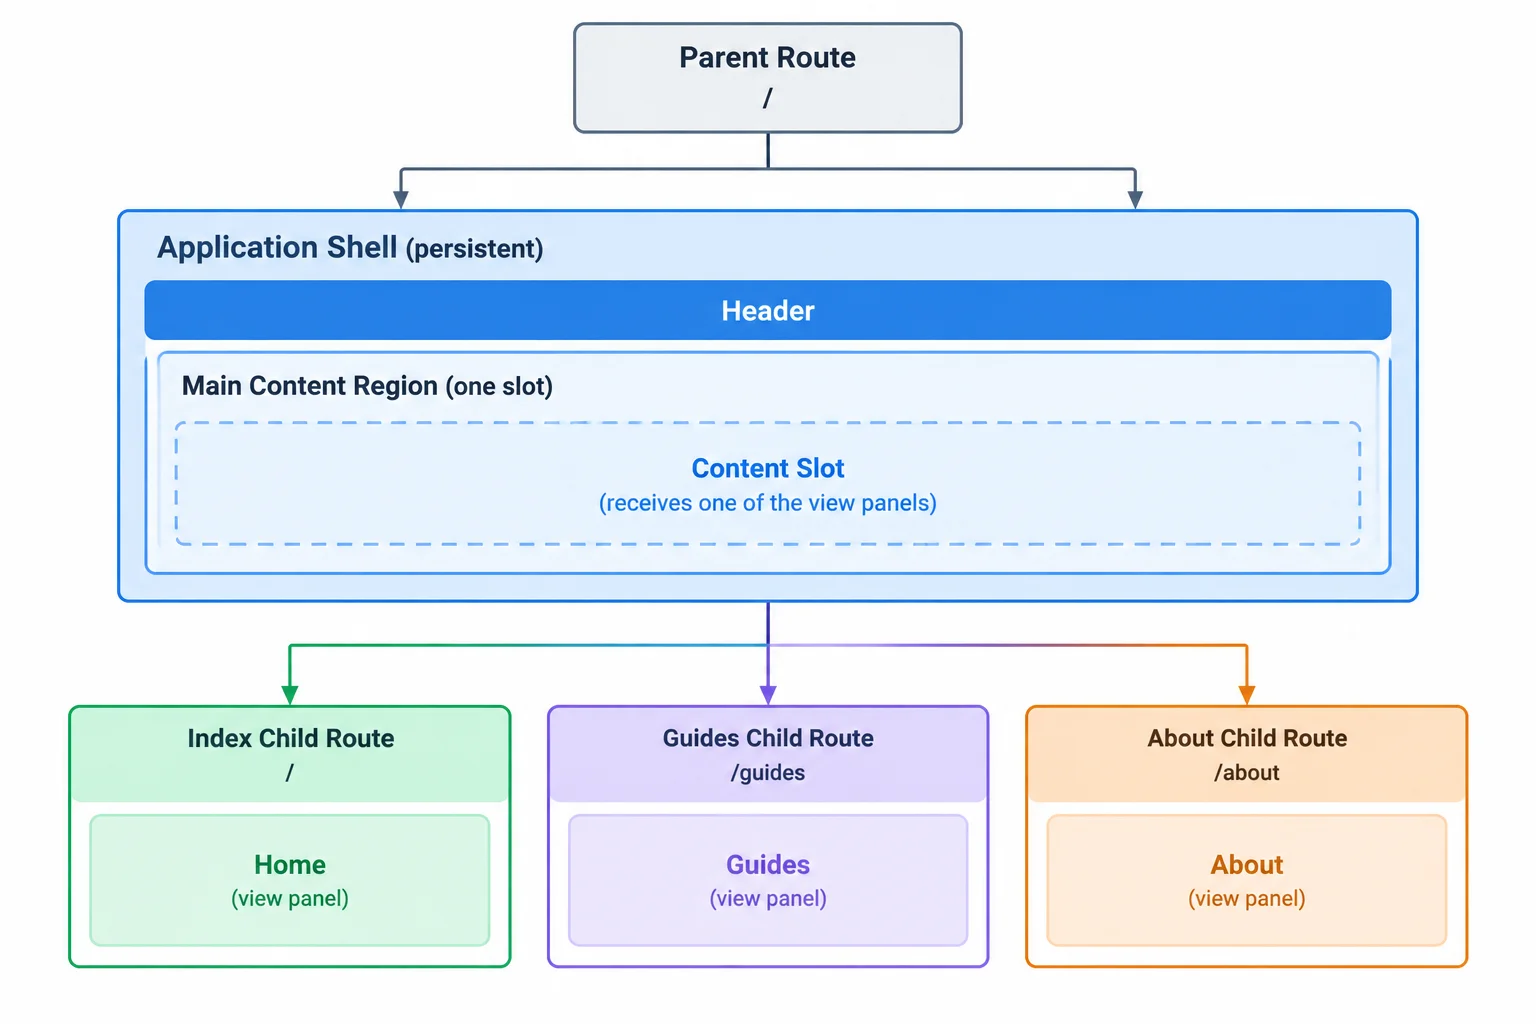
The parent route controls the persistent shell. Its matching child controls the view inserted into the main content slot.
Create src/AppLayout.tsx. This component owns the shared header and the application’s only main element. Outlet is the location where the matching child view is rendered. The header uses a paragraph for the application name, so each child view can remain responsible for its single h1.
src/AppLayout.tsx
import { Outlet } from "react-router";

export function AppLayout() {
  return (
    <>
      <header className="site-header">
        <p className="site-name">Field Notes</p>
      </header>
      <main>
        <Outlet />
      </main>
    </>
  );
}
src/App.tsx
import { Route, Routes } from "react-router";
import { AppLayout } from "./AppLayout";
import { AboutView, GuidesView, HomeView } from "./views";

export default function App() {
  return (
    <Routes>
      <Route path="/" element={<AppLayout />}>
        <Route index element={<HomeView />} />
        <Route path="guides" element={<GuidesView />} />
        <Route path="about" element={<AboutView />} />
      </Route>
    </Routes>
  );
}
Tip
Keep src/main.tsx and the three view components from the previous step. Save these two files, then directly enter /, /guides, and /about in your local browser. Each URL should select its view while the Field Notes header remains present.
Complete this AppLayout return fragment so a matching child can render inside the shared main content region.
return (
  <>
    <header className="site-header">
      <p className="site-name">Field Notes</p>
    </header>
    <main>

    </main>
  </>
);Complete this route fragment so the parent URL receives its child view without an additional path segment.
<Routes>
  <Route path="/" element={<AppLayout />}>

    <Route path="guides" element={<GuidesView />} />
    <Route path="about" element={<AboutView />} />
  </Route>
</Routes>Match each route-tree element to the part of the rendered interface or URL behavior it controls.
Tap an item and then its matching pair.
Step 3 of 8
Add persistent Link-based primary navigation and verify client-side history alongside native browser link actions.
Your shared layout stays mounted while its child view changes. Put the primary navigation in that shared layout so it is available on Home, Guides, About, and the fallback view.
Link renders a real anchor element. For an ordinary same-tab activation, React Router handles the destination client-side and renders the matching view without loading a separate document. Put the application destination in to; do not replace navigation links with button handlers or direct location assignments.
Because the result is an anchor, browser link actions still matter: users can modifier-click, use the context menu, or open a destination in another tab.
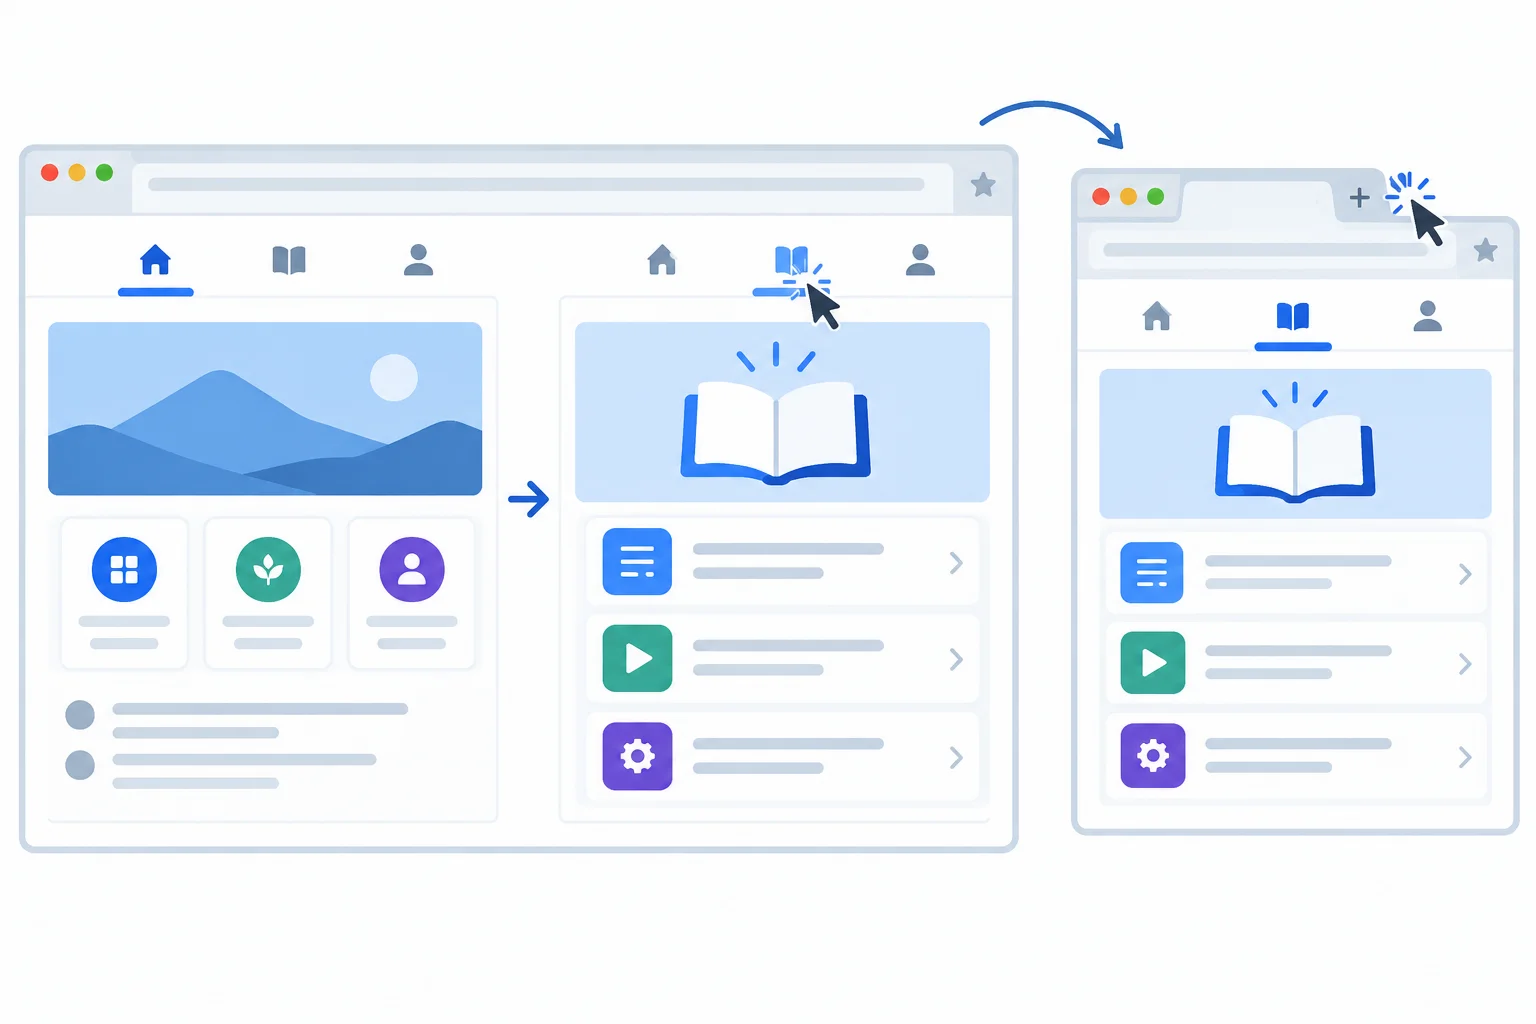
An ordinary activation changes the routed view in the current tab. Modified link actions remain browser-controlled, such as opening a destination in another tab.
Replace src/AppLayout.tsx with this shared layout. The nav remains outside Outlet, so it persists while child views render inside main.
import { Link, Outlet } from "react-router";

export function AppLayout() {
  return (
    <>
      <header className="site-header">
        <p className="site-name">Field Notes</p>
        <nav aria-label="Primary navigation">
          <Link to="/">Home</Link>
          <Link to="/guides">Guides</Link>
          <Link to="/about">About</Link>
        </nav>
      </header>
      <main>
        <Outlet />
      </main>
    </>
  );
}
Each to value is an absolute application destination. When an ordinary activation moves from Home to Guides, the browser receives a history entry. Its Back and Forward controls can therefore revisit the previous and next routed views.
At this stage, these are plain Link elements. Route-aware current-link styling comes later.
Complete the to values for the three navigation links.
<nav aria-label="Primary navigation">
  <Link to="">Home</Link>
  <Link to="">Guides</Link>
  <Link to="">About</Link>
</nav>In your local app, make sure src/AppLayout.tsx contains the three Link destinations. Then perform this navigation journey:
Report the three Link destinations you used, the heading and URL sequence in the original tab, the heading and URL in the new tab, and whether the shared header and primary navigation remained available during the original-tab journey.
Write at least 120 characters (0/120).
Step 4 of 8
Add an in-app fallback for unsupported URLs while preserving the shared layout and a route back to Home.
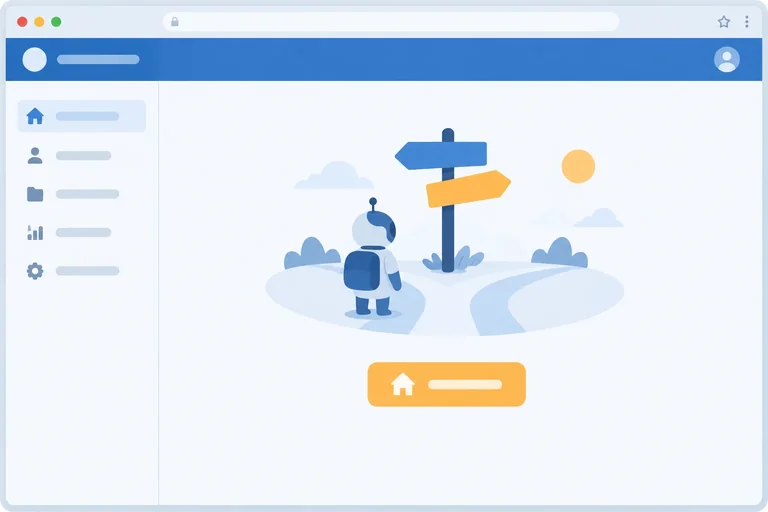
A wildcard child route catches a URL only when none of the supported child routes match. Its path="*" renders NotFoundView inside the existing AppLayout, so the shared header, navigation, and main landmark remain available.
This is an in-app fallback view—not a server-generated HTTP 404 response. It is React’s response after the application has loaded and examined the current URL.
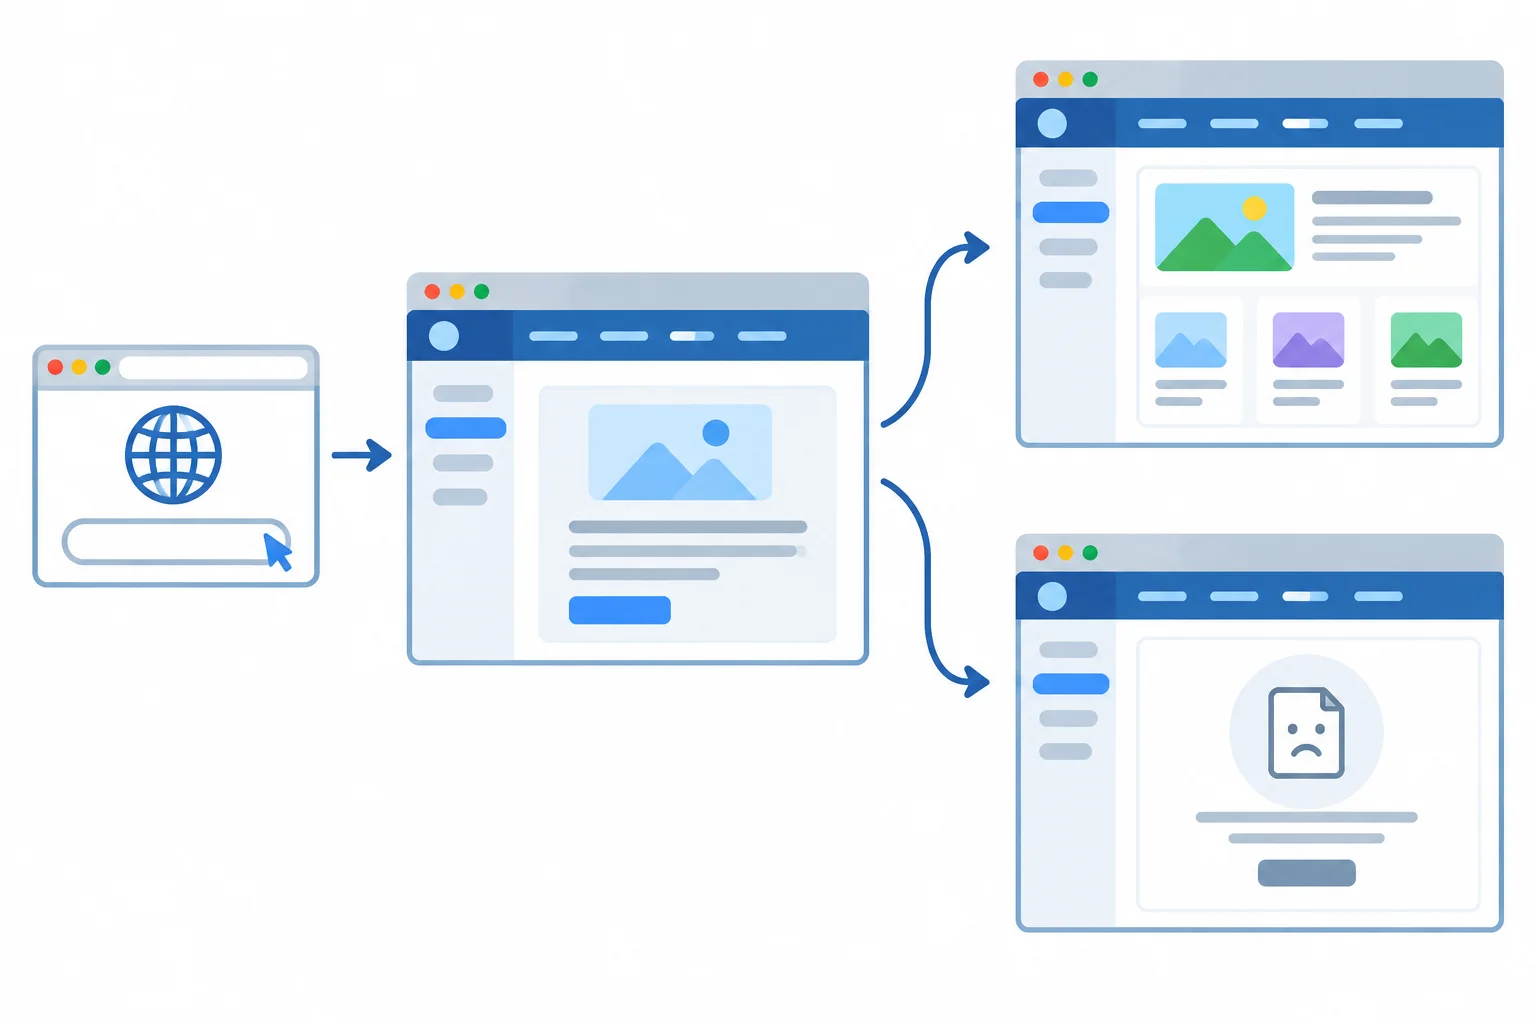
A wildcard child selects fallback content while the shared layout remains mounted.
Replace src/App.tsx with this route declaration. The wildcard is a child of the shared-layout route, just like the supported views.
import { Route, Routes } from "react-router";
import { AppLayout } from "./AppLayout";
import {
  AboutView,
  GuidesView,
  HomeView,
  NotFoundView,
} from "./views";

export default function App() {
  return (
    <Routes>
      <Route path="/" element={<AppLayout />}>
        <Route index element={<HomeView />} />
        <Route path="guides" element={<GuidesView />} />
        <Route path="about" element={<AboutView />} />
        <Route path="*" element={<NotFoundView />} />
      </Route>
    </Routes>
  );
}
Add the import and NotFoundView export to src/views.tsx. The view has its one route heading and a real recovery link to the Home destination.
import { Link } from "react-router";

export function NotFoundView() {
  return (
    <section>
      <h1>Page not found</h1>
      <p>The view at this address is not available.</p>
      <Link to="/">Home</Link>
    </section>
  );
}
A direct visit or browser refresh begins with a request to the development server. For this local exercise, Vite returns the application document for application paths. Then BrowserRouter reads the pathname and React can render either a supported view or the wildcard fallback.
The wildcard cannot help if the application document never loads. If a server sends its own error response instead, React has no running application in which to render NotFoundView. This distinction matters, but server hosting configuration is outside this tutorial.
Warning
Do not treat NotFoundView as proof of an HTTP status code. It is a client-side view selected after the React application is running.
Complete the path value for the fallback child route.
<Route path="" element={<NotFoundView />} />In your local field-notes project, add the wildcard child route and the recovery view. Then type /missing directly in the browser address bar and load it. Confirm that the shared navigation is still available, activate the Home recovery link, and report the heading and destination you observed at each point.
Write at least 80 characters (0/80).
Step 5 of 8
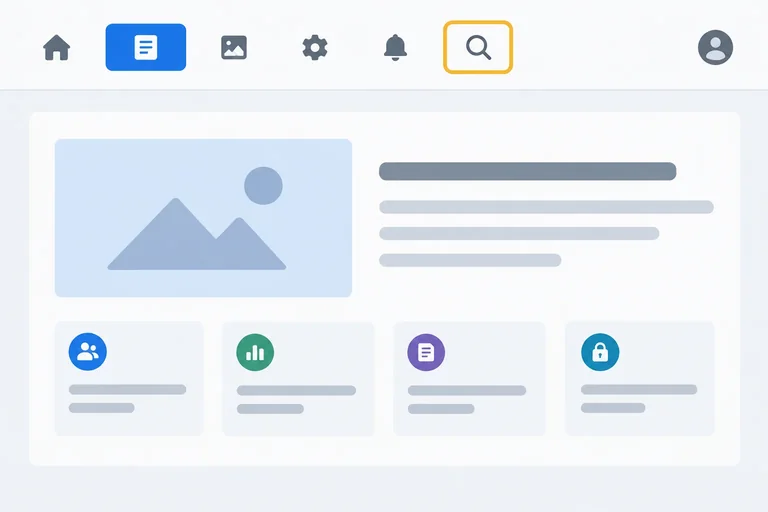
Use NavLink to show the current destination with aria-current while keeping keyboard focus visibly separate.
Persistent navigation needs two independent signals:
NavLink is React Router’s route-aware link component. It renders a real anchor and retains ordinary link behavior, while React Router detects whether its destination matches the current URL. A matching NavLink automatically receives aria-current="page"; do not calculate or add that attribute yourself.
Use end on Home to express that Home is current only at the root destination. React Router also gives the root destination special handling, so / is not falsely current at /guides, but end makes the intended matching policy clear.
At /missing, none of the three known navigation destinations matches. No link should be marked current.
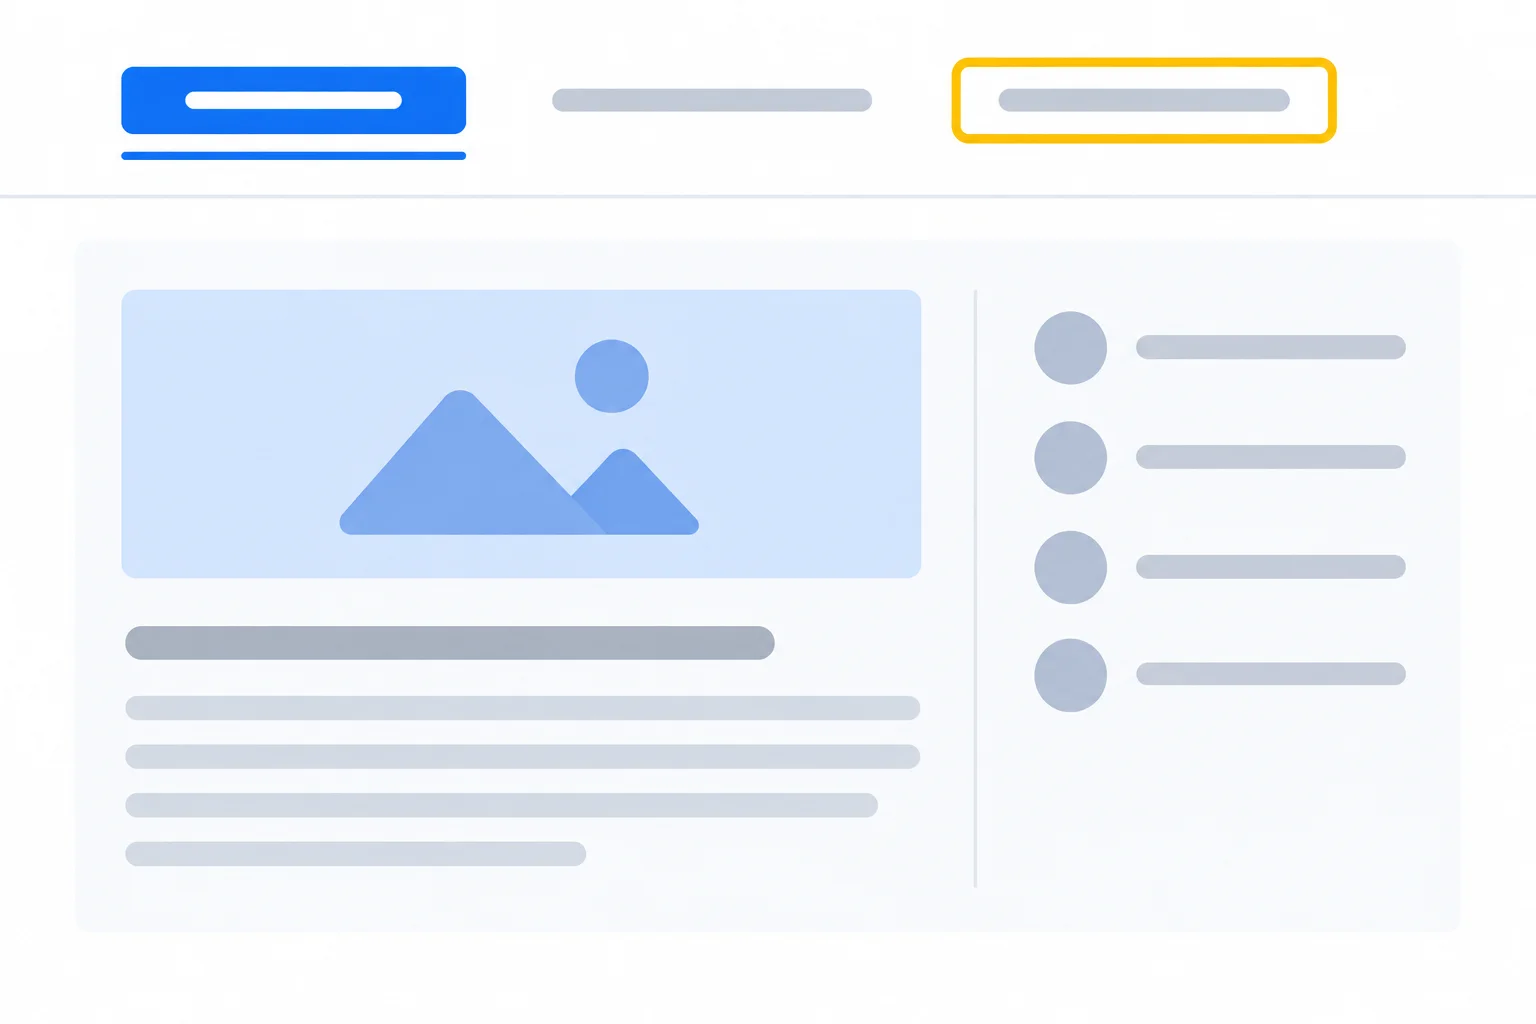
The current-link treatment and keyboard-focus treatment remain distinct even when they appear on different links.
These states can coincide, but they describe different facts.
| State | Meaning | Recommended signal |
|---|---|---|
| Current link | Its destination matches the URL | aria-current="page" plus a persistent visual treatment |
| Focused link | It receives keyboard input | A :focus-visible outline |
| Both states | The current link also has keyboard focus | Both treatments are visible |
In src/AppLayout.tsx, replace the primary navigation’s Link elements with NavLink elements. Keep the shared header, navigation region, and main landmark in this layout; child views still render through Outlet. The links use absolute application destinations.
src/AppLayout.tsx
import { NavLink, Outlet } from "react-router";

export function AppLayout() {
  return (
    <div className="app-shell">
      <header>
        <p className="app-name">Field Notes</p>
        <nav className="primary-nav" aria-label="Primary navigation">
          <NavLink end to="/">Home</NavLink>
          <NavLink to="/guides">Guides</NavLink>
          <NavLink to="/about">About</NavLink>
        </nav>
      </header>
      <main>
        <Outlet />
      </main>
    </div>
  );
}
Add these rules to src/styles.css. The filled current-link treatment answers a location question; the high-contrast outline answers a keyboard-focus question.
.primary-nav {
  display: flex;
  flex-wrap: wrap;
  gap: 0.5rem;
}

.primary-nav a {
  border-bottom: 3px solid transparent;
  border-radius: 0.25rem;
  color: #173a5e;
  padding: 0.5rem 0.75rem;
  text-decoration: none;
}

.primary-nav a[aria-current="page"] {
  background: #d9ecff;
  border-bottom-color: #005a9c;
  color: #003b68;
  font-weight: 700;
}

.primary-nav a:focus-visible {
  outline: 3px solid #b54708;
  outline-offset: 3px;
}
Complete the NavLink markup and CSS. Home must use endpoint matching. One rule styles the destination that matches the URL; the other styles the link receiving keyboard focus.
<  to="/">Home</NavLink>

.primary-nav a[="page"] {
  background: #d9ecff;
  border-bottom-color: #005a9c;
}

.primary-nav a: {
  outline: 3px solid #b54708;
  outline-offset: 3px;
}
Step 6 of 8
Synchronize meaningful browser-tab titles with the current React Router pathname, including canonical static paths and unmatched URLs.
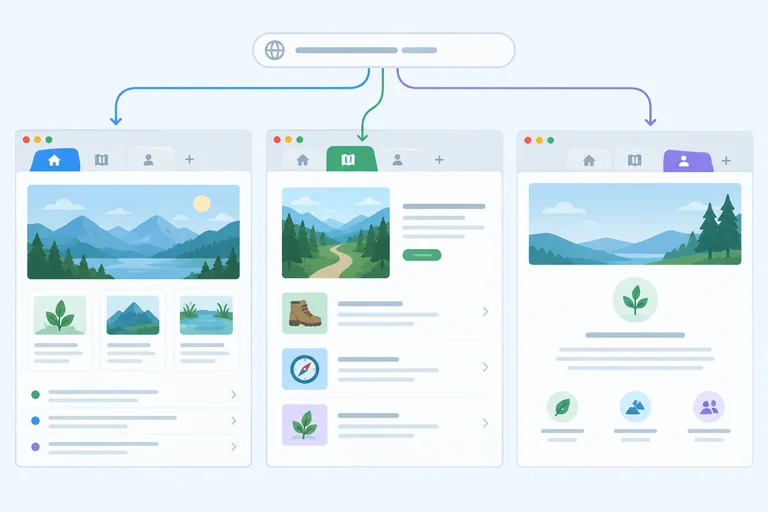
React Router renders the matching view, but routing does not automatically choose a useful document.title. In the persistent shared layout, useLocation() exposes the current location. Read its pathname, look up a static heading label, and synchronize the browser-managed title with an Effect.
The Effect runs on the initial application render and whenever the pathname changes. Each result follows one consistent pattern: Heading | Field Notes. This helps people distinguish Field Notes views in browser tabs, history, and task switchers.
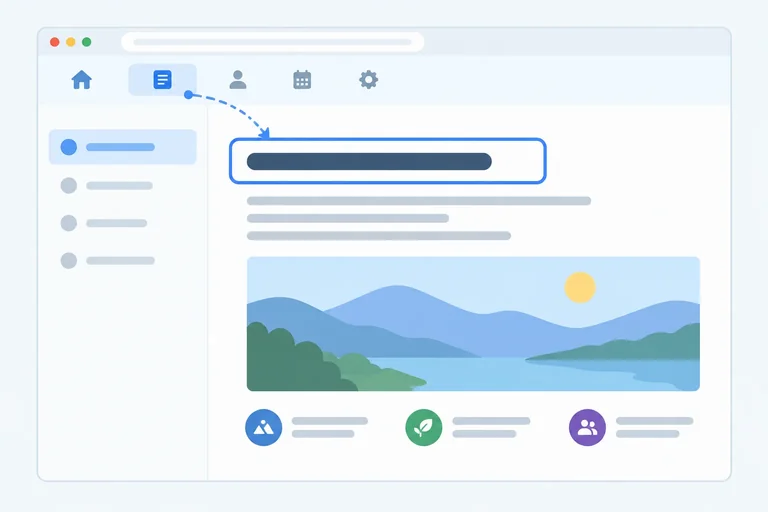
The shared layout observes the pathname and derives one consistent title for the current view.
Keep the supported labels in pageHeadings. Before reading that object, convert the pathname to lowercase and remove trailing slashes. The empty result for the root path becomes /.
A direct entry such as /GUIDES/ therefore receives the same label as /guides. A pathname that is not a supported key uses Page not found, matching the fallback view.
The canonical pathname is the key used to select the static heading label.
| Incoming pathname | Canonical pathname | Resulting title |
|---|---|---|
| / | / | Home | Field Notes |
| /guides | /guides | Guides | Field Notes |
| /GUIDES/ | /guides | Guides | Field Notes |
| /missing/ | /missing | Page not found | Field Notes |
Replace src/AppLayout.tsx with this version. It preserves the shared layout and the primary-nav class used by the existing current-link and keyboard-focus styles. The Effect is the new browser synchronization.
import { useEffect } from "react";
import { NavLink, Outlet, useLocation } from "react-router";

const pageHeadings: Record<string, string> = {
  "/": "Home",
  "/guides": "Guides",
  "/about": "About",
};

function getPageHeading(pathname: string): string {
  const canonicalPathname = pathname.toLowerCase().replace(/\/+$/, "") || "/";

  return pageHeadings[canonicalPathname] ?? "Page not found";
}

export function AppLayout() {
  const { pathname } = useLocation();

  useEffect(() => {
    const pageHeading = getPageHeading(pathname);
    document.title = `${pageHeading} | Field Notes`;
  }, [pathname]);

  return (
    <div className="app-shell">
      <header>
        <p className="app-name">Field Notes</p>
        <nav className="primary-nav" aria-label="Primary navigation">
          <NavLink end to="/">Home</NavLink>
          <NavLink to="/guides">Guides</NavLink>
          <NavLink to="/about">About</NavLink>
        </nav>
      </header>
      <main>
        <Outlet />
      </main>
    </div>
  );
}
Complete the location-driven title Effect. Then save it in AppLayout and verify it after direct entry, link navigation, and browser Back or Forward.
// Inside AppLayout, after getPageHeading is available:
const { pathname } = ();

useEffect(() => {
  const pageHeading = getPageHeading(pathname);
  document.title = `${pageHeading} | `;
}, []);
Step 7 of 8
Add a route-change focus policy that orients keyboard users without overriding initial browser focus.
A client-side view change updates the content inside the persistent shared layout, but it does not inherently move keyboard focus into that content. After activating a navigation link, focus can remain on that link in the header; after browser history navigation, the previously focused element might no longer exist.
Use a deliberate page-level policy: after the pathname changes, focus the newly committed route heading. This gives keyboard users a clear starting point in the new view.
Do not move focus on the initial document load. The browser manages initial focus, and the application should not override it merely because it rendered for the first time.
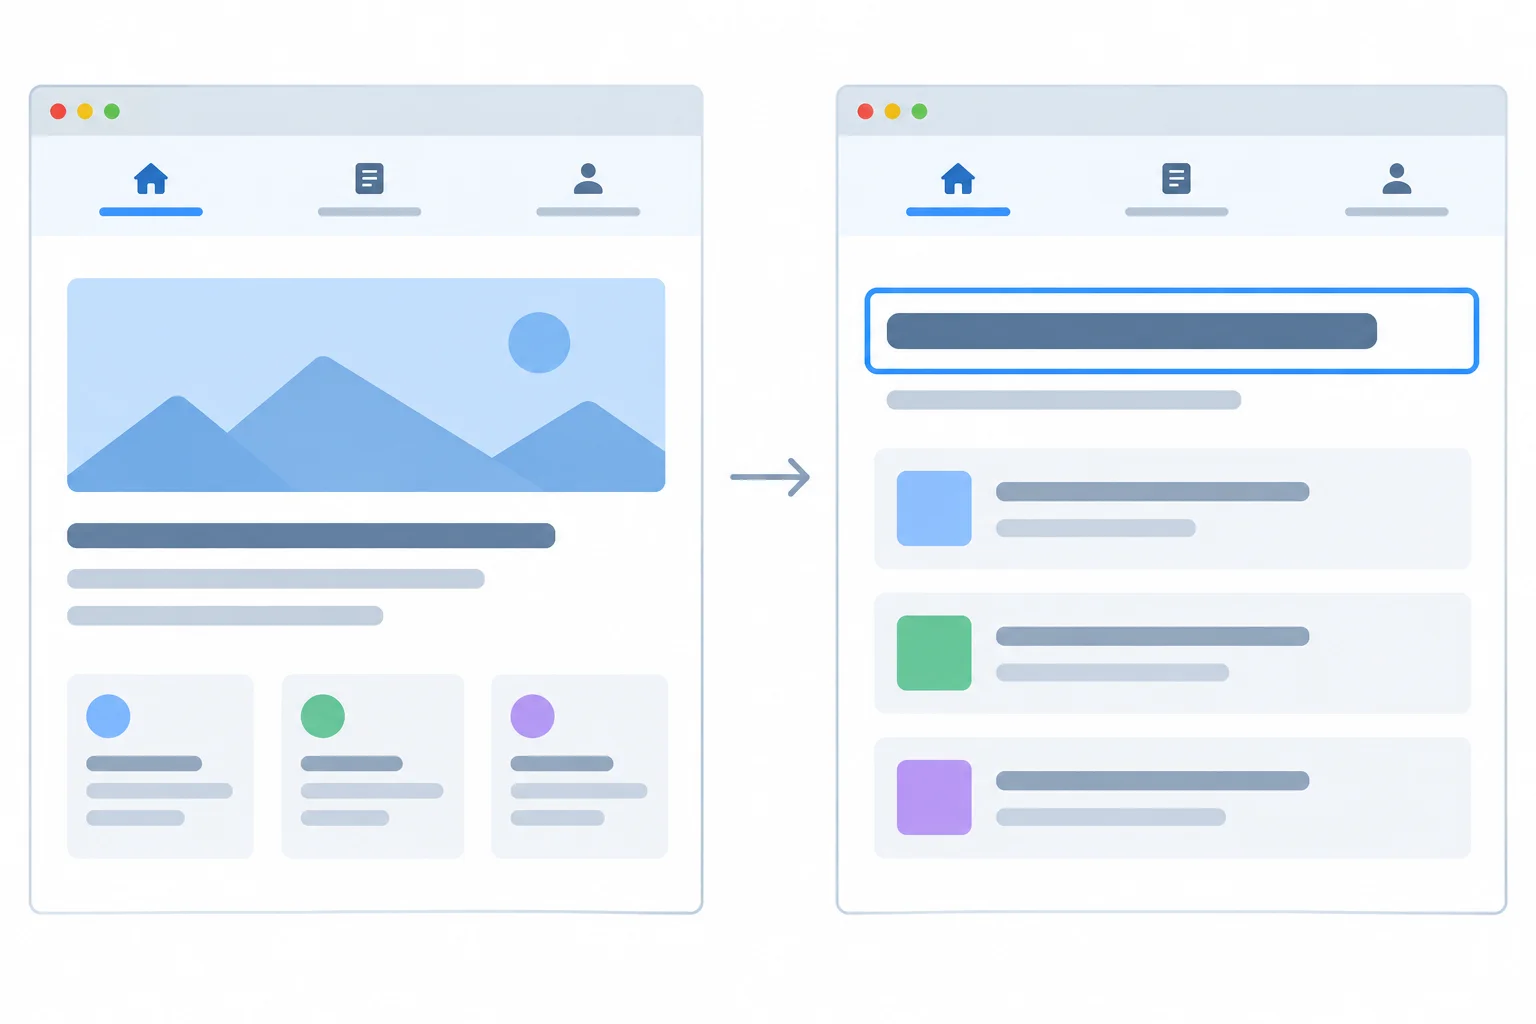
The shared layout stays mounted; the focus target is the route heading inside its main landmark.
Make every route heading programmatically focusable. tabIndex={-1} allows code to focus the heading, but it does not add the heading to the normal Tab sequence.
In src/views.tsx, update the one h1 in each view. Keep the exact heading labels used by the title lookup.
In src/views.tsx, use these route-heading elements in the existing view components.
<h1 tabIndex={-1}>Home</h1>

<h1 tabIndex={-1}>Guides</h1>

<h1 tabIndex={-1}>About</h1>

<h1 tabIndex={-1}>Page not found</h1>Add this rule to src/styles.css. Keep the existing [aria-current="page"] styling and link :focus-visible styling: those communicate different states.
h1:focus {
  outline: 3px solid #155eef;
  outline-offset: 4px;
}
Tip
A current link says, “this is the current view.” A focus indicator says, “keyboard input is here.” Keep both indicators visible and visually distinct.
In the persistent AppLayout, retain a ref for the one shared main element and another ref for the previous pathname. An Effect runs after React has committed the destination view, so the heading can be found safely inside main.
Initialize previousPathnameRef with the current pathname. If the pathname is unchanged, return without moving focus. This skips the initial load and also prevents a development StrictMode Effect replay from focusing again. Do not key the shared layout by pathname.
In src/AppLayout.tsx, keep the title Effect from the previous step and make these additions. The existing header and primary navigation remain unchanged.
import { useEffect, useRef } from "react";
import { NavLink, Outlet, useLocation } from "react-router";

// Inside AppLayout, after reading pathname with useLocation():
const mainRef = useRef<HTMLElement>(null);
const previousPathnameRef = useRef(pathname);

useEffect(() => {
  if (previousPathnameRef.current === pathname) {
    return;
  }

  previousPathnameRef.current = pathname;
  mainRef.current?.querySelector<HTMLHeadingElement>("h1")?.focus();
}, [pathname]);

// In the existing returned shared layout:
<main ref={mainRef}>
  <Outlet />
</main>
Tip
Test the policy after saving:
/guides directly in a fresh browser tab. The application updates the title, but this code does not programmatically focus its heading.This policy does not attempt to restore the exact element that had focus earlier in history.
Complete the existing pathname-change Effect.
useEffect(() => {
  if (previousPathnameRef.current === ) {
    return;
  }

  previousPathnameRef.current = pathname;
  mainRef.current?.querySelector<HTMLHeadingElement>("h1")?.();
}, [pathname]);Run the finished application and inspect the focus behavior rather than predicting it.
Start with a fresh direct entry to /guides. Then activate the About primary-navigation link, use Back, and use Forward. Report whether the route-heading focus outline appeared after the fresh load and identify the focused route heading after each later navigation.
Write at least 120 characters (0/120).

Step 8 of 8
Validate the completed Field Notes routes through direct URL entry, keyboard navigation, browser history, reloads, native link actions, and unmatched-path recovery.
Run this check in your local Field Notes application with the development server running. It is a repeatable browser journey, not an automated inspection.
For every stop, observe five things:
Use a fresh tab for initial URL entries. A fresh load must render the correct view and title, but the application must not impose focus on its route heading. After a pathname-changing in-app navigation, Back, or Forward action, the route-heading focus policy applies.
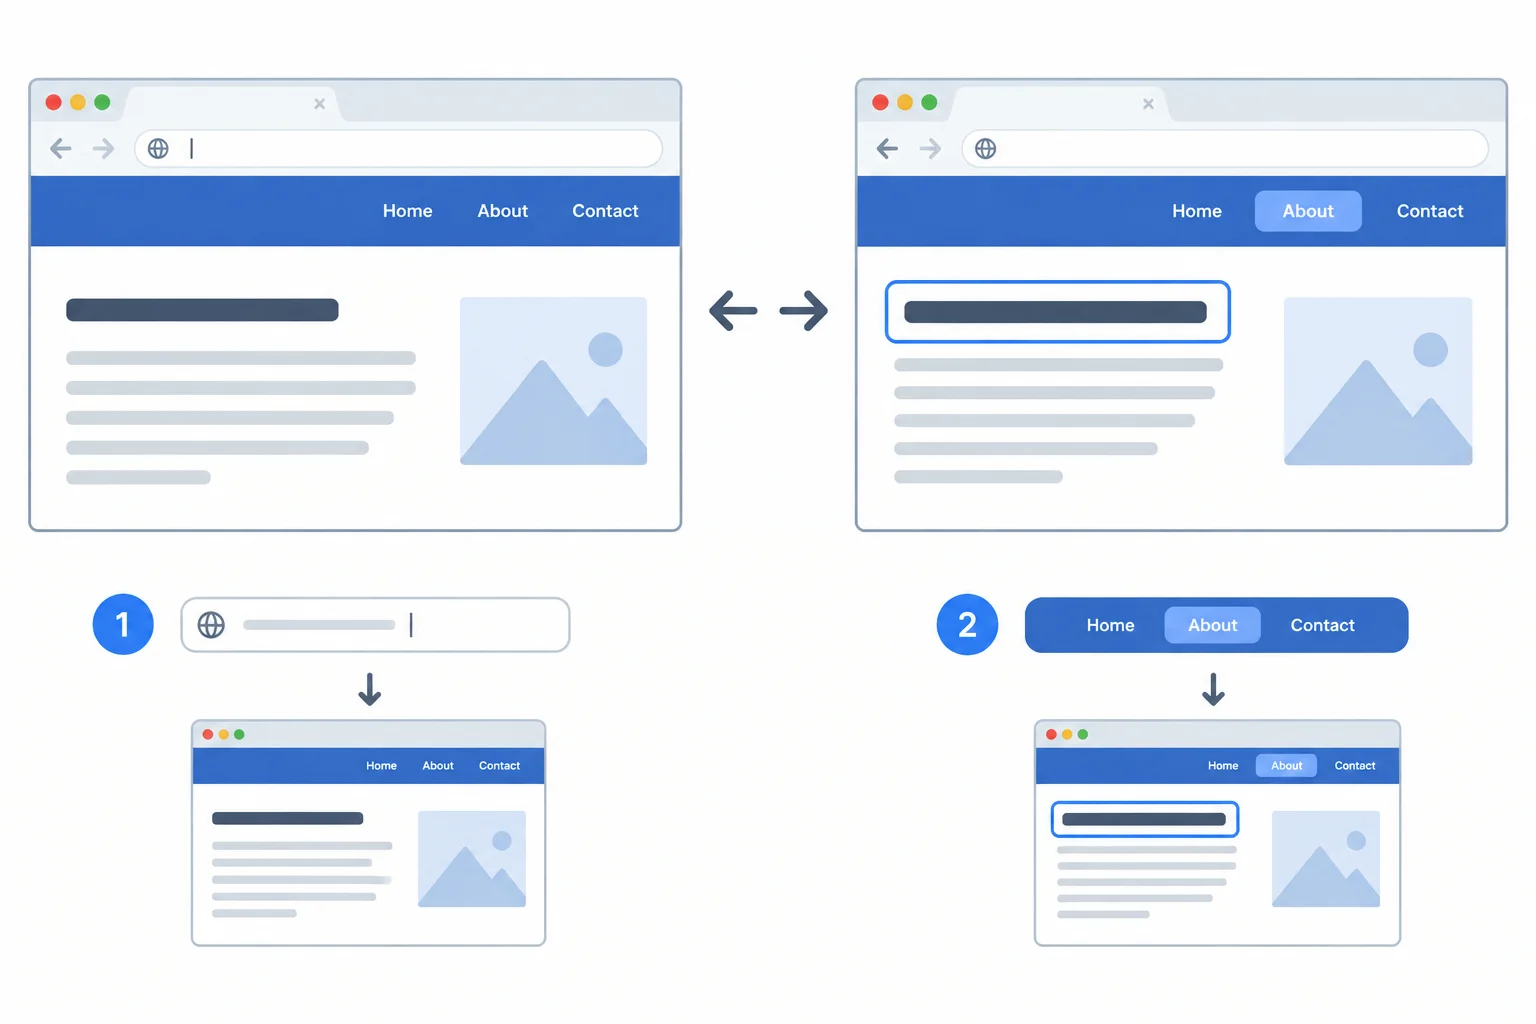
Check location, title, current-link state, and focus as separate signals. A current link is not the same thing as a focused link.
Work through this sequence. Replace “local origin” with the address shown by your own Vite development server. Keep the browser’s tab title visible while checking each view.
| Action | Rendered result | Title and navigation | Focus expectation |
|---|---|---|---|
| In fresh tabs, directly enter /, /guides, and /about | Matching Home, Guides, or About route heading; shared layout remains present | Matching heading followed by | Field Notes; matching current link | No application-imposed route-heading focus |
| Starting at Home, Tab to Guides and press Enter | Guides route heading; shared layout persists | Guides is the current link; Guides | Field Notes | Guides route heading receives focus |
| Use browser Back | Home route heading; shared layout persists | Home is the current link; Home | Field Notes | Home route heading receives focus |
| Use browser Forward | Guides route heading; shared layout persists | Guides is the current link; Guides | Field Notes | Guides route heading receives focus |
| Reload while on /guides | Guides route heading; shared layout persists | Guides is current; Guides | Field Notes | No application-imposed route-heading focus |
| Open a known navigation link in another tab | Destination loads in the new tab as a normal link destination | New tab has its matching title and current link | New document load: no application-imposed heading focus |
| Directly enter /missing, then activate its Home recovery link | Page not found, then Home; shared layout persists | No current link on fallback; fallback title is Page not found | Field Notes; then Home title | Fresh fallback load does not impose focus; recovery navigation focuses Home heading |
Tip
When using the keyboard, verify that the focused navigation link has its keyboard focus indicator before activation. After the view changes, the route heading should have its own focus style. These indicators have different jobs: the first identifies keyboard input; the second confirms the newly reached content.
Run the local navigation journey before answering.
Write a short verification record in 4–7 bullets. Report observations for: a fresh direct entry, keyboard activation followed by Back and Forward, reload, opening a navigation link in another tab, and /missing recovery. For each relevant stop, include the route heading, title, current-link state, persistent shared layout, and focus result.
Then identify any mismatch and state the concrete correction required by the checklist. If every observation matches, explicitly say that no correction is required. Finally, explain why a fresh entry or reload and a pathname-changing in-app navigation intentionally have different focus behavior.
Write at least 450 characters (0/450).
Summary
Congratulations! You completed: Build Accessible Client-Side Routes with React Router
Thousands of online courses in video, ebooks and audiobooks.
To test your knowledge during online courses
Generated directly from your cell phone's photo gallery and sent to your email

Download our app via QR Code or the links below:.



Carry knowledge in your pocket.
Download the Cursa app.
There are hundreds of free courses available, with a free certificate of completion that is saved in your mobile image gallery.
Download the app to access the Course Completion Certificate for Free.


+ 10 million
students

Free and Valid
Certificate

60 thousand free
exercises

4.8/5 rating in
app stores

Free courses in
video and ebooks