Step 1 of 8
Choose Project-Local Packages by Purpose
Classify project-local application packages and development tools before installing them.

Learning path · Level 6 · Tutorial 2
Manage a local project's packages and explain how its manifest, lockfile, and installed dependencies work together to recreate a recorded setup.
 Choose Project-Local Packages by Purpose
Classify project-local application packages and development tools before installing them. 1 min
Choose Project-Local Packages by Purpose
Classify project-local application packages and development tools before installing them. 1 min
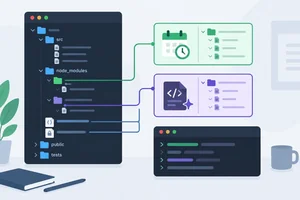 Install and Inspect Project Dependencies
Install application and development packages locally, then inspect the project records and installed contents. 2 min
Install and Inspect Project Dependencies
Install application and development packages locally, then inspect the project records and installed contents. 2 min
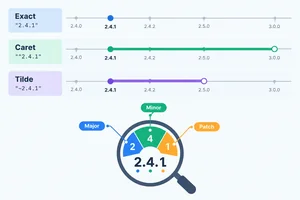 Read Versions and Declared Ranges
Read semantic version components and determine which stable versions satisfy exact, caret, and tilde declarations. 2 min
Read Versions and Declared Ranges
Read semantic version components and determine which stable versions satisfy exact, caret, and tilde declarations. 2 min
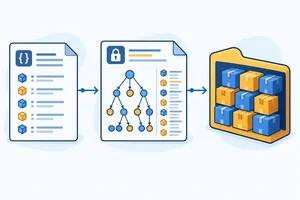 Connect the Manifest, Lockfile, and Installed Files
See how direct and transitive dependencies connect to the manifest, lockfile, and installed package files. 2 min
Connect the Manifest, Lockfile, and Installed Files
See how direct and transitive dependencies connect to the manifest, lockfile, and installed package files. 2 min
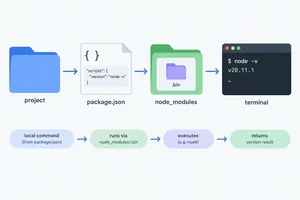 Run a Package's Local Command
Run a project-local package command through an npm script and trace how npm locates the executable. 2 min
Run a Package's Local Command
Run a project-local package command through an npm script and trace how npm locates the executable. 2 min
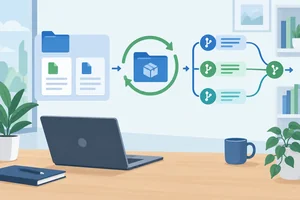 Choose Between npm install and npm ci
Choose when to reconcile dependency changes with npm install and when to recreate a recorded local installation with npm ci. 2 min
Choose Between npm install and npm ci
Choose when to reconcile dependency changes with npm install and when to recreate a recorded local installation with npm ci. 2 min
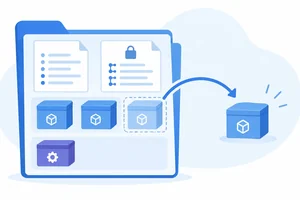 Remove Dependencies Through npm
Remove an unneeded direct dependency with npm while preserving consistent project records and the required local development tool. 2 min
Remove Dependencies Through npm
Remove an unneeded direct dependency with npm while preserving consistent project records and the required local development tool. 2 min
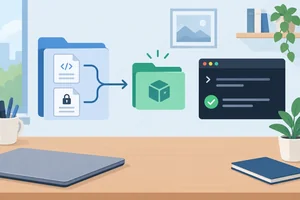 Recreate and Explain Your Project Setup
Restore the application dependency, recreate the recorded installation, and explain how the project records and local command work together. 3 min
Recreate and Explain Your Project Setup
Restore the application dependency, recreate the recorded installation, and explain how the project records and local command work together. 3 min
Step 1 of 8
Classify project-local application packages and development tools before installing them.
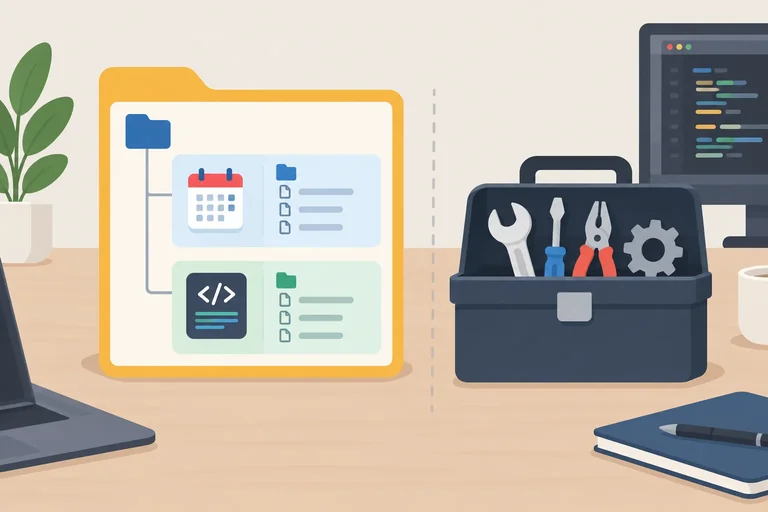
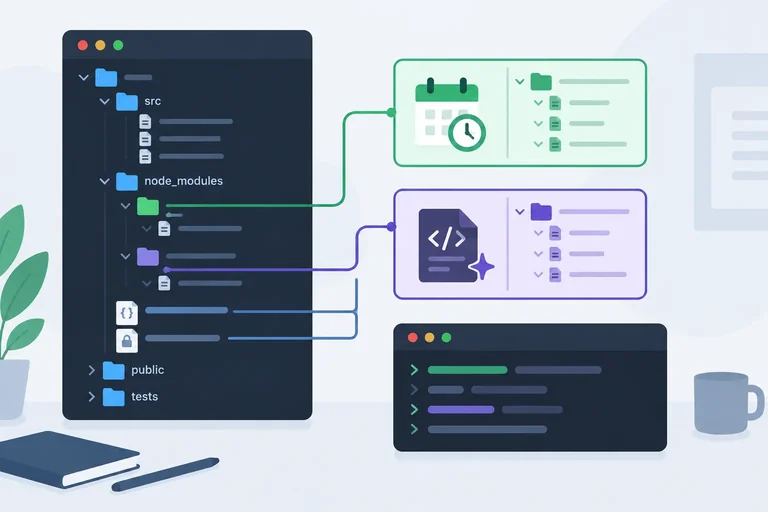
A project-local package belongs to one project. Its declaration records that the project needs it, so another developer can see the same requirement instead of relying on a tool installed elsewhere on one computer.
A globally installed tool is machine-level setup. It may be convenient for one person, but it is not a recorded dependency of project/ and does not tell collaborators what this project requires.
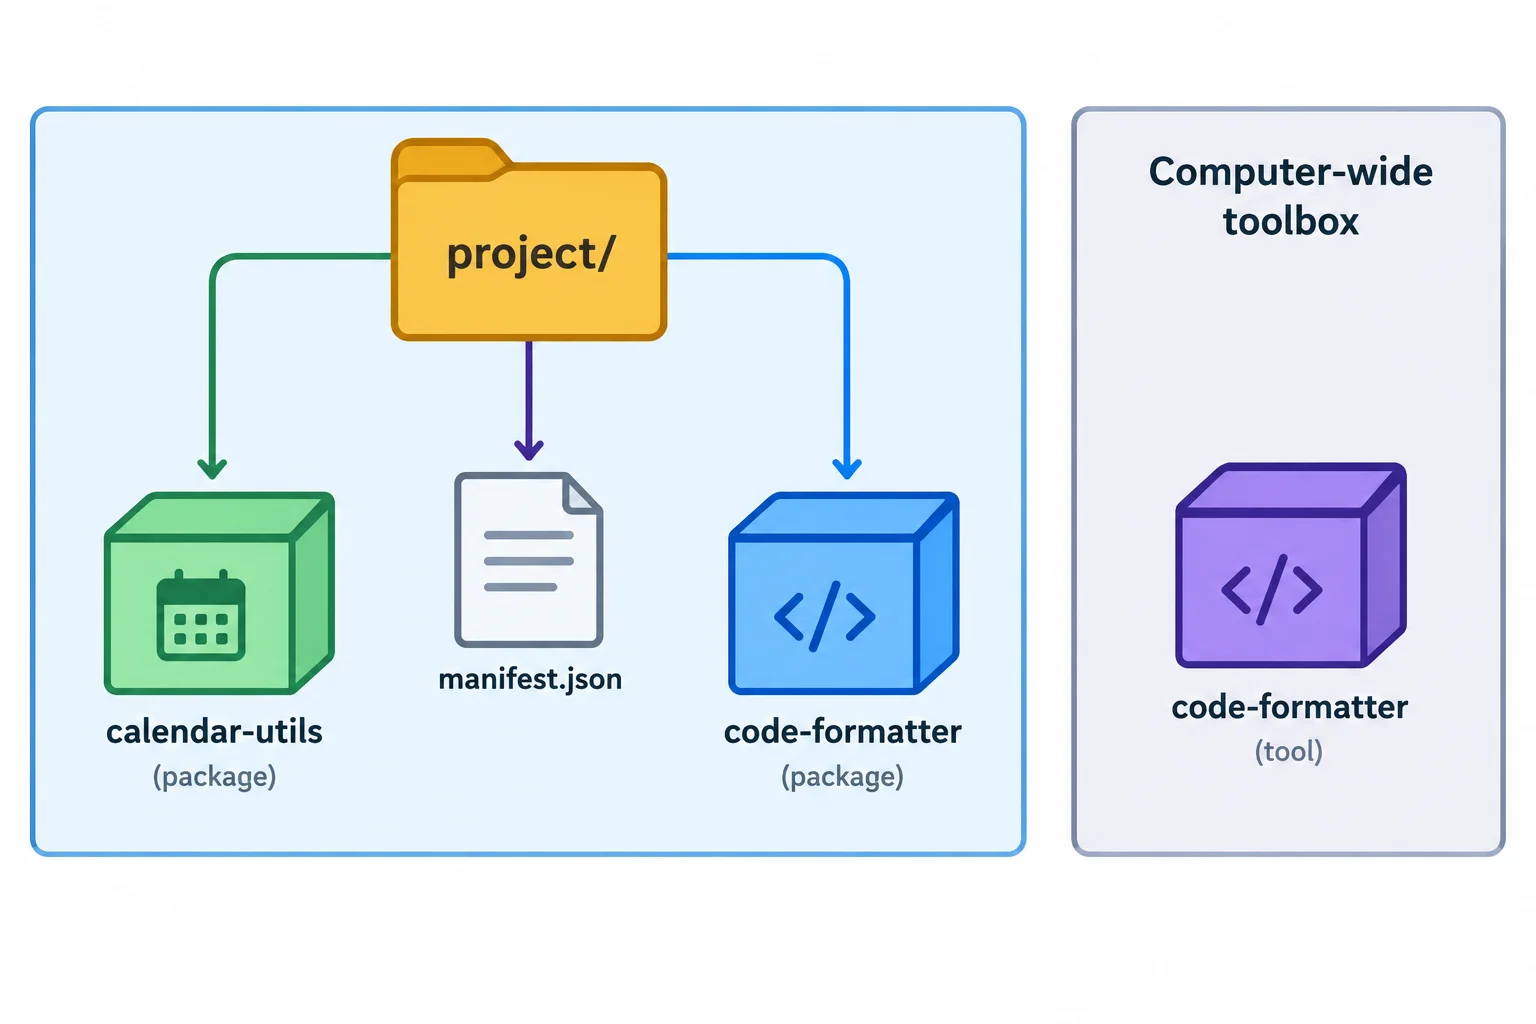
Project-local packages are recorded with project/; a global tool belongs to one computer, not to the project.
The two categories describe purpose:
dependencies lists packages the application relies on.devDependencies lists packages used to develop, check, or prepare the project.For this tutorial, dayjs is an application utility, so it belongs in dependencies. prettier formats source files during development, so it belongs in devDependencies.
Tip
Both categories are normally present during local development. Calling Prettier a development dependency does not mean it is unavailable while you work locally.
Also, declaring or installing a package does not automatically load it into a browser page. It records and provides a project package; browser use is a separate step.
Use the package's job—not whether you can access it while developing—to select its category.
| Package | Job | Category |
|---|---|---|
| dayjs | Application date utility | dependencies |
| prettier | Development formatting tool | devDependencies |
Match each situation to the most accurate project-record outcome.
Tap an item and then its matching pair.
Step 2 of 8
Install application and development packages locally, then inspect the project records and installed contents.
From the project/ folder, install the two packages locally. dayjs is the application dependency; prettier is the development tool. Run these commands one at a time.
These commands update your existing project records. They do not install a global tool, and installing a package does not automatically add it to a browser page.
Run in project/
npm install dayjs
npm install --save-dev prettierExample output added 1 package, and audited 2 packages in 1s found 0 vulnerabilities added 1 package, and audited 3 packages in 1s found 0 vulnerabilities
Actual package counts, audit messages, timing, and vulnerability notices can differ by npm version and the state of your project.
Package-name installation commands save declarations to package.json by default. Open your existing manifest and inspect it rather than replacing it: dayjs is listed in dependencies, and prettier is listed in devDependencies.
Keep every unrelated field and existing script in the file. npm chose and saved the version text during installation; you will learn how to interpret that text later.
Tip
A package category describes its purpose. During normal local development, both categories are installed and available in the project.
Refresh your editor's file tree after the commands finish. npm has also created or updated package-lock.json and placed installed package contents in node_modules/.
node_modules/ contains package files supplied by npm, not source files that you authored. package-lock.json is npm-generated; leave it intact. Its recorded resolution details are explored in a later step.
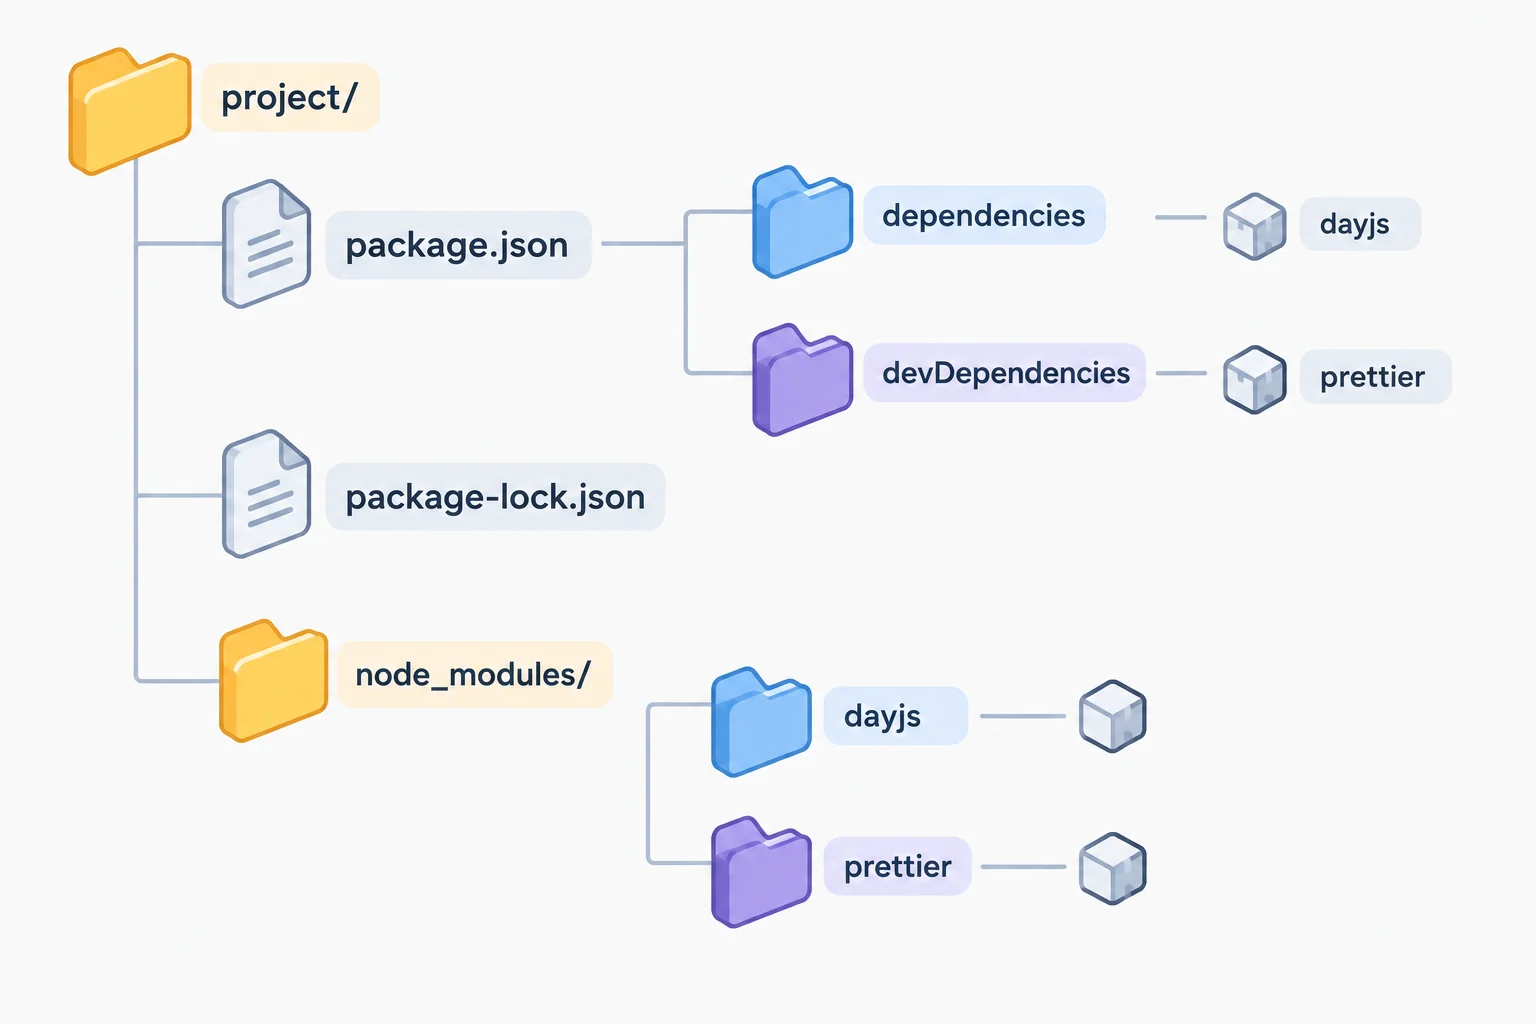
The manifest declares packages; node_modules/ holds their installed contents.
Complete the two installation commands.
npm  dayjs
npm install prettierAfter completing the commands, report all three locations: the manifest section for dayjs, the manifest section for prettier, and the project/ path where npm placed installed package contents.
Write at least 35 characters (0/35).
Step 3 of 8
Read semantic version components and determine which stable versions satisfy exact, caret, and tilde declarations.
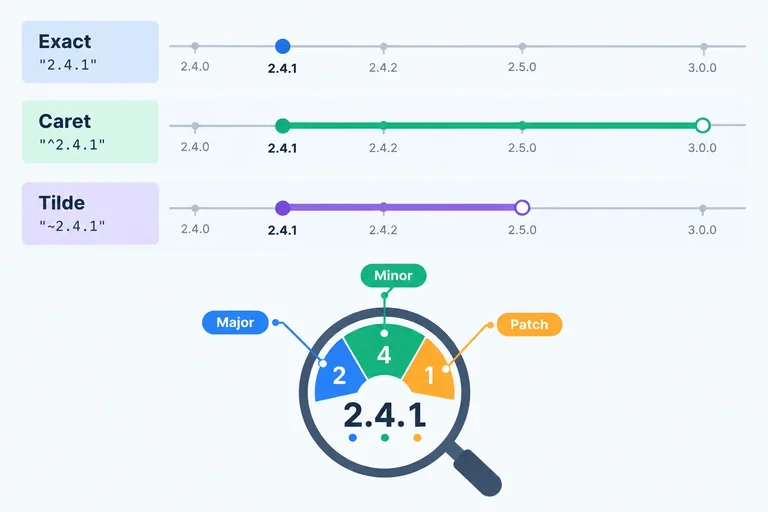
A version such as 2.4.1 has three parts: major.minor.patch.
These labels communicate the package author's intent; they are not a guarantee that every change will be risk-free for every project.
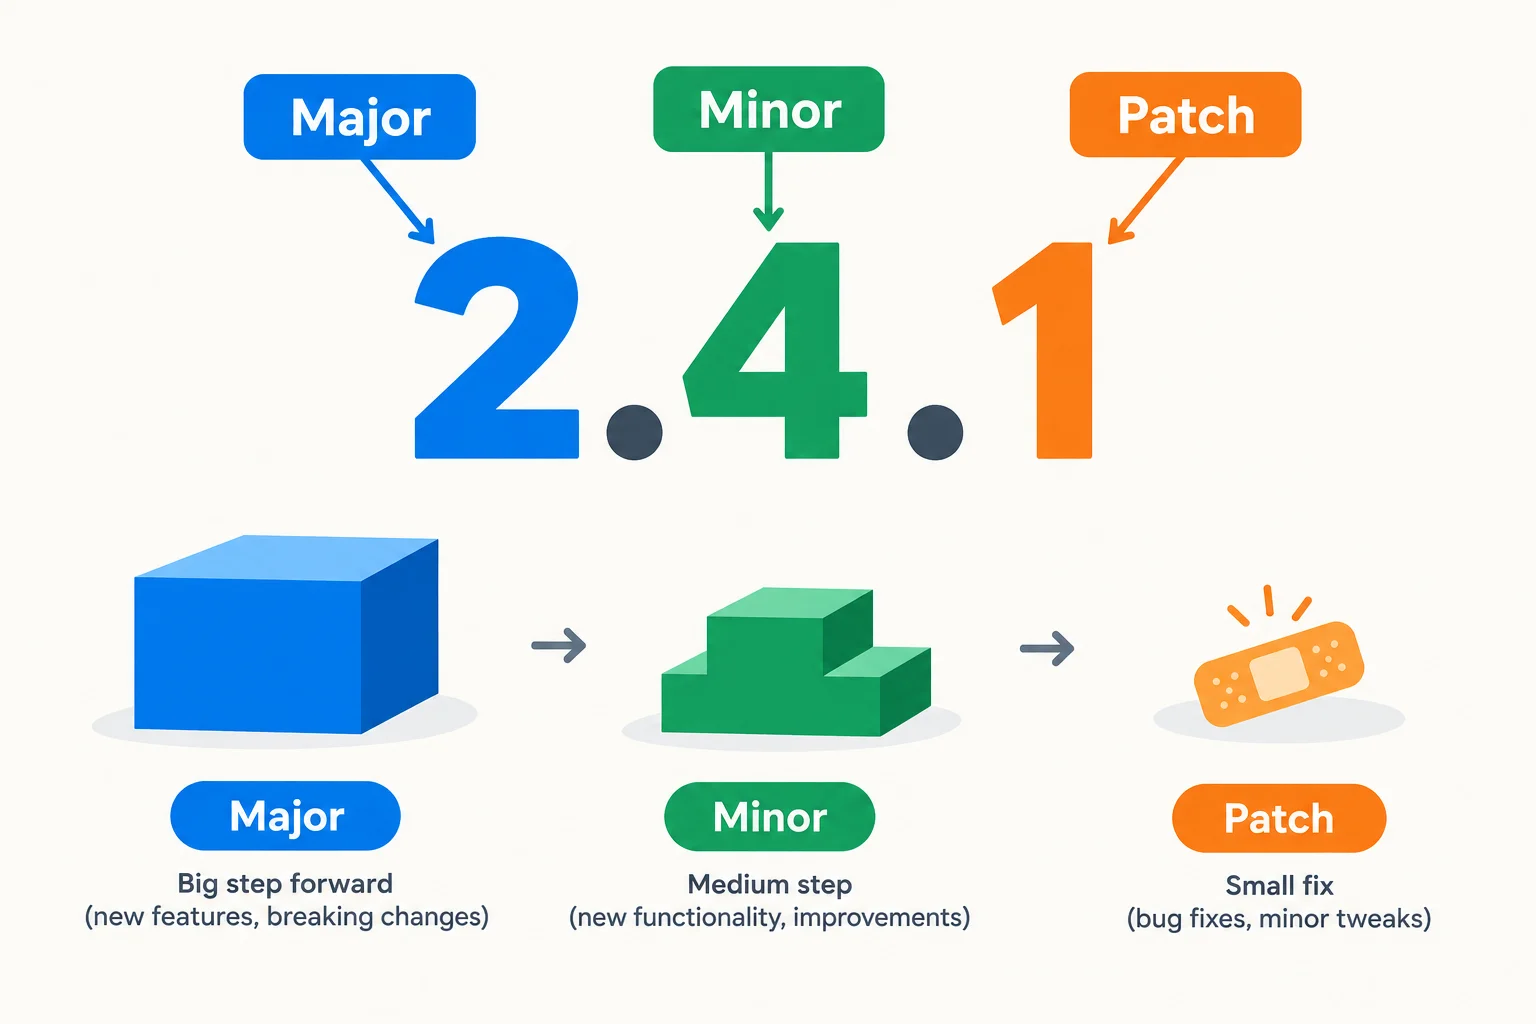
Read semantic versions from left to right: major, minor, then patch.
Tip
For this step, compare only stable versions whose major number is at least 1. Other version forms have additional rules and are outside this comparison.
A declared range is the requirement written in package.json. It can name one exact version or a set of acceptable versions.
A resolved version is one particular version selected during an installation. A range can allow more than one version, so seeing ^2.4.1 does not by itself tell you which particular version was selected.
For stable versions, these three declarations have different boundaries.
| Declared range | Allowed stable versions | Excluded at boundary |
|---|---|---|
| 2.4.1 | Only 2.4.1 | 2.4.2 |
| ^2.4.1 | 2.4.1 up to, not including, 3.0.0 | 3.0.0 |
| ~2.4.1 | 2.4.1 up to, not including, 2.5.0 | 2.5.0 |
Example
For example, 2.8.0 satisfies ^2.4.1 because it remains below 3.0.0. It does not satisfy ~2.4.1, because that range stops before 2.5.0.
An exact declaration, 2.4.1, accepts no different version.
For stable versions, 2.5.0 satisfies the declared range ~2.4.1.
Match each version part or comparison with its result.
Tap an item and then its matching pair.
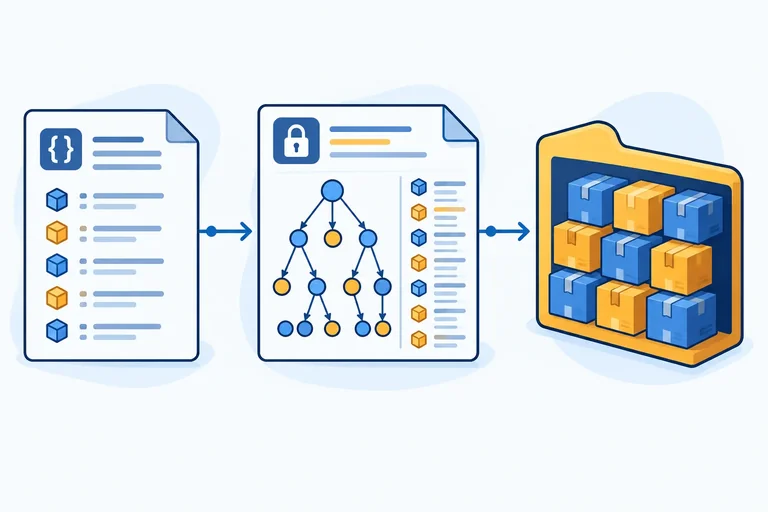
Step 4 of 8
See how direct and transitive dependencies connect to the manifest, lockfile, and installed package files.
A direct dependency is a package requested by project/ itself. In this tutorial, dayjs and prettier are direct dependencies because the project declares them.
A transitive dependency is required through another package. That is why an installation can contain packages that are not named directly by the project.
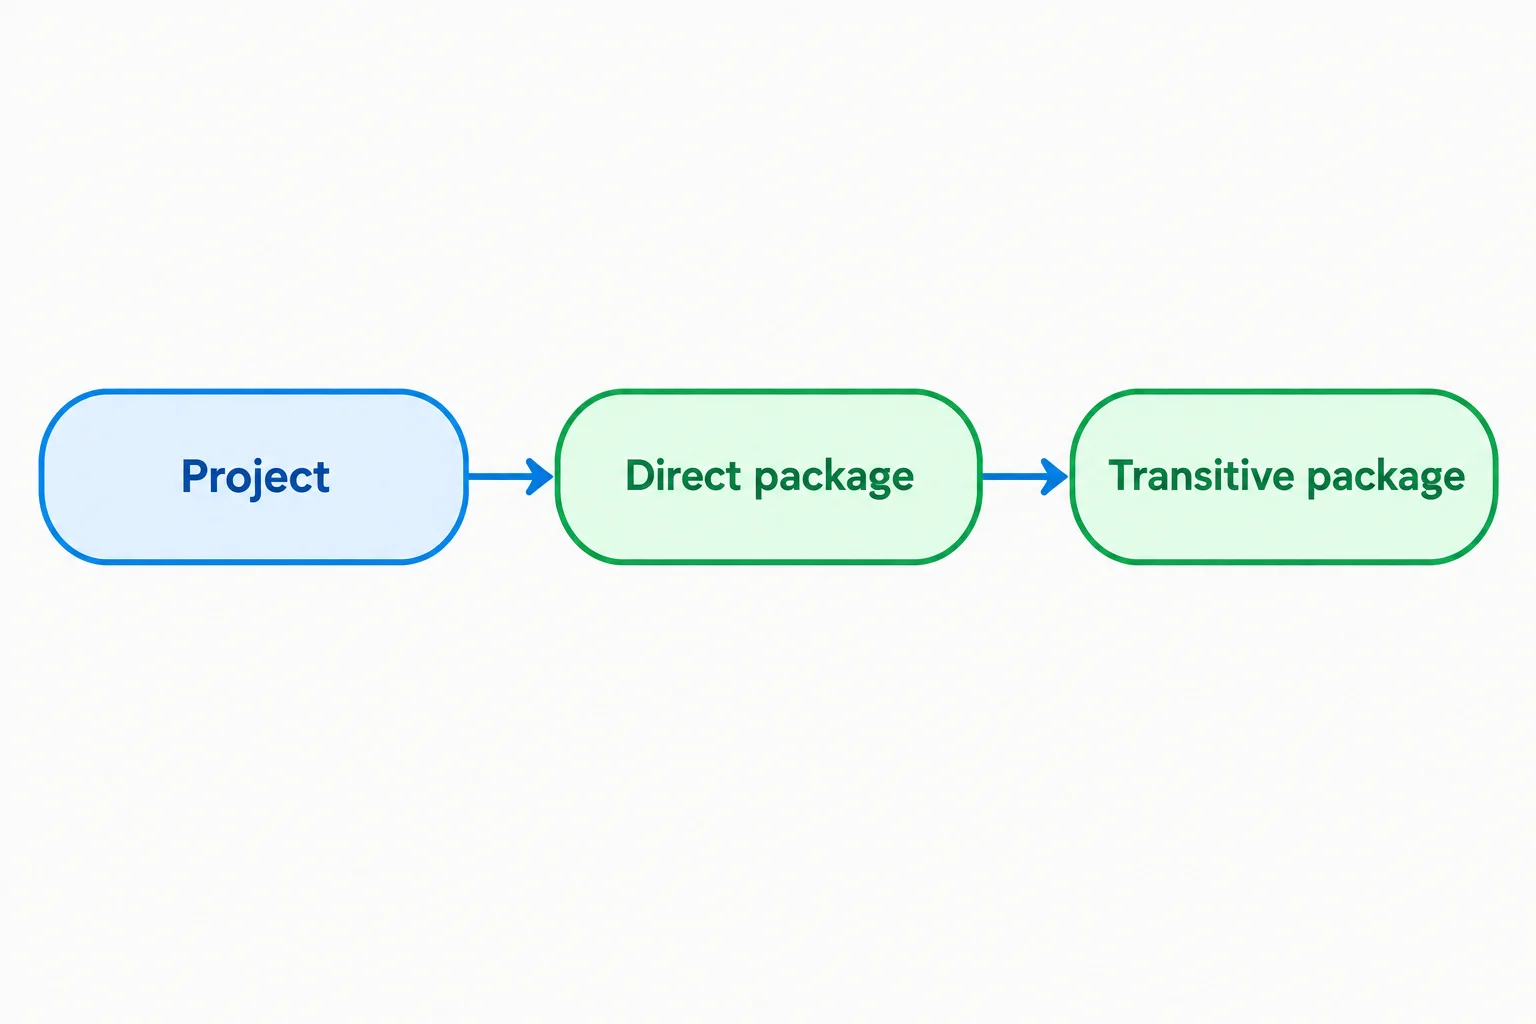
Illustrative dependency graph. This abstract example explains the relationship; it does not claim that a particular example package has a transitive dependency.
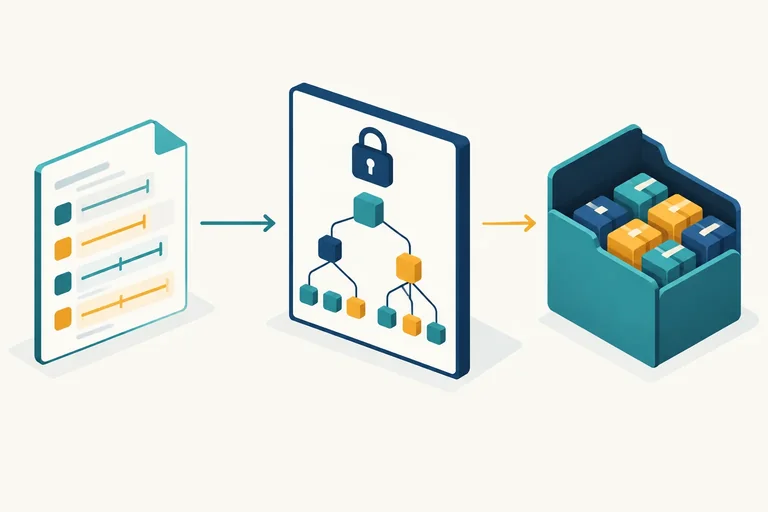
The three artifacts in project/ describe different parts of one setup. Read them together rather than treating node_modules/ as the permanent source of truth.
Each artifact answers a different question.
| Artifact | Main role | What it contains |
|---|---|---|
| package.json | Declared requirements | Direct dependencies and declared ranges |
| package-lock.json | Recorded resolved graph | Resolved versions and dependency relationships |
| node_modules/ | Installed contents | Package files placed on this computer |
Tip
Keep package.json and package-lock.json together when sharing or preserving a project. npm manages the lockfile; do not use edits inside node_modules/ as a durable dependency change.
Open package-lock.json as a read-only record. In its modern packages map, "" represents project/; it is not an empty folder. A path such as "node_modules/dayjs" identifies one installed package entry.
This illustrative excerpt shows a declared range in the project entry and a resolved version in a package entry. Actual versions and additional entries in your lockfile may differ.
Illustrative read-only Excerpt
{
  "packages": {
    "": {
      "dependencies": {
        "dayjs": "^1.11.13"
      },
      "devDependencies": {
        "prettier": "^3.5.3"
      }
    },
    "node_modules/dayjs": {
      "version": "1.11.13"
    }
  }
}The root entry records what the project declares. Package entries record the selected versions, and the complete lockfile records how package entries depend on one another. node_modules/ holds the corresponding installed files and can be recreated from the project records.
Match each description to its correct relationship or artifact.
Tap an item and then its matching pair.
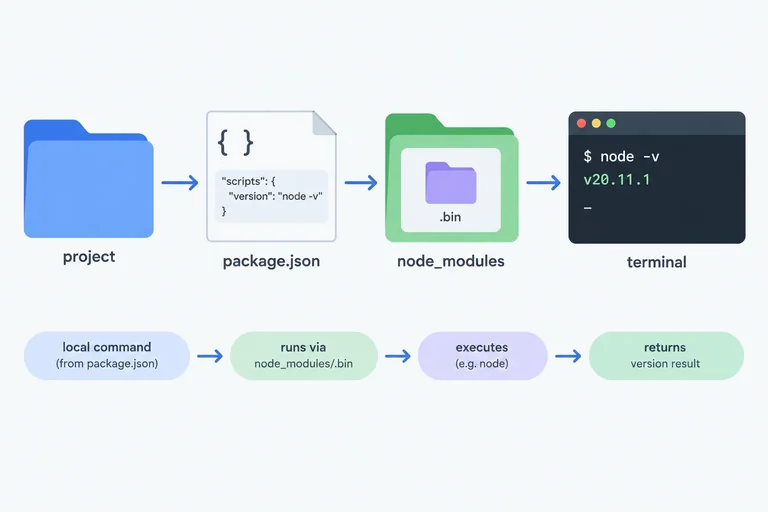
Step 5 of 8
Run a project-local package command through an npm script and trace how npm locates the executable.
Prettier is installed in this project as a development dependency. Some packages provide a command-line executable, while others do not. A local installation does not require a global command on your computer.
When you run an npm script, npm can find executable files supplied by this project’s packages.
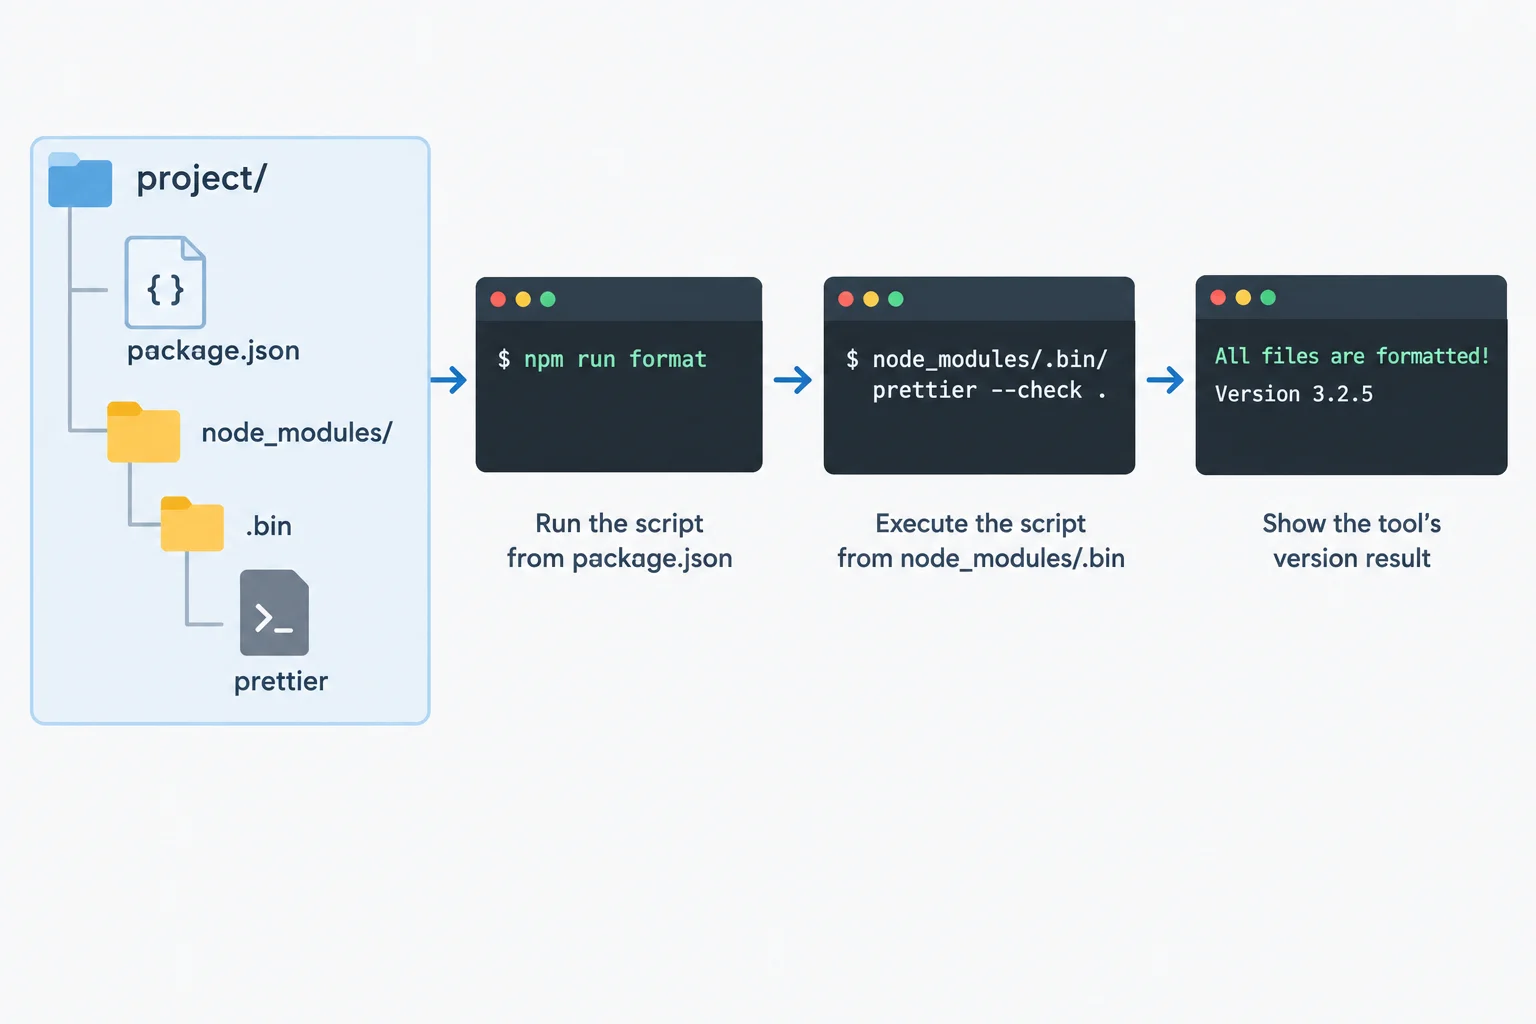
During a script, npm searches local executable locations, including project/node_modules/.bin. The script can therefore run Prettier from this project without a global Prettier installation.
Tip
The executable location is an implementation detail npm handles for the script. You only need to define the script and run it from the project folder.
In project/package.json, add the new property inside the existing "scripts" object. Keep every existing script and all other manifest fields. If the object already has an entry, use the comma required by JSON between properties.
Excerpt: the new property belongs inside your existing "scripts" object.
{
  "scripts": {
    "tool-version": "prettier --version"
  }
}Save package.json, then run this from project/. A printed version is evidence that the project-local Prettier command ran.
npm run tool-version2.4.1
Example output — your resolved version may differ.
Complete the two missing values for the project script.
{
  "scripts": {
    "": ""
  }
}Complete the terminal invocation for the script you added.
npm run Put the command-resolution flow in order.
In one short response, write the script entry and terminal invocation you used. Then report whether your local tool returned a version and record the version text you saw.
Write at least 30 characters (0/30).
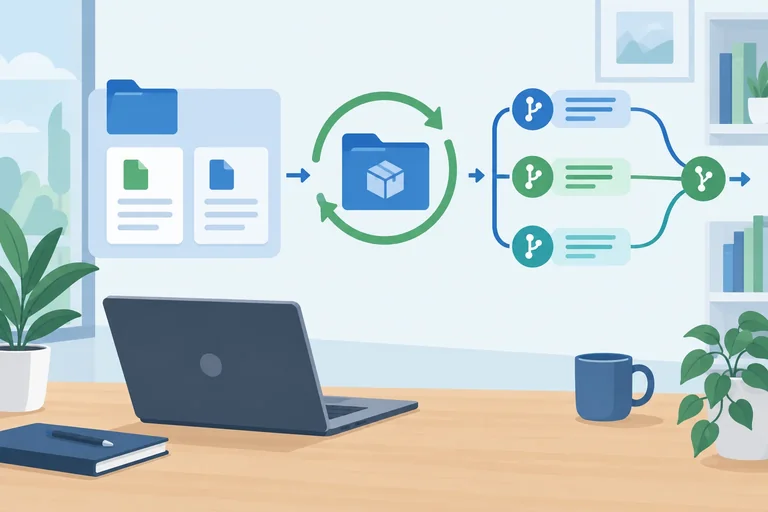
Step 6 of 8
Choose when to reconcile dependency changes with npm install and when to recreate a recorded local installation with npm ci.
Use npm install when dependency requirements have changed or need reconciling. It reads package.json, works with installed contents, and updates package-lock.json when needed.
Use npm ci when package.json and package-lock.json already describe a matching recorded setup and you want to recreate it. It removes the existing node_modules/ itself, installs the recorded resolutions, and does not rewrite either project file.
A bare npm install normally reuses compatible resolutions already recorded in the lockfile. It does not automatically replace every package with the newest version allowed by a declared range.
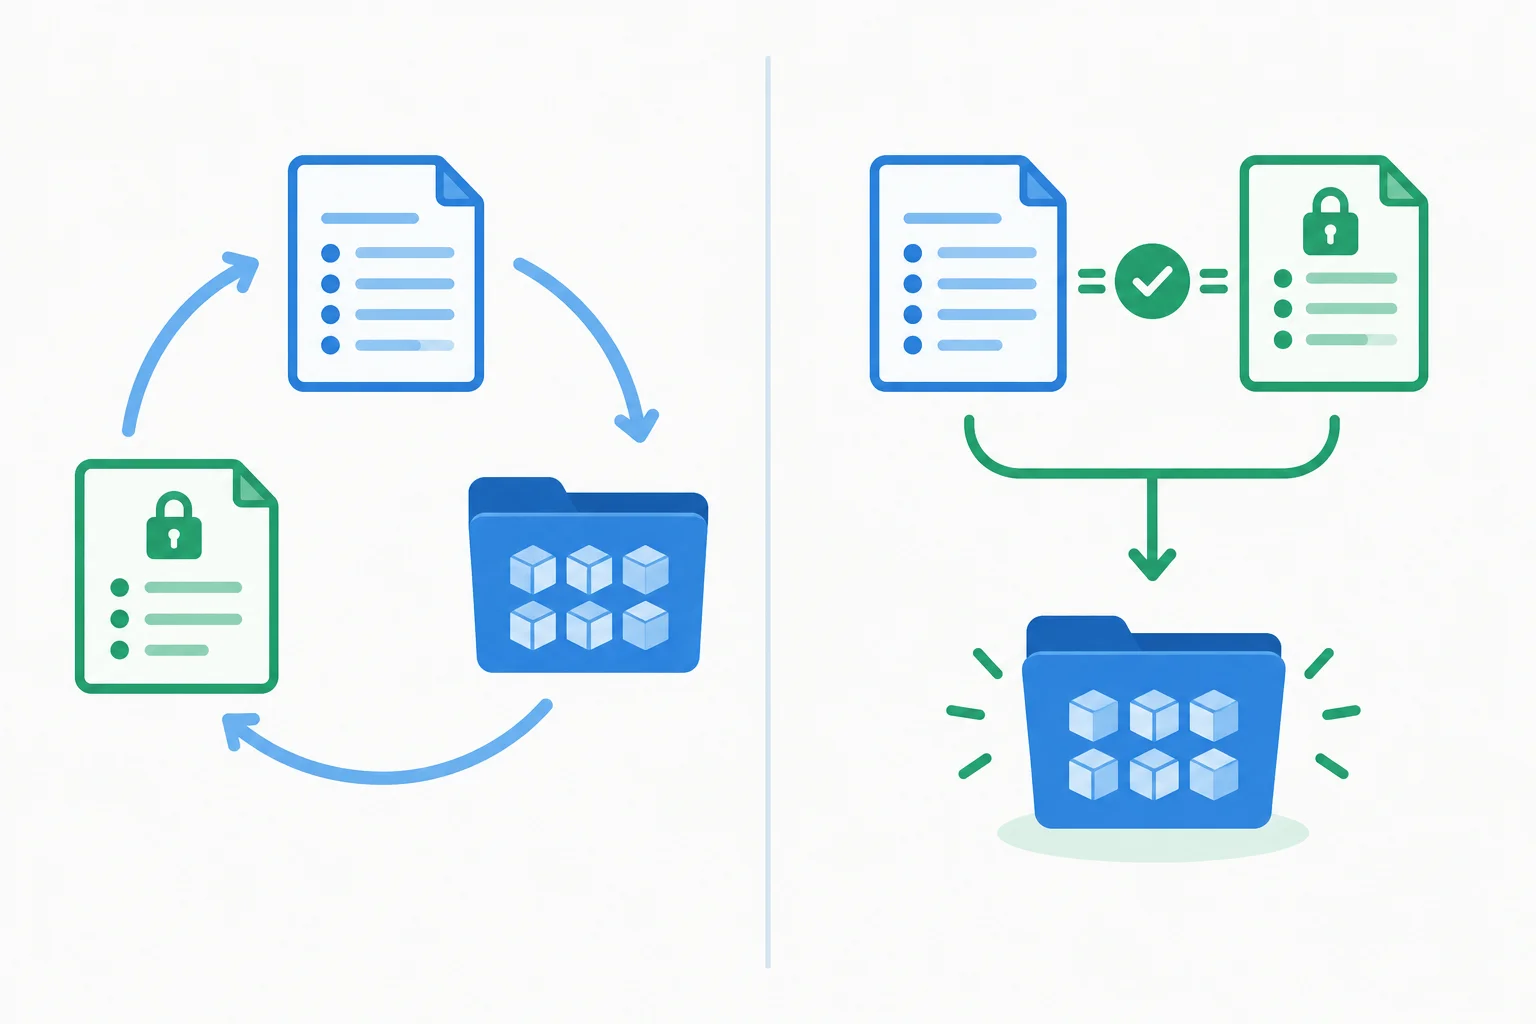
npm install reconciles project dependency information. npm ci rebuilds installed contents from a matching manifest and lockfile.
Tip
Choose by the task, not because one command is “newer.” Both operate on project-local dependencies in project/.
Task
| Task | npm install | npm ci |
|---|---|---|
| A dependency declaration changed | Reconcile it; update the lockfile if needed | Not appropriate |
| Recreate from matching records | Can install, but is not the clean-recreation command | Rebuild from the recorded setup |
| A compatible locked resolution exists | Normally reuses it | Uses the recorded resolution |
| Manifest and lockfile disagree | Can reconcile dependency records | Stops rather than repairing records |
For npm ci, an existing package-lock.json must be consistent with the dependency requirements in package.json. If those requirements disagree, npm ci refuses the installation instead of repairing the lockfile.
For example, changing a dependency declaration by hand can create a mismatch. Changing only a script, such as the existing "tool-version": "prettier --version" script, does not change dependency requirements and does not create this kind of mismatch.
Warning
Do not manually delete or edit files inside node_modules/ to prepare for a clean installation. Run npm ci; it removes and rebuilds node_modules/ as part of its normal work.
A lockfile records package resolutions, not your entire computer environment. Recreation still requires compatible Node.js/npm tooling and access to the required packages.
From the root of project/, confirm that the existing package.json and package-lock.json are present and still match after the earlier installations. Your project should retain dayjs, prettier, and the tool-version script.
Run the clean installation first. Then run the existing script to check that npm can again locate Prettier's project-local command. Do not delete node_modules/ yourself.
Run from project/. npm removes the existing installed directory and rebuilds it from the matching project records.
npm ciadded 2 packages, and audited 3 packages in 1s found 0 vulnerabilities
Example output. Package counts, timing, audit messages, and other details can differ by project and npm version.
After the clean installation finishes, run the project script that uses the local Prettier executable.
npm run tool-version> project@1.0.0 tool-version > prettier --version 3.5.3
Example output. The project name, project version, and reported Prettier version may differ on your computer.
Write a short response covering all four points:
package.json and package-lock.json match and you need a clean recreation of installed packages: which command do you choose?npm run tool-version in your own project.Write at least 120 characters (0/120).
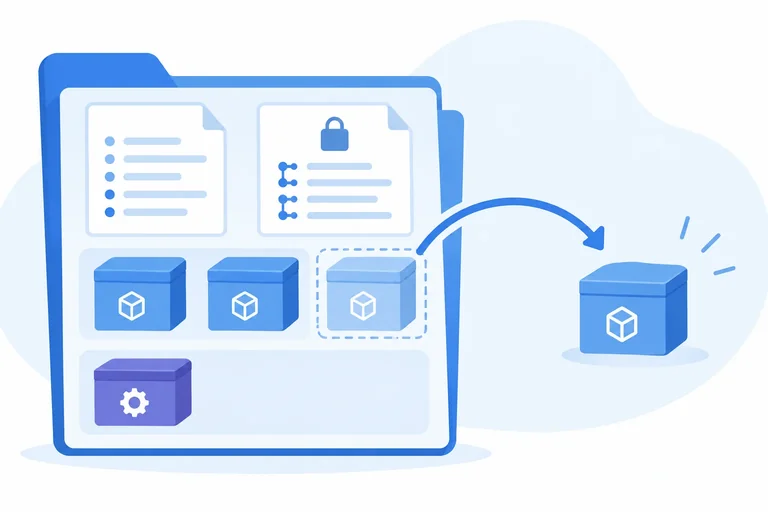
Step 7 of 8
Remove an unneeded direct dependency with npm while preserving consistent project records and the required local development tool.
You no longer need dayjs in this project, but you still need Prettier and the existing tool-version script. From the project/ root, remove the direct dependency through npm—not by deleting package files yourself.
Run this command on your computer:
Run from project/.
npm uninstall dayjsremoved 1 package, and audited 2 packages in 1s found 0 vulnerabilities
Example output only. Package counts, timing, and audit messages can differ on your computer.
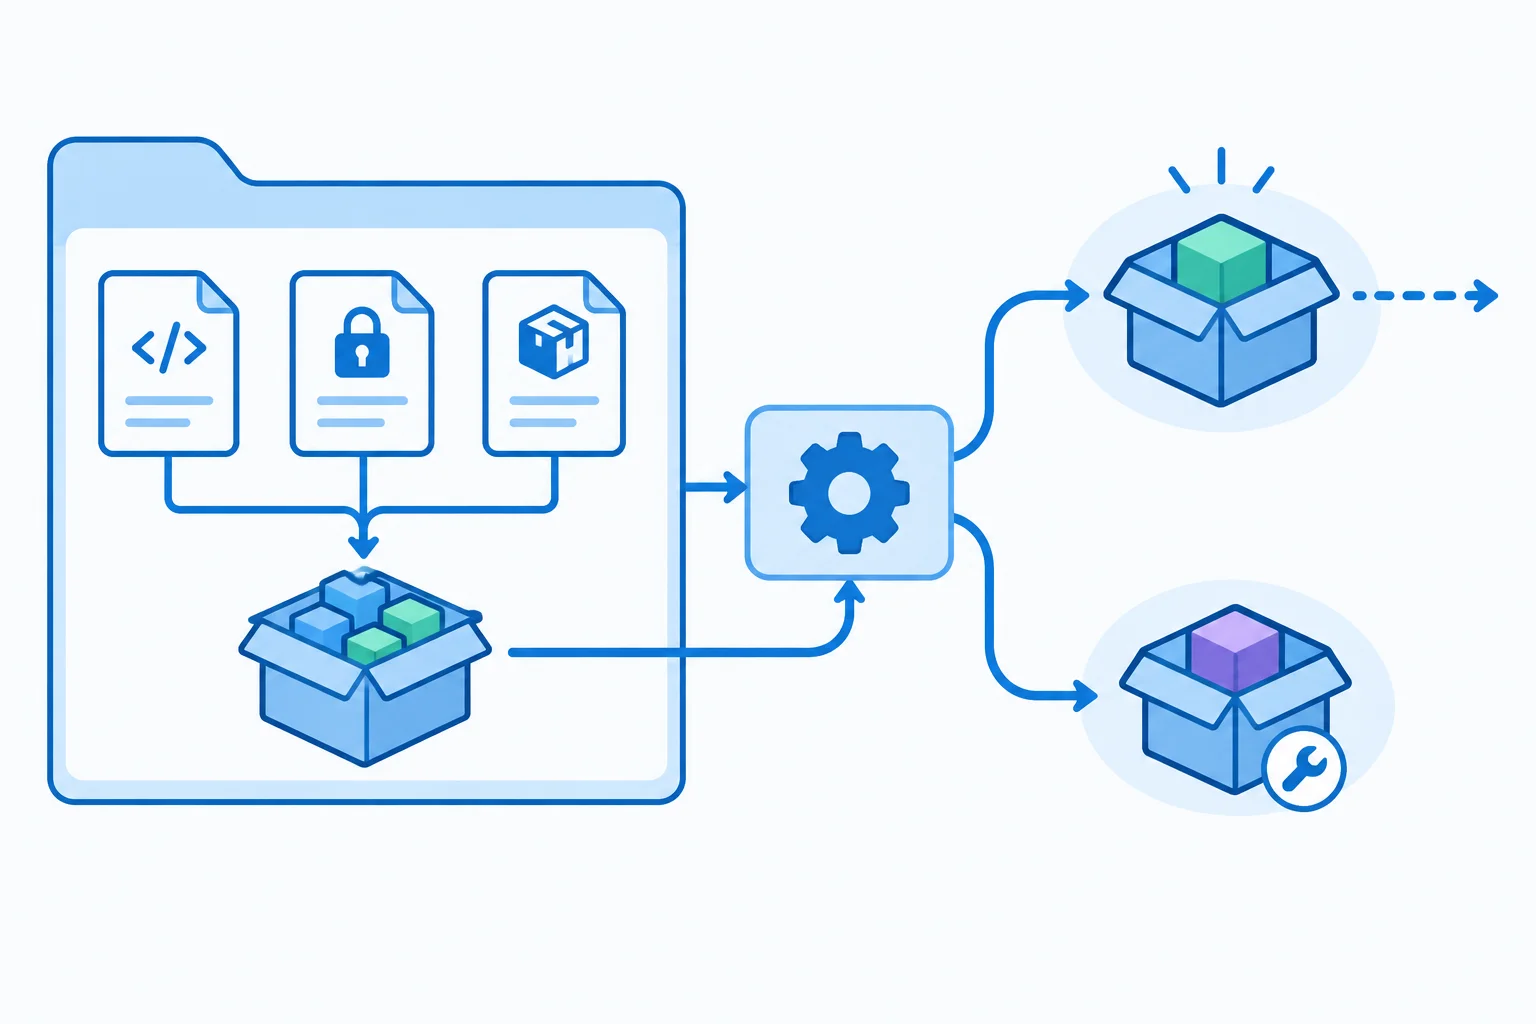
npm uninstall dayjs coordinates the project records and installed dependency tree. It does not remove authored application files or the still-needed Prettier tool.
After the command finishes, inspect your files in the editor. Do not replace unrelated fields or scripts while inspecting them.
The dayjs entry should no longer be a direct declaration in package.json. The prettier development declaration and the "tool-version": "prettier --version" script should remain. npm also updates package-lock.json and reconciles node_modules/ with the new recorded setup.
Expected effects of removing one direct dependency
| Artifact | Expected result |
|---|---|
| package.json | The direct dayjs declaration is removed; Prettier and the script remain. |
| package-lock.json | The recorded resolved graph is updated for the removal. |
| node_modules/ | Installed contents are reconciled with the updated graph. |
| Authored files | Source files and other project work remain unchanged. |
Warning
Do not delete or edit files inside node_modules/ as a way to remove or customize a dependency. Those contents are generated and can be recreated. Keep package.json and package-lock.json together, and let npm manage installed contents.
Complete the command that removes the unneeded direct dependency from project/.
npm dayjsAfter removing the unneeded application dependency from project/, write a 2–4 sentence report. State the npm command you used; identify what changes in package.json, package-lock.json, and node_modules/; confirm what remains for the local formatting tool; and explain why manually deleting a folder inside node_modules/ is not an equivalent removal.
Write at least 160 characters (0/160).
Step 8 of 8
Restore the application dependency, recreate the recorded installation, and explain how the project records and local command work together.
Return to project/. In the previous step, you removed dayjs. Restore it as an application dependency without replacing your existing manifest fields or scripts. npm updates the project records for you.
Afterward, inspect the files in your editor. Confirm that dayjs is again under dependencies, that prettier remains under devDependencies, and that the existing tool-version script is still present.
Run this from project/. Example output is shown below; your package count and timing may differ.
npm install dayjsadded 1 package, and audited 3 packages in 600ms found 0 vulnerabilities
Example output. Package counts, timing, and audit messages vary by project and npm version.
Use this inspection as a checklist. Do not manually edit generated dependency records to imitate these results.
| Artifact | What to confirm |
|---|---|
| package.json | dayjs in dependencies; prettier in devDependencies; tool-version script remains |
| package-lock.json | npm has updated the recorded resolved dependency graph |
| node_modules/ | Installed package contents reflect the current project records |
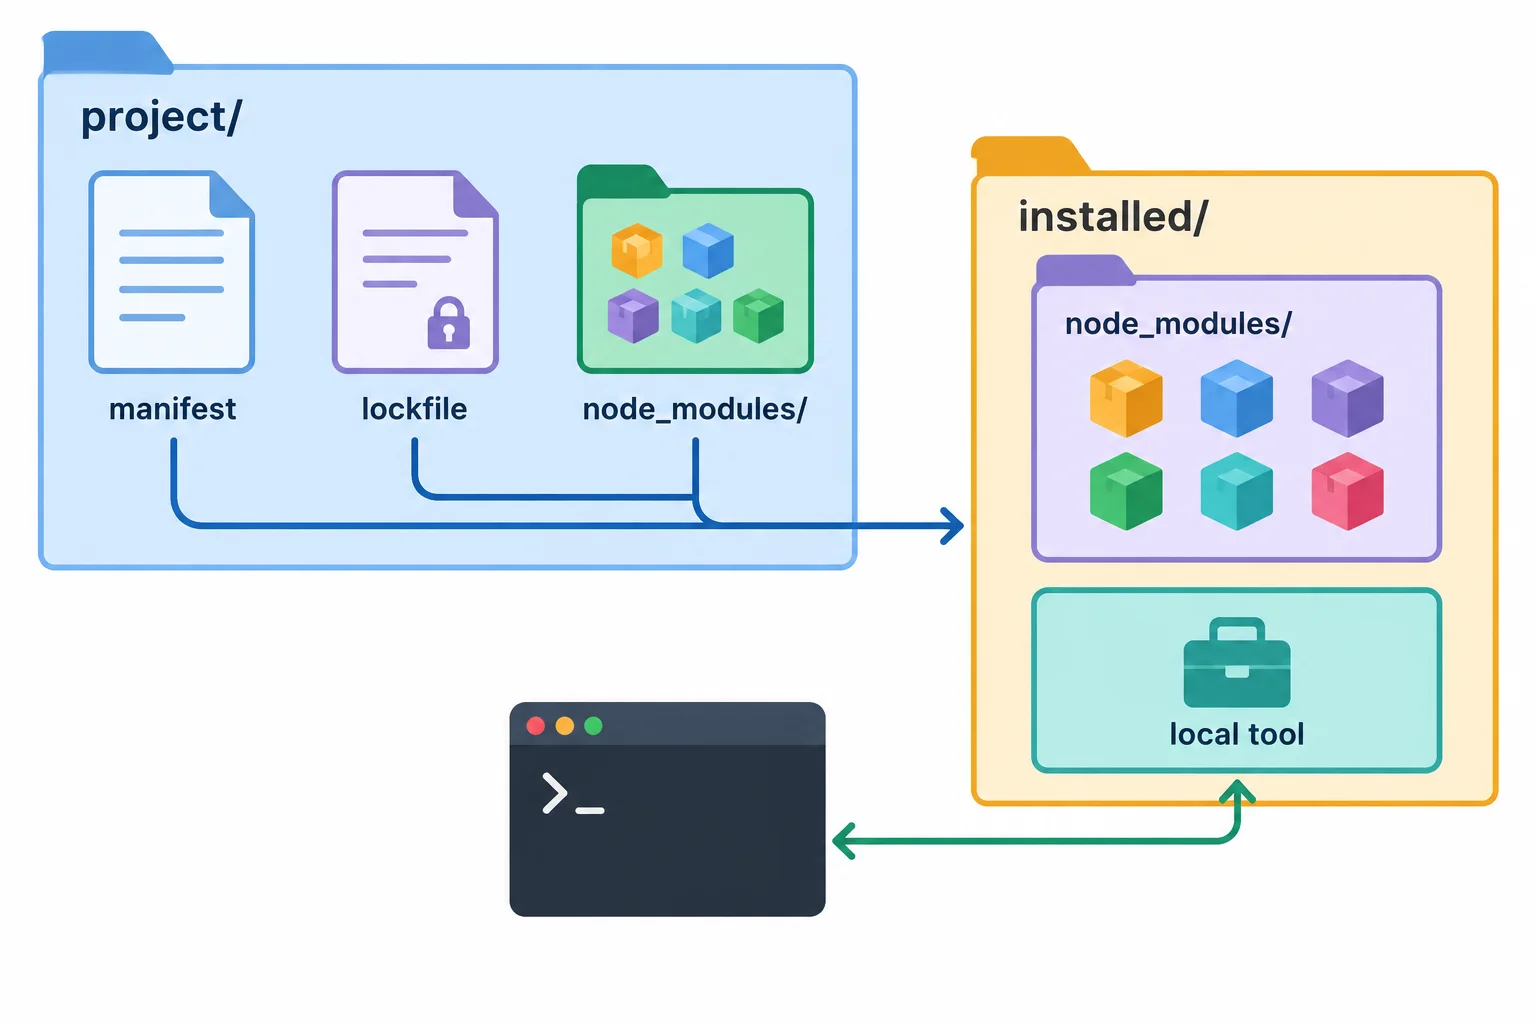
package.json declares the project’s needs; package-lock.json records the selected resolution; node_modules/ holds the installed contents. The script can reach a local executable from those contents.
The manifest and lockfile now agree after the dependency change. Complete the command that performs a clean recreation from those matching records. It replaces installed contents from the recorded setup rather than looking for a newer version merely allowed by a declared range.
Complete the command for the matching-file clean recreation.
npm Now run the command you selected from project/. Do not manually delete files in node_modules/; the command handles that clean replacement.
Then run the existing script. A version line confirms that npm found and ran the project-local Prettier executable. It does not prove that your application itself behaves correctly.
Even if a declared range could allow a newer release, this clean recreation follows the resolved version recorded in the lockfile.
From project/, run the clean recreation. Example output is shown below.
npm ciadded 2 packages, and audited 3 packages in 800ms found 0 vulnerabilities
Example output. The number of packages, timing, and audit result may differ on your computer.
Run the script after the recreation. Example output is shown below.
npm run tool-version> project@1.0.0 tool-version > prettier --version 2.4.1
Example output. Your project name, project version, and reported Prettier version may differ. The important evidence is the version printed by prettier --version.
Summary
package.json supplies declared requirements, including dependency category and declared range.package-lock.json records the resolved dependency graph selected for this project.node_modules/ contains recreated installed package files and can be replaced.npm ci uses the recorded resolutions; it does not choose a newer version just because a declared range could allow one.npm run tool-version lets npm locate the local Prettier executable for that script.Complete the workflow on your own computer, then write a compact report.
dayjs and which contains prettier.npm run tool-version on your computer.Write at least 250 characters (0/250).
Congratulations! You completed: Manage npm Dependencies and Lockfiles
Thousands of online courses in video, ebooks and audiobooks.
To test your knowledge during online courses
Generated directly from your cell phone's photo gallery and sent to your email

Download our app via QR Code or the links below:.



Carry knowledge in your pocket.
Download the Cursa app.
There are hundreds of free courses available, with a free certificate of completion that is saved in your mobile image gallery.
Download the app to access the Course Completion Certificate for Free.


+ 10 million
students

Free and Valid
Certificate

60 thousand free
exercises

4.8/5 rating in
app stores

Free courses in
video and ebooks