Step 1 of 7
Understand What ESLint Can Check
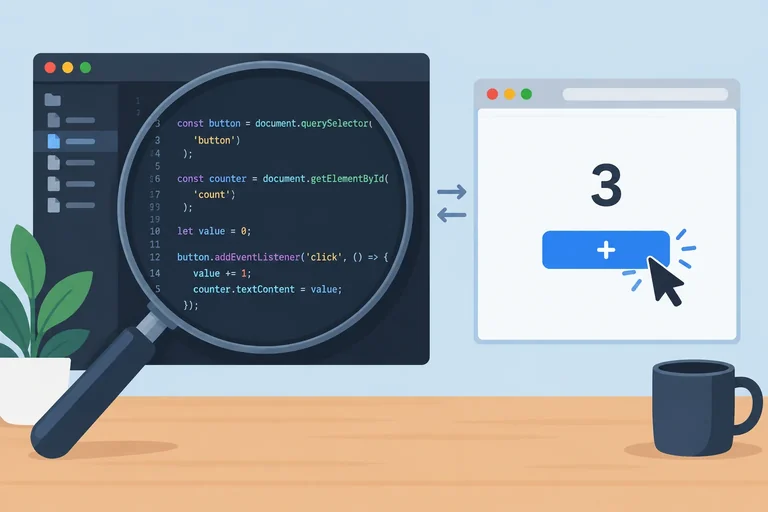
Learn what a lint check can identify in JavaScript source and why browser behavior still needs direct verification.

Learning path · Level 6 · Tutorial 5
Configure ESLint for browser JavaScript, run checks through npm, and resolve useful diagnostics without mistaking lint success for complete correctness.

 Understand What ESLint Can Check
Learn what a lint check can identify in JavaScript source and why browser behavior still needs direct verification. 2 min
Understand What ESLint Can Check
Learn what a lint check can identify in JavaScript source and why browser behavior still needs direct verification. 2 min
 Install ESLint and Start a Flat Configuration
Install ESLint locally, create a starter ES-module flat configuration, and add the Click Counter files for later diagnostics. 3 min
Install ESLint and Start a Flat Configuration
Install ESLint locally, create a starter ES-module flat configuration, and add the Click Counter files for later diagnostics. 3 min
 Match Files to Their Runtime Environment
Configure file scopes, ignores, and runtime-specific globals in an ESLint flat configuration. 4 min
Match Files to Their Runtime Environment
Configure file scopes, ignores, and runtime-specific globals in an ESLint flat configuration. 4 min
 Run a Check and Read the Report
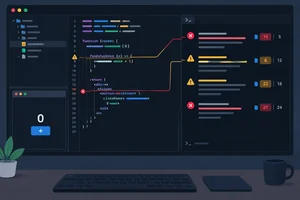
Run the project-local ESLint command, read diagnostic locations and rules, and relate rule severity to lint-check exit statuses. 3 min
Run a Check and Read the Report
Run the project-local ESLint command, read diagnostic locations and rules, and relate rule severity to lint-check exit statuses. 3 min
 Correct Undefined and Unused Bindings
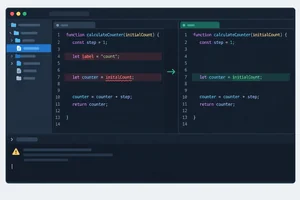
Resolve the Click Counter's undefined and unused bindings by checking code intent, then distinguish the corrected errors from the remaining warning. 3 min
Correct Undefined and Unused Bindings
Resolve the Click Counter's undefined and unused bindings by checking code intent, then distinguish the corrected errors from the remaining warning. 3 min
 Apply and Review Automatic Fixes
Apply a supported ESLint automatic fix, inspect the source change, and verify that Click Counter still behaves as intended. 3 min
Apply and Review Automatic Fixes
Apply a supported ESLint automatic fix, inspect the source change, and verify that Click Counter still behaves as intended. 3 min
 Finish with a Lint-and-Behavior Check
Complete a local ESLint workflow and verify why a clean lint report is not proof of correct Click Counter behavior. 3 min
Finish with a Lint-and-Behavior Check
Complete a local ESLint workflow and verify why a clean lint report is not proof of correct Click Counter behavior. 3 min
Step 1 of 7
Learn what a lint check can identify in JavaScript source and why browser behavior still needs direct verification.
A lint check reads JavaScript source and compares it with selected rules. This is static analysis: it inspects code without starting the application or activating its interface.
That makes linting useful early. It can identify suspicious patterns while you are editing, before a visitor reaches the affected button or screen.
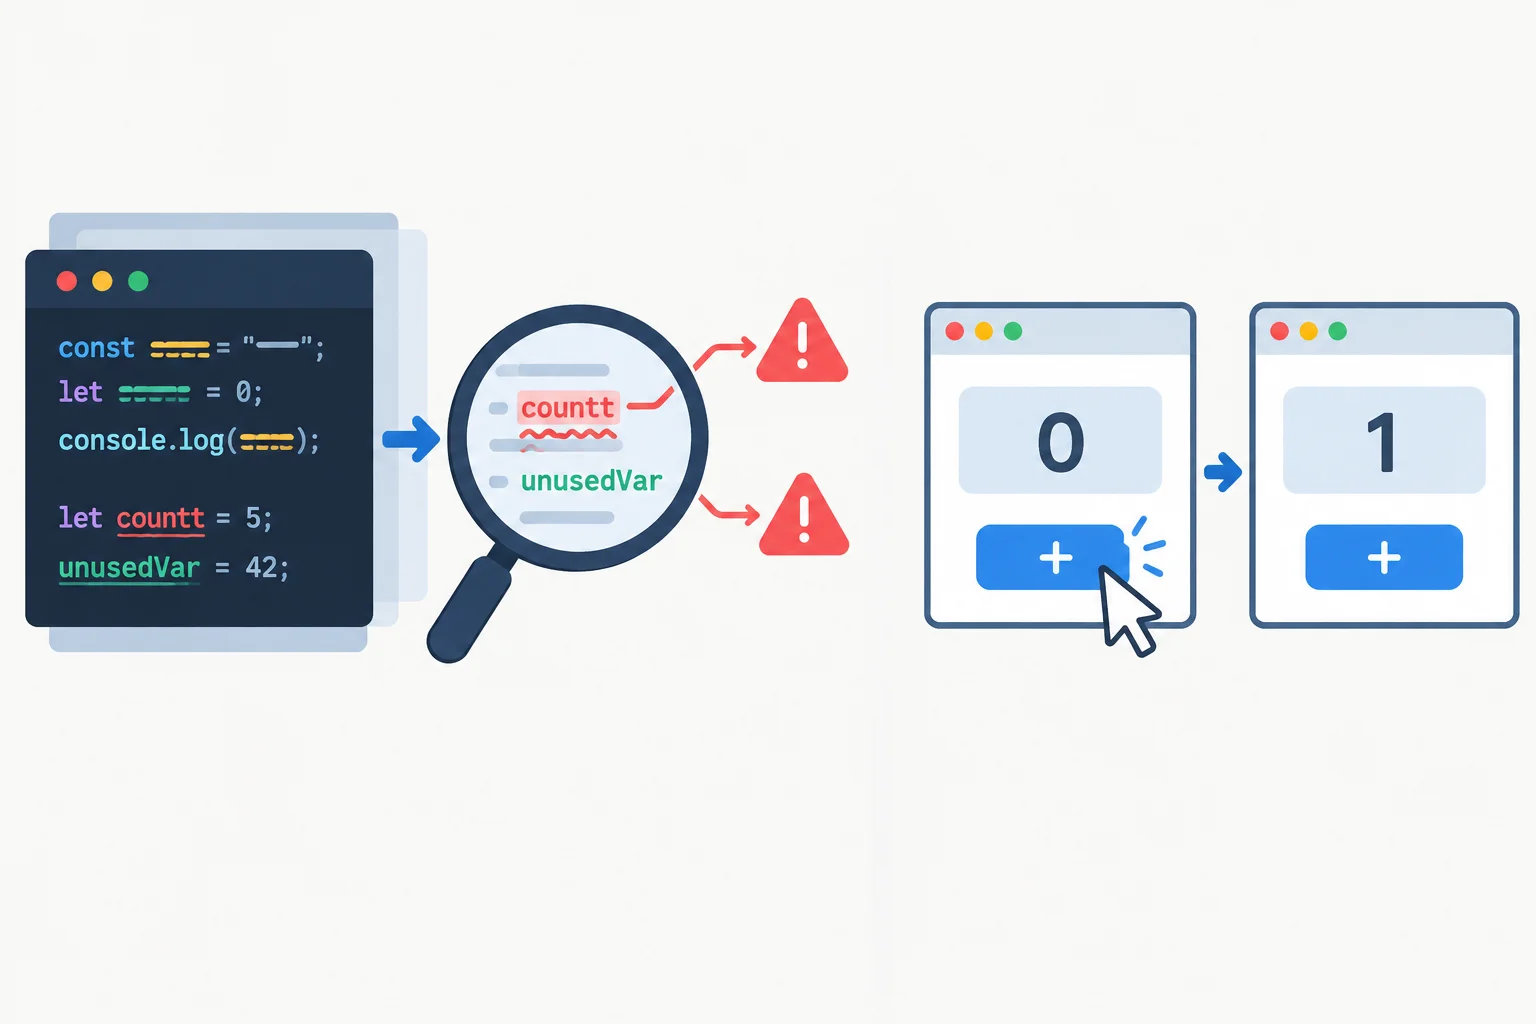
A lint check examines source patterns. A manual behavior check interacts with the running interface.
Static analysis can flag a name that is not available where code tries to use it. For example, if a module declares count but an expression reads coutn, the misspelling is a useful finding before anyone activates the counter.
It can also flag an unused binding. If code creates debugLabel and never reads it, that may be leftover code or a sign that intended work is missing. Review the intent rather than assuming every finding has the same repair.
Tip
A lint check is not application execution, comprehensive type checking, or proof that the feature fulfills its purpose. It reports patterns covered by its rules; it does not know every requirement a person expects from an interface.
Consider a counter whose identifiers are all spelled correctly, but whose click logic subtracts 1 when the interface promise is to add 1. The source can satisfy the selected lint rules and still produce the wrong result.
A manual behavior check answers a different question: does the running interface do what people need? For a counter, that means checking its starting display and activating the control to confirm each result.
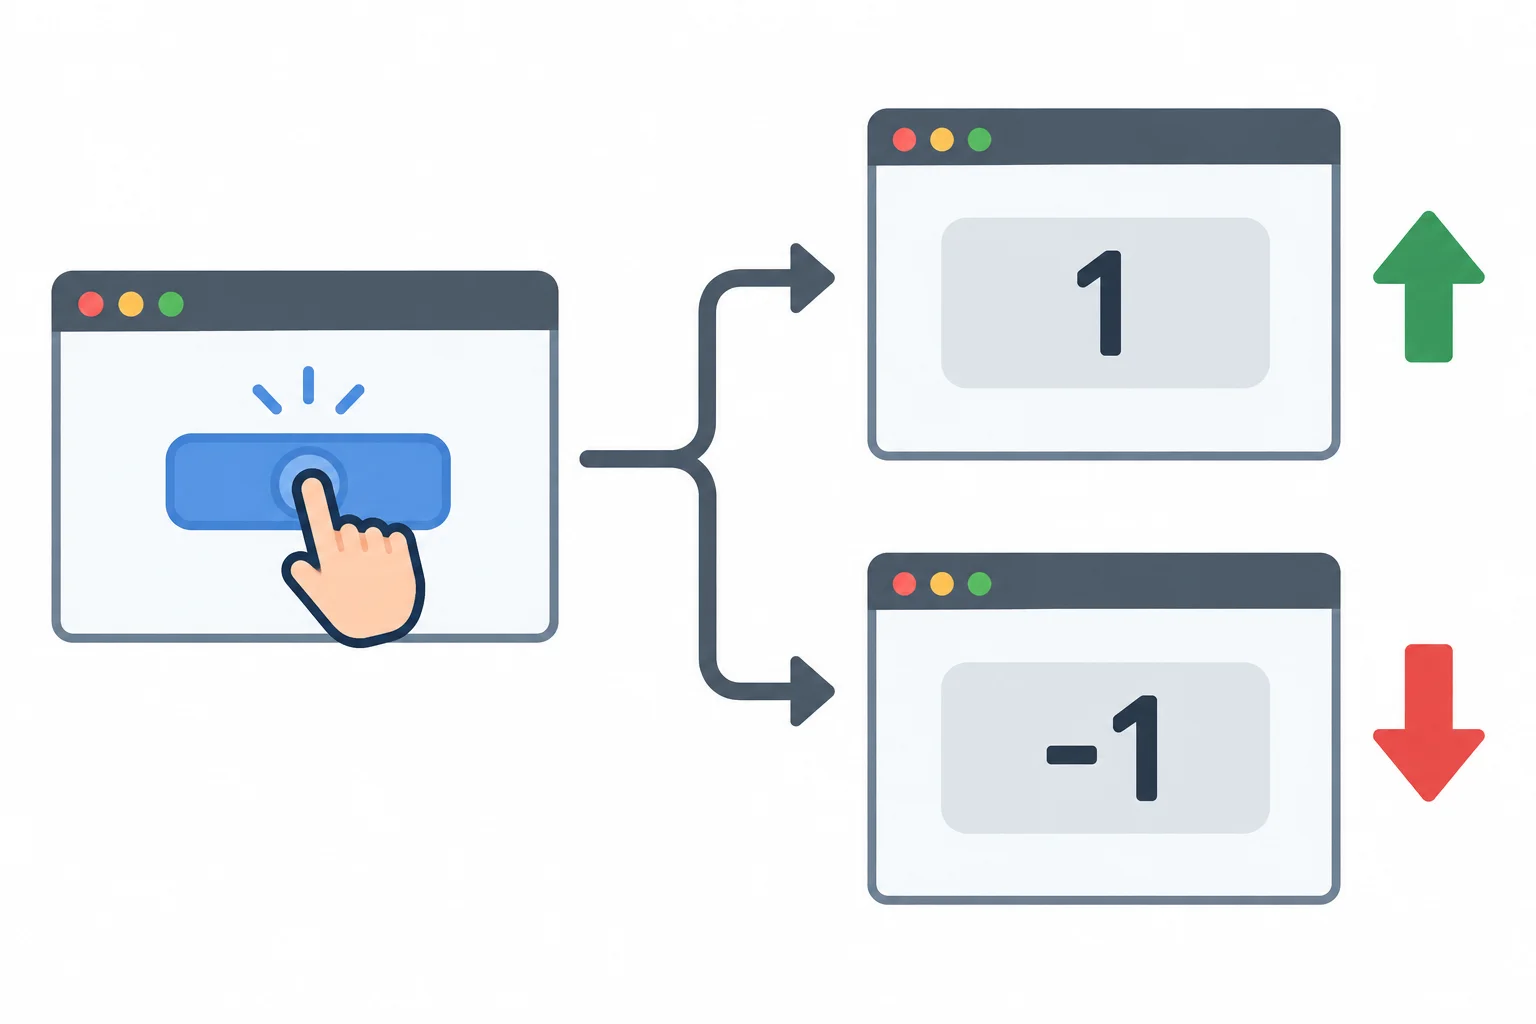
A lint check may find no suspicious source pattern even when the observed counter result is wrong.
Match each observation to the kind of check that can establish it.
Tap an item and then its matching pair.

Step 2 of 7
Install ESLint locally, create a starter ES-module flat configuration, and add the Click Counter files for later diagnostics.
From your project root—the folder containing package.json—install the lint tools as project-local development dependencies. This keeps the tool version recorded with the project instead of relying on a global installation.
Use the matching ESLint 9 packages shown here. globals is installed now because the configuration will use it in the next step.
Run this command in your project root.
npm install --save-dev eslint@9 @eslint/js@9 globalsadded 86 packages, and audited 87 packages in 3s 22 packages are looking for funding run `npm fund` for details found 0 vulnerabilities
Package counts, audit details, and timing vary by project and npm version. The important result is that the packages are added as development dependencies in package.json.
Create eslint.config.mjs in the project root, beside package.json. The .mjs extension tells Node.js to load this configuration as an ES module, regardless of the package type setting.
A flat configuration is a plain array. For now, it imports the recommended JavaScript rules and scopes them to your authored source files and this configuration file. Environment-specific settings come next.
Save this as eslint.config.mjs in the project root.
import js from "@eslint/js";

export default [
  {
    ...js.configs.recommended,
    files: ["src/**/*.js", "eslint.config.mjs"]
  }
];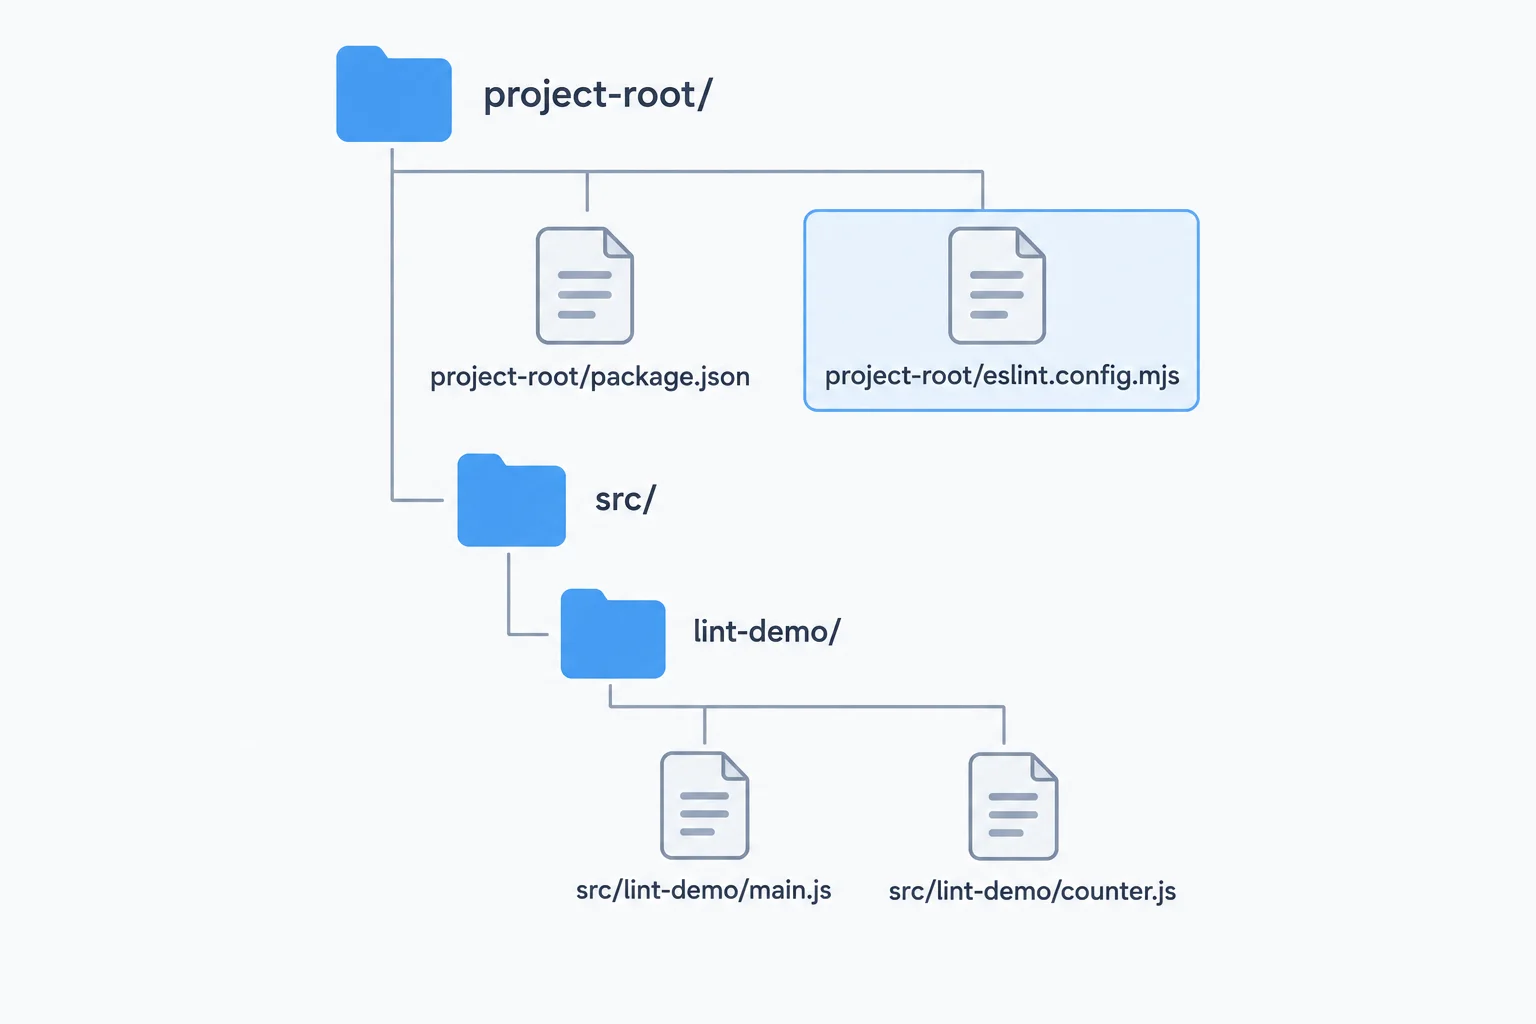
The configuration is at the project root; the authored JavaScript is under src/.
Create this small practice interface in your own project. It uses the module structure you already know. Do not repair the intentional issues yet: later steps will use them to practice reading diagnostics and reviewing an automatic fix.
Create lint-demo.html at the project root.
<!doctype html>
<html lang="en">
  <head>
    <meta charset="UTF-8">
    <meta name="viewport" content="width=device-width, initial-scale=1.0">
    <title>Click Counter</title>
  </head>
  <body>
    <h1>Click Counter</h1>
    <button id="increment-button">Add 1</button>
    <output id="count-output">0</output>
    <script type="module" src="./src/lint-demo/main.js"></script>
  </body>
</html>Create src/lint-demo/counter.js.
export let increment = (count) => {
  const nextCount = coutn + 1;
  return nextCount;
};Create src/lint-demo/main.js.
import { increment } from "./counter.js";

const button = document.querySelector("#increment-button");
const output = document.querySelector("#count-output");
const debugLabel = "Click Counter";
let count = 0;

button.addEventListener("click", () => {
  count = increment(count);
  output.textContent = count;
});From memory, write a short setup note that includes all of the following:
export default array structure.eslint.config.mjs is saved.Do not add environment settings yet.
Write at least 120 characters (0/120).

Step 3 of 7
Configure file scopes, ignores, and runtime-specific globals in an ESLint flat configuration.
A flat configuration is a list of objects. ESLint combines the objects whose files patterns match a file.
A files pattern selects where that object’s settings apply; it does not by itself exclude other files from command-line discovery. Use an ignore-only object when generated output must be excluded.
For this project:
src/**/*.js is browser source.eslint.config.mjs is a Node.js ES-module configuration file.dist/** is generated output to ignore.node_modules is ignored by ESLint by default.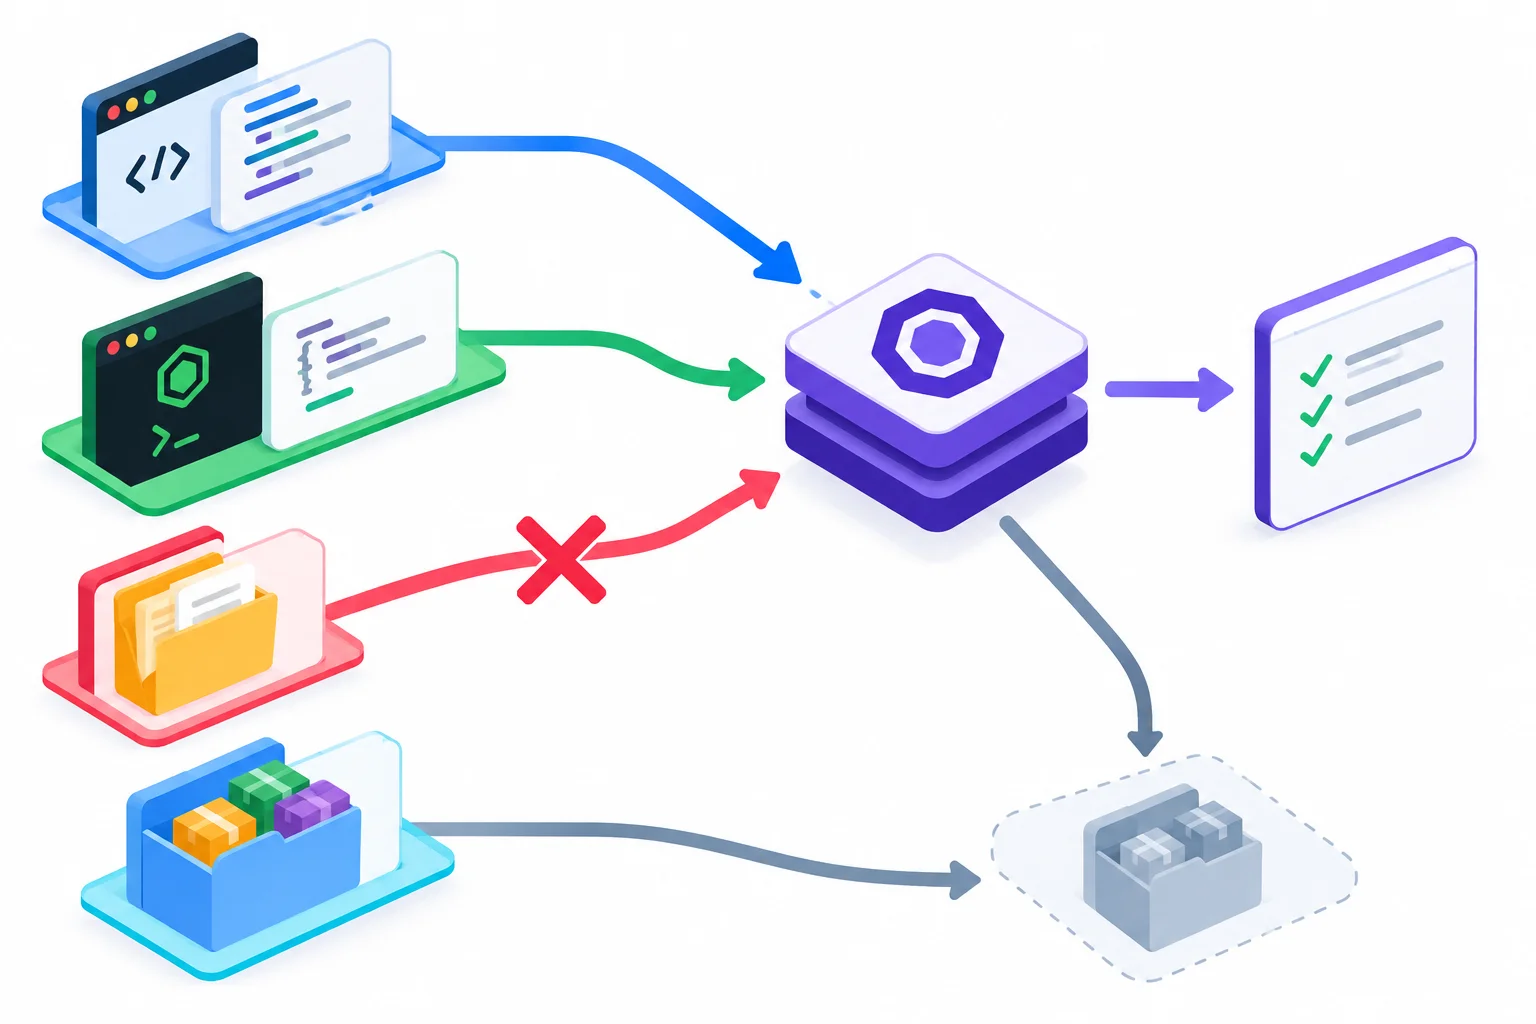
Treat browser source, the Node.js configuration, generated output, and installed dependencies differently.
Use the matching setting only where its runtime supplies those names.
| Files | Treatment | Reason |
|---|---|---|
| src/**/*.js | Browser globals | Runs in the browser |
| eslint.config.mjs | Node.js globals | Runs as a Node.js module |
| dist/** | Ignore | Generated output |
| node_modules | Ignored by default | Installed dependencies |
Keep the recommended rules in one scoped object, then add separate matching objects for each runtime. This makes the browser and Node.js boundaries visible in the configuration.
Declaring globals tells ESLint which names an environment provides. It does not create those values. For example, Node.js may provide process; a browser does not gain process merely because a configuration lists it.
Save this complete flat configuration as eslint.config.mjs in the project root. It scopes recommended rules to authored source and the configuration file, ignores generated output, and keeps runtime globals separate.
import js from "@eslint/js";
import globals from "globals";

export default [
  {
    ignores: ["dist/**"]
  },
  {
    ...js.configs.recommended,
    files: ["src/**/*.js", "eslint.config.mjs"]
  },
  {
    files: ["src/**/*.js"],
    languageOptions: {
      globals: globals.browser
    }
  },
  {
    files: ["eslint.config.mjs"],
    languageOptions: {
      globals: globals.nodeBuiltin
    }
  }
];
Warning
Do not put Node.js globals in the browser-source object. If browser code accidentally uses process, ESLint should be able to report that the identifier is not defined instead of treating it as a browser-provided value.
Apply the configuration decisions to this project. Write a short response with:
src/**/*.js, eslint.config.mjs, dist/**, and node_modules.globals value for browser source and for the configuration file.process for src/**/*.js would hide a useful diagnostic.Write at least 180 characters (0/180).
Step 4 of 7
Run the project-local ESLint command, read diagnostic locations and rules, and relate rule severity to lint-check exit statuses.
A lint check should be repeatable for everyone working in the project. Add a lint entry to the existing scripts object in package.json; keep the existing dev entry. When you run an npm script, npm makes the project-local ESLint executable available.
The script explicitly checks authored source in src and eslint.config.mjs. In the browser-source configuration object, add prefer-const at warning severity. The separately scoped recommended configuration remains unchanged, so no-undef and no-unused-vars remain errors.
Keep your existing development-server script and add the lint script.
{
  "scripts": {
    "dev": "vite",
    "lint": "eslint src eslint.config.mjs"
  }
}Add the rules property to the existing object that matches browser source files.
{
  files: ["src/**/*.js"],
  languageOptions: {
    globals: globals.browser
  },
  rules: {
    "prefer-const": "warn"
  }
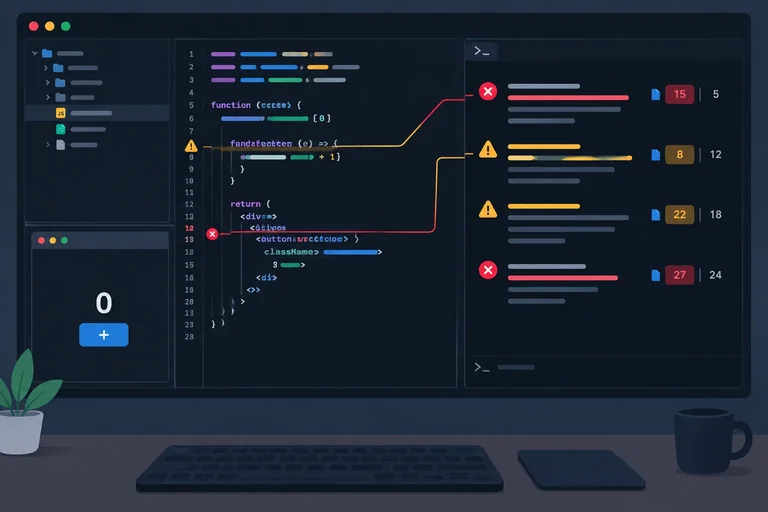
},From the project root, run the lint check. Read each diagnostic from left to right: file path, line:column, severity, message, and rule. The position identifies the relevant source location; the rule identifies the configured check that reported it. A diagnostic is not an instruction to disable that rule.
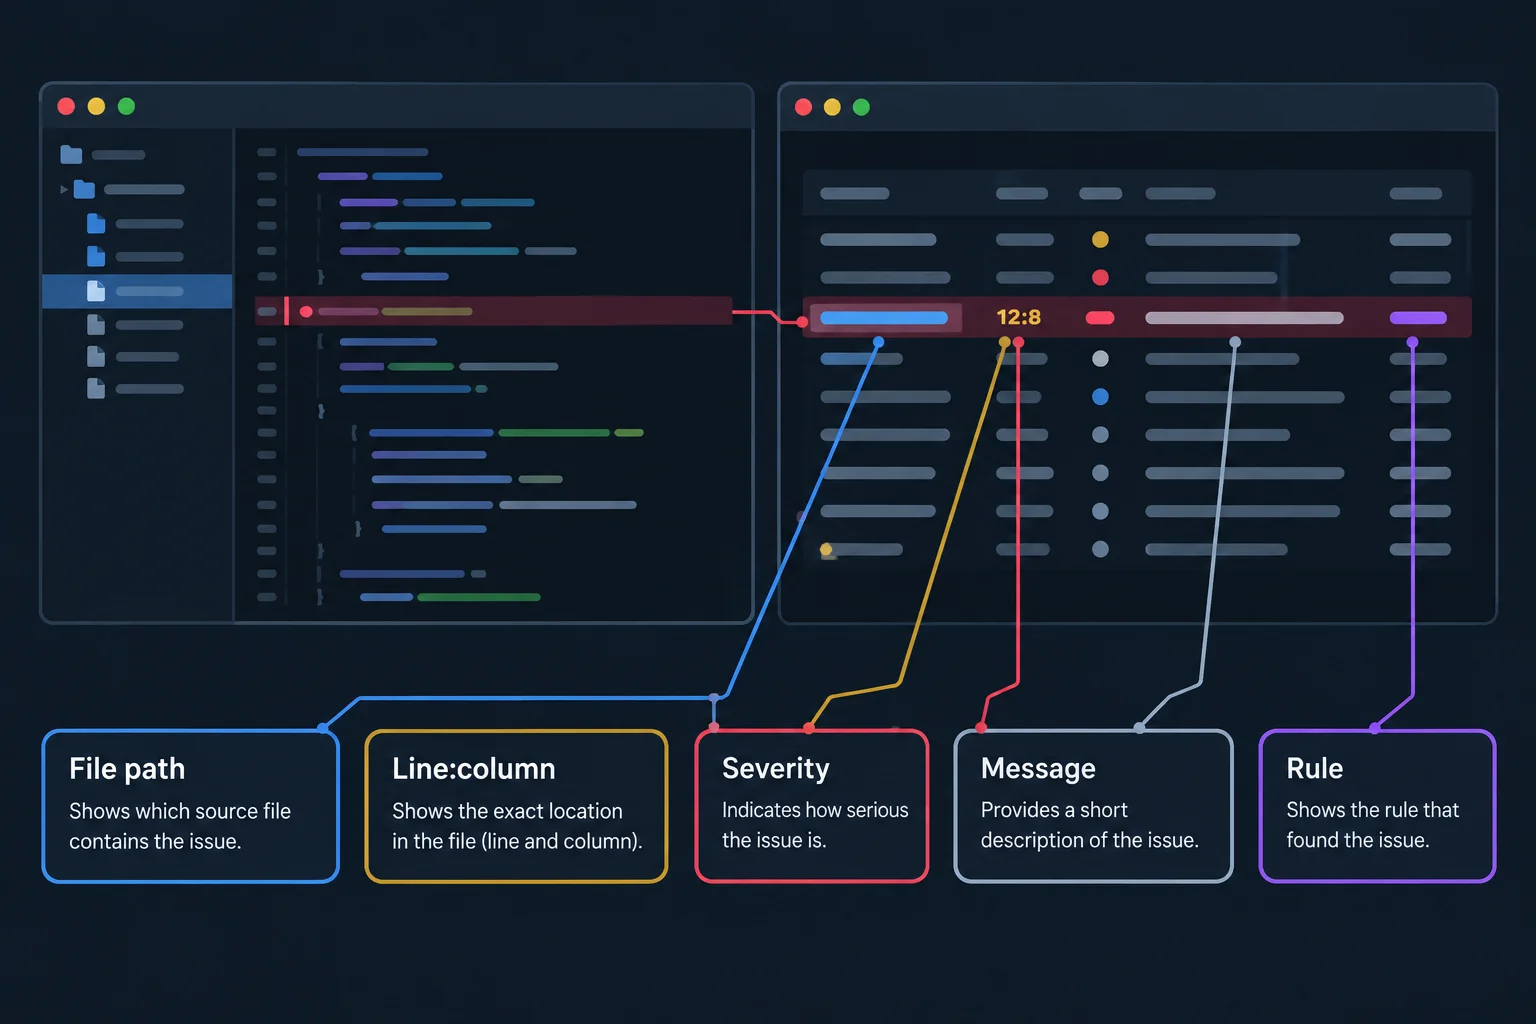
Use the path and line:column to locate code, then use the rule name to understand the diagnostic.
Run this command in your project root. This report matches the intentionally flawed Click Counter files created earlier.
npm run lint> click-counter@1.0.0 lint > eslint src eslint.config.mjs /project/src/lint-demo/counter.js 1:12 warning 'increment' is never reassigned. Use 'const' instead. prefer-const 2:21 error 'coutn' is not defined. no-undef /project/src/lint-demo/main.js 5:7 error 'debugLabel' is assigned a value but never used. no-unused-vars ✖ 3 problems (2 errors, 1 warning)
Your package name, version, and absolute project path can differ. The file-relative positions, severities, messages, and rule names are the important parts.
A rule setting controls whether ESLint reports a pattern and the severity it assigns. Investigate the source before changing a setting: hiding a diagnostic does not establish that the code expresses the intended behavior.
For this lint command, one or more errors make the lint check fail. Warnings remain useful diagnostics, but warnings alone allow a successful check.
The configuration uses string values for severity.
| Setting | What ESLint does | Report label |
|---|---|---|
| "off" | Does not report the rule | None |
| "warn" | Reports without failing this lint check by itself | warning |
| "error" | Reports and makes this lint check fail | error |
Check the terminal process result as well as visible diagnostics.
| Exit status | Meaning for this lint command |
|---|---|
| 0 | Successful check; warnings may still be reported |
| 1 | One or more lint errors were reported |
| 2 | A configuration or internal ESLint failure occurred |
Complete the value of the lint script without changing the existing development script.
{
  "scripts": {
    "dev": "vite",
    "lint": ""
  }
}Write a short lint-check summary for the current Click Counter fixture. Include:
lint script.line:column, severity, and rule name.Describe the report only; do not propose code repairs yet.
Write at least 180 characters (0/180).
Step 5 of 7
Resolve the Click Counter's undefined and unused bindings by checking code intent, then distinguish the corrected errors from the remaining warning.
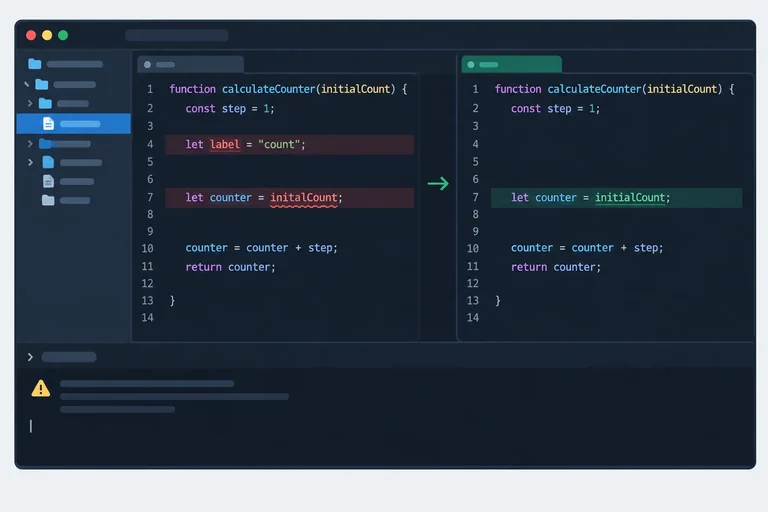
Two errors in Click Counter need different investigations:
no-undef diagnostic asks whether a name is misspelled, outside its scope, or missing from an existing import.no-unused-vars diagnostic asks whether the binding is unnecessary or whether intended code that should use it is missing.Do not make a diagnostic disappear by declaring an invented browser global or weakening a rule. Read the nearby code first and determine what the program is intended to do.
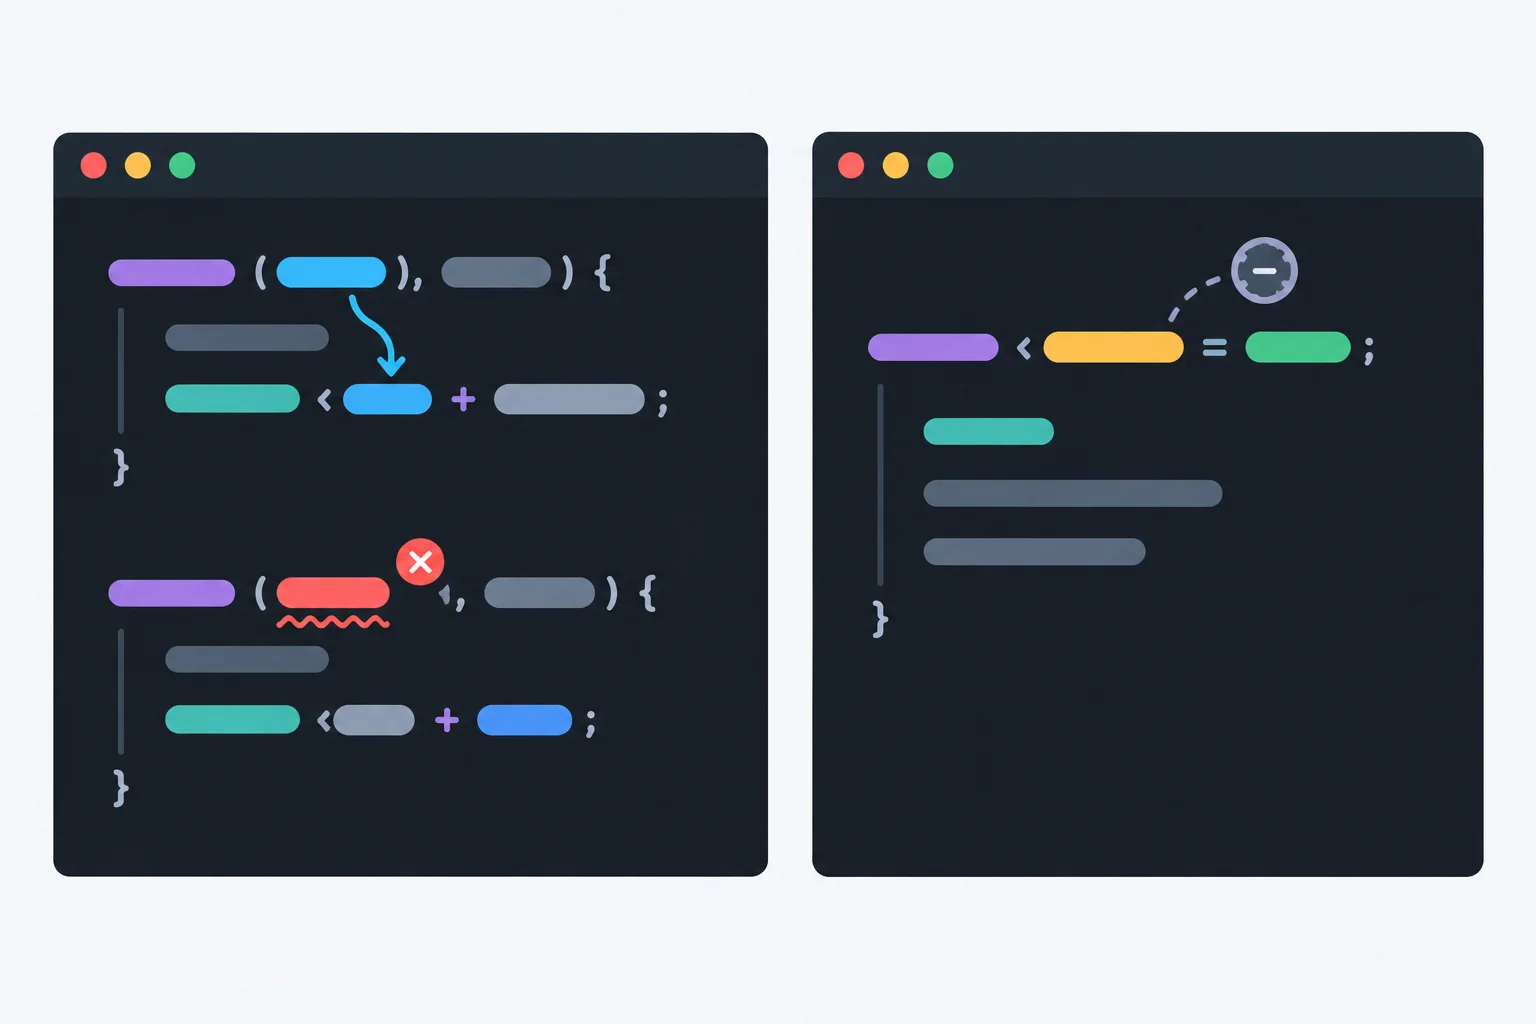
Check an undefined name against local scope and imports; check an unused binding against the feature it was meant to support.
Current src/lint-demo/counter.js
export let increment = (count) => {
  const nextCount = coutn + 1;
  return nextCount;
};Current src/lint-demo/main.js
import { increment } from "./counter.js";

const button = document.querySelector("#increment-button");
const output = document.querySelector("#count-output");
const debugLabel = "Click Counter";
let count = 0;

button.addEventListener("click", () => {
  count = increment(count);
  output.textContent = count;
});At src/lint-demo/counter.js 2:21, coutn is not declared in the function, imported, or supplied by the browser. Compare its spelling with the local parameter and repair the reference to the intended current value.
At src/lint-demo/main.js 5:7, debugLabel is a plain string that no code reads. It supports no missing feature and its initialization has no meaningful side effect, so remove that declaration. In other code, check an initializer before deleting it: calling a function can perform meaningful work even when its returned binding is unused.
Replace only the misspelled reference. Keep the let declaration for increment unchanged for now.
export let increment = (count) => {
  const nextCount = count + 1;
  return nextCount;
};Remove only the unnecessary declaration.
import { increment } from "./counter.js";

const button = document.querySelector("#increment-button");
const output = document.querySelector("#count-output");
let count = 0;

button.addEventListener("click", () => {
  count = increment(count);
  output.textContent = count;
});Save both files and run the lint check from the project root.
npm run lintsrc/lint-demo/counter.js 1:12 warning 'increment' is never reassigned. Use 'const' instead prefer-const ✖ 1 problem (0 errors, 1 warning)
The npm script header can vary with your package name and npm version. The important result is one warning and zero errors.
A binding stores a plain label string, no code reads it, and no missing feature needs it. What is the appropriate response?
In your own editor, make the intended repairs and run npm run lint. Then write a concise report that includes:
src/lint-demo/counter.js.debugLabel in src/lint-demo/main.js, and why.Use the diagnostic evidence to justify the edits; do not propose changing the rules to hide either error.
Write at least 120 characters (0/120).
Step 6 of 7
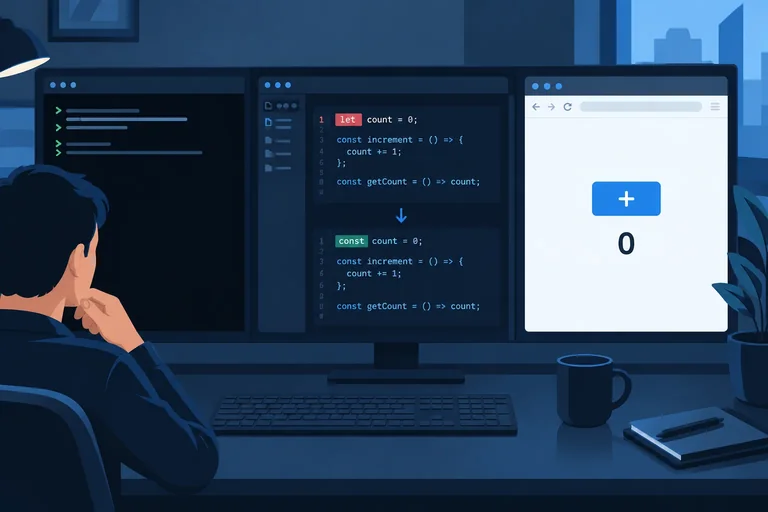
Apply a supported ESLint automatic fix, inspect the source change, and verify that Click Counter still behaves as intended.
An automatic fix is a source edit ESLint knows how to make for a supported diagnostic. npm’s -- separator forwards the following option to the ESLint command in the lint script.
A fix does not run Click Counter, infer the intended meaning of a misspelled identifier, or prove that the interface works. Because it writes to local files, inspect every edit before treating the result as trustworthy.
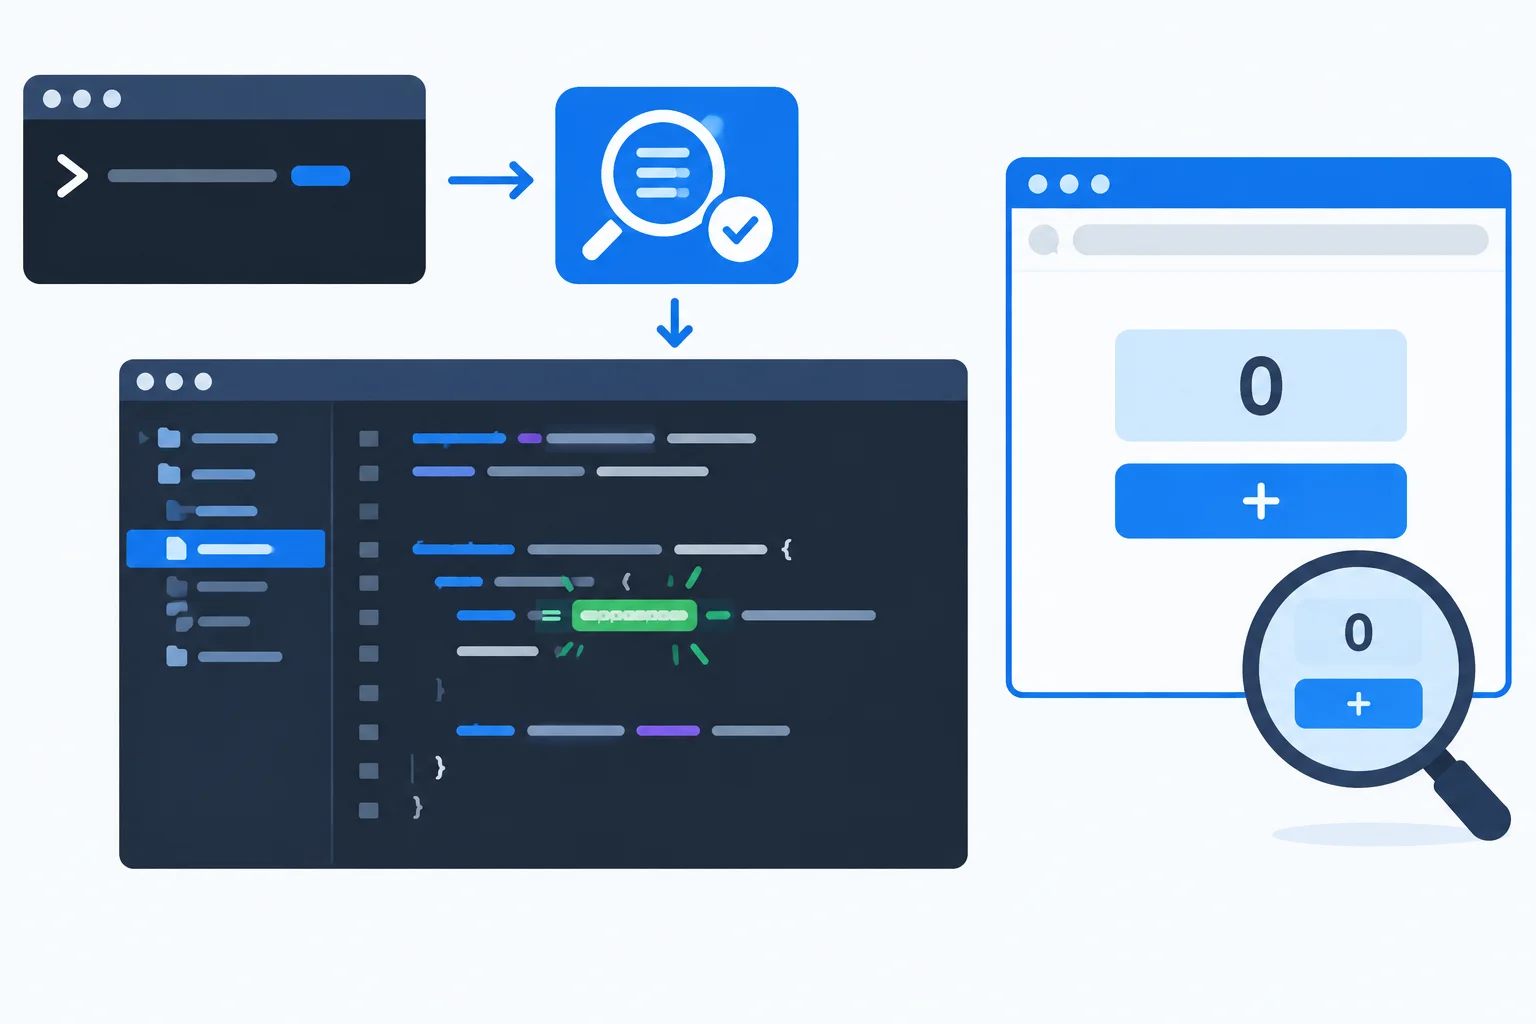
An automatic fix can make a supported code edit; a manual behavior check is still a separate task.
Complete the command that requests supported automatic fixes from ESLint.
npm run lint -- src/lint-demo/counter.js — before the automatic fix
export let increment = (count) => {
  const nextCount = count + 1;
  return nextCount;
};src/lint-demo/counter.js — expected source after the automatic fix
export const increment = (count) => {
  const nextCount = count + 1;
  return nextCount;
};Run npm run lint -- --fix from the project root, then open src/lint-demo/counter.js in your editor. Compare the saved file with the two versions above: only the declaration of increment should change from let to const; its parameter and function body stay the same.
Next run npm run lint again. With the earlier spelling and unused-binding repairs saved, the Click Counter fixture should produce no diagnostics. If your project contains additional authored files, investigate any diagnostics they report rather than assuming every finding was automatically repairable.
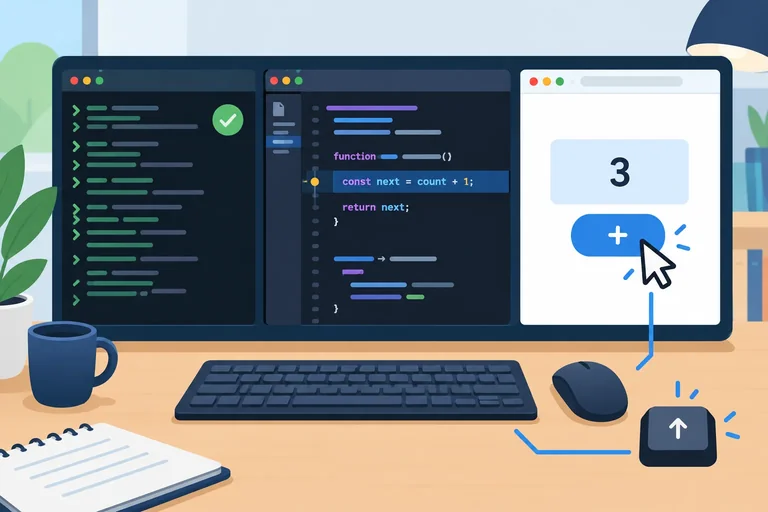
Then run npm run dev. Open the local origin reported by Vite with /lint-demo.html appended; the port may vary. Perform a manual behavior check: the display starts at 0, the first activation of Add 1 displays 1, and the second displays 2. Use a pointer for one activation and the button’s native keyboard activation for the other.
Perform the full local cycle. In a concise report, include:
src/lint-demo/counter.js./lint-demo.html initially, after the first activation, and after the second activation.Write at least 220 characters (0/220).
Step 7 of 7
Complete a local ESLint workflow and verify why a clean lint report is not proof of correct Click Counter behavior.
Use the same local loop each time you change the Click Counter:
src/**/*.js receives browser globals, eslint.config.mjs receives Node.js globals, and dist/** is ignored.The first four steps examine configured source rules. The last step checks what a person can actually do with the interface.
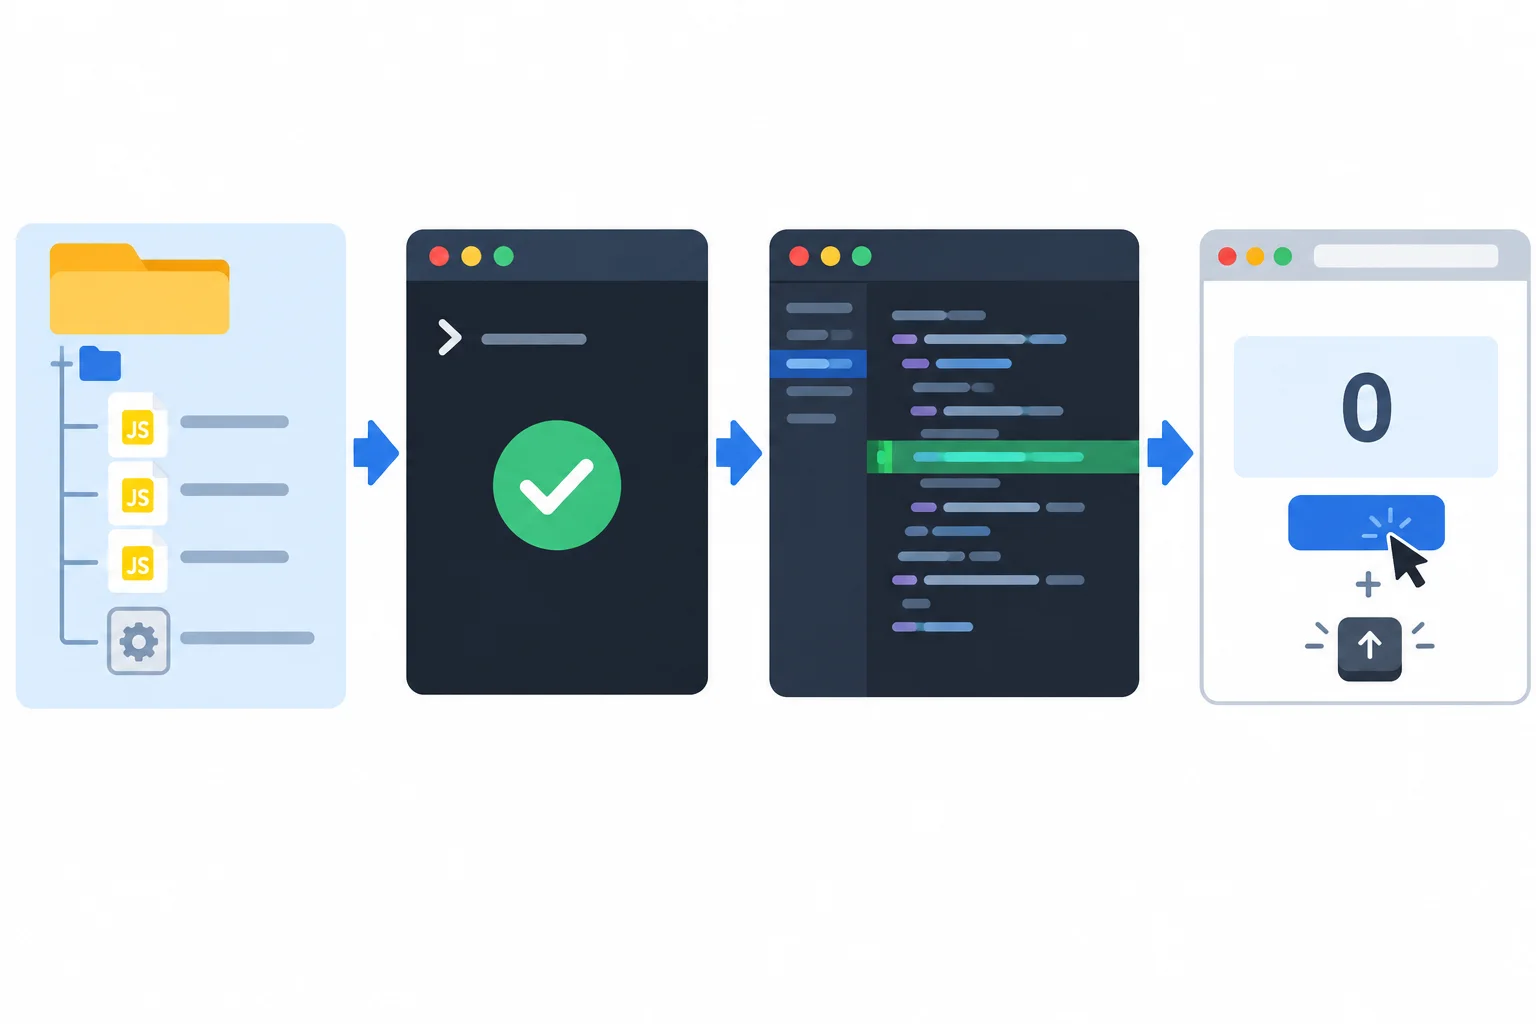
A lint check is one stage of the workflow; the browser interaction is a separate manual behavior check.
A clean report can still accompany the wrong interface behavior. To prove it, temporarily use this valid version of src/lint-demo/counter.js after completing the earlier repairs. Every identifier is defined and used, so the configured lint rules have no reason to report it. Yet the calculation moves the counter in the opposite direction from the button label.
src/lint-demo/counter.js
export function increment(count) {
  const nextCount = count - 1;
  return nextCount;
}
Run this from the project root after saving the variation.
npm run lint> your-project@1.0.0 lint > eslint src eslint.config.mjs
The project name and version in the first line vary. With no diagnostics, ESLint normally prints nothing after the command line and exits with status 0.
Summary
Make the smallest correction so increment matches the Click Counter’s intended behavior.
export function increment(count) {
  const nextCount = count  1;
  return nextCount;
}Perform the complete final check in your own project. In one concise report:
Write at least 220 characters (0/220).
Congratulations! You completed: Check JavaScript with ESLint
Thousands of online courses in video, ebooks and audiobooks.
To test your knowledge during online courses
Generated directly from your cell phone's photo gallery and sent to your email

Download our app via QR Code or the links below:.



Carry knowledge in your pocket.
Download the Cursa app.
There are hundreds of free courses available, with a free certificate of completion that is saved in your mobile image gallery.
Download the app to access the Course Completion Certificate for Free.


+ 10 million
students

Free and Valid
Certificate

60 thousand free
exercises

4.8/5 rating in
app stores

Free courses in
video and ebooks