Step 1 of 8
Prepare Your Local HTML File
Create a local project folder and save an empty UTF-8 plain-text HTML file with the exact required filename.

Learning path · Level 1 · Tutorial 2
Create a complete HTML document in your own editor, open it in a browser, and inspect how its elements relate to the displayed page.
 Prepare Your Local HTML File
Create a local project folder and save an empty UTF-8 plain-text HTML file with the exact required filename. 2 min
Prepare Your Local HTML File
Create a local project folder and save an empty UTF-8 plain-text HTML file with the exact required filename. 2 min
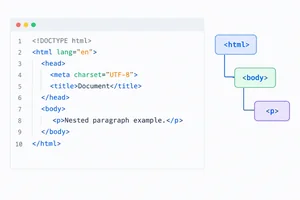 Read and Write Basic HTML
Learn to read HTML elements as tags, text content, attributes, and nested containers before building the complete document. 2 min
Read and Write Basic HTML
Learn to read HTML elements as tags, text content, attributes, and nested containers before building the complete document. 2 min
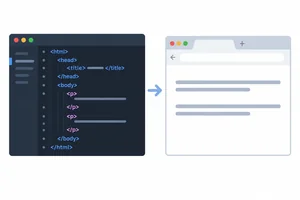 Build the Complete Document
Build, save, and check the structure of a complete local HTML document. 3 min
Build the Complete Document
Build, save, and check the structure of a complete local HTML document. 3 min
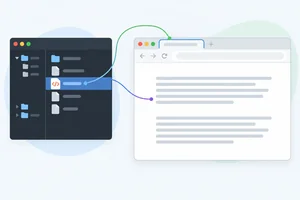 Open and Check the Page
Open your saved local HTML file in a browser and compare its source content with the displayed tab and page body. 2 min
Open and Check the Page
Open your saved local HTML file in a browser and compare its source content with the displayed tab and page body. 2 min
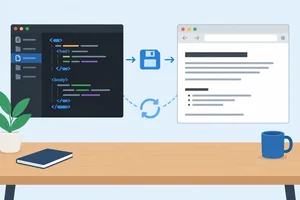 Practice Edit, Save, and Refresh
Make a saved change to the second paragraph and refresh the local page to confirm it in the browser. 2 min
Practice Edit, Save, and Refresh
Make a saved change to the second paragraph and refresh the local page to confirm it in the browser. 2 min
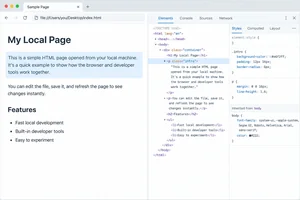 Locate a Paragraph in the Inspector
Use browser developer tools to select a visible paragraph and locate its corresponding element in the current DOM tree. 2 min
Locate a Paragraph in the Inspector
Use browser developer tools to select a visible paragraph and locate its corresponding element in the current DOM tree. 2 min
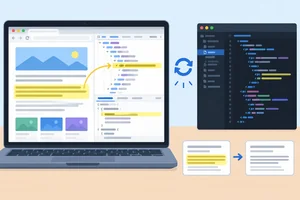 Test a Temporary Inspector Change
Test a text change in the browser inspector and distinguish the current DOM from the saved source file. 2 min
Test a Temporary Inspector Change
Test a text change in the browser inspector and distinguish the current DOM from the saved source file. 2 min
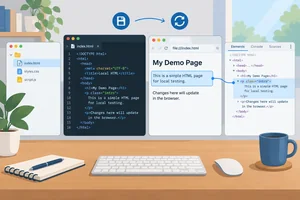 Complete and Verify Your Local Page
Finalize your local HTML page, verify that its saved change survives a refresh, and connect the rendered paragraph to its DOM element. 2 min
Complete and Verify Your Local Page
Finalize your local HTML page, verify that its saved change survives a refresh, and connect the rendered paragraph to its DOM element. 2 min
Step 1 of 8
Create a local project folder and save an empty UTF-8 plain-text HTML file with the exact required filename.
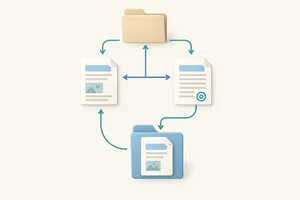
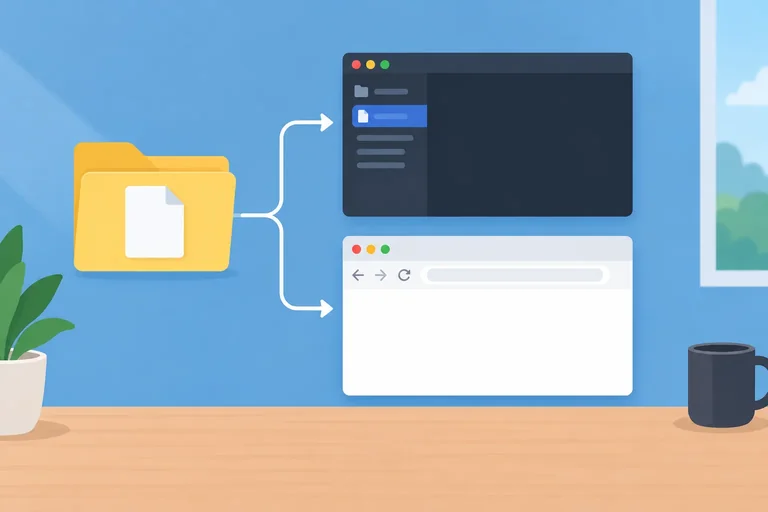
Your local workspace has three parts on your own computer: a project folder to hold the file, a plain-text editor or code editor to write it, and a browser to display it later. No online workspace or server is needed for this tutorial.
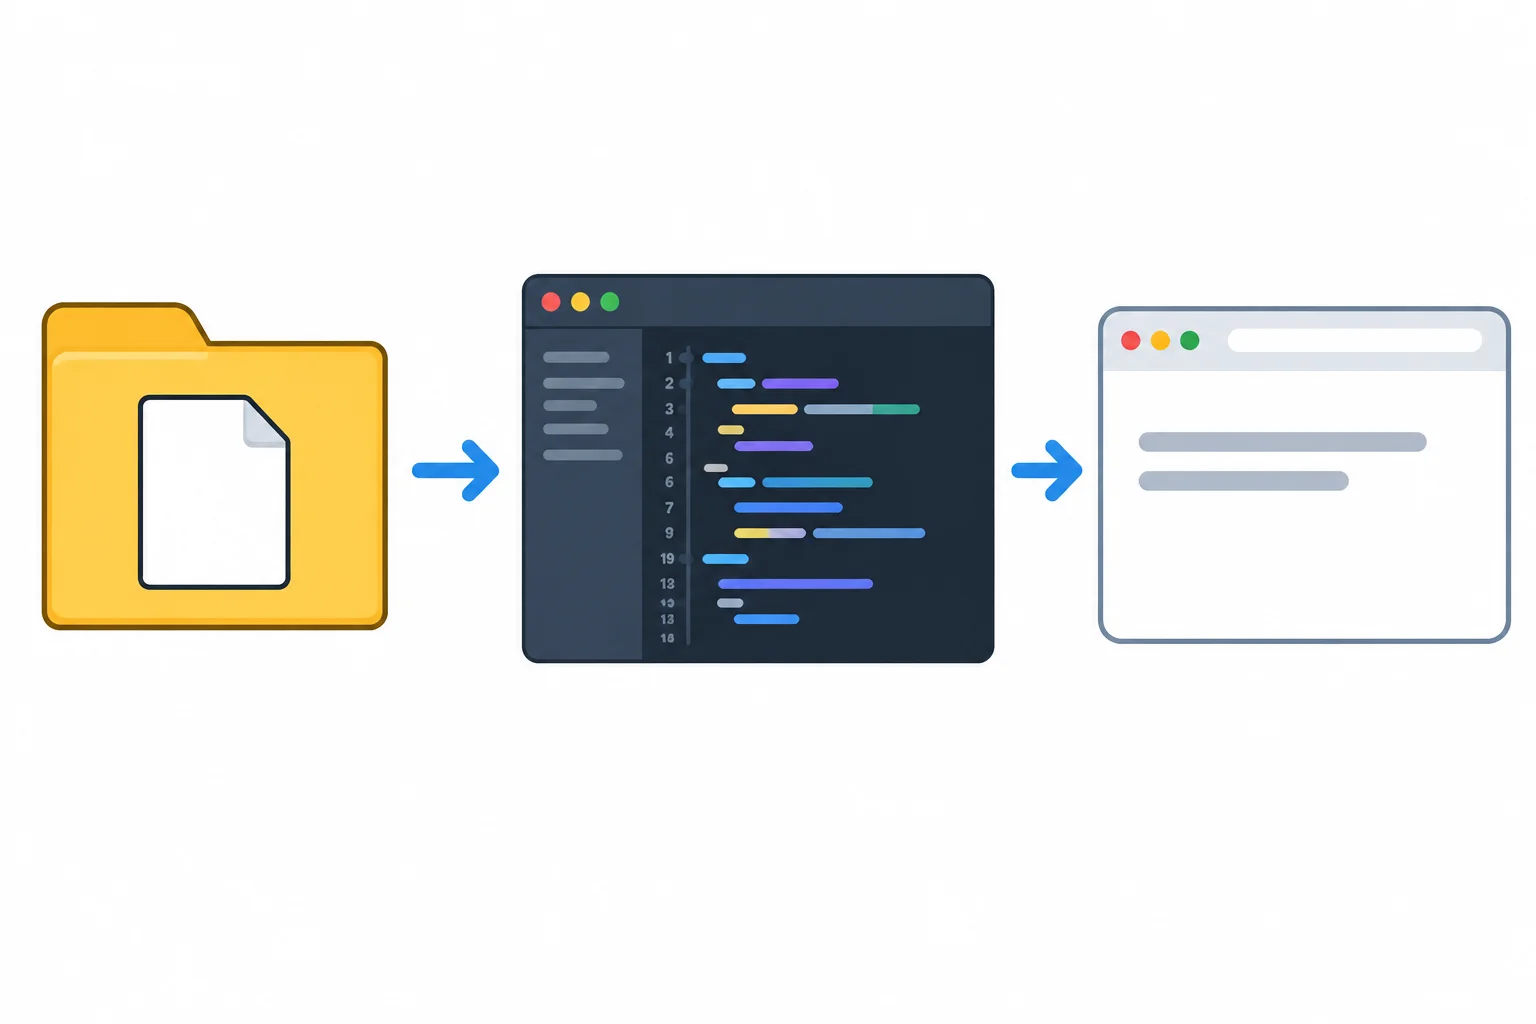
The folder stores the source file; the editor changes it; the browser will display it.
Use your computer's file manager to choose any location you can find again. Create one folder named first-page.
Open a plain-text editor or code editor. Create a new empty document and save it inside that folder with the exact name index.html. Its project-relative location is first-page/index.html.
Save the file using UTF-8 encoding. Keep it empty for now; you will add the page content in the next step.
Tip
Do not use a rich-text document editor. A rich-text file can store formatting and may add a different extension, so it is not the plain-text source file a browser expects here.
Check the complete filename after saving. If your file manager hides extensions, turn on filename-extension visibility before continuing.
| Filename shown | What it means |
|---|---|
| index.html | Required source filename |
| index.html.txt | Text file with an extra extension |
| index.html.rtf | Rich-text document |
Which filename is correctly named for the empty source file inside the first-page folder?
Now use your file manager and editor to create the folder and save the empty file. Then verify its complete name, including the extension. In your own words, report the project-relative location and the two checks that confirm you saved the required kind of file.
Write at least 80 characters (0/80).
Step 2 of 8
Learn to read HTML elements as tags, text content, attributes, and nested containers before building the complete document.
HTML uses elements to mark up content. A typical element has three parts:
<p></p>The p element marks a paragraph. Its text is visible when a browser displays the page. A tag is only one part of an element; the complete element includes its content and, for this example, its closing tag.
A complete paragraph element
<p>Hello from my local page.</p>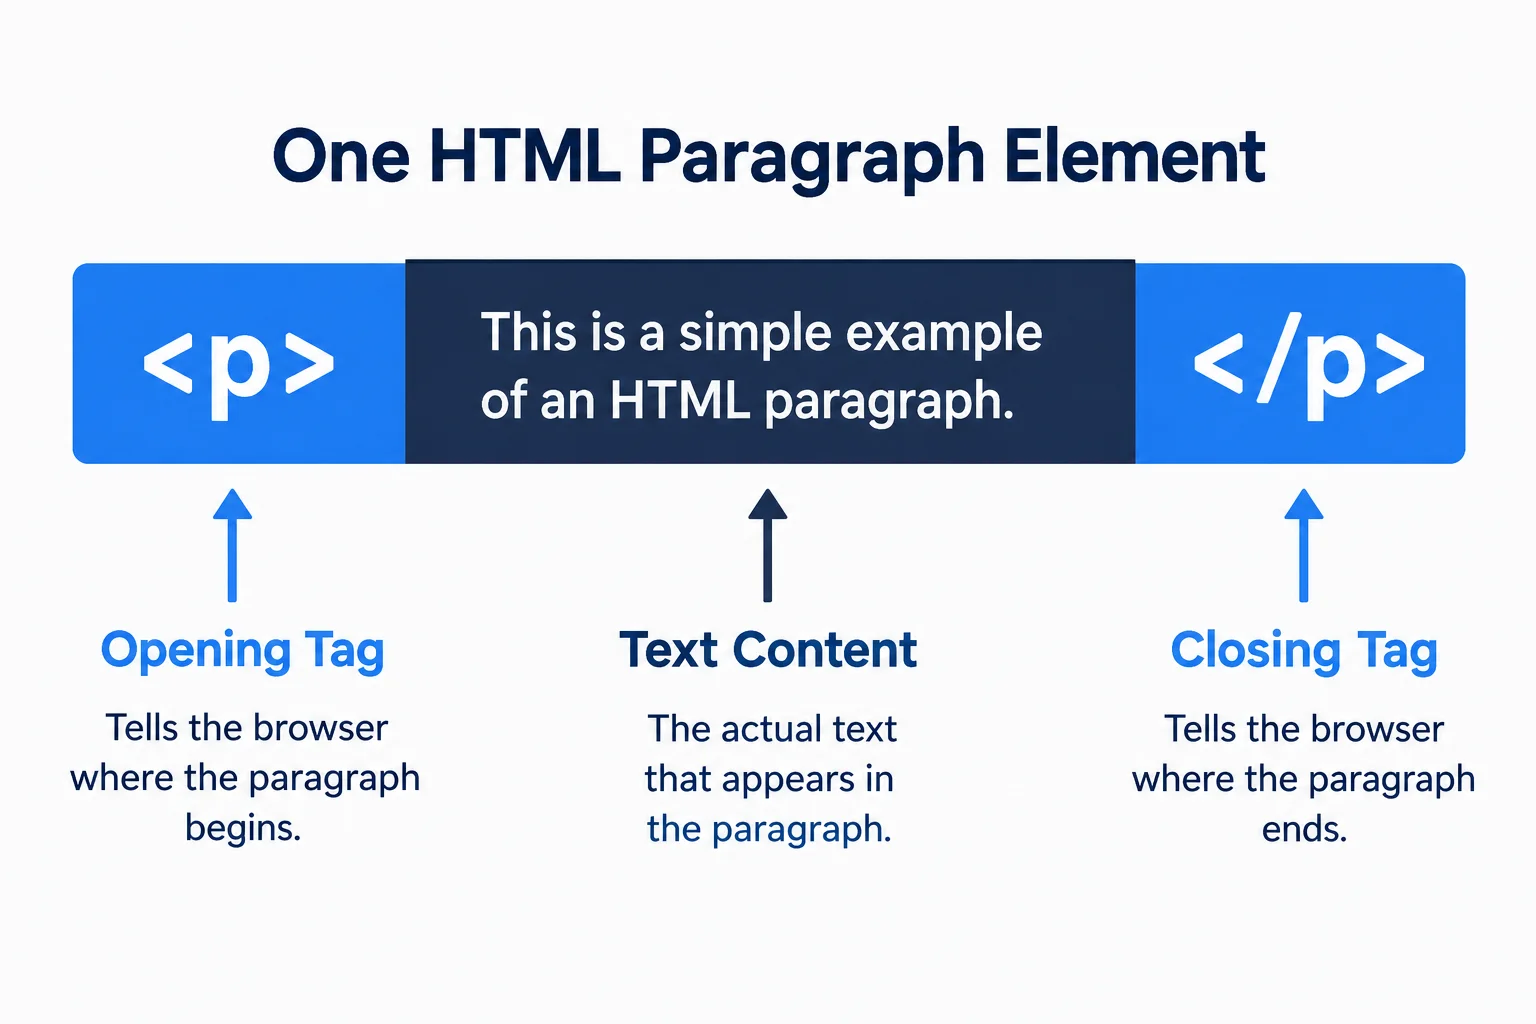
The opening tag starts the paragraph, the text is its content, and the closing tag ends it.
An attribute adds information in an opening tag. It has a name and a value. In this tutorial, lang="en" belongs in the opening html tag and identifies the document language as English.
Elements can contain other elements. This is called nesting. In the fragment below, html contains body, and body contains the paragraph. Close the inner paragraph before closing its body container.
This is a nested fragment, not the complete document you will build next.
<html lang="en">
  <body>
    <p>Hello from my local page.</p>
  </body>
</html>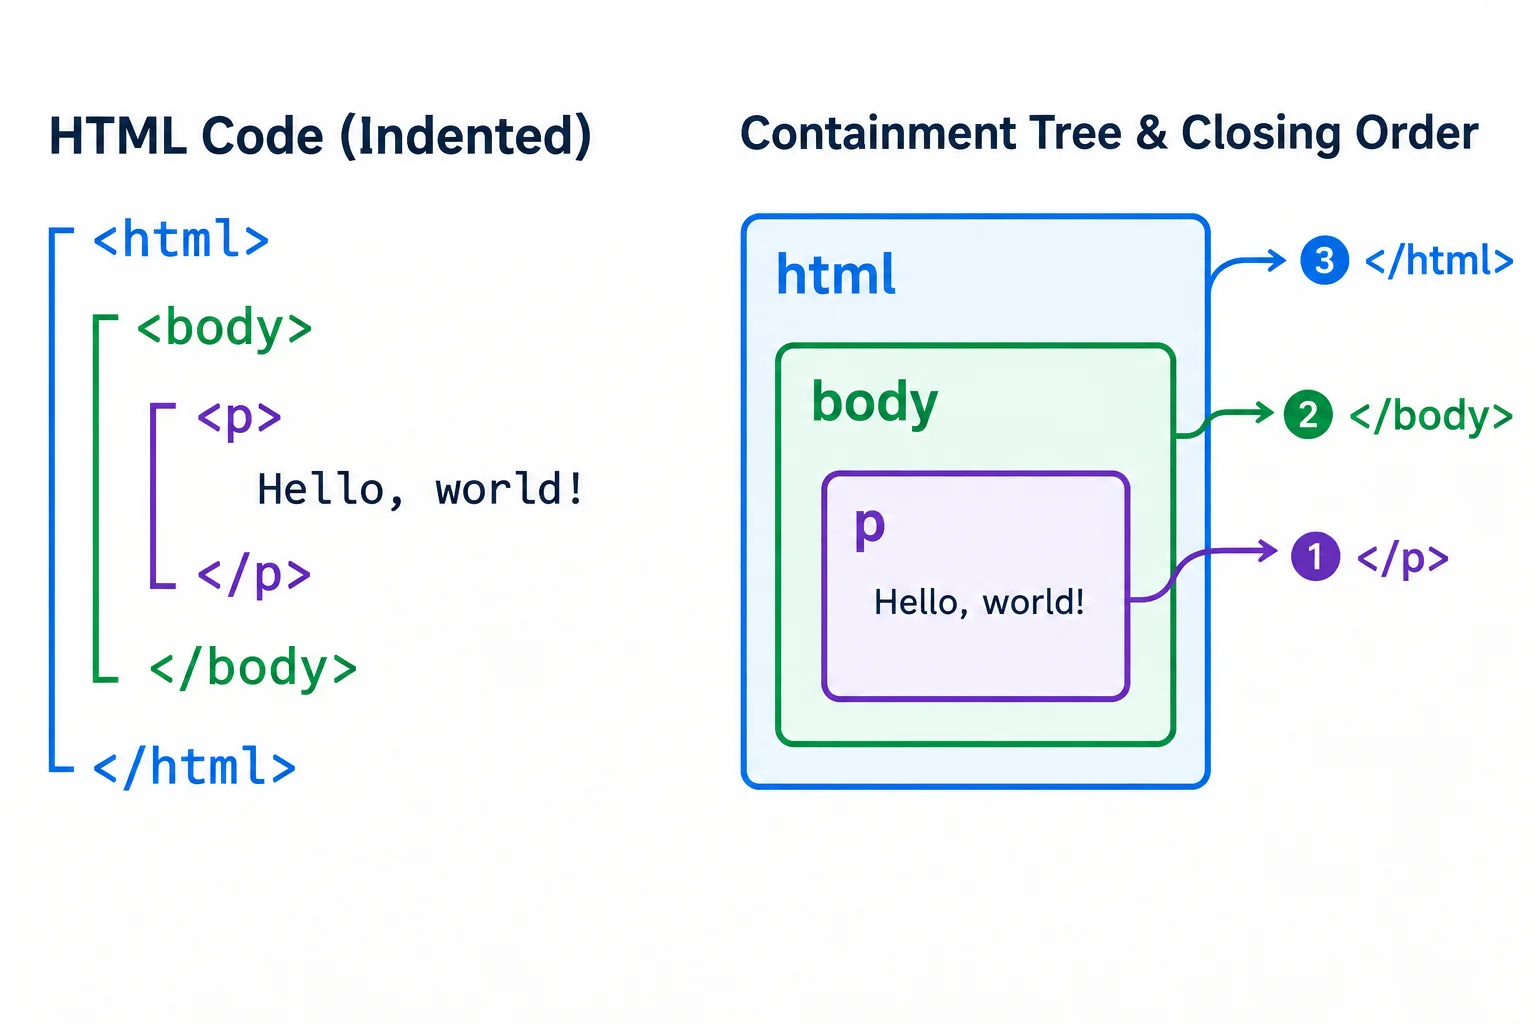
The paragraph sits inside body, which sits inside html. Closing moves from the innermost element outward.
Tip
The two spaces make containment easier to scan: the paragraph is indented farther because it sits inside body. However, indentation does not create the relationship. The opening and closing tags determine what is nested inside what.
Match each piece of markup to its role.
Tap an item and then its matching pair.
Complete the nested HTML fragment. Use the language attribute, the paragraph opening tag, and its matching closing tag.
<html >
  <body>
    <>Hello from my local page.
  </body>
</html>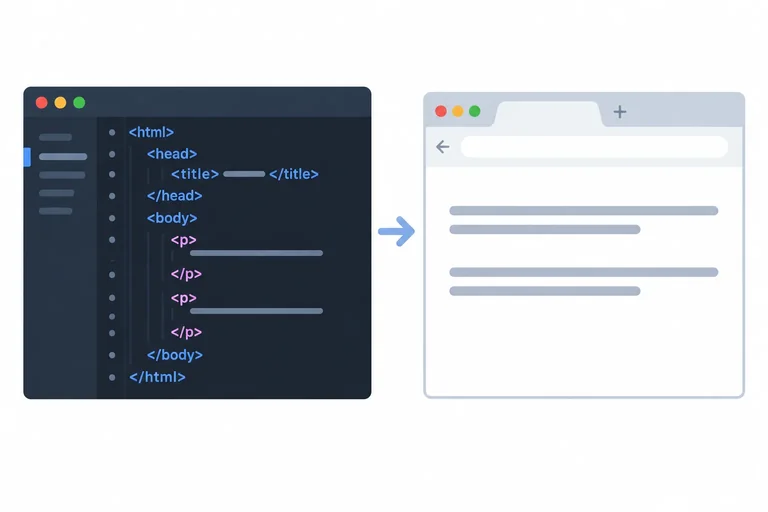
Step 3 of 8
Build, save, and check the structure of a complete local HTML document.
A complete HTML source file begins with <!DOCTYPE html>. This is a declaration, not an HTML element. It tells the browser to use standards-mode rendering.
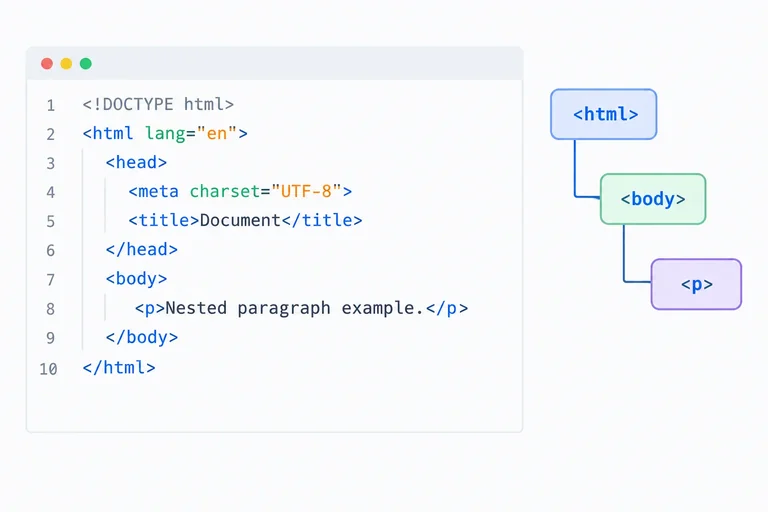
The html element contains the document. Inside it, head holds document information and body holds the content displayed on the rendered page.
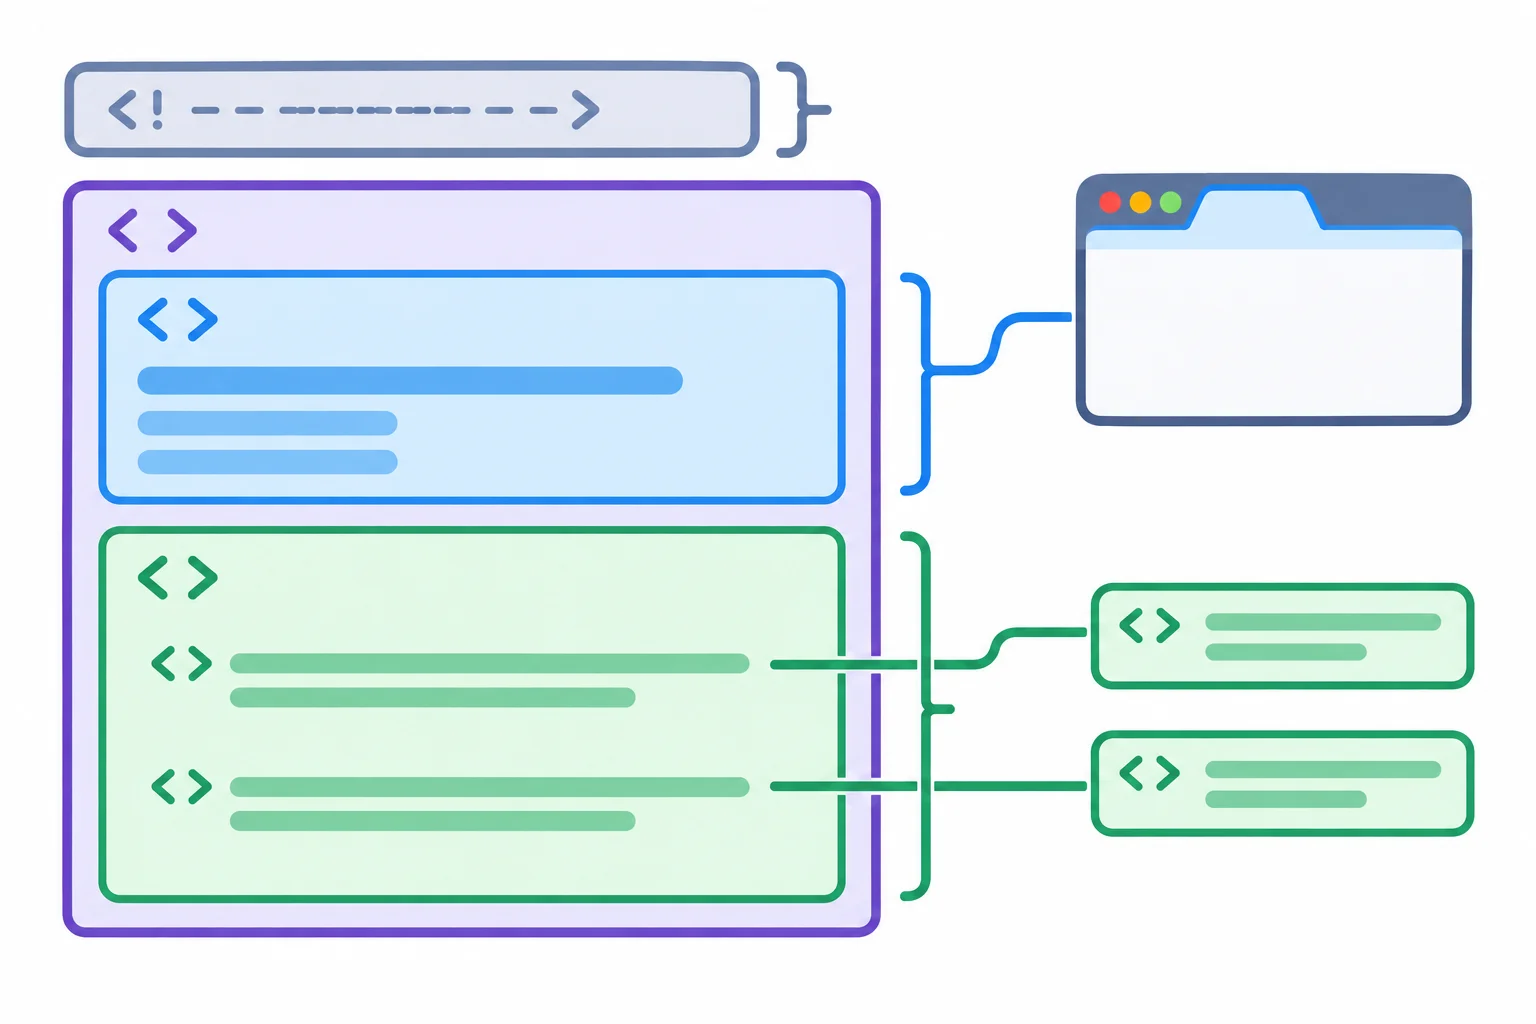
Document information belongs in head; visible paragraphs belong in body.
The title text labels the browser tab, not a paragraph on the page. The meta charset declaration identifies the character encoding. Because you save this file as UTF-8, use charset="UTF-8".
meta is a void element: it has no child content and no closing tag.
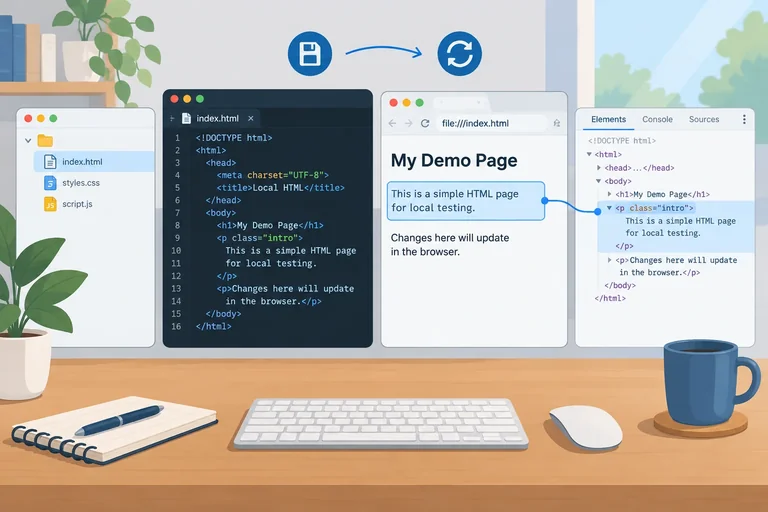
Replace the empty contents of first-page/index.html with this complete document. Keep the indentation, save the source file using UTF-8 encoding, and save it before opening it in a browser in the next step.
<!DOCTYPE html>
<html lang="en">
  <head>
    <meta charset="UTF-8">
    <title>My First Local Page</title>
  </head>
  <body>
    <p>Hello from my local page.</p>
    <p>I am learning HTML.</p>
  </body>
</html>Browser tab: My First Local Page Rendered page: Hello from my local page. I am learning HTML.
The browser's font and paragraph spacing can vary. Confirm the tab title and the two paragraph texts, in this order.
Read the structure from outside inward: the html element contains head and body. The head contains the character encoding followed by the tab title. The two p elements belong in body, so their text can appear on the rendered page.
Tip
Use the exact project-relative location first-page/index.html. Confirm that the filename ends in .html, not .html.txt.
Complete the missing document parts in their correct positions.
Step 4 of 8
Open your saved local HTML file in a browser and compare its source content with the displayed tab and page body.
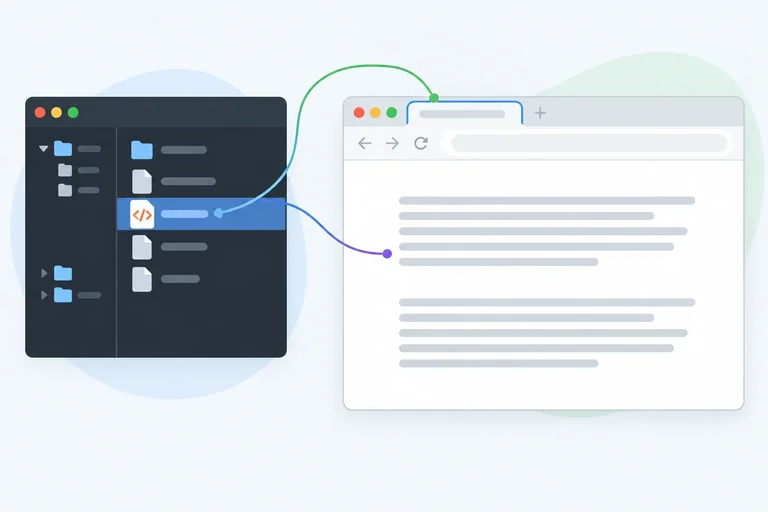
Open your saved source file in a browser. In your file manager, find first-page/index.html, then choose Open with and select a browser. Alternatively, use your browser’s file-opening command and select that file.
The browser should display the rendered page. In its address bar, confirm that the local file address ends with first-page/index.html. The beginning of the address can differ because you chose where to store the first-page folder.
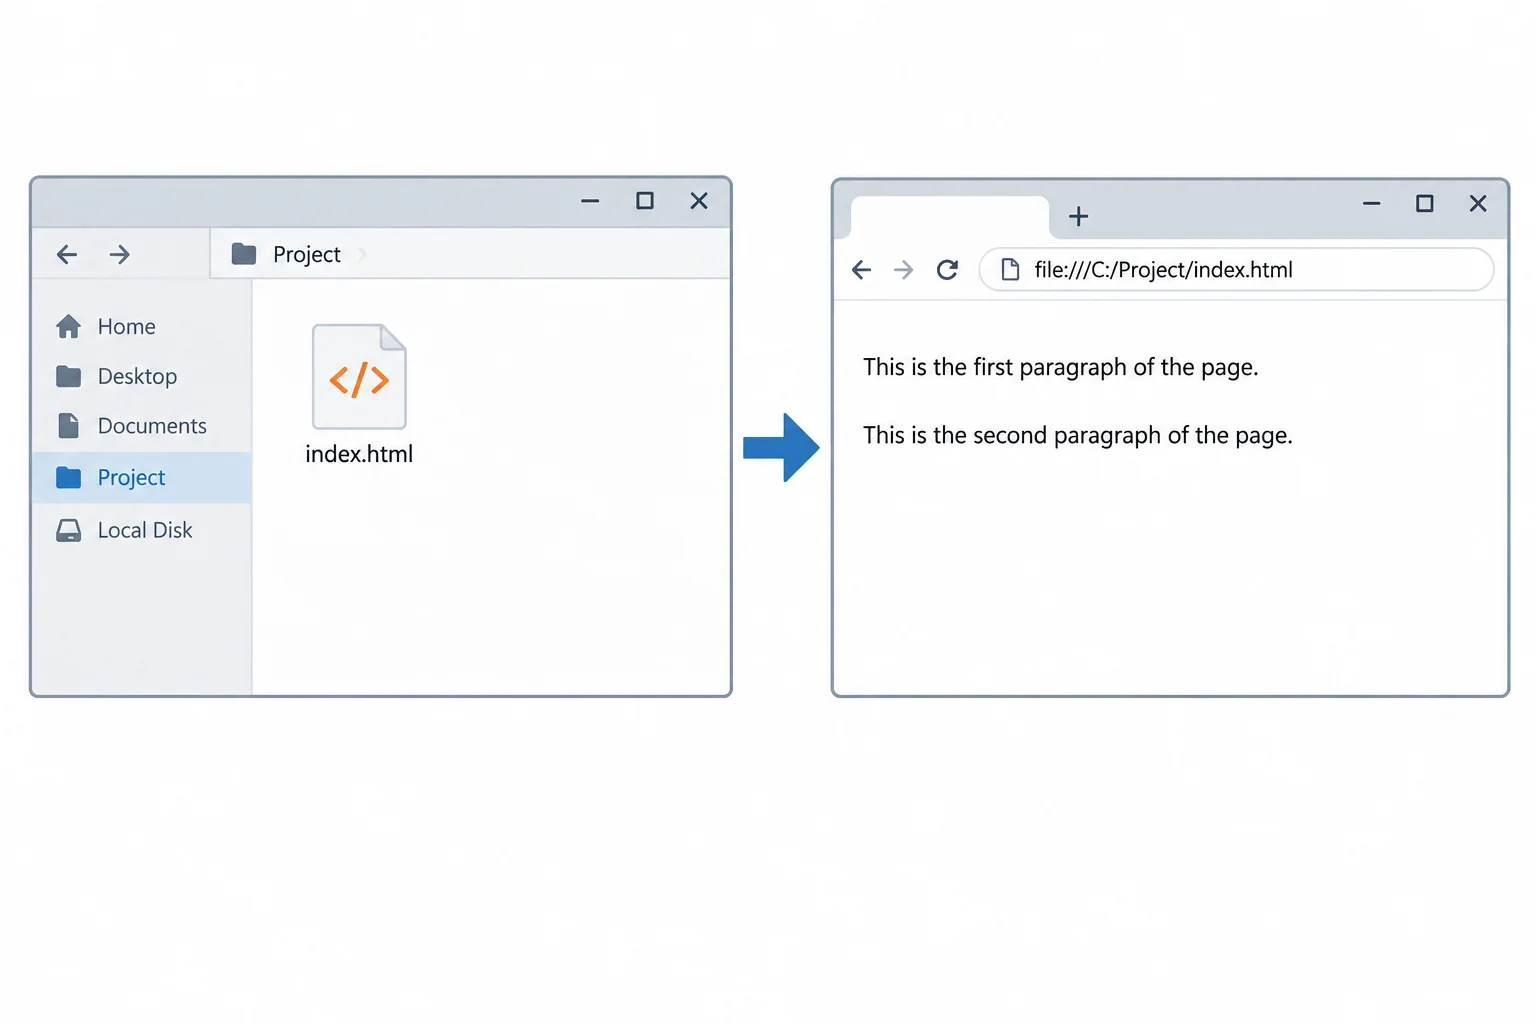
Open the saved source file from your computer, then confirm the filename in the browser’s local file address.
Check two areas of the browser:
My First Local Page.Hello from my local page. followed by I am learning HTML.This is an unstyled page, so its font and the space between paragraphs can vary by browser and operating system. What matters is the title and the paragraph text.
If the result is unexpected, first check that first-page/index.html was saved, that its full filename ends in .html rather than .html.txt, and that you opened it in a browser rather than in your editor.
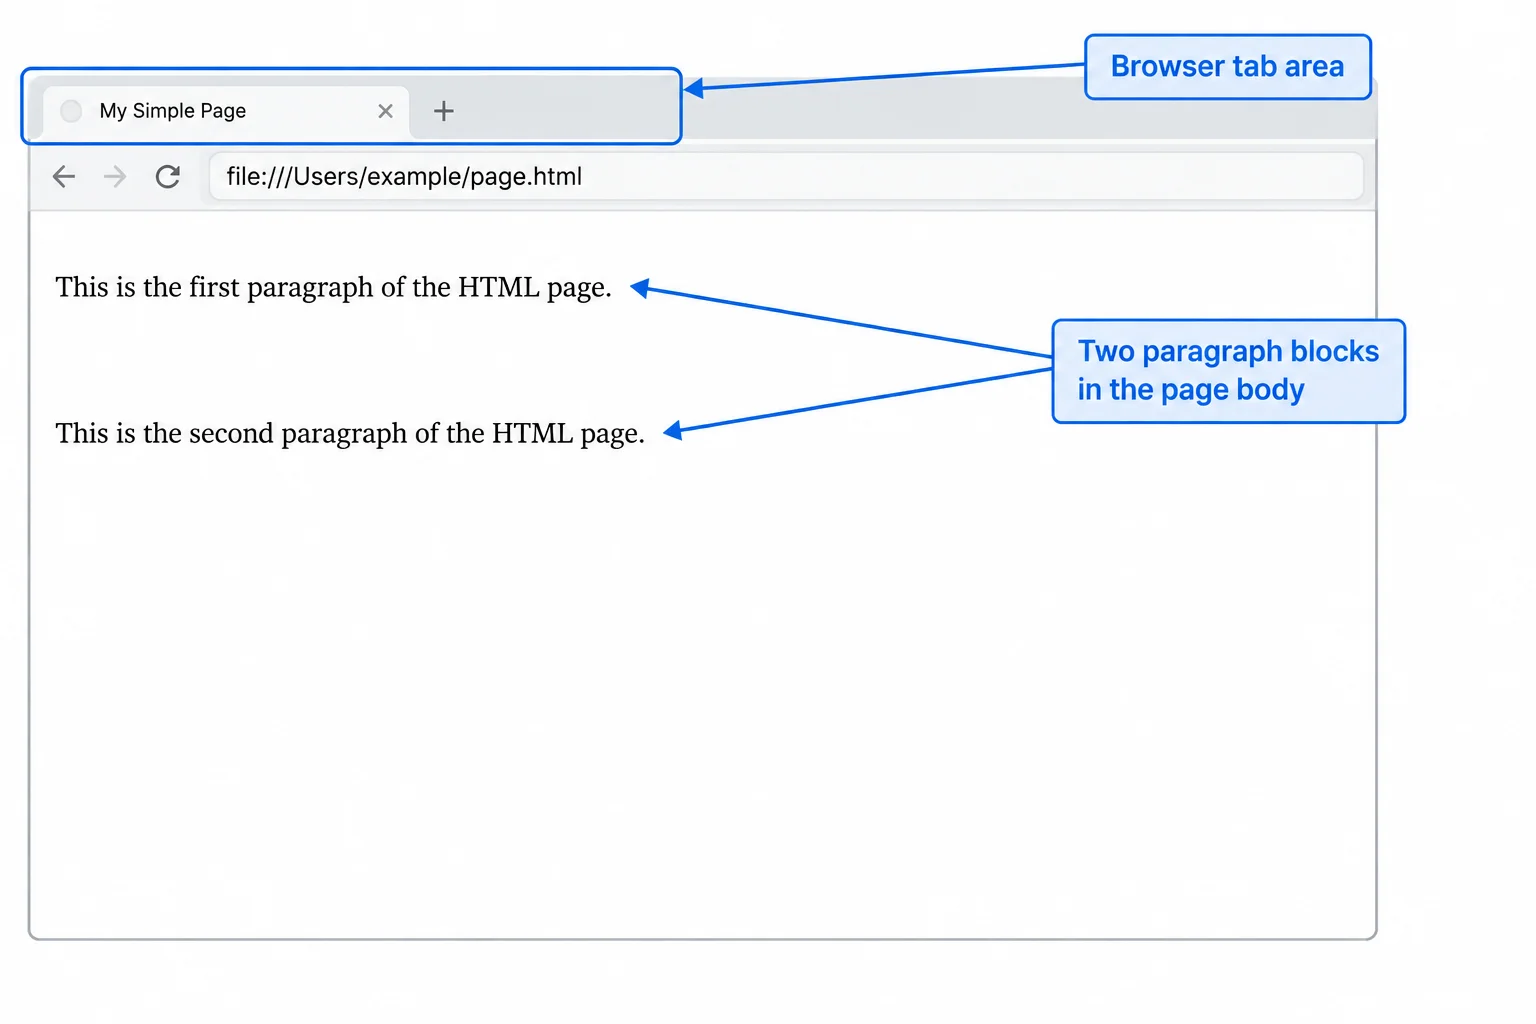
The title is shown in the browser tab; paragraph elements are shown in the rendered page body.
Match each source item to its browser result.
Tap an item and then its matching pair.
Look at your own browser window. Report the tab title, then report the two visible paragraphs in their displayed order.
Write at least 50 characters (0/50).
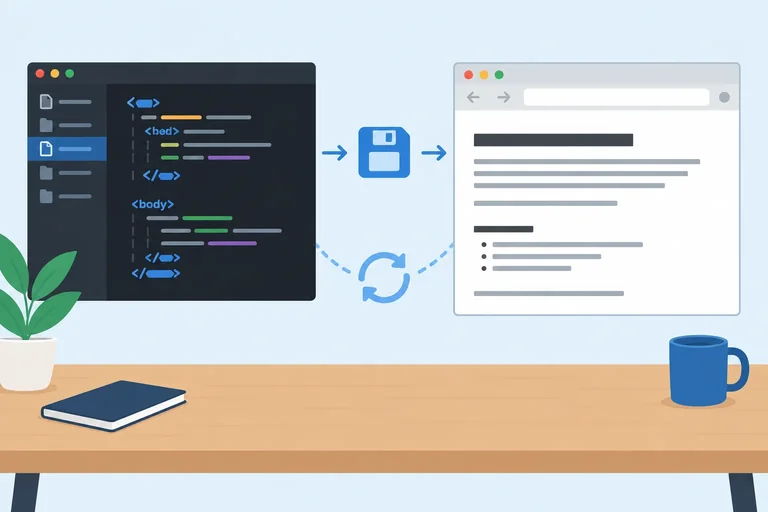
Step 5 of 8
Make a saved change to the second paragraph and refresh the local page to confirm it in the browser.
A source change becomes visible through a short workflow:
first-page/index.html.Editing changes what is currently in the editor. Saving writes that change to the source file on disk. Refreshing asks the browser to display the saved version again.
This directly opened local page does not automatically update just because you typed or saved.
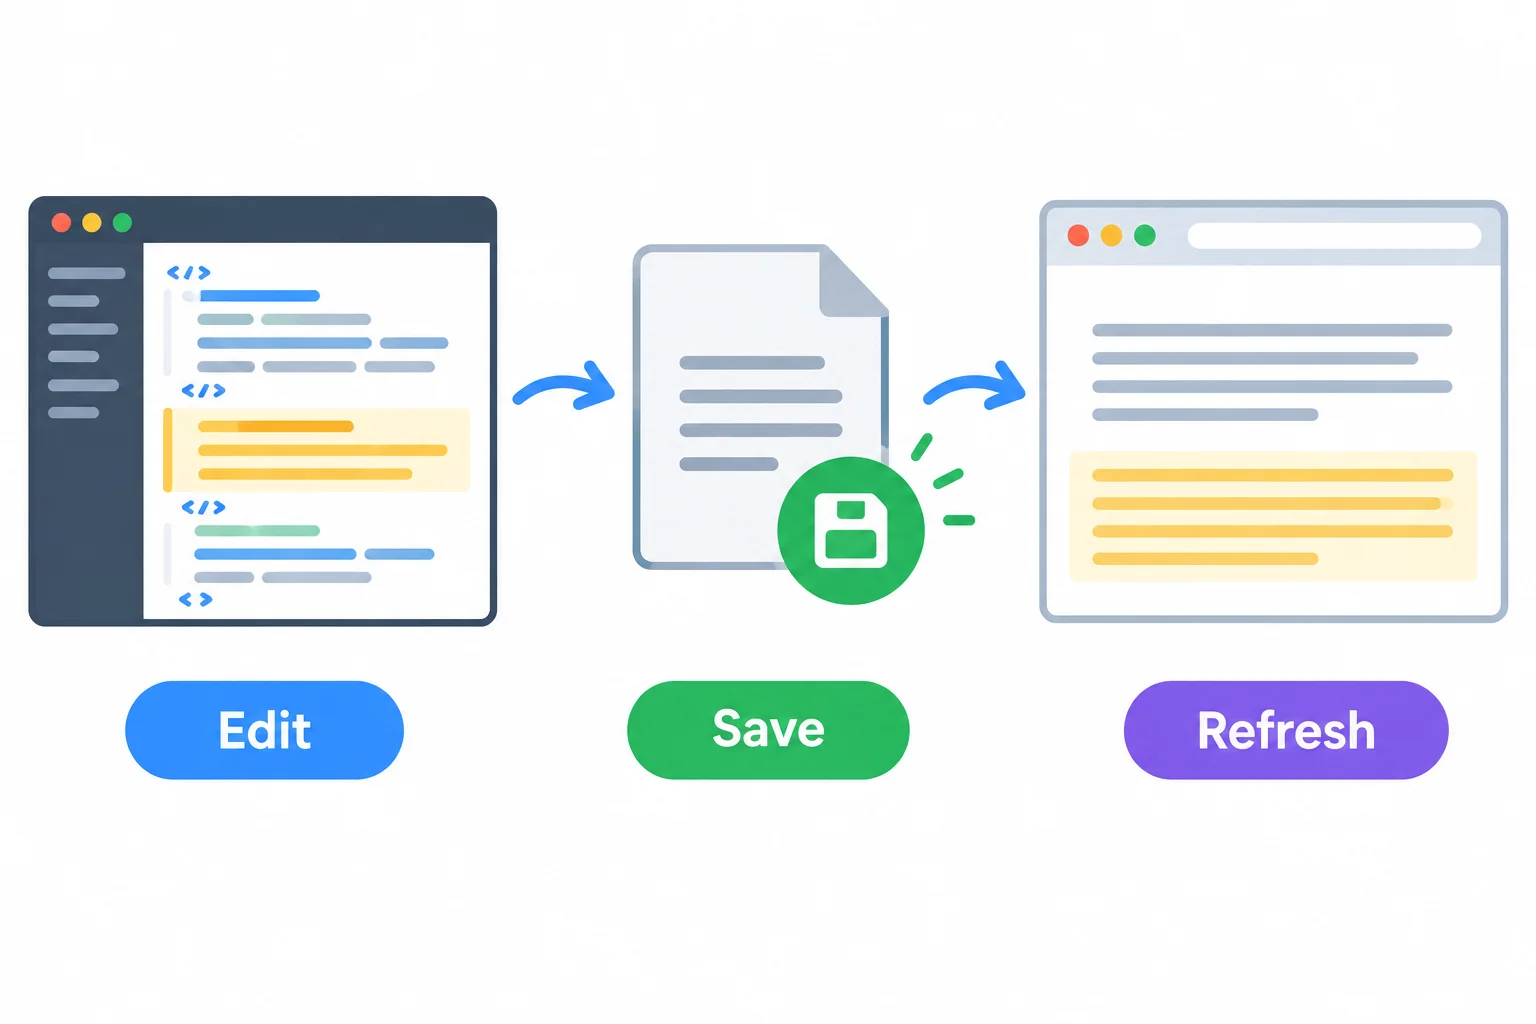
Edit the source file, save it, then refresh the browser to see the saved change.
In your editor, open first-page/index.html. Change only the text inside the second paragraph. Keep the first paragraph and all tags unchanged.
Then save the file using UTF-8 encoding. Return to the browser tab where this local file is open and use the browser refresh control or its refresh shortcut.
Replace the second paragraph in the body with this version, then save the file:
<body>
  <p>Hello from my local page.</p>
  <p>I can edit, save, and refresh.</p>
</body>Hello from my local page. I can edit, save, and refresh.
This is the visible result after you apply this body fragment to the existing document, save `first-page/index.html`, and refresh the browser. Default spacing can vary by browser.
Tip
If the browser does not show the new second paragraph, pause before changing more code. Check three things: the editor shows that the file is saved, the browser opened first-page/index.html, and you refreshed that browser tab after saving.
Complete the second paragraph that belongs in the saved source file for this practice.
<p></p>Put the workflow actions in the order that confirms a persistent local source change.
After you perform the workflow on your own computer, write one or two sentences: identify the paragraph you edited and report what the browser showed after you saved and refreshed.
Write at least 40 characters (0/40).
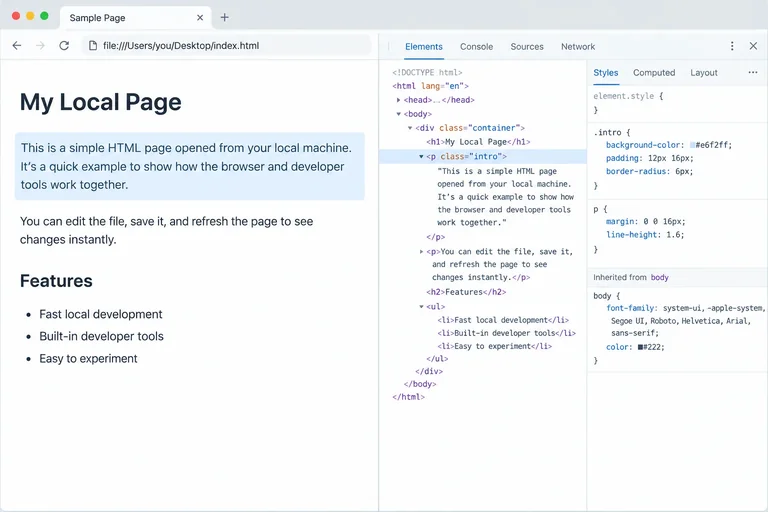
Step 6 of 8
Use browser developer tools to select a visible paragraph and locate its corresponding element in the current DOM tree.
You have already opened the saved workflow-practice page. Now connect what you see on the rendered page to its element in the browser.
Right-click the visible second paragraph and choose Inspect. Some browsers call this command Inspect Element. This opens the browser’s developer tools and selects the related item in the page structure.
In Chrome or Edge, use the Elements panel. In Firefox, use the Inspector panel.
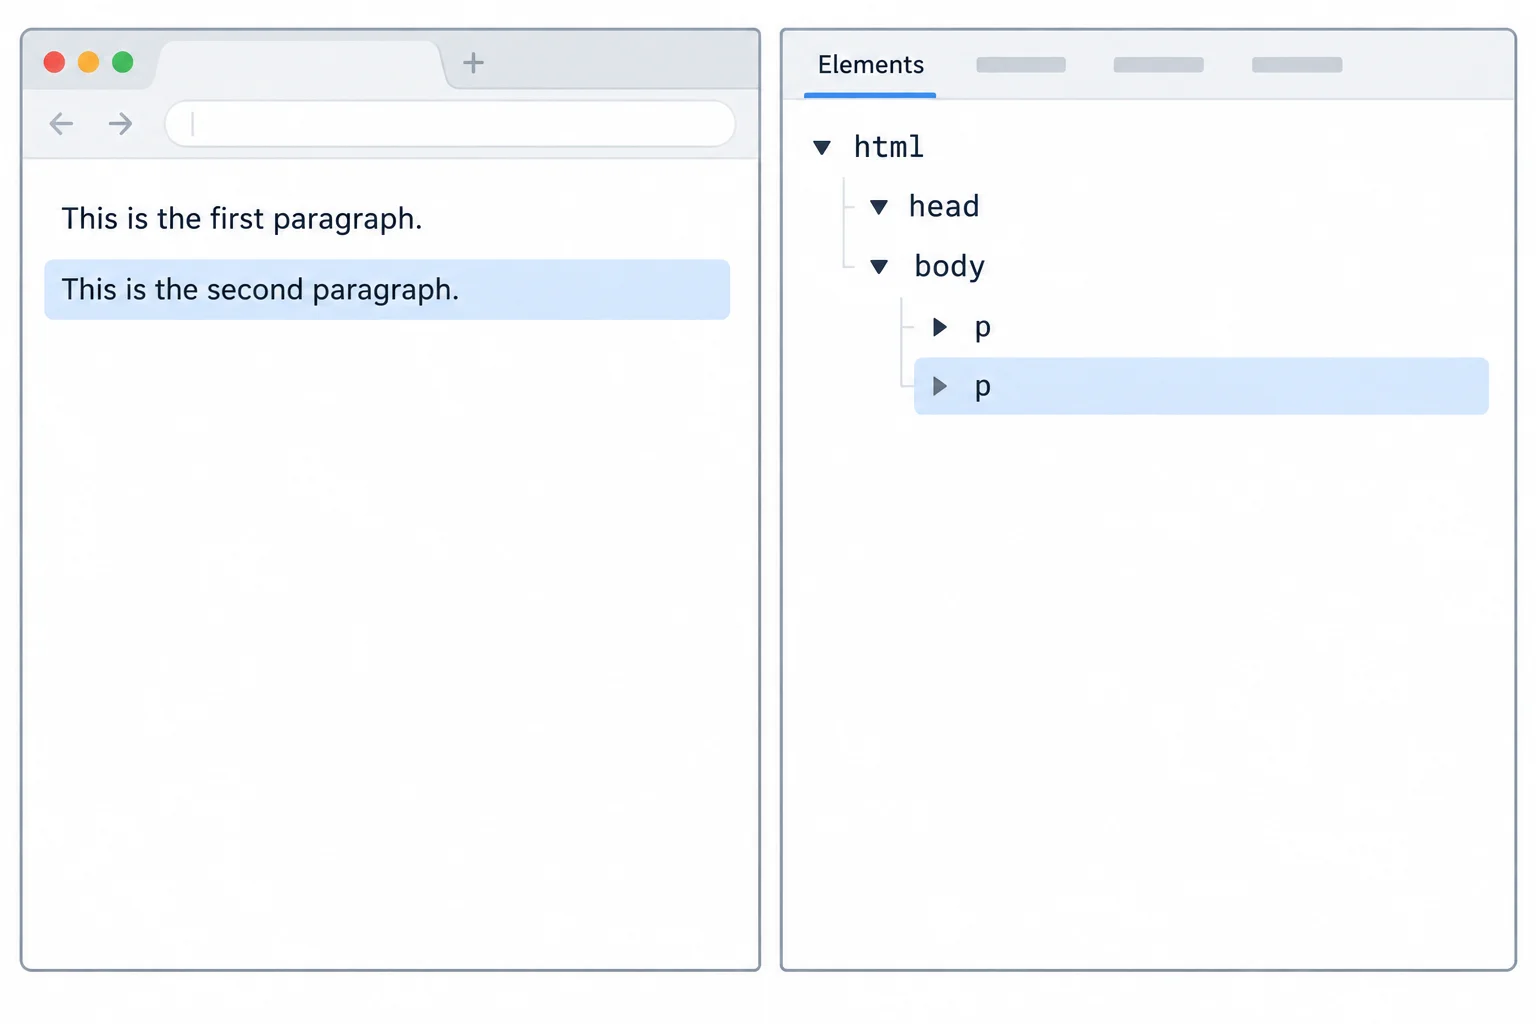
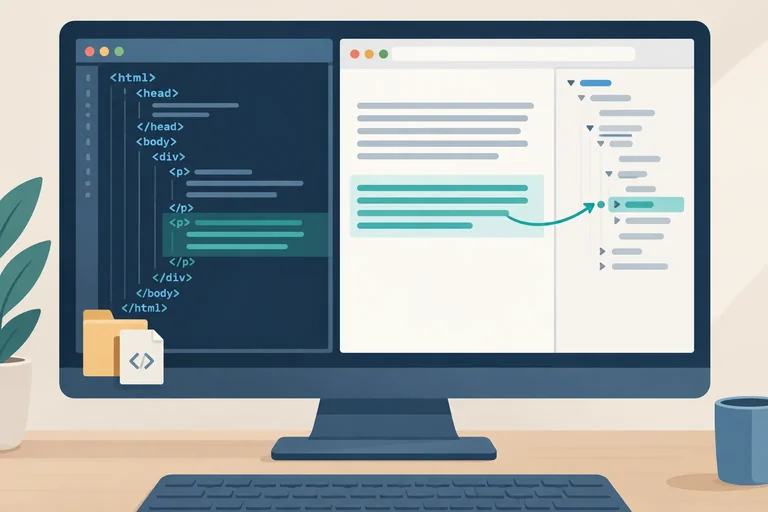
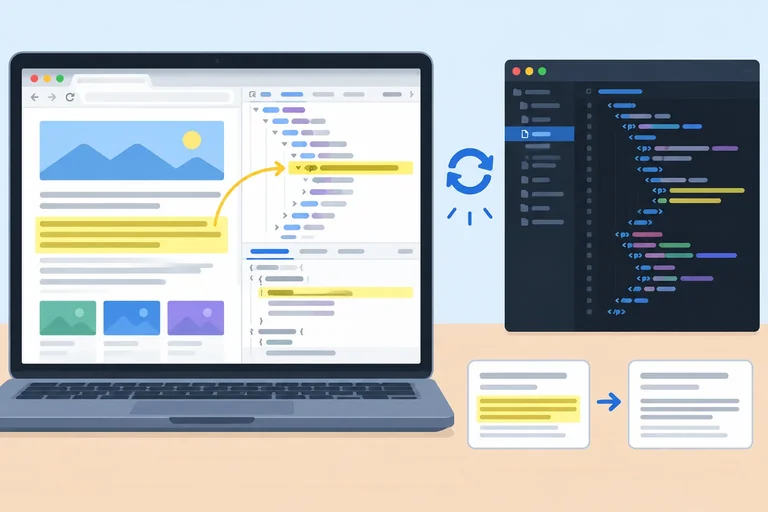
Inspect links the highlighted rendered paragraph to its current node in the developer tools tree.
Tip
The selection highlight is a useful confirmation: the node selected in the panel corresponds to the part of the rendered page you chose.
The Elements or Inspector panel shows the DOM tree: the browser’s current document structure. It is not the source file open in your editor, even though the structure may look similar.
If you cannot see the selected paragraph immediately, expand its parent nodes with their disclosure arrows. The selected p element is a child of body; both paragraphs are children of that same body element.
A simplified view of the structure you should find
<!DOCTYPE html>
<html lang="en">
  <head>
    <meta charset="UTF-8">
    <title>My First Local Page</title>
  </head>
  <body>
    <p>Hello from my local page.</p>
    <p>I can edit, save, and refresh.</p>
  </body>
</html>
Tip
Indentation helps you read containment: body contains the two p elements. In the inspector, selecting a node highlights its related rendered content.
A page highlight surrounds the second visible paragraph. Match each page or tree cue to its corresponding DOM description.
Tap an item and then its matching pair.
On your own local page, use Inspect on the second visible paragraph. In one sentence, report the selected element name, its displayed text, and its parent element.
Write at least 25 characters (0/25).
Step 7 of 8
Test a text change in the browser inspector and distinguish the current DOM from the saved source file.
In the Elements panel (Chrome or Edge) or Inspector panel (Firefox), keep the second <p> element selected. Edit its text content—not its styles.
Double-click the paragraph text in the DOM tree, replace it with This change is temporary., and press Enter. The rendered page should update immediately.
You changed the browser’s current DOM tree. You did not edit or save first-page/index.html.
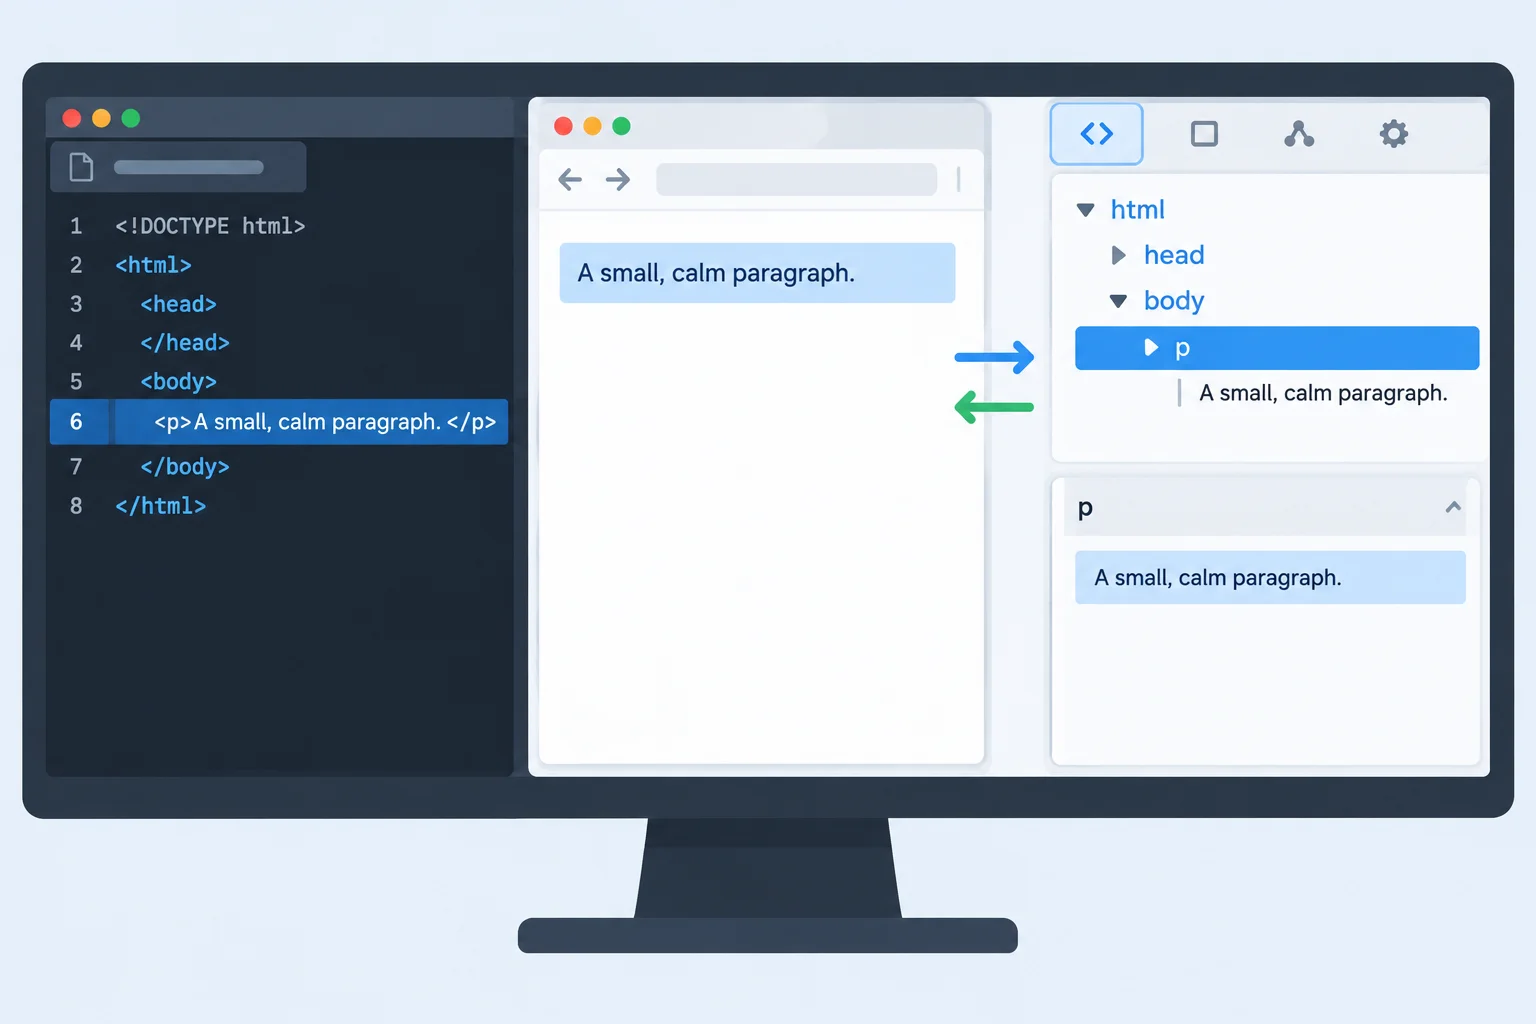
An inspector text edit changes the current DOM tree and the rendered page, while the saved source file remains unchanged.
Compare where each kind of change happens. At this point, the saved second paragraph in first-page/index.html is still I can edit, save, and refresh., even though the browser currently shows different text.
An ordinary inspector edit is useful for testing the current page, but it is not a way to save work to your file.
| Question | Source edit | Inspector edit |
|---|---|---|
| Where is it made? | In index.html in the editor | In the current DOM tree |
| Does saving matter? | Yes; save the source file | No source file is saved |
| What changes now? | The file on disk | The rendered page immediately |
| What happens after refresh? | Saved change is rebuilt into the page | Temporary change is discarded |
Keep the editor open and do not change or save its source. In the browser, use its refresh command after making the inspector edit. Then compare the rendered second paragraph with the paragraph still written in the editor.
You change only the second paragraph in the inspector and do not edit the source file. After refreshing the browser, This change is temporary. will still be displayed.
Complete the practical check from the previous screen. Then, in 2–4 sentences, describe what you saw before and after the refresh. Explain why the saved paragraph returned and state where you must make a change for it to be permanent.
Write at least 120 characters (0/120).
Step 8 of 8
Finalize your local HTML page, verify that its saved change survives a refresh, and connect the rendered paragraph to its DOM element.
Work in your saved source file, first-page/index.html—not in developer tools. Keep the first paragraph unchanged. Replace only the text inside the second p element with the final text below, then save the file using UTF-8 encoding.
Your final saved source should match this document:
<!DOCTYPE html>
<html lang="en">
  <head>
    <meta charset="UTF-8">
    <title>My First Local Page</title>
  </head>
  <body>
    <p>Hello from my local page.</p>
    <p>I can create and inspect HTML.</p>
  </body>
</html>Browser tab: My First Local Page Rendered page: Hello from my local page. I can create and inspect HTML.
Browser fonts and paragraph spacing can vary. The labels below identify the tab and page content you should verify.
After saving, return to the browser and refresh the local page. Then use Inspect on the second displayed paragraph to open developer tools. In Chrome or Edge, find it in Elements; in Firefox, find it in Inspector. Refresh once more after inspecting: the final text should still be present because it came from the saved source file.
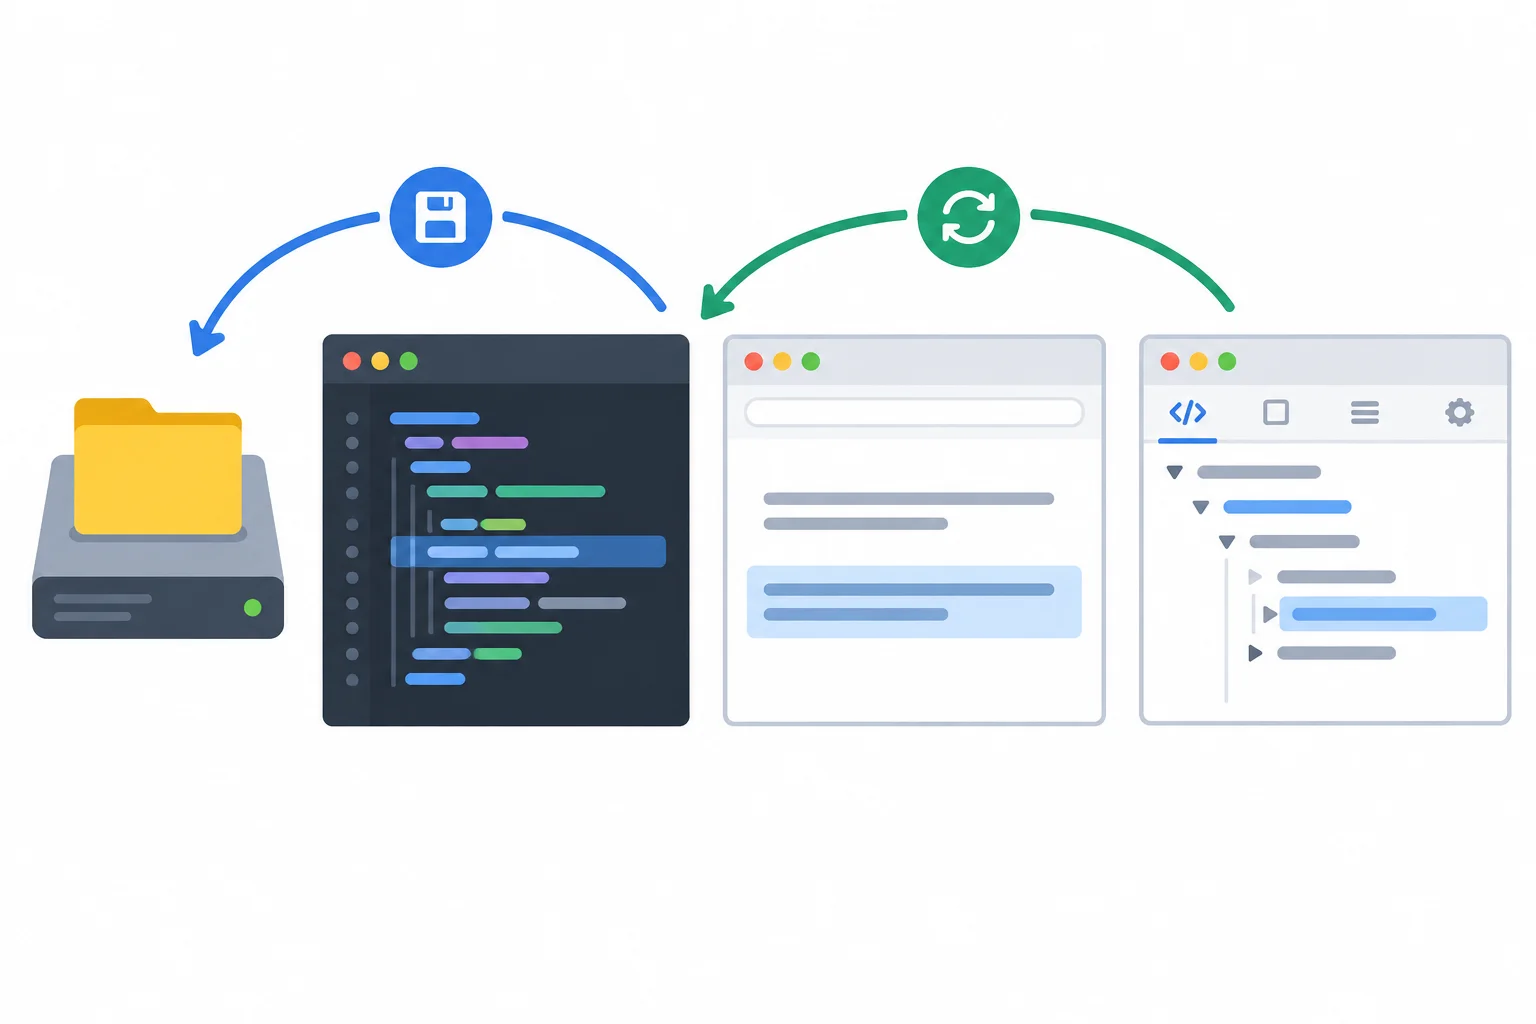
Save updates the source file; refresh rebuilds the rendered page from that saved file. The inspector shows the current DOM tree.
Use this checklist before your final report.
| Check | What to confirm |
|---|---|
| Filename | first-page/index.html, with .html rather than .txt |
| Document start | DOCTYPE followed by html with lang="en" |
| Head information | UTF-8 meta declaration and the page title |
| Visible content | Two paragraphs in the body |
| Browser tab | Matches the title in the source |
| Inspector | The second paragraph's p element is selected in the DOM tree |
| Persistence | The final second paragraph remains after another refresh |
Complete the second paragraph in the final saved source.
<p></p>On your computer, make sure the final source version is saved. Refresh the browser, inspect the second paragraph, and refresh once more. Then report all five results: the tab title, the final second-paragraph text, the selected element in the DOM tree, what happened after the second refresh, and where a lasting change must be saved.
Write at least 100 characters (0/100).
Congratulations! You completed: Create and Inspect a Local HTML Page
Thousands of online courses in video, ebooks and audiobooks.
To test your knowledge during online courses
Generated directly from your cell phone's photo gallery and sent to your email

Download our app via QR Code or the links below:.



Carry knowledge in your pocket.
Download the Cursa app.
There are hundreds of free courses available, with a free certificate of completion that is saved in your mobile image gallery.
Download the app to access the Course Completion Certificate for Free.


+ 10 million
students

Free and Valid
Certificate

60 thousand free
exercises

4.8/5 rating in
app stores

Free courses in
video and ebooks