Step 1 of 7
Give one idea two useful roles
Learn how one source piece can become a concise written explanation and a scan-friendly visual summary without changing its purpose.

Learning path · Level 2 · Tutorial 4
Adapt one source idea into complementary written and visual content while preserving its purpose, evidence, and brand voice.
 Give one idea two useful roles
Learn how one source piece can become a concise written explanation and a scan-friendly visual summary without changing its purpose. 2 min
 Find the meaning that must survive
Extract a compact source anchor that preserves the message, evidence limits, and intended action. 3 min
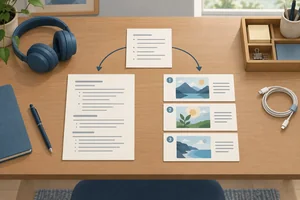 Map what to retain, simplify, or omit
Decide which source details each adaptation should retain, simplify, or omit so the written post and visual summary serve complementary roles. 2 min
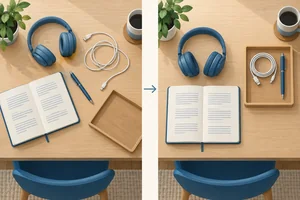 Draft the concise written post
Create a concise ClearDesk written post that explains the desk-reset routine without losing its evidence limits, calm voice, or intended action. 3 min
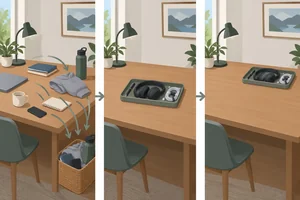 Turn the routine into a visual summary
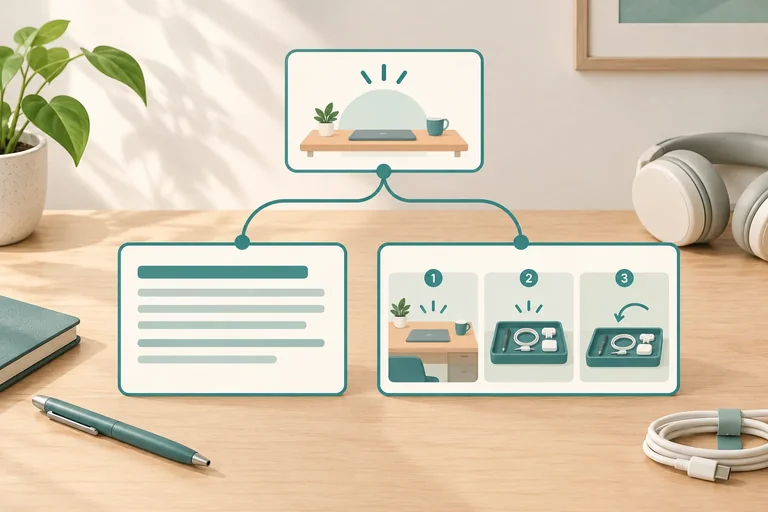
Turn the ClearDesk desk-reset routine into an accessible three-section visual that supports, rather than duplicates, the written post. 4 min
 Catch meaning changes across formats
Compare a written post and visual summary with the source piece to identify and repair meaning drift while preserving complementary roles. 2 min
 Finish a coherent content pair
Finalize a complementary written-and-visual pair, verify it against the source piece, and confirm that the visual remains accessible through its text equivalent. 2 min
Step 1 of 7
Learn how one source piece can become a concise written explanation and a scan-friendly visual summary without changing its purpose.
ClearDesk supports remote workers with small home desks. At the end of a busy day, small tools can be harder to find when they are left in different places. A simple three-step desk reset may make everyday tools easier to find. First, Remove items that you do not use daily. Next, Group daily tools, such as a pen, headphones, and a charging cable, in an existing tray. Finally, Reset the desk by returning those tools to the tray after work. No purchase is required. This routine is a practical suggestion, not a promise of a measured performance gain. Fictional practice case. Fictional practice data: 6 of 8 remote workers reported that their tools were easier to find after 1 week; productivity was not measured. These observations are invented for learning, not real research. Try the three-step reset at the end of your next workday.
This complete source piece is the only material you need for this tutorial. You will adapt it into a written post and a visual summary. No external article, research, downloadable asset, or purchase is required.
Repurposing changes how useful source material is presented for a new role while preserving what it means and what it asks the audience to do.
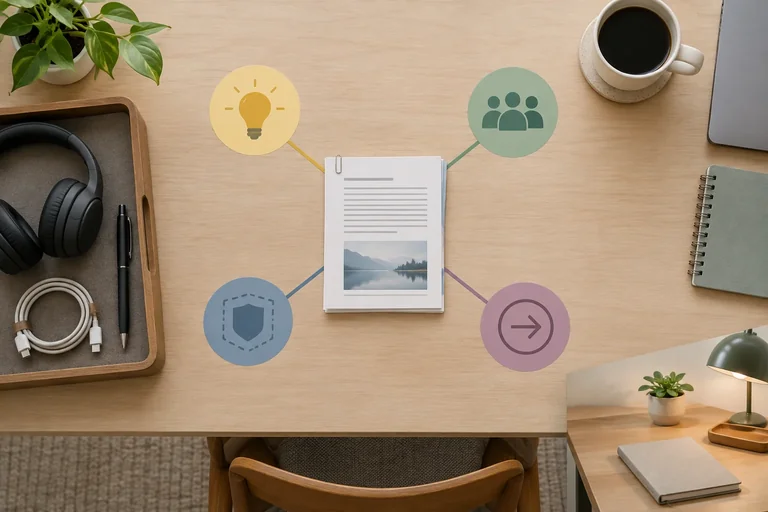
For ClearDesk, the written post can explain why the routine may help. The visual summary can make the three actions easy to scan. Together, they help readers understand and use the same idea without repeating every sentence.
Copying a paragraph onto a graphic, or exporting the same asset at a different size, does not by itself give the idea a new role.
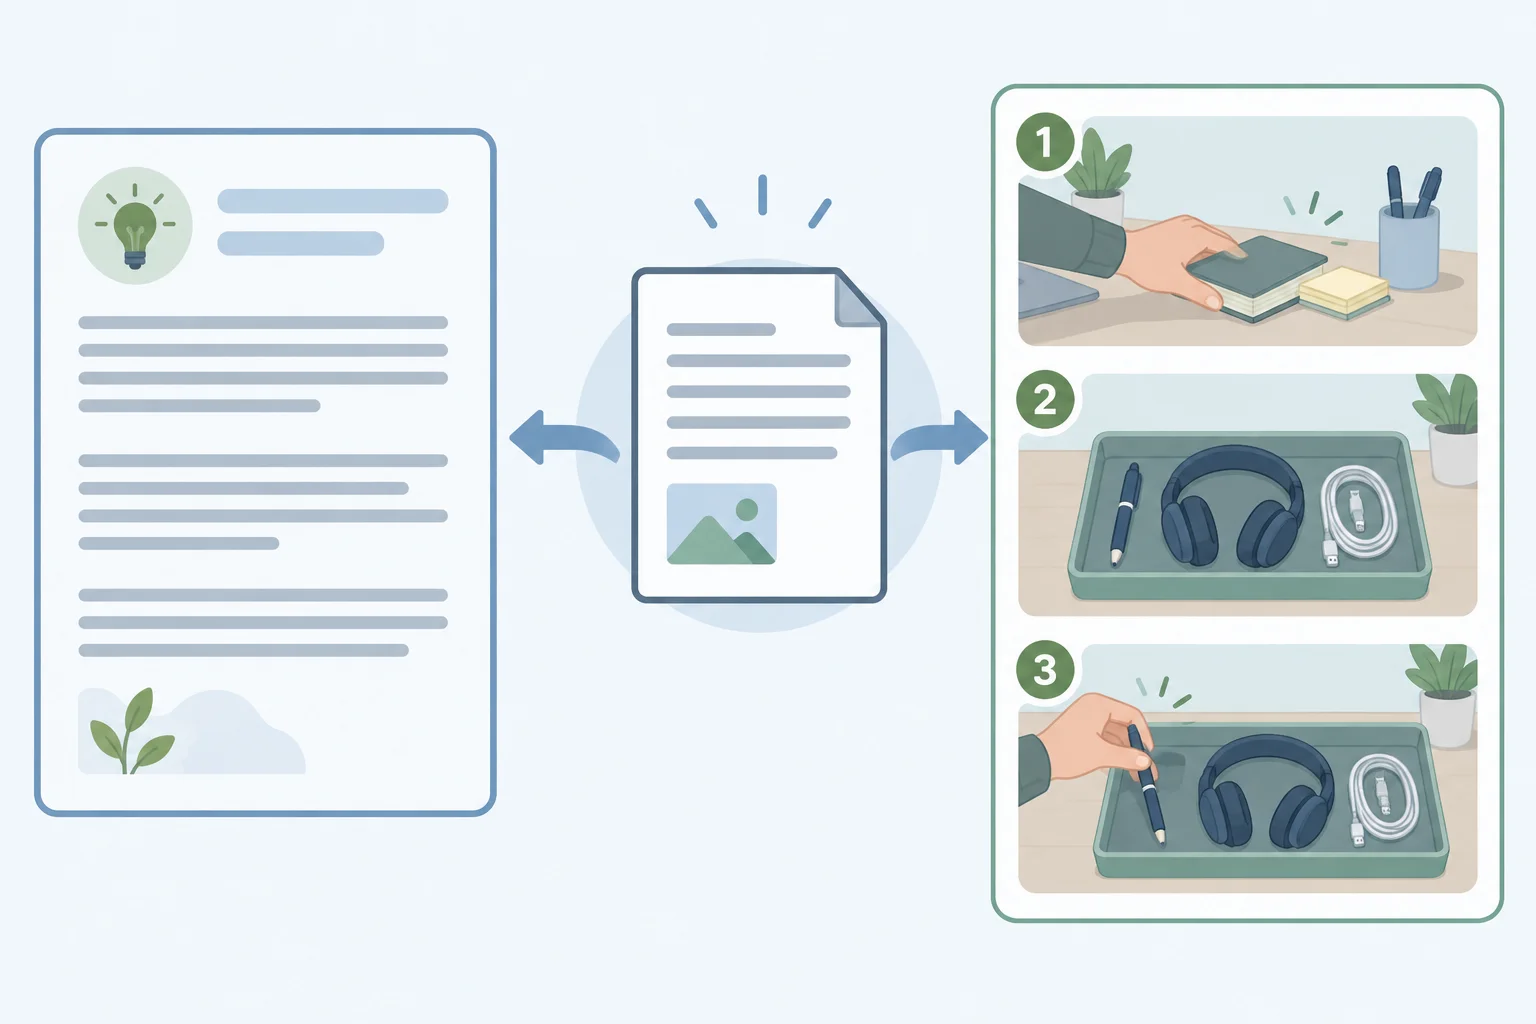
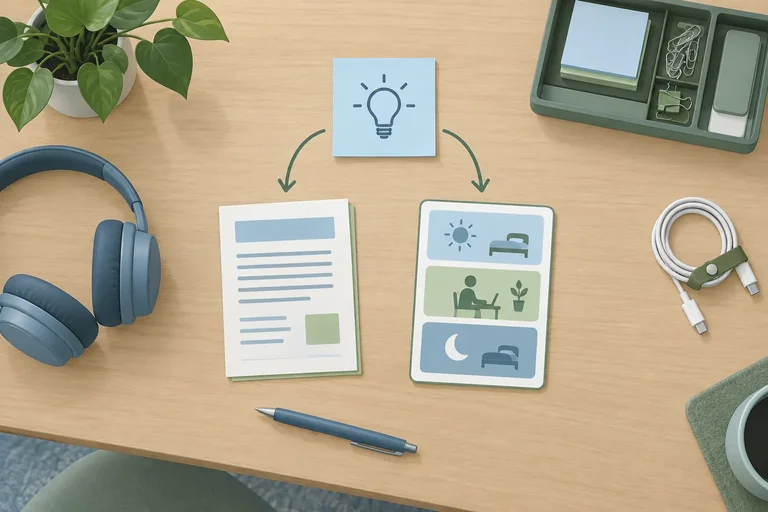
The written post explains the routine's relevance. The visual summary makes its ordered actions easy to scan.
Example
Not repurposing: Put the full source paragraph into a small graphic. The audience still has to read dense text, so the graphic does not provide a quick-reference role.
Repurposing: Create a concise written post that explains the routine's possible benefit, and a visual summary that presents Remove, Group, and Reset in order. Both preserve the purpose: encourage readers to try the routine at the end of their next workday.
Which pairing meaningfully repurposes the ClearDesk source piece?
Step 2 of 7
Extract a compact source anchor that preserves the message, evidence limits, and intended action.
A source anchor is a compact record of the meaning that must survive repurposing. It has four parts:
The anchor is not a written post or a visual summary. It is a faithful reference point for both later adaptations.
Source piece
ClearDesk supports remote workers with small home desks. At the end of a busy day, small tools can be harder to find when they are left in different places. A simple three-step desk reset may make everyday tools easier to find. First, Remove items that you do not use daily. Next, Group daily tools, such as a pen, headphones, and a charging cable, in an existing tray. Finally, Reset the desk by returning those tools to the tray after work. No purchase is required. This routine is a practical suggestion, not a promise of a measured performance gain. Fictional practice case. Fictional practice data: 6 of 8 remote workers reported that their tools were easier to find after 1 week; productivity was not measured. These observations are invented for learning, not real research. Try the three-step reset at the end of your next workday.
Do not try to preserve every detail equally. Optional examples, such as a pen, headphones, and a charging cable, and connective wording can be simplified or omitted later when their meaning is clear.
The routine itself is different. The fixed labels Remove, Group, and Reset, their order, and the essential action under each label must remain unchanged: remove items not used daily; group daily tools in an existing tray; return those tools after work.
Also protect the claim boundary. “May,” “reported,” the count, the time period, the fictional status, and the unmeasured productivity outcome all control what the observation means. Reported describes what participants said; it does not prove a productivity improvement.
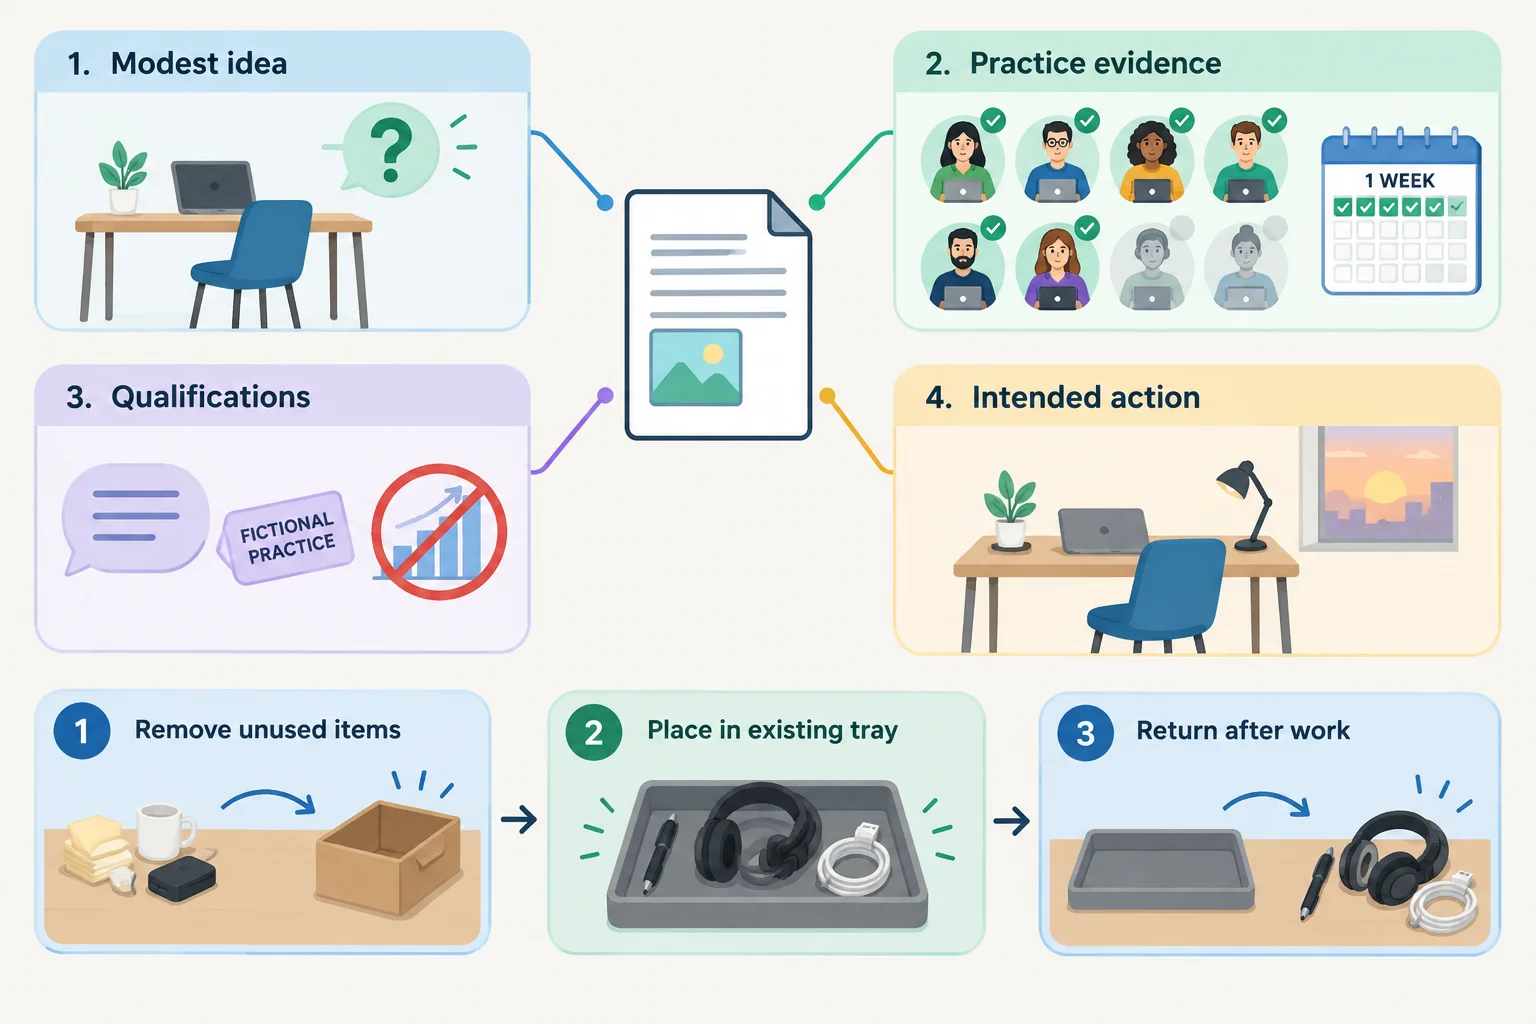
The anchor protects the claim and its limits; the ordered routine remains a fixed part of the source meaning.
True or false: The source piece proves that the desk-reset routine improves productivity.
Create a compact source anchor from the supplied source piece. Write four labeled lines:
Core message:
Intended action:
Evidence:
Qualifications:
For Evidence, include who reported the result, the count, the outcome, and the time period. For Qualifications, identify every limit that keeps the claim from becoming exaggerated. Do not draft a written post or visual summary.
Write at least 180 characters (0/180).
Step 3 of 7
Decide which source details each adaptation should retain, simplify, or omit so the written post and visual summary serve complementary roles.
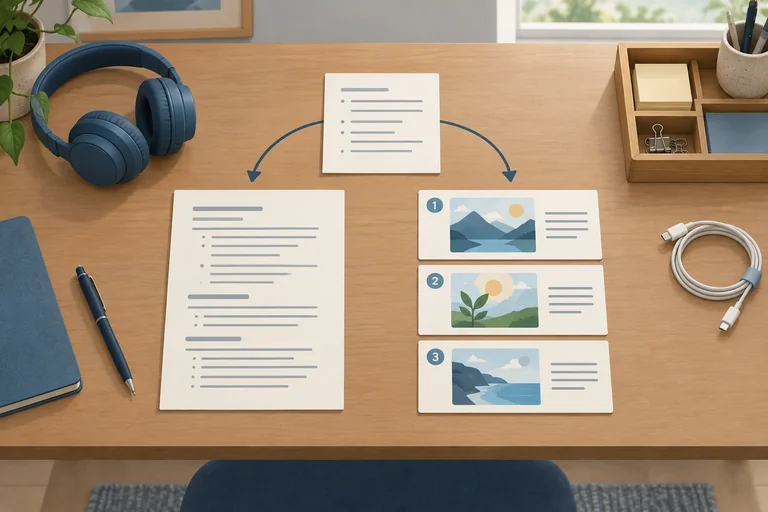
Start with the source anchor, then make a map before drafting. For every source detail, decide what each format needs:
Write a reason for each choice. The written post has room to explain context and qualified support. The visual summary has a different job: make the three actions quick to scan.
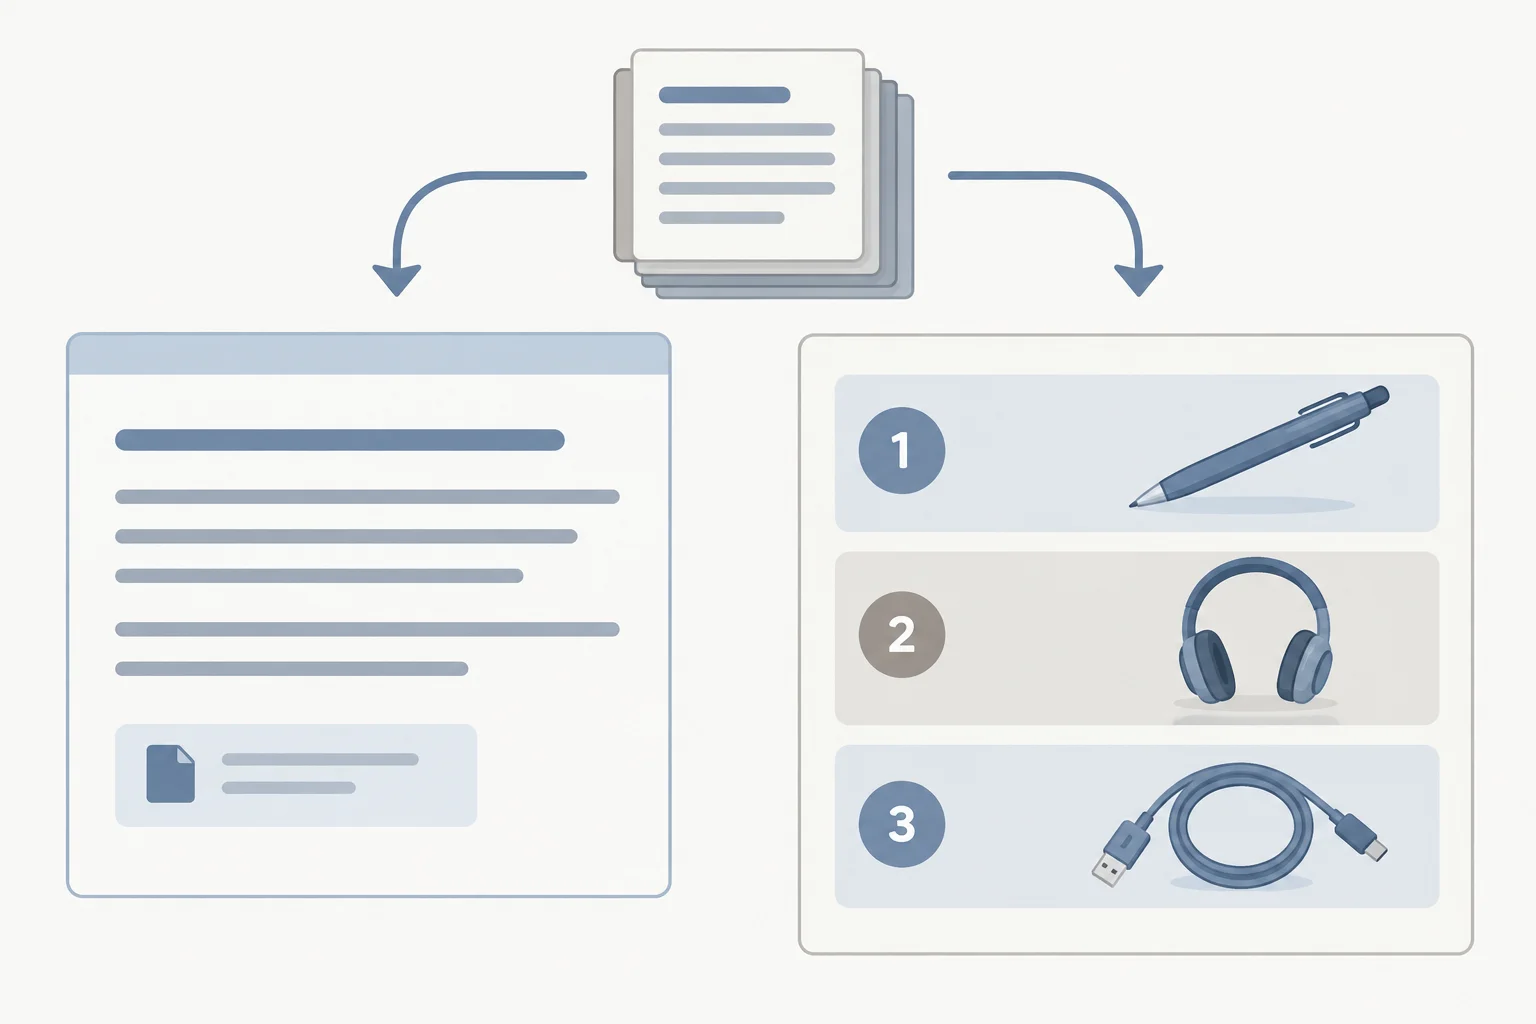
Map the same source detail differently: the written post explains, while the visual summary makes the routine easy to scan.
Both adaptations can repeat the core message, the intended action, and accessible information without becoming duplicates. What changes is the amount and arrangement of detail.
The visual summary may omit the numerical practice result because it is a quick reference, not proof of the routine. But if the result appears, it must keep its essential qualifications: it was reported by 6 of 8 remote workers after 1 week, and productivity was not measured. Never shorten a qualified observation into a stronger claim.
This example map keeps the written post explanatory and the visual summary procedural.
| Source detail | Written post | Visual summary | Reason |
|---|---|---|---|
| Core message | Retain — same modest claim | Retain — same modest claim | Both formats must preserve meaning. |
| Remove, Group, Reset | Simplify — name the routine concisely | Retain — three ordered sections | The visual's main role is quick reference. |
| Practice observation | Retain — full qualified evidence | Omit — numerical result | The post explains support; the visual need not rely on it. |
| Pen, headphones, charging cable | Simplify — daily tools | Omit — unless needed for clarity | Examples can be shortened without changing the routine. |
| Fictional practice case | Retain — display the label | Retain — display the label | The fictional status must remain clear. |
| Intended action | Retain — same action | Retain — same action | The pair keeps one purpose. |
Tip
Plan a Text equivalent for the visual summary. It repeats the graphic's meaningful information and reading order so the routine and intended action remain available without the graphic. This accessibility repetition supports the visual; it is not unnecessary duplication.
Match each adaptation situation to the best decision.
Tap an item and then its matching pair.
Step 4 of 7
Create a concise ClearDesk written post that explains the desk-reset routine without losing its evidence limits, calm voice, or intended action.
A written post is not a sentence-by-sentence shrink of the source piece. Give it one useful role: explain why the routine may help, show the three actions concisely, and support the core message with qualified practice evidence.
Keep the core message and intended action intact. Change the structure and wording so a reader can understand the routine quickly in 80–110 words. ClearDesk’s voice stays practical, calm, and encouraging: useful guidance, not hype or a sales pitch.
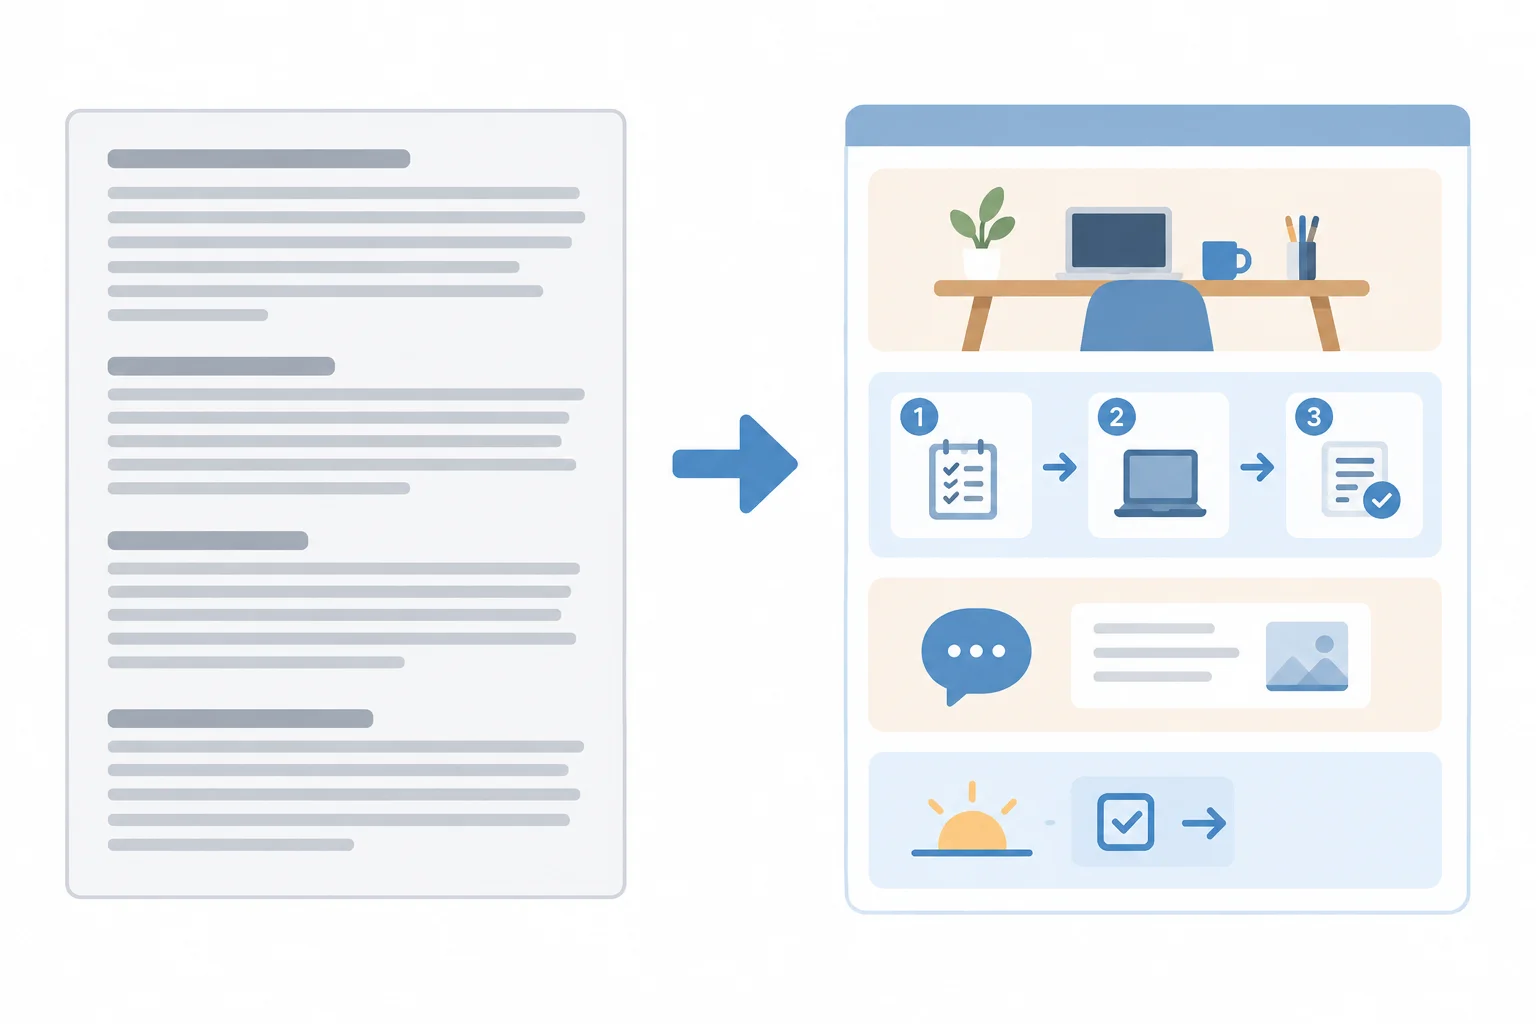
The written post reorganizes the useful idea; it does not shorten every source sentence by the same amount.
Use this exact source piece as your drafting reference. It contains the details that the written post must preserve.
Example
ClearDesk supports remote workers with small home desks. At the end of a busy day, small tools can be harder to find when they are left in different places. A simple three-step desk reset may make everyday tools easier to find. First, Remove items that you do not use daily. Next, Group daily tools, such as a pen, headphones, and a charging cable, in an existing tray. Finally, Reset the desk by returning those tools to the tray after work. No purchase is required. This routine is a practical suggestion, not a promise of a measured performance gain. Fictional practice case. Fictional practice data: 6 of 8 remote workers reported that their tools were easier to find after 1 week; productivity was not measured. These observations are invented for learning, not real research. Try the three-step reset at the end of your next workday.
Tip
Draft in an ordinary local document or in the response activity. Before editing for length, protect the evidence denominator, the 1 week period, the fact that workers reported the result, and the fact that productivity was not measured. Keep the separate label Fictional practice case in the finished written post.
Compress low-risk wording first. Do not compress away a qualification that controls the meaning of a claim.
Use these moves while drafting your written post.
| Source detail | Post move | Keep? |
|---|---|---|
| Three example tools | Use a short example list or “daily tools” | Simplify |
| Remove, Group, Reset actions | State the ordered routine concisely | Retain |
| 6 of 8 after 1 week | Use the full result in one sentence | Retain |
| Workers reported the result | State that it was reported | Retain |
| Productivity was not measured | Keep the limitation | Retain |
| Extra scene-setting wording | Cut it if it adds no meaning | Omit |
Example
A compact evidence sentence can carry several limits at once: “6 of 8 remote workers reported their tools were easier to find after 1 week; productivity was not measured.”
Place Fictional practice case as a separate label in the finished written post. Then use the same intended action: invite the reader to try the routine at the end of their next workday.
Write a complete written post based on the supplied source piece.
Requirements:
Fictional practice case.Put the label and post copy in your response.
Write at least 400 characters (0/400).
Step 5 of 7
Turn the ClearDesk desk-reset routine into an accessible three-section visual that supports, rather than duplicates, the written post.
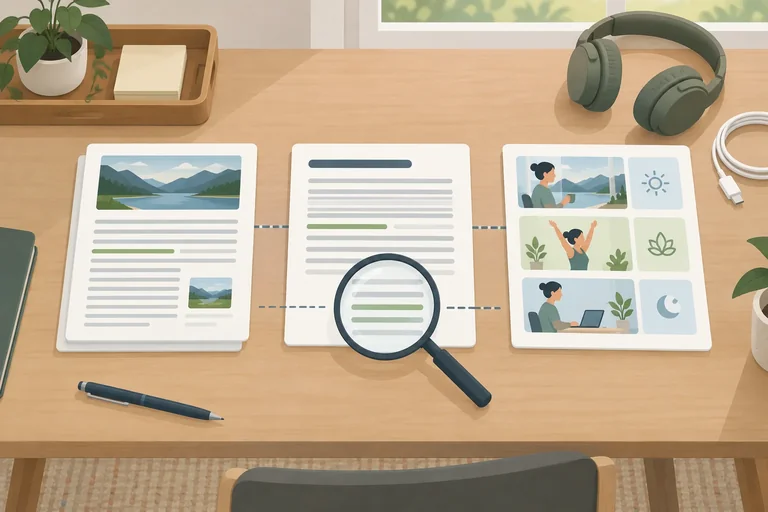
A visual summary is a quick reference, not a miniature written post. Preserve the core message and intended action, then make the routine easy to scan through three ordered sections: Remove, Group, and Reset.
The written post has room to explain the qualified practice evidence. This graphic does not need to repeat that evidence paragraph. It must not replace the modest message with a stronger promise.
Put the exact label Fictional practice case on the graphic. The label identifies the learning example without turning it into research or a productivity claim.
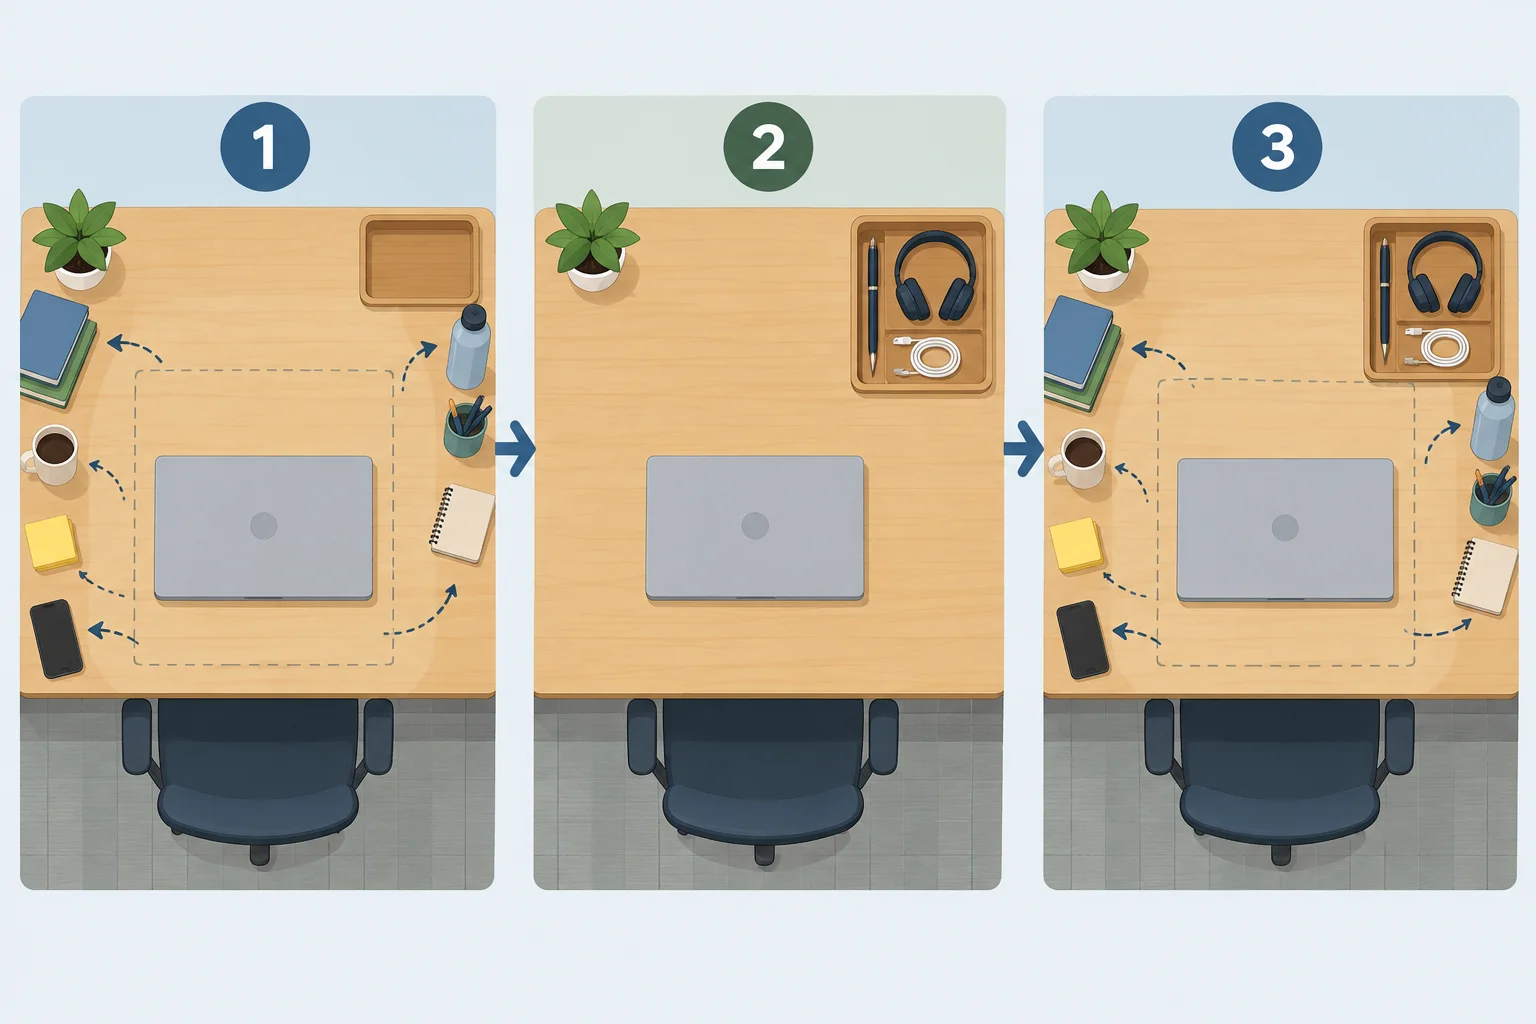
The three panels establish the reading order. Short labels and simple object shapes make the routine easier to scan than a pasted paragraph.
Use one heading, three numbered sections, and one action line. Keep the graphic itself to 60 words or fewer, excluding the case label and the separate text equivalent.
The core message may appear in both formats because it connects them. The visual earns its role by making the action sequence faster to follow, not by copying the written post sentence by sentence.
Example
Finished graphic content
Fictional practice case
A simple three-step desk reset may make everyday tools easier to find.
Try the three-step reset at the end of your next workday.
Text equivalent
Fictional practice case. A simple three-step desk reset may make everyday tools easier to find. Reading order: 1. Remove items not used daily. 2. Group daily tools in an existing tray: pen, headphones, and charging cable. 3. Reset by returning those tools after work. Try the three-step reset at the end of your next workday.
Make the graphic on your own computer in a free design tool or slide editor. Start with editable text and simple shapes:
Text equivalent.The text equivalent repeats all meaningful words and their reading order. This accessibility-related repetition is useful; it is not unnecessary duplication of the written post.
Tip
Use only editable text and shapes. You do not need an external image file, a paid element, or downloadable media. Before you finish, read the text equivalent by itself: it should communicate the same message, three steps, and action as the graphic.
Create your visual summary on your own computer. Then document it here; do not upload a file.
Write these labeled parts:
Your graphic must have three ordered sections, use the routine labels in order, include the case label, retain the modest message and intended action, and use no more than 60 words in the graphic itself (excluding the case label and separate text equivalent).
Write at least 250 characters (0/250).
Step 6 of 7
Compare a written post and visual summary with the source piece to identify and repair meaning drift while preserving complementary roles.
A written post and a visual summary can agree with each other yet both drift from the source piece. For a final review, compare each adaptation directly with the source anchor, not with the other adaptation alone.
Check what each format says against the source’s Message, Evidence, Qualifications, Voice, and Action. Then make the smallest repair that restores meaning. The goal is not to make the formats identical: the written post can still explain, while the visual summary can still provide a quick reference.
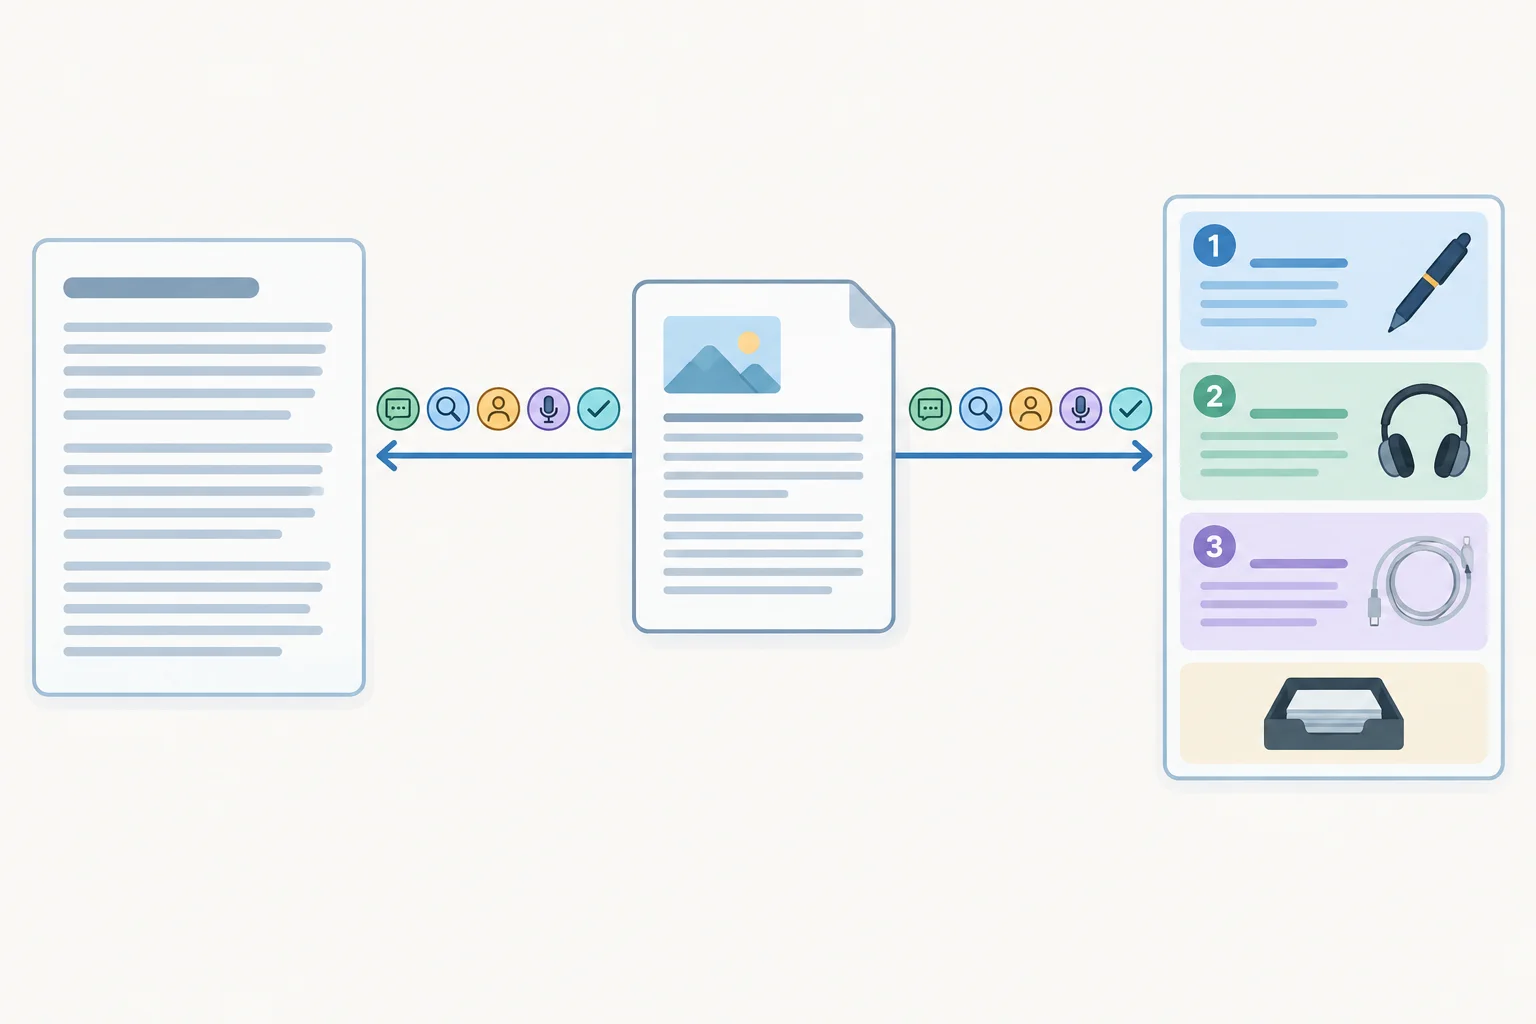
Check each adaptation against the source piece instead of using one adaptation to validate the other.
Run these checks on the written post and visual summary separately. A format may omit a detail that its role does not need, but it cannot change the meaning of a detail it retains.
| Final check | Compare with the source |
|---|---|
| Message | Does the benefit remain modest and focused on making everyday tools easier to find? |
| Evidence | If the practice result appears, are 6 of 8 and 1 week still accurate? |
| Qualifications | If the result appears, does it remain reported, fictional, and clear that productivity was not measured? |
| Voice | Is the wording practical, calm, and encouraging rather than hyped? |
| Action | Does it invite readers to try the three-step reset at the end of their next workday? |
Example
An optional example, such as a pen or headphones, can disappear from a visual summary without changing the routine. A qualification is different: if an adaptation keeps the practice result, it must keep the limits that define that result.
For example, a visual can stay focused on Remove, Group, and Reset while omitting the numerical observation. But a written post that keeps the observation cannot replace its time period or imply a measured productivity result. Repair only the inaccurate phrase; do not add the written post’s evidence paragraph to the visual simply to make both formats match.
Review this deliberately flawed pair. It has one changed evidence detail.
Written post
Fictional practice case
At the end of a workday, everyday tools can end up in different places. A simple three-step desk reset may make everyday tools easier to find. Remove items not used daily. Group daily tools in an existing tray. Reset by returning those tools after work. Fictional practice data: 6 of 8 remote workers reported their tools were easier to find after 2 weeks; productivity was not measured. These observations are invented for learning, not real research. No purchase is required. Try the three-step reset at the end of your next workday.
Visual summary
Fictional practice case
A simple three-step desk reset may make everyday tools easier to find.
Try the three-step reset at the end of your next workday.
Text equivalent
Fictional practice case. A simple three-step desk reset may make everyday tools easier to find. Reading order: 1. Remove items not used daily. 2. Group daily tools in an existing tray. 3. Reset by returning those tools after work. Try the three-step reset at the end of your next workday.
Identify the changed evidence claim, name the relevant final-check label, state the source constraint it conflicts with, and rewrite only the affected written-post sentence. Briefly explain why the visual summary needs no change.
Write at least 180 characters (0/180).

Step 7 of 7
Finalize a complementary written-and-visual pair, verify it against the source piece, and confirm that the visual remains accessible through its text equivalent.
Summary
Use this final pass to make the two adaptations work together without making them identical.
The written post gives readers context and qualified support. The visual supplies a quick, ordered routine. Its text equivalent makes the graphic’s meaningful content available in words.
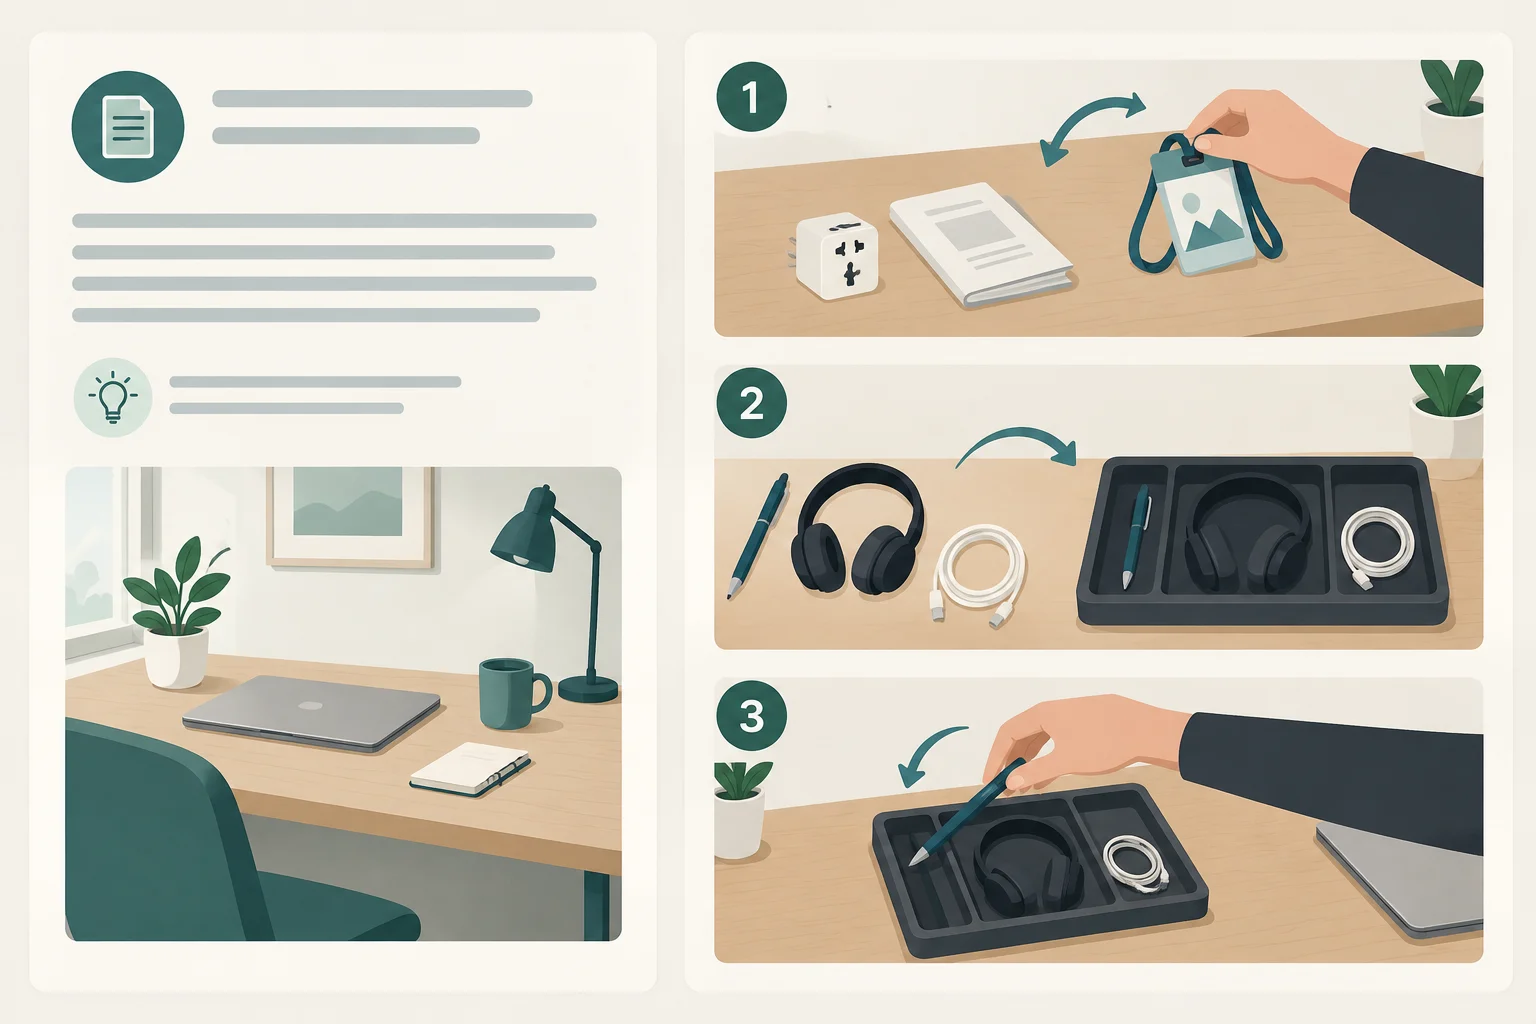
Keep the shared meaning and action while giving each format a different useful job.
Paste your final written post exactly as you want readers to see it. Include the separate label Fictional practice case. Use the source piece as your reference, not the visual summary.
Write at least 80 characters (0/80).
Paste the text equivalent for your locally created visual summary. Include the label Text equivalent and state all meaningful graphic content in reading order, including the case label, modest message, three routine sections, and intended action.
Write at least 40 characters (0/40).
Compare both adaptations directly with the source piece. Identify one correction you made, or one specific consistency point you verified. Name the relevant final-check label: Message, Evidence, Qualifications, Voice, or Action.
Write at least 30 characters (0/30).
In 2–4 sentences, explain the distinct contribution of your written post and your visual summary. Then confirm that you checked your local graphic for three ordered sections, the Fictional practice case label, its Text equivalent, and the visual word limit.
Write at least 80 characters (0/80).
Congratulations! You completed: Repurpose One Idea into Written and Visual Content
You completed this level!
Up next: Search Engine Optimization
 Research Search Intent and Keyword OpportunitiesUse public search results and Google Trends to create a prioritized keyword shortlist grounded in audience needs and search intent, without paid tools or an owned website.
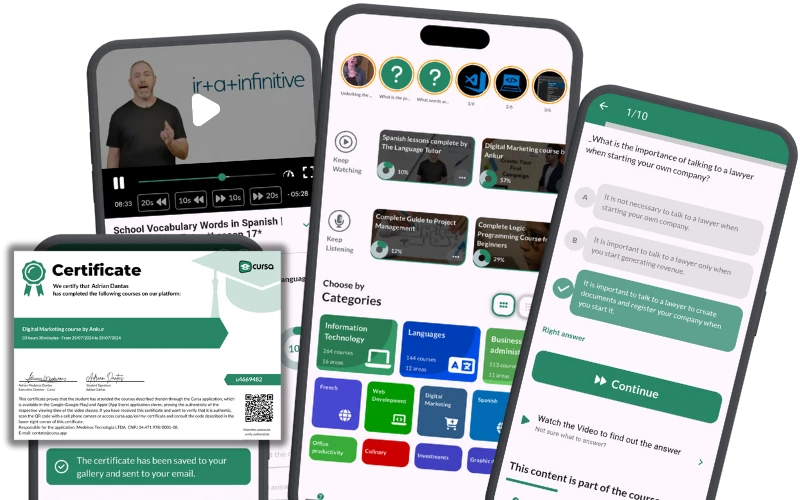
Thousands of online courses in video, ebooks and audiobooks.
To test your knowledge during online courses
Generated directly from your cell phone's photo gallery and sent to your email

Download our app via QR Code or the links below:.


Carry knowledge in your pocket.
Download the Cursa app.
There are hundreds of free courses available, with a free certificate of completion that is saved in your mobile image gallery.
Download the app to access the Course Completion Certificate for Free.

+ 10 million
students

Free and Valid
Certificate

60 thousand free
exercises

4.8/5 rating in
app stores

Free courses in
video and ebooks