Step 1 of 8
Choose Your Setup Route
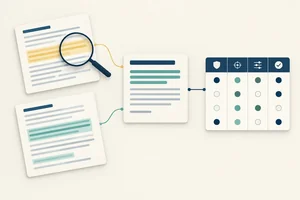
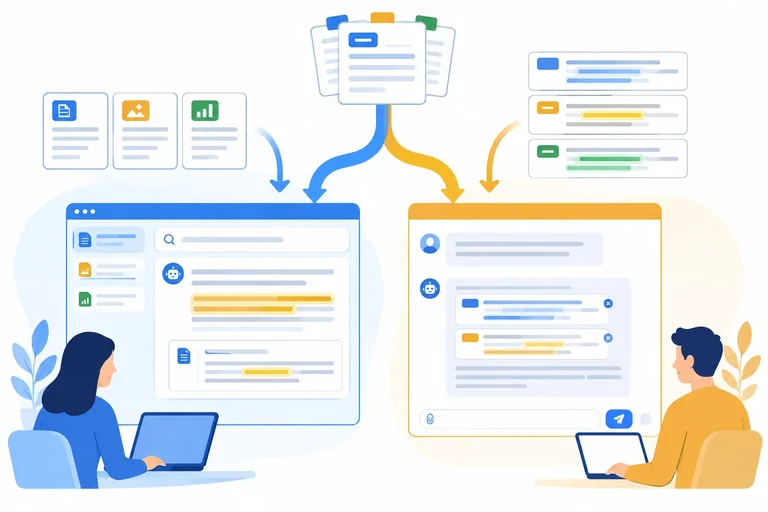
Choose an honest setup route based on whether your available tool can retrieve from added sources or whether you will supply labeled excerpts as selected evidence in a conversation.

Learning path · Level 6 · Tutorial 3
Configure source-referenced question answering in an accessible document tool, such as NotebookLM. If retrieval features are unavailable, practice the same answer requirements by pasting labeled excerpts into a free assistant, clearly identifying this as a direct-context fallback.
 Choose Your Setup Route
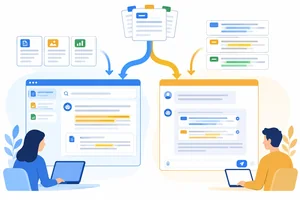
Choose an honest setup route based on whether your available tool can retrieve from added sources or whether you will supply labeled excerpts as selected evidence in a conversation. 2 min
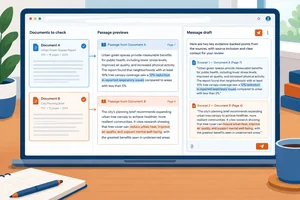 Add and Confirm the Selected Sources
Add or paste the intended evidence, then confirm that the selected sources and their passage text are readable. 3 min
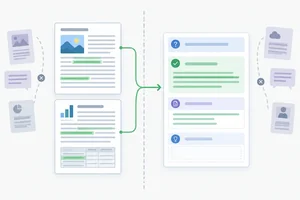 Set the Answer Boundaries
Apply a short answer contract that limits factual claims to selected sources, requires visible response sections, and acknowledges missing evidence. 3 min
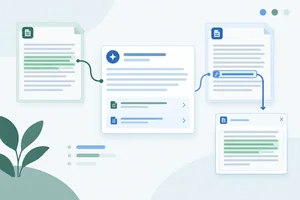 Make References Checkable
Turn generic citations into references that a reader can use to locate the supporting passage. 2 min
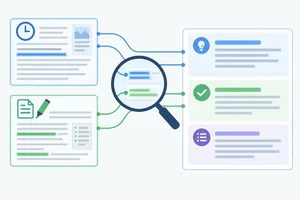 Ask an Answerable Question
Ask one answerable, source-referenced question and inspect whether its response visibly follows the established answer contract. 3 min
 Check the Passages, Not Just the Citations
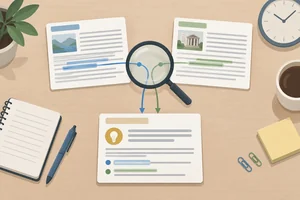
Trace the factual claims in your initial response back to original passages, rather than treating citations as proof by themselves. 3 min
 Check What Happens When Evidence Is Missing
Test an unsupported question against unchanged selected sources, then distinguish a justified evidence-gap acknowledgment from an invented answer or an unjustified real-world conclusion. 3 min
 Review Your Working Setup
Document the route, evidence boundary, answer requirements, and observed behavior of your initial document-grounded question-answering setup. 2 min
Step 1 of 8
Choose an honest setup route based on whether your available tool can retrieve from added sources or whether you will supply labeled excerpts as selected evidence in a conversation.
Choose your route from the features you can actually use in your current browser and account—not from a product name or a claim that a tool is “AI-powered.”
A retrieval-enabled setup uses a no-code document tool, such as NotebookLM, that lets you add sources and ask questions over those added sources.
A direct-context fallback uses an available assistant conversation. You manually paste a small, labeled selection of excerpts before asking questions. The pasted excerpts qualify as the selected sources for that conversation.
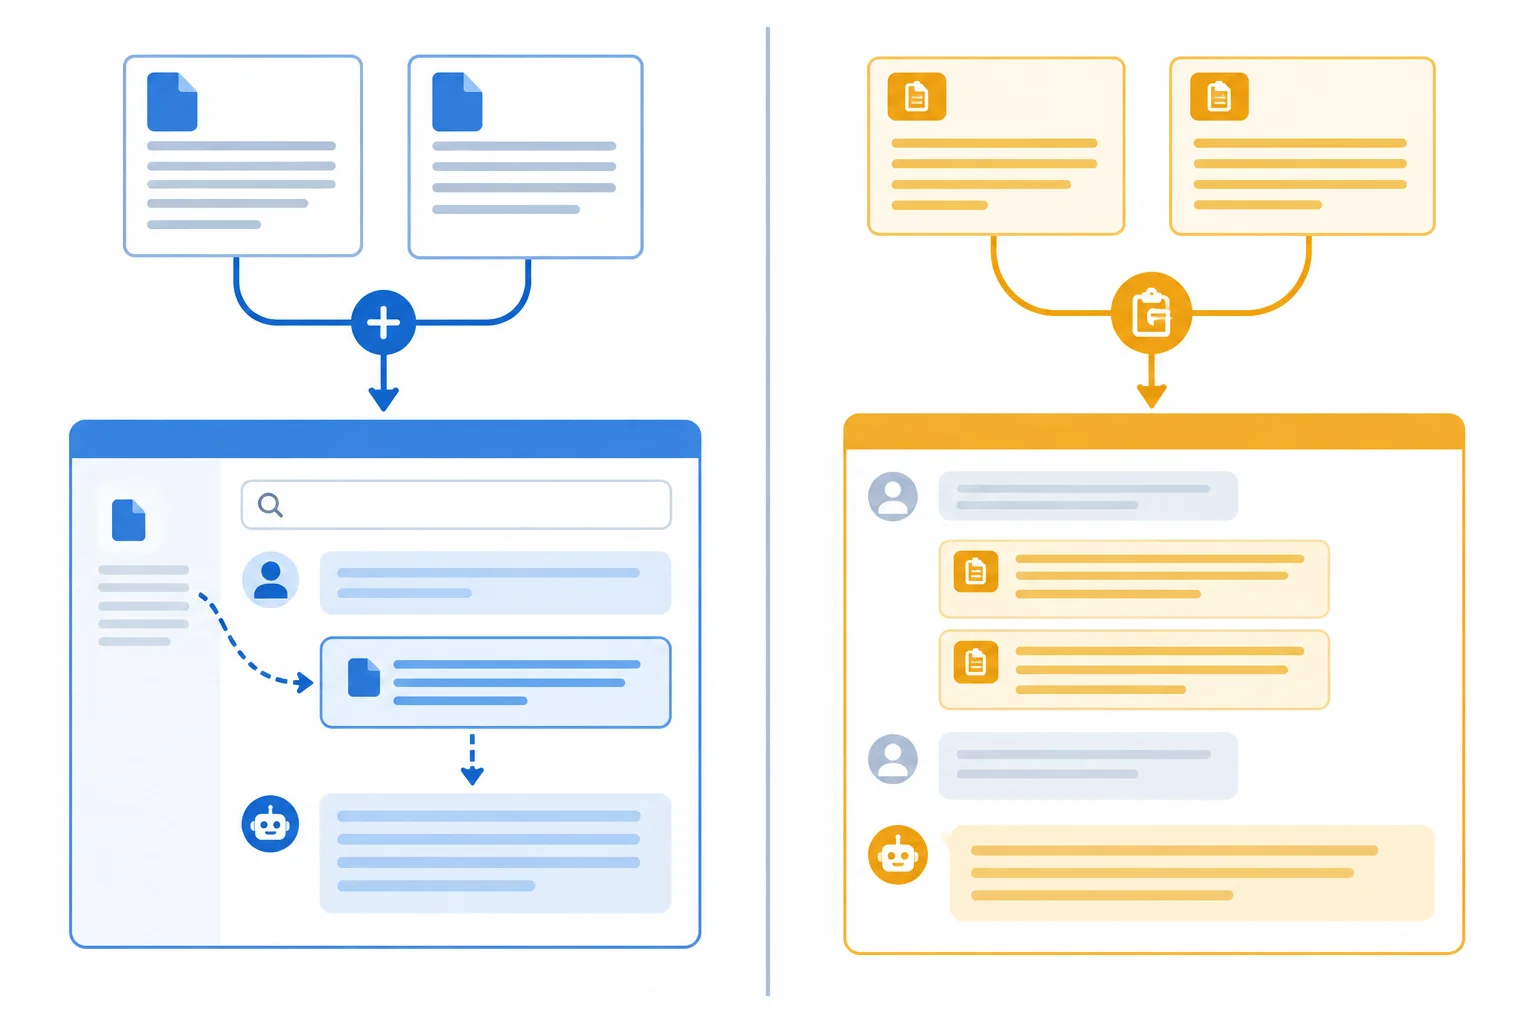
Added sources support a retrieval-enabled setup. Manually pasted excerpts are the selected evidence in a direct-context fallback.
In a direct-context fallback, the pasted excerpts are the selected evidence. This is an evidence boundary, not a claim that the assistant is technically unable to generate other information.
A general assistant may draw on model knowledge or earlier conversation content unless it follows your later instructions. Your goal is to require that factual answers be supported by the selected sources—and then inspect whether it obeyed.
The fallback does not establish automatic retrieval over your original collection. It applies only to the labeled excerpts you place in the current conversation.
Use this comparison to label your route accurately.
| What you can actually do | Accurate route label | What qualifies as selected evidence |
|---|---|---|
| Add prepared sources and ask questions over them | retrieval-enabled setup | The added selected sources |
| Paste labeled excerpts into a conversation | direct-context fallback | Only the pasted excerpts |
| See source names but cannot add or question source text | Not yet retrieval-enabled | Use a fallback if no usable source controls exist |
Feature availability and usage limits can vary by account, device, or time. Check the controls available to you now.
If you can add sources, wait for them to become available, and ask questions over them, use a retrieval-enabled setup. If you only have an assistant conversation where you can paste text, use a direct-context fallback. No paid feature is required for the fallback.
Do not describe pasted excerpts as a searched document collection. In the next step, you will make the selected sources available and confirm that they are readable.
Tip
If a source-related control is unavailable or unclear, choose the direct-context fallback rather than assuming retrieval is taking place. Later instructions can constrain answers to selected evidence, but they cannot guarantee compliance.
Match each observed situation to the most accurate route or evidence statement.
Tap an item and then its matching pair.
In your own browser, select the route you will use for this tutorial. Write 2–4 sentences stating: (1) the feature you observed that led to your choice; (2) whether your route is a retrieval-enabled setup or a direct-context fallback; and (3) what will qualify as selected evidence in that route. Do not claim that a fallback searches documents you have not pasted.
Write at least 100 characters (0/100).
Step 2 of 8
Add or paste the intended evidence, then confirm that the selected sources and their passage text are readable.
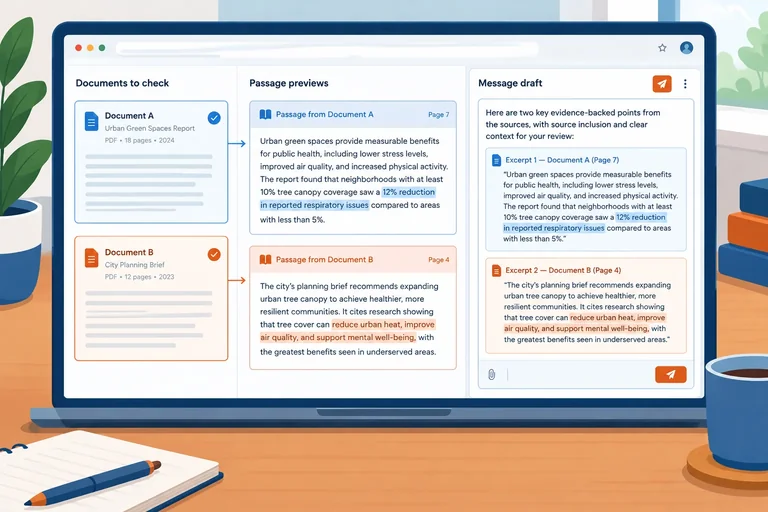
Make the evidence inspectable before you ask document questions. Your route determines how the selected sources become available:
Retrieval-enabled setup: add your prepared sources through the tool’s available import or pasted-source control. Wait for processing to finish, then open each source preview.
Direct-context fallback: paste a deliberately small, complete set of labeled excerpts into the current conversation. Those excerpts are the selected evidence for this practice; this does not create automatic retrieval over your original collection.
Use your own prepared collection if it is ready. The next screen also provides a complete Cedar Workshop practice alternative.
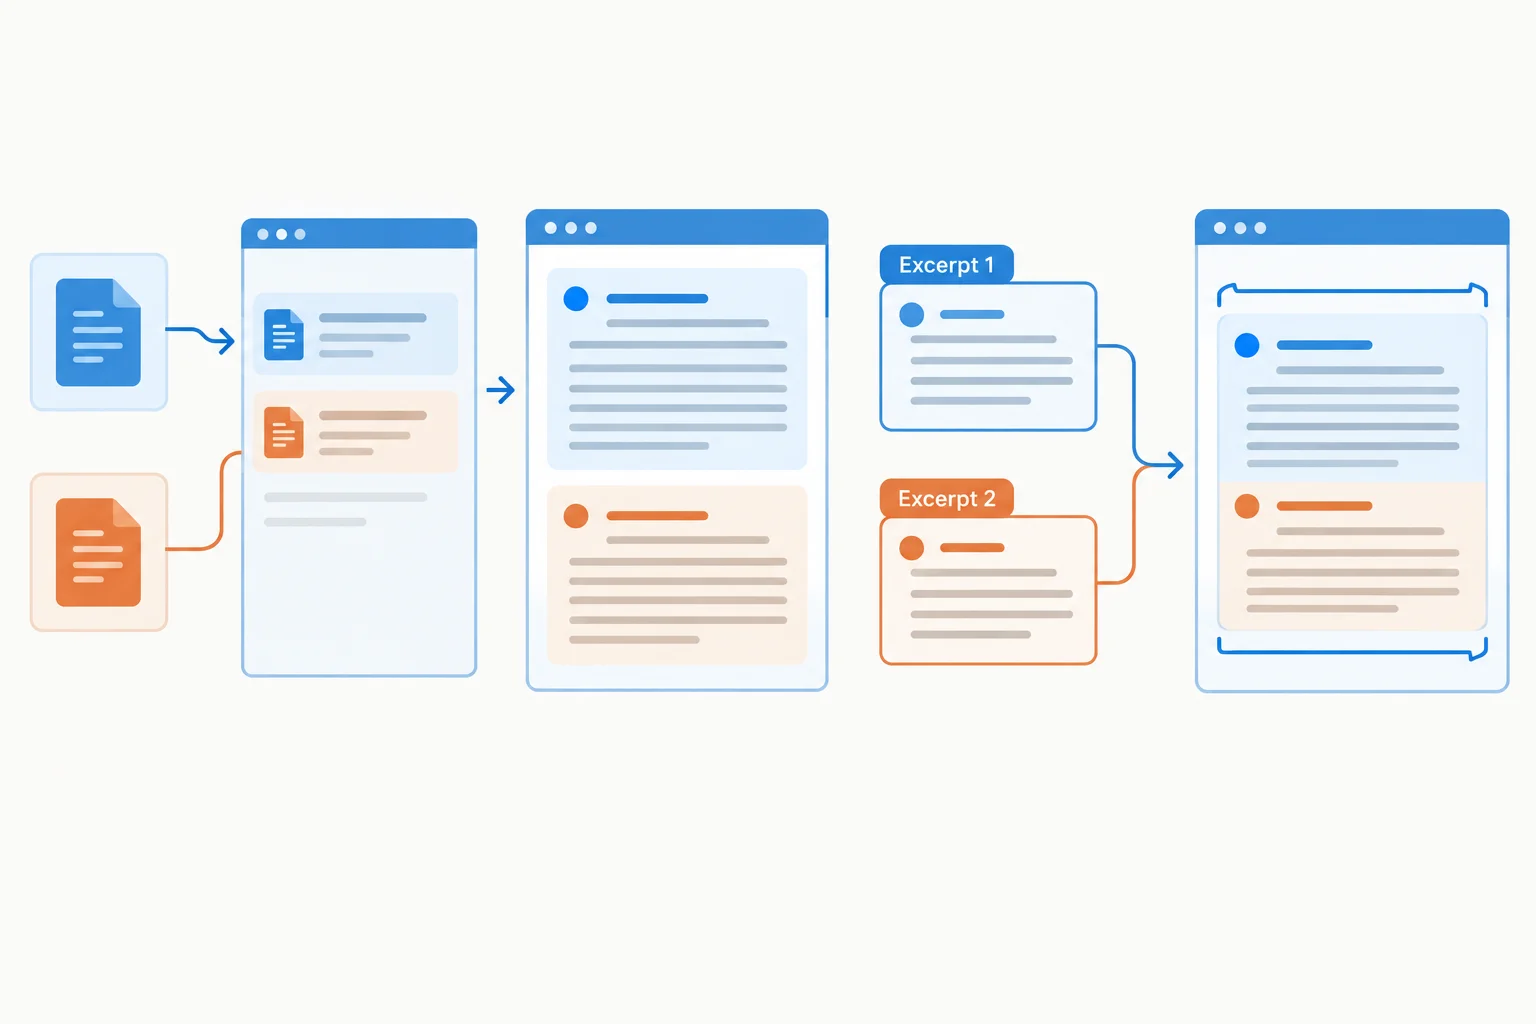
Whichever route you use, confirm that the text serving as selected evidence is included, readable, and traceable.
Tip
A source name in a list is not enough. Confirm that you can open or locate its actual text and passage markers before proceeding.
Use these two blocks if you need a self-contained Cedar Workshop practice collection.
For a direct-context fallback, create one new message draft. Paste Block 1 and then Block 2 into that same draft. Do not send Block 1 by itself: send only after the closing END SELECTED SOURCES line is present. This prevents an assistant reply from appearing inside the selected-evidence boundary.
For a retrieval-enabled setup, add the same complete source content using your tool’s available source controls, or use your own prepared sources instead.
Example
BEGIN SELECTED SOURCES
Source label: CW-01
Title: Attendance Guide
Version: 1.0
Status: Active
Updated: 2026-02-01
P1: The workshop takes place in Cedar Room.
P2: Check-in opens at 09:30, and the session starts at 10:00.
Example
Source label: CW-02
Title: Materials Guide
Version: 1.0
Status: Active
Updated: 2026-02-01
P1: Paper and markers are provided.
P2: Attendees must bring a notebook.
END SELECTED SOURCES
Tip
In a direct-context fallback, the text between BEGIN SELECTED SOURCES and END SELECTED SOURCES is what you designate as selected evidence. Do not describe this as a search of documents you did not paste. Later instructions will require factual claims to be supported by this selected evidence.
Perform a source visibility check in your own setup.
For Cedar Workshop, locate CW-01, P2 and confirm that it contains both a check-in opening time and a separate session start time. With your own collection, locate a passage marker you already know and verify its surrounding passage text.
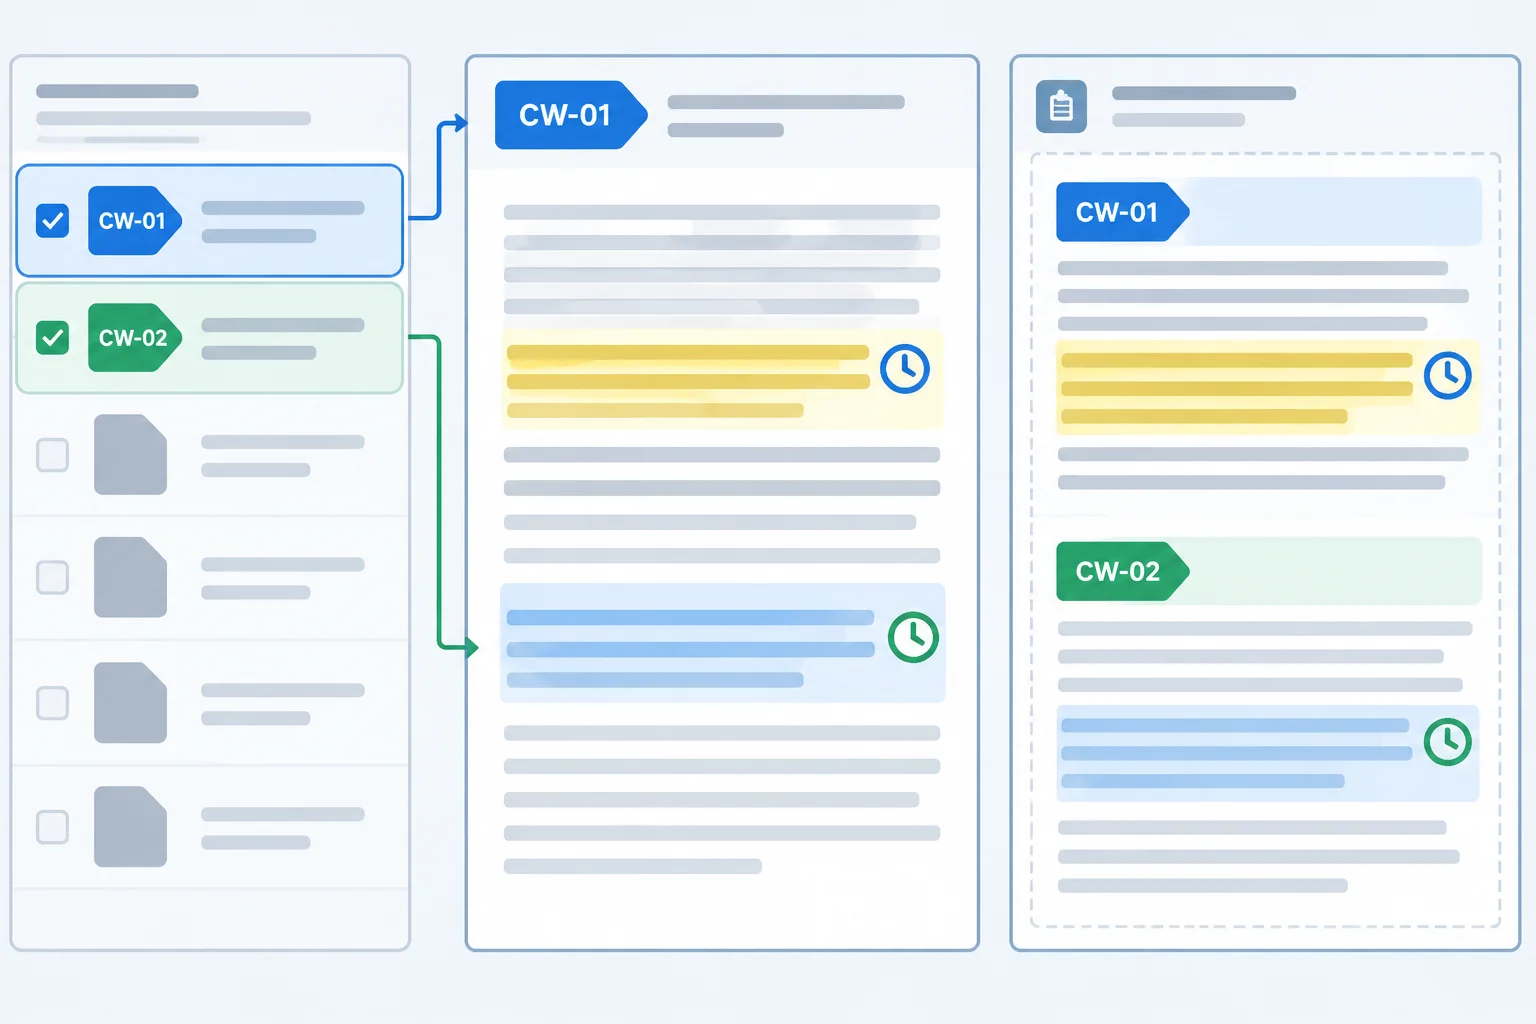
Verify the active source set and the passage text itself—not merely whether source names are visible.
Tip
If a source preview will not open, a passage marker is missing, or the active selection is unclear, correct that setup problem now. Do not assume a source is usable as evidence merely because its title appears in the interface.
Record a setup check from your own browser or current conversation. State: (1) the route you used; (2) every source label currently included as selected sources; and (3) one passage you successfully opened or located, including its label and passage marker plus what you confirmed there.
Use Cedar Workshop labels if you used the practice collection. If you used your own collection, report your actual labels and passage marker. Report only what you inspected.
Write at least 100 characters (0/100).
Step 3 of 8
Apply a short answer contract that limits factual claims to selected sources, requires visible response sections, and acknowledges missing evidence.
Your selected sources define the evidence boundary; the answer contract makes that boundary visible to the assistant.
A strict contract does four jobs:
The contract is an instruction, not evidence itself. It can guide an answer, but you still need to inspect whether the assistant followed it.
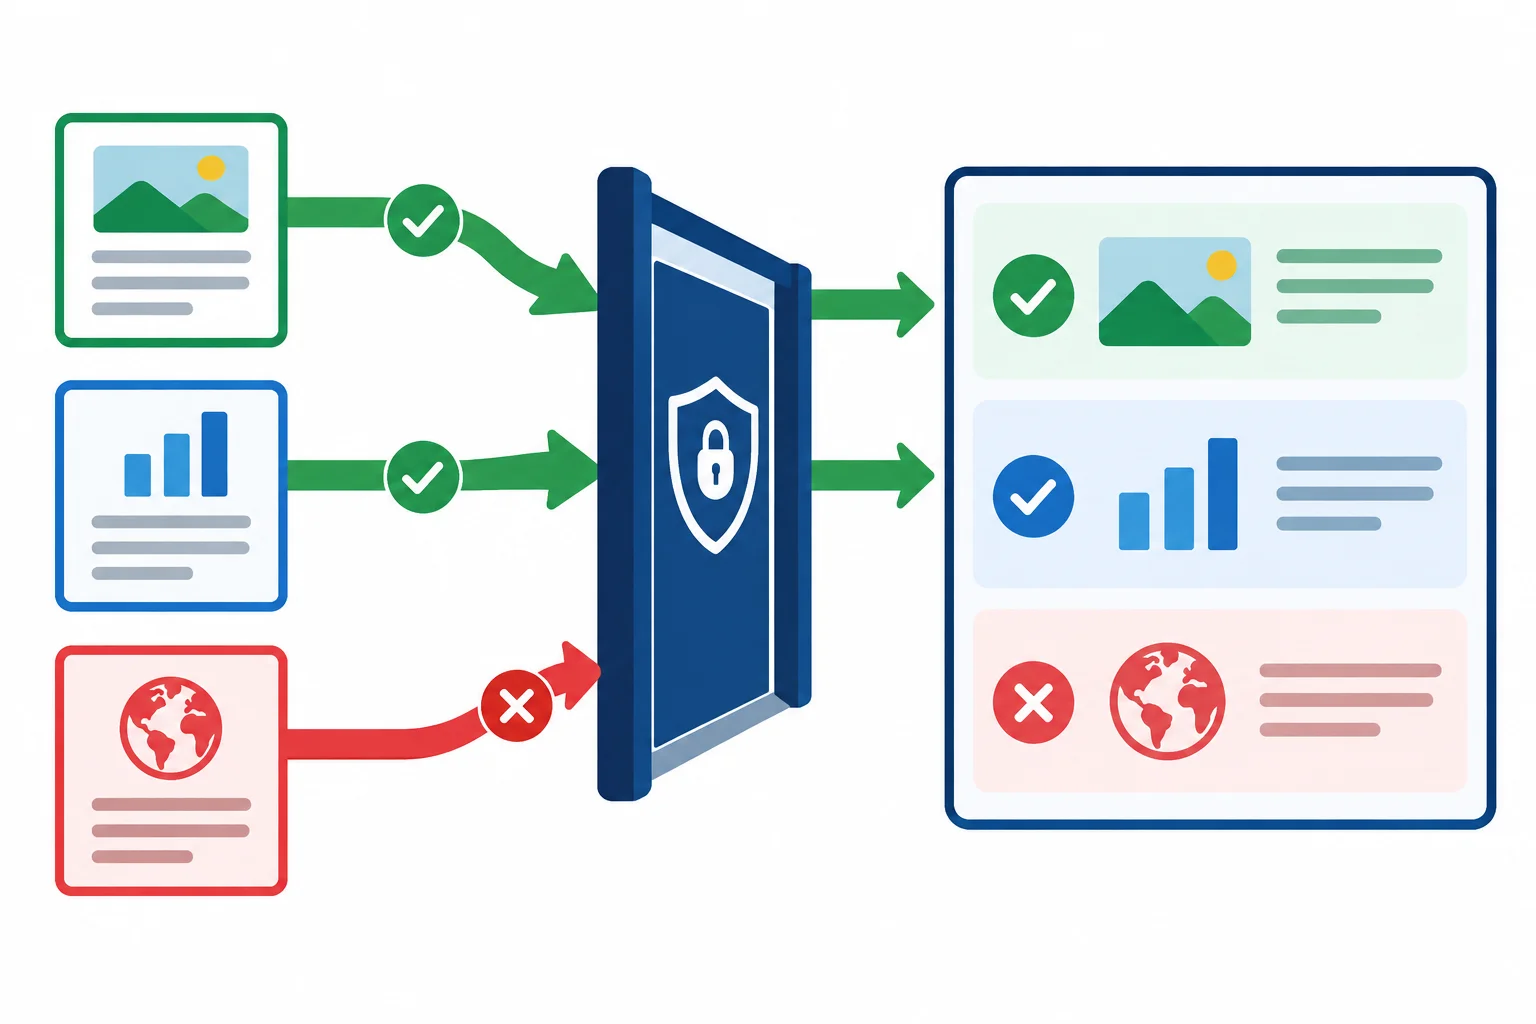
The selected sources support the answer; outside facts and guesses stay outside the strict setup.
Example
Use this contract with the Cedar Workshop practice collection. If you use your own collection, replace only the scope description; keep the source-only boundary, the response headings, and the missing-evidence requirement.
Scope
Use only the selected sources for Cedar Workshop attendance logistics and materials. In a direct-context fallback, treat only the text between BEGIN SELECTED SOURCES and END SELECTED SOURCES as selected sources.
Answer requirements
Make factual statements only when supported by the selected sources. Do not add outside facts, guesses, policies, or suggestions as if they are source-supported. When evidence is missing, write: The selected sources do not provide enough evidence to answer this question.
Use these headings: Answer, Sources, Evidence gaps.
Reference requirements
Under Sources, identify the selected source or sources that support the factual answer. In a direct-context fallback, retain the supplied source labels.
Tip
Do not soften a missing-evidence response by adding a plausible recommendation or a fact from general knowledge. In this strict setup, omit unsupported additions rather than presenting them beside document-supported claims.
The next step makes the reference requirement more precise. For now, require an identifiable supporting source without inventing page numbers or a citation format your tool cannot provide.
Place the contract before asking a question:
Do not assume instructions persist into another conversation, browser session, or workspace. A well-formatted reply is encouraging, but instructions do not guarantee compliance.
Example
When the selected sources do not support a requested fact, the response should visibly separate the limitation from an answer:
Answer
The selected sources do not provide enough evidence to answer this question.
Sources
No selected source supports the requested fact.
Evidence gaps
The requested detail is not provided in the selected sources.
This acknowledges a gap in the available evidence. It does not claim that the information is unavailable everywhere.
Apply the contract in your current setup before answering this activity. Then write a 3–5 sentence setup note.
In your note, distinguish the behavior your contract requires when a fact is not supported from the behavior it rejects. Name your route as a retrieval-enabled setup or a direct-context fallback, state where you placed the contract, and name the three headings you will inspect in responses.
Write at least 120 characters (0/120).
Step 4 of 8
Turn generic citations into references that a reader can use to locate the supporting passage.
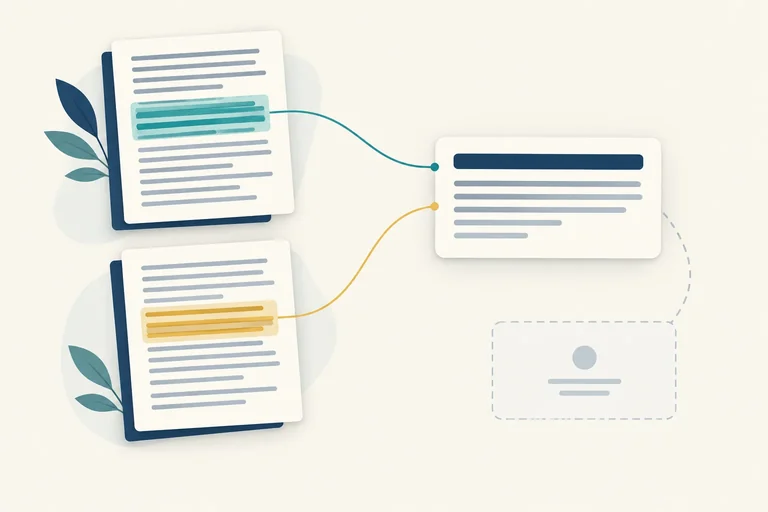
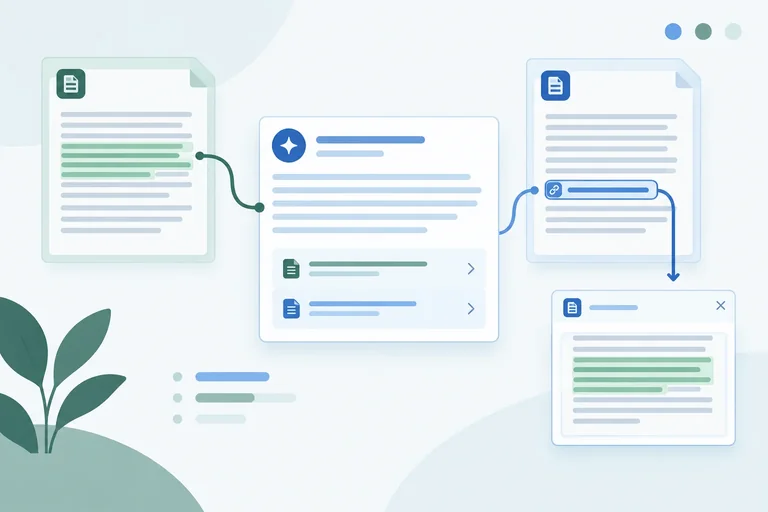
A reference is checkable when a reader can locate the supporting passage—not merely recognize a source name.
Use an identifiable document label plus a passage marker, section, or available page reference. For the Cedar Workshop sources, CW-01, P2 is actionable; Attendance Guide alone is not specific enough.
A citation number is not automatically a page number or document identifier. In a retrieval-enabled setup, open a native clickable citation and identify the source and passage it leads to. In a direct-context fallback, request explicit labels and passage markers because linked citations may not exist.
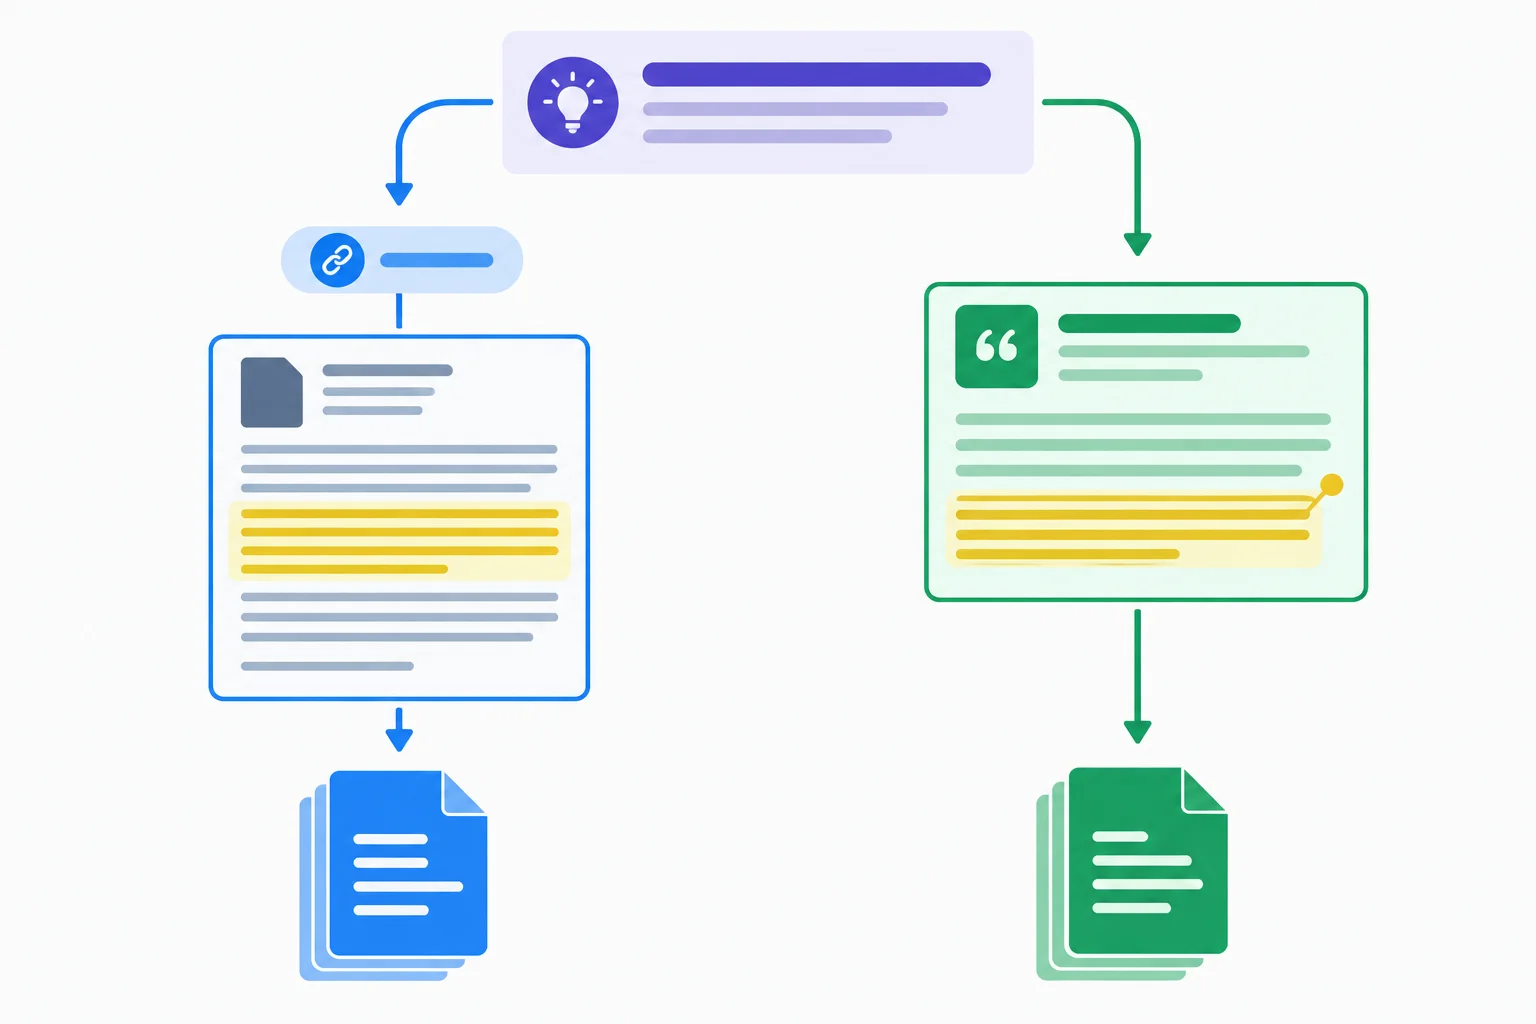
A native citation must be mapped to its underlying source and passage. A direct-context fallback needs the label and passage marker written explicitly.
Example
A short quotation can help a reader find the right passage, but it is a locator—not proof on its own.
Example response:
Answer
Check-in opens at 09:30.
Sources
CW-01, P2 — “check-in opens at 09:30”
Evidence gaps
None for this claim.
The label and passage marker tell the reader where to look. The quotation makes the location easier to recognize. Checking whether the passage truly supports the claim comes next.
Reference requirements
For each factual statement, list its source label and passage marker. In a retrieval-enabled setup, map any clickable citation to its underlying source and passage. In a direct-context fallback, use explicit labels such as CW-01, P2. Use a page reference only when the selected source has pages; do not invent page numbers. Include a short supporting quotation only when it helps the reader locate the passage.
Match each reference form to its status.
Tap an item and then its matching pair.
Open the instruction field or current conversation you are using. Add the Reference requirements clause from the previous screen to your active instructions.
Then record a concise setup note stating your route and the reference form you now require. Do not answer a document question yet.
Write at least 25 characters (0/25).
Step 5 of 8
Ask one answerable, source-referenced question and inspect whether its response visibly follows the established answer contract.
Keep your selected sources and answer contract unchanged for this first question. Choose a question whose requested facts are already visible in identifiable passages.
If you use the Cedar Workshop practice collection, send the supplied question on the next item.
If you use your own collection, first locate two factual details you can already find in your selected sources, along with their passage markers or other locators. Then write one focused question requesting only those two details. Do not add requests for advice, assumptions, or facts outside your collection.
Use the same evidence boundary on both routes: in a retrieval-enabled setup, ask over the active selected sources; in a direct-context fallback, ask in the conversation containing the bounded pasted excerpts. The fallback does not search documents beyond what you pasted; your contract requires factual claims to be supported by the selected sources.
Example
If you are using Cedar Workshop, send this question in your tool:
“What time does check-in open, and which materials are provided?”
This requests one timing detail and one provided-materials detail. It does not request advice, assumptions, or information beyond the Cedar Workshop selected sources.
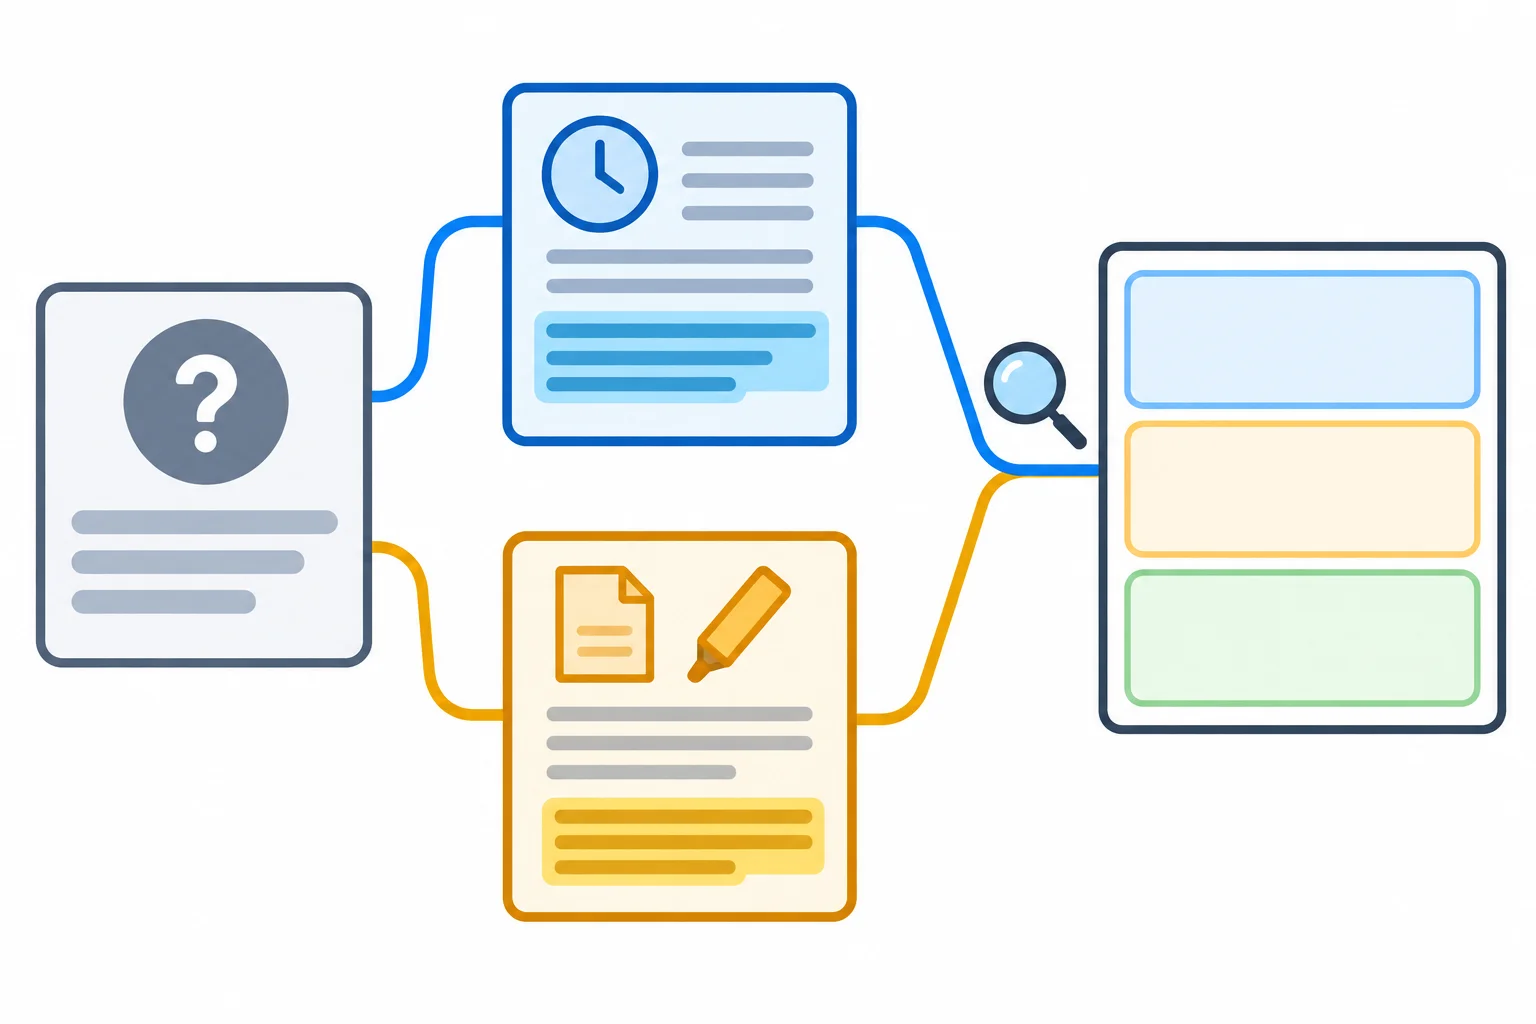
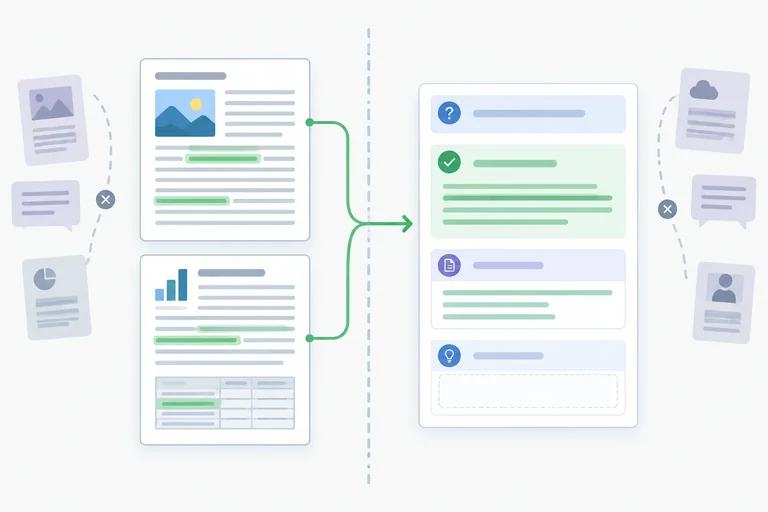
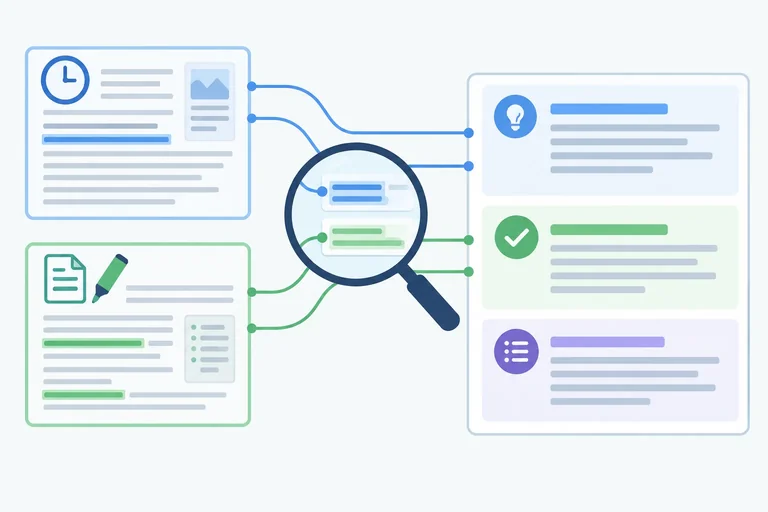
For Cedar Workshop, the blue time-related passage is CW-01, P2 and the amber materials-related passage is CW-02, P1. Inspect the response for the headings Answer, Sources, and Evidence gaps; the image uses icons rather than generated text.
Read the returned response before treating it as trustworthy. Perform a visible adherence check:
CW-01, P2 and CW-02, P1. A native clickable citation is usable only if you can later map it to an identifiable source and passage.For your own collection, inspect the same structure using your actual source labels and locators. A reply may look complete yet still misread a passage. Keep this first response provisional; the next step compares claims with the original passages.
Tip
Do not expand the question or accept extra plausible details just because they sound helpful. For the Cedar Workshop question, where the workshop occurs and what attendees must bring are outside the requested scope.
Record the reference forms the tool actually returned. At this point, you are checking whether the references are identifiable and the response follows the contract—not yet deciding whether every referenced passage truly supports its claim.
Run your first answerable question in your own tool now.
In 3–5 sentences, report your route, whether the reply included Answer, Sources, and Evidence gaps, and whether it stayed within the question’s scope. Copy or describe the actual reference form or forms returned for the factual claims, including any source label and passage marker you can identify. If a required element is missing, name it. Do not yet decide whether the referenced passage proves the claim; that check comes next.
Write at least 180 characters (0/180).
Step 6 of 8
Trace the factual claims in your initial response back to original passages, rather than treating citations as proof by themselves.
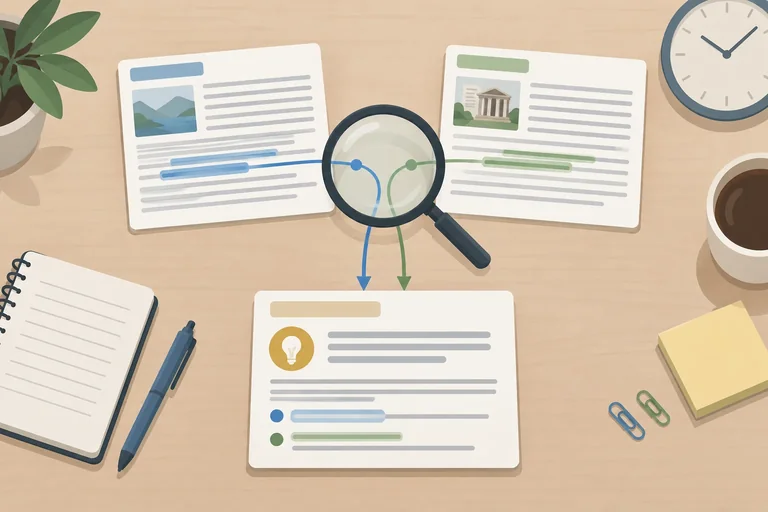
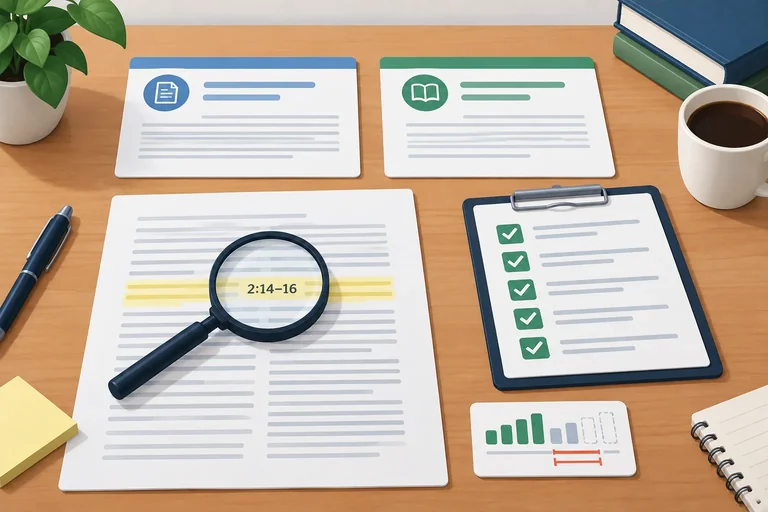
A citation is a route to evidence, not proof by itself. Check one factual claim at a time:
Check the exact detail, including times, conditions, and quantities. A passage about check-in does not automatically support a claim about the session start time.
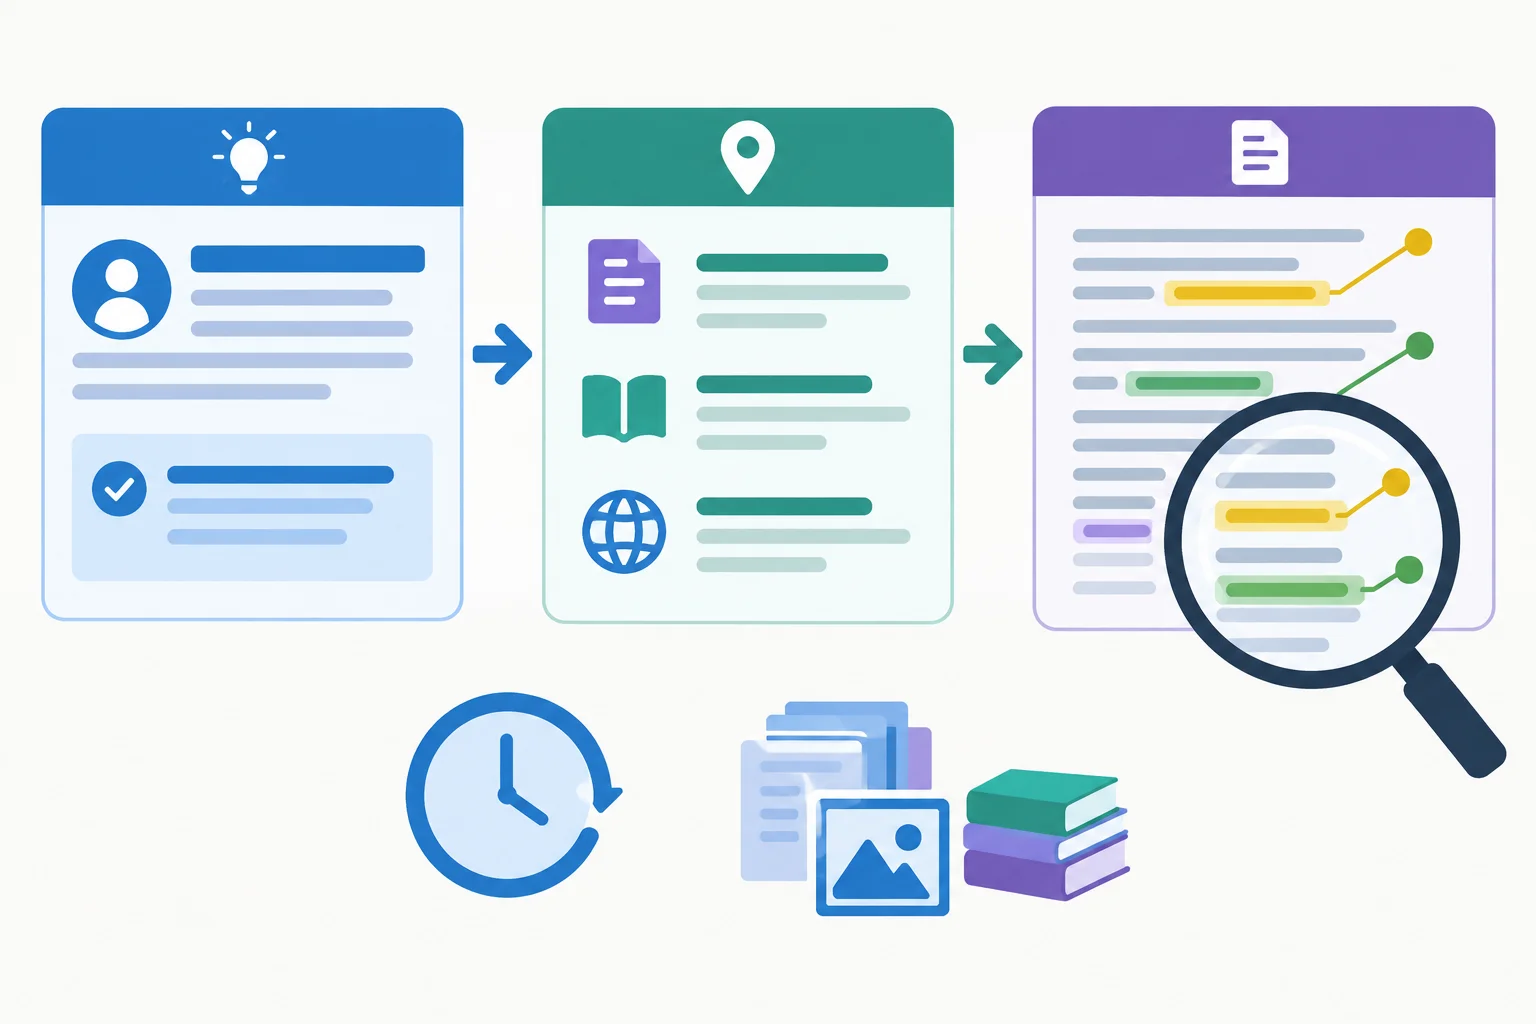
Follow the reference to the original passage, then compare the specific claim rather than only its general topic.
Tip
If a native citation cannot be opened or mapped to an identifiable source and passage, mark that claim as unverified. Ask for a clearer reference if needed. That correction makes later checking possible; it does not prove the claim is true.
Use the original passages to test the wording of each claim.
CW-01, P2: Check-in opens at 09:30, and the session starts at 10:00.
CW-02, P1: Paper and markers are provided.
The two time statements in CW-01, P2 refer to different events. Preserve that distinction when checking an answer. With your own collection, preserve every qualification that appears in the passage you locate.
Example
A returned response can include references and still require a separate passage check. Compare each claim with the wording in the cited passage.
Check the source wording, not just whether a reference appears.
| Returned claim | Reference | Check against the original passage |
|---|---|---|
| Check-in opens at 09:30. | CW-01, P2 | Supported: the passage states this exact time for check-in. |
| Paper and markers are provided. | CW-02, P1 | Supported: the passage states that both are provided. |
| The session starts at 09:30. | CW-01, P2 | Unsupported: the passage gives 10:00 as the session start time. |
Arrange the actions for checking one cited factual claim.
Return to the actual response you received in Step 5. Inspect every factual claim it made for the facts you asked about, including any extra factual claim it added.
For each claim, record:
Use unverified if the response gave no reference, or if its citation cannot be opened or mapped to an identifiable source and passage. Do not substitute a different reference you happen to know. If you used your own collection, use your actual labels and passage markers.
Write at least 180 characters (0/180).
Step 7 of 8
Test an unsupported question against unchanged selected sources, then distinguish a justified evidence-gap acknowledgment from an invented answer or an unjustified real-world conclusion.
Keep your selected sources unchanged for this check. The question must request a fact that is absent from the evidence you are testing.
If you are using the Cedar Workshop practice collection, ask exactly:
“What parking information is available for Cedar Workshop?”
Neither CW-01 nor CW-02 contains parking information, so this is a controlled unsupported question.
If you are using your own collection, choose one basic factual question whose requested detail you have already confirmed is absent from every current selected source. Do not add a source, search elsewhere, or use a detail whose absence you have not checked. Alternatively, temporarily use the complete Cedar Workshop practice collection from Step 2 for this controlled check.
In a retrieval-enabled setup, ask over the unchanged selected sources. In a direct-context fallback, ask in the conversation containing the bounded pasted excerpts.
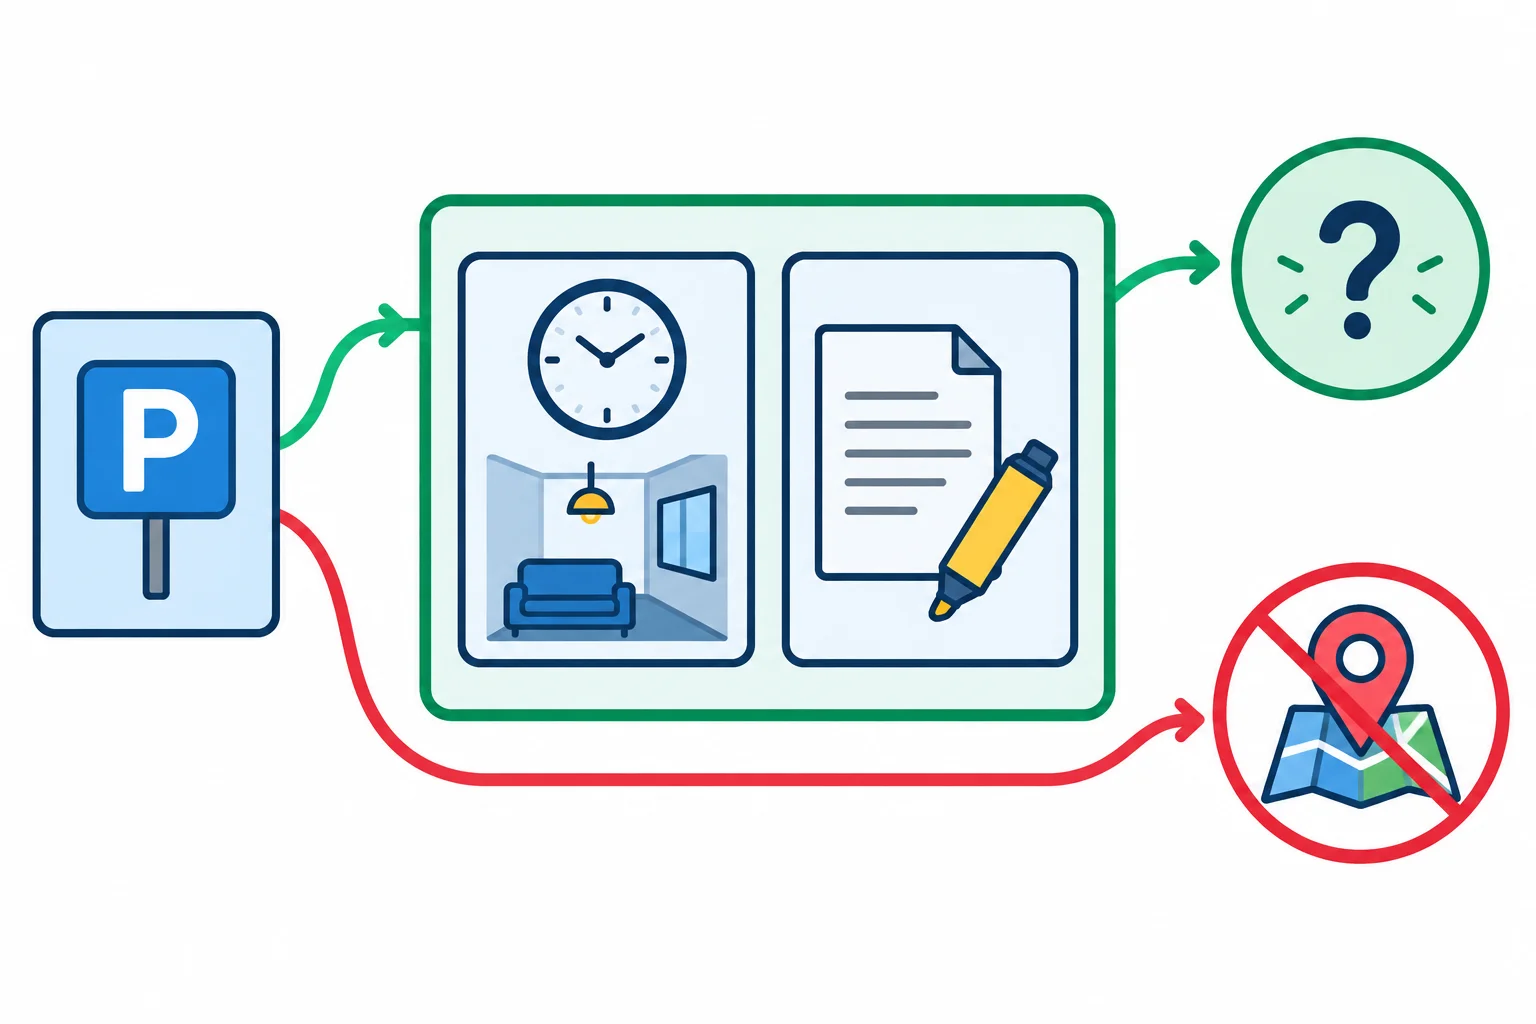
An unsupported question tests the boundary only when the requested fact is actually absent from the selected evidence.
A suitable response makes a narrow statement about available evidence. For a wholly unsupported question, it uses the required acknowledgment:
“The selected sources do not provide enough evidence to answer this question.”
It may explain under Evidence gaps that no selected passage provides the requested detail. This does not establish that the detail is unavailable in the real world, in another document, or from an organizer.
For a direct-context fallback, be especially precise: the limitation concerns the labeled excerpts between BEGIN SELECTED SOURCES and END SELECTED SOURCES. Pasting excerpts does not show that the assistant searched the original collection, and the assistant may still be capable of generating outside information. Your source-only contract requires it not to present such information as source-supported.
Example
Use the response headings to inspect a gap clearly:
Answer
The selected sources do not provide enough evidence to answer this question.
Sources
No selected source supports the requested fact.
Evidence gaps
The requested parking detail is not provided in the selected sources.
Reject a reply that guesses about nearby parking, invents a parking policy, or says that parking does not exist anywhere. Also reject a citation that points to a passage about a room, time, or materials but does not support the parking claim.
If the assistant invents an answer, label it unsupported. Restate the source-only boundary and ask again if useful, but one improved retry is not proof that the setup will behave reliably in other cases.
An assistant replies to an unsupported question: “The selected documents do not mention parking, so Cedar Workshop has no parking.” How should you evaluate this reply?
Perform the missing-evidence check in your active setup.
Write 4–6 sentences that state: (1) your route and the question you asked; (2) whether the returned response respected the evidence boundary; (3) what it said, or should have said, about the selected evidence; and (4) what it could not validly conclude about the real world. If the reply gave a reference for the unsupported fact, locate that passage and state whether it actually supports the claim. If it invented information, reject it as unsupported and describe any boundary-restatement retry without treating the retry as a reliability guarantee.
Write at least 180 characters (0/180).
Step 8 of 8
Document the route, evidence boundary, answer requirements, and observed behavior of your initial document-grounded question-answering setup.
A working initial setup is a documented observation, not proof that the tool will be reliable for every future question. Before you close this practice, check five things you actually observed:
For a retrieval-enabled setup, evidence is retrieved from the added selected sources. For a direct-context fallback, evidence is limited to the labeled excerpts pasted into that conversation.
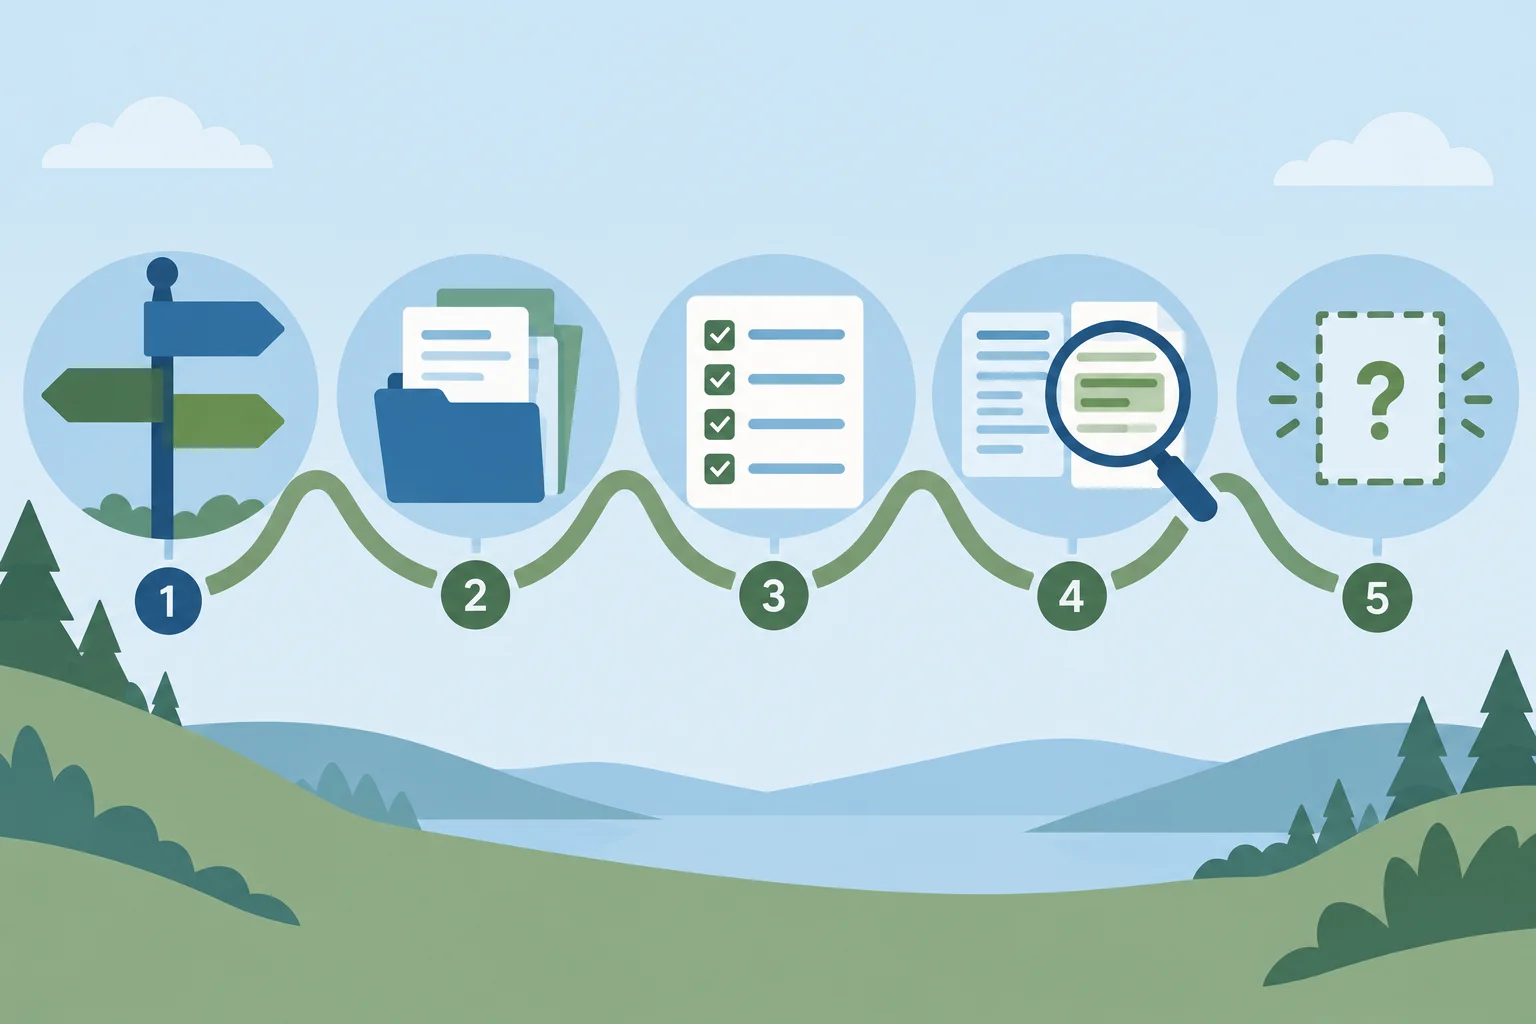
Your notes should connect the route, evidence boundary, answer rules, a checked claim, and an observed evidence gap.
Summary
A functioning configuration means these checks worked in this limited practice. It does not show that every question will retrieve the right passage, that every reference will be accurate, or that instructions will always be followed. The next tutorial develops broader evidence-based testing.
Keep a brief record in local notes or in the current conversation. Do not assume that an instruction, source selection, or pasted context will persist into a new conversation.
Use only what you actually saw. If you used a retrieval-enabled tool, say that it retrieved from the selected sources during this check. If you pasted excerpts, identify the result as a direct-context fallback and limit its evidence boundary to those excerpts.
Example
Setup summary
Route: [the route I used]
Selected sources: [source labels]
Evidence boundary: [what material could support answers]
Answer requirements: Source-supported factual claims; headings Answer, Sources, and Evidence gaps; identifiable passage references; an explicit acknowledgment when evidence is missing.
Verified claim: [claim] — checked against [source label, passage marker].
Unsupported-question outcome: [what the assistant did when the evidence was missing].
Conclusion: This is a working initial configuration for the checked conditions, not demonstrated reliability.
Tip
For the Cedar Workshop practice, preserve the source labels and passage markers exactly as they appeared in your source text. A reference that cannot be located is not verified merely because it looks like a citation.
Write your own concise setup summary. Identify your route, the included source labels, the evidence requirements, one claim you verified with its passage reference, and the observed outcome of the unsupported question. End with a cautious statement about what this initial check does—and does not—demonstrate.
Write at least 250 characters (0/250).
Congratulations! You completed: Setting Up Document-Grounded Question Answering
Thousands of online courses in video, ebooks and audiobooks.
To test your knowledge during online courses
Generated directly from your cell phone's photo gallery and sent to your email
Download our app via QR Code or the links below:.


Carry knowledge in your pocket.
Download the Cursa app.
There are hundreds of free courses available, with a free certificate of completion that is saved in your mobile image gallery.
Download the app to access the Course Completion Certificate for Free.

+ 10 million
students

Free and Valid
Certificate

60 thousand free
exercises

4.8/5 rating in
app stores

Free courses in
video and ebooks