Step 1 of 8
Build a Timed Storyboard
Organize an 8.0-second idea into timed segments that specify what the viewer should see.

Learning path · Level 4 · Tutorial 4
Plan, generate, and revise a short video in an available tool, or represent the same result through a timed text storyboard. Review motion, continuity, audio timing, and presentation choices that could mislead viewers.
 Build a Timed Storyboard
Organize an 8.0-second idea into timed segments that specify what the viewer should see. 3 min
 Turn the Storyboard into a Shot Request
Translate a timed storyboard into a plain-language shot request that clearly separates subject action, framing, camera behavior, duration, unchanged details, and planned audio. 2 min
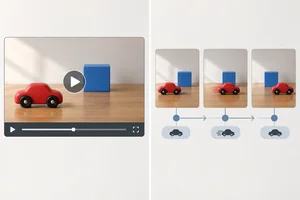 Create a First Draft with Available Features
Choose an accessible production route and create a truthful Draft 1 record for either a rendered clip or a complete text-only storyboard. 4 min
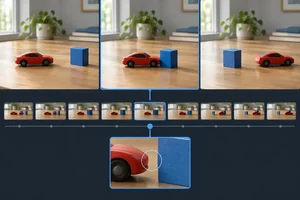 Inspect Motion and Continuity
Inspect a rendered clip for motion and continuity defects, or identify which checks remain untested in a text-only storyboard. 3 min
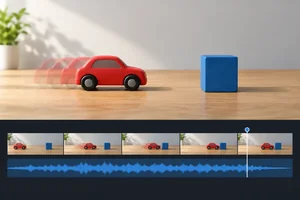 Align Sound with Visible Events
Specify narration and sound timing, then distinguish an audio plan from synchronization confirmed through playback. 3 min
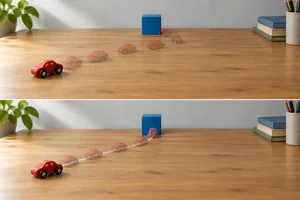 Revise One Specific Problem
Create a focused Revision 1 that fixes one temporal issue while retaining the established storyboard requirements. 3 min
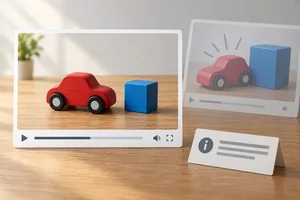 Present the Result Without Misleading Viewers
Choose wording and disclosure that accurately present a rendered synthetic clip or a text-only storyboard without implying evidence of a real event. 2 min
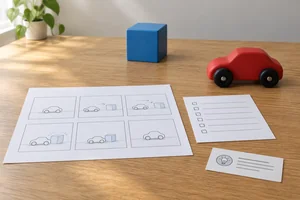 Complete and Review Your Short-Video Result
Finish a revised clip or faithful text-only storyboard and document what was planned, observed, and still unresolved. 3 min
Step 1 of 8
Organize an 8.0-second idea into timed segments that specify what the viewer should see.
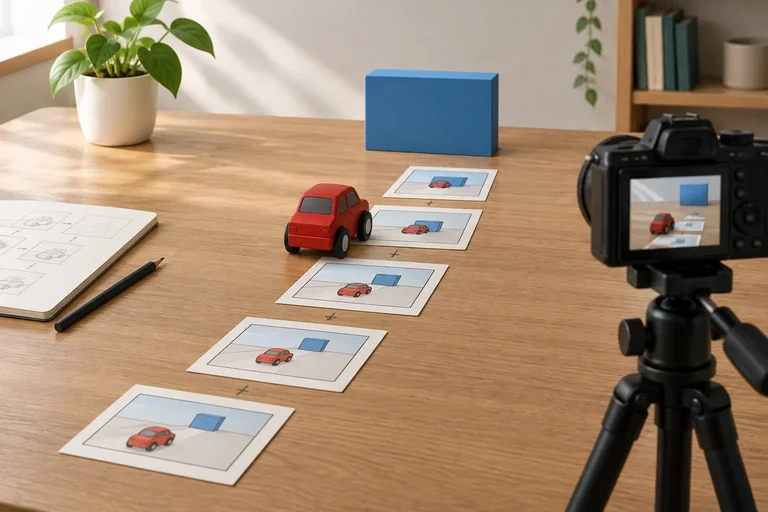
A timed storyboard is a written plan for what the viewer should see as time passes. It does not require drawings or generated frames.
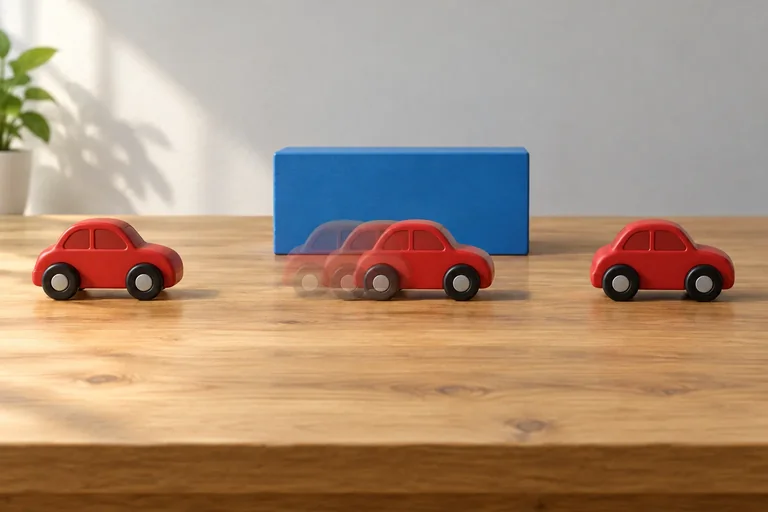
For a short clip, divide one shot into storyboard segments: a beginning state, an action, and an ending state. Segments can change the subject’s action while the framing and camera stay the same.
In this tutorial, a shot is one uninterrupted camera view. Three segments inside one shot are not three camera cuts.
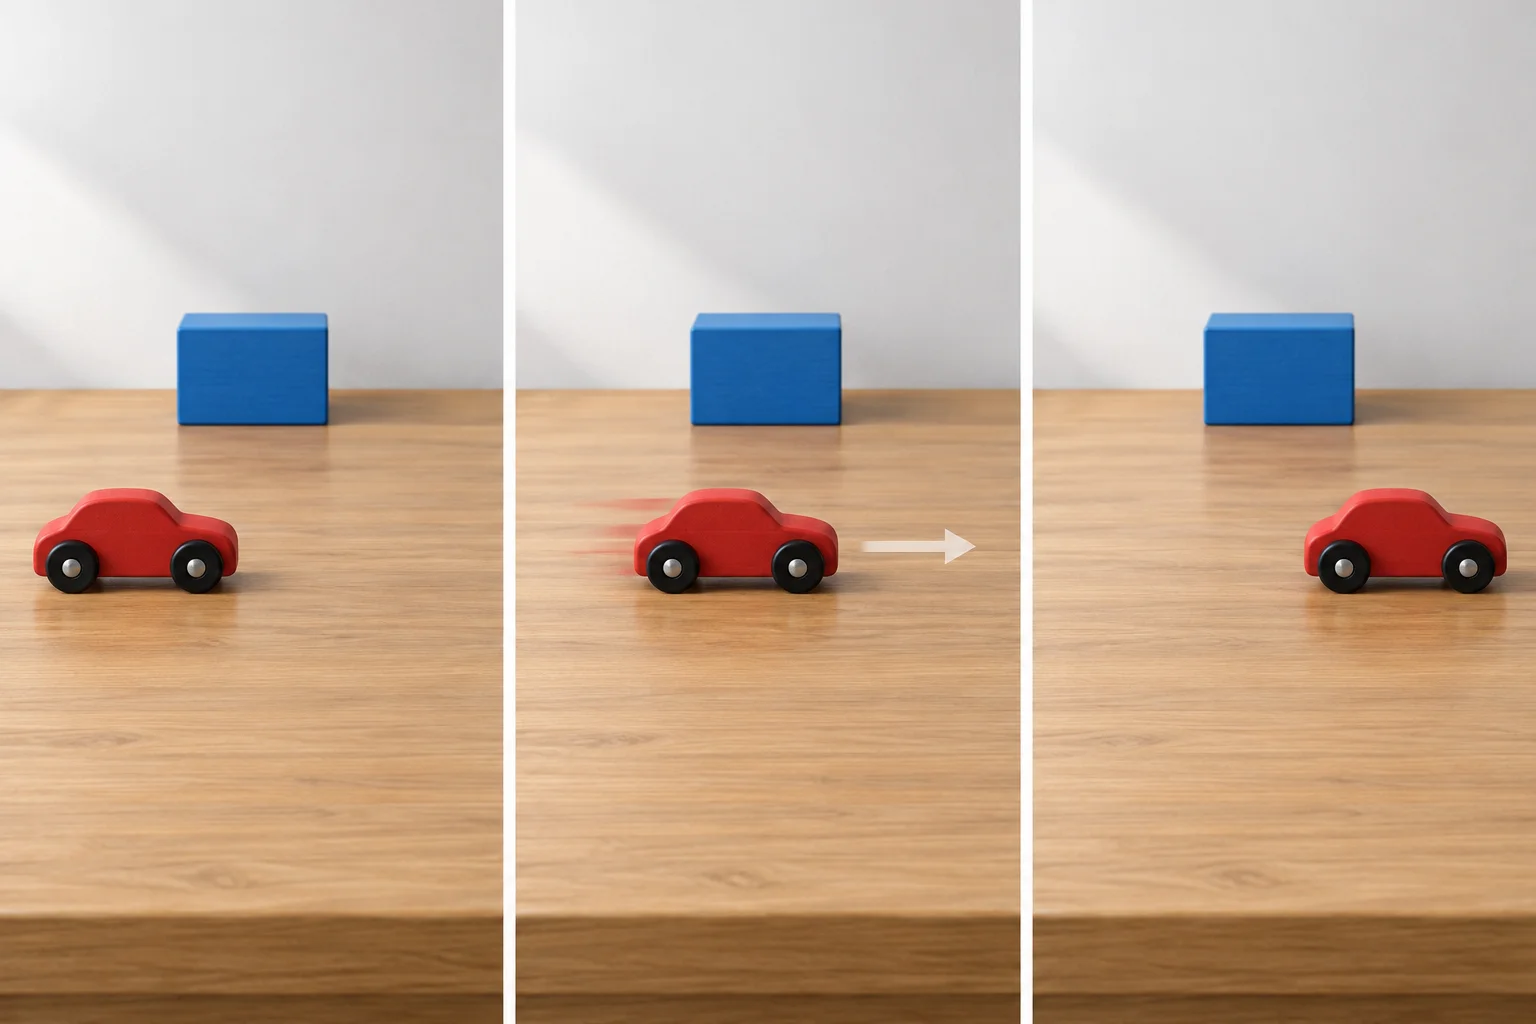
The subject changes across the timeline, but the medium-wide framing and locked-off camera remain constant.
Use the same fields for every storyboard segment, in this order:
Time ranges make the plan inspectable. Adjacent segments should touch exactly: the next range starts when the previous one ends. Together, the ranges must cover the intended duration.
Continuity records details that must stay stable, such as the car’s appearance, the block’s position, lighting, and camera view. An audio cue is a plan, not proof that audio exists.
This is Draft 1: a complete timed storyboard for one 8.0-second shot. The three time ranges meet at 2.0 s and 6.0 s, with no gap or overlap. The final range ends at 8.0 s.
The optional narration and click are planned cues only. They have not been generated or attached. “None” means that particular segment has no cue; it does not mean that the whole shot is silent.
| Time | Subject action | Framing | Camera movement | Continuity | Audio cue |
|---|---|---|---|---|---|
| 0.0–2.0 s | Car is stationary on the left. | Medium-wide; car and block visible. | Locked-off camera. | Unbranded matte-red toy car with black wheels; blue block at back center; wooden tabletop; soft light from the left. | None |
| 2.0–6.0 s | Car rolls rightward in front of the block. | Medium-wide; car and block visible. | Locked-off camera. | Keep the same car, block position, tabletop, and left-side soft light. | Planned narration: “The red car moves past the blue block.” |
| 6.0–8.0 s | Car remains stopped on the right. | Medium-wide; car and block visible. | Locked-off camera. | Keep the same car, block position, tabletop, and left-side soft light. | Optional soft click at 6.0 s. |
Arrange the three storyboard segments from first to last. Then use their time ranges to confirm that the ordered segments form one continuous 8.0-second shot with no unintended gaps or overlaps.
Step 2 of 8
Translate a timed storyboard into a plain-language shot request that clearly separates subject action, framing, camera behavior, duration, unchanged details, and planned audio.
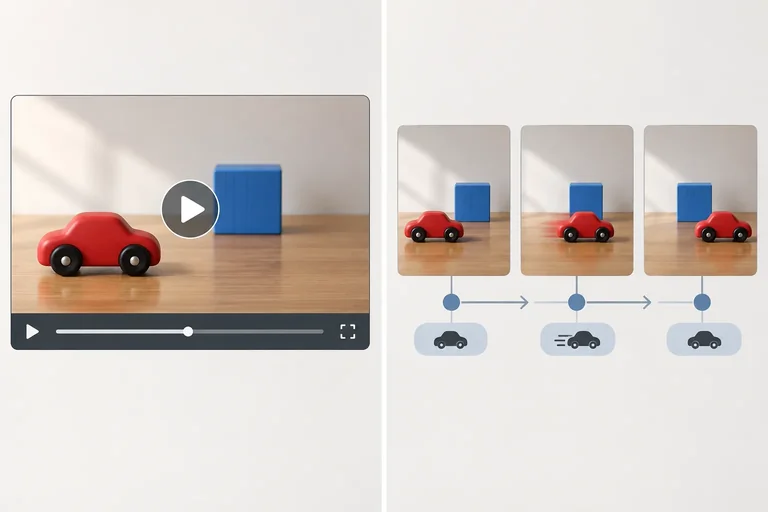
A storyboard records what should happen over time. A shot request turns that plan into one self-contained description a video tool could interpret.
Keep two kinds of movement separate:
For Red Car Demo, the car can roll rightward while the camera remains a locked-off camera. State the framing for the whole 8.0 s, so the viewer can still see the car and the blue block as the action ends.
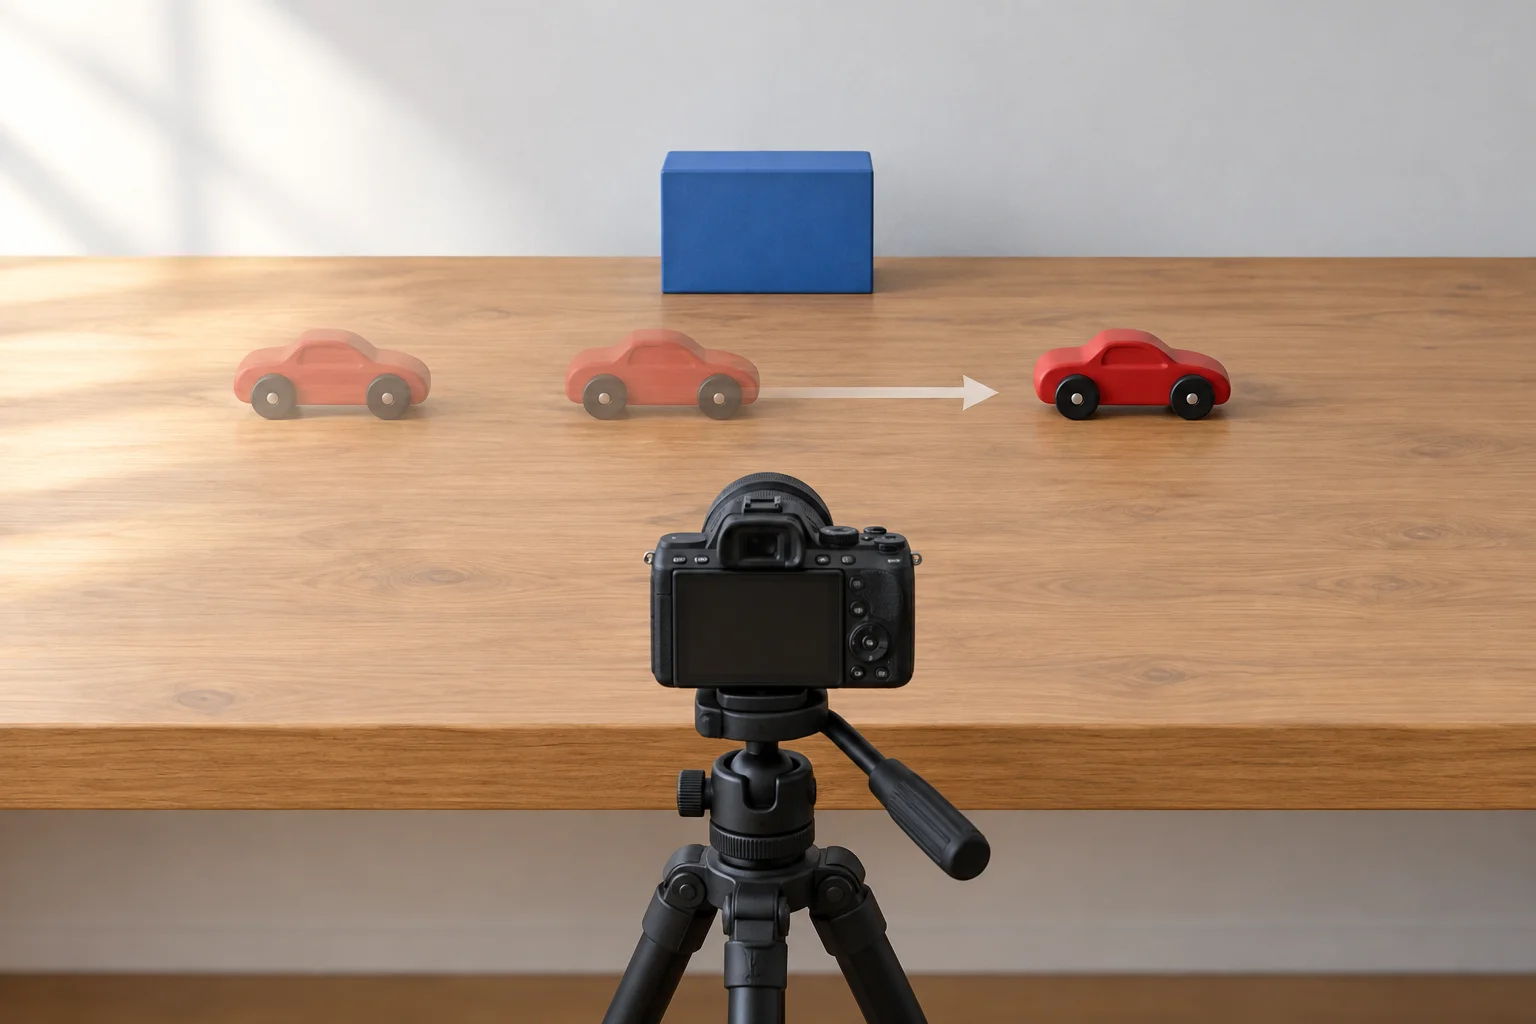
The car changes position; the locked-off camera does not.
Use plain English rather than vendor-specific controls. A complete request makes later checking possible: it names the start state, action, end state, duration, and details that must not change.
Requested times are targets, not guarantees. At this stage, write what is intended; do not claim that a clip has met the request.
Example
Draft 1
Action: From 0.0–2.0 s, an unbranded matte-red toy car with black wheels is stationary on the left of a wooden tabletop. From 2.0–6.0 s, it rolls rightward in front of a blue block. From 6.0–8.0 s, it remains stopped on the right.
Framing: Medium-wide; keep the car and the blue block visible throughout.
Camera movement: Locked-off camera.
Duration: 8.0 s.
Aspect ratio: 16:9.
Keep unchanged: The blue block stays at the back center. Keep the unbranded matte-red car, black wheels, wooden tabletop, and soft light from the left consistent. No people appear.
Audio: Planned narration: “The red car moves past the blue block.” from 2.0–6.0 s. Optional soft click at the stop event at 6.0 s. These cues are requested or planned, not evidence that audio exists.
Tip
The request is one shot, even though it has three timed portions. It does not ask for three cuts. The Keep unchanged section protects continuity requirements, while the Action section says what is allowed to change. An audio section can preserve planned cues without claiming that a soundtrack has been generated or attached.
Match each missing or ambiguous detail in a shot request to the control that would resolve it.
Tap an item and then its matching pair.
Step 3 of 8
Choose an accessible production route and create a truthful Draft 1 record for either a rendered clip or a complete text-only storyboard.
A first draft can take either of two valid routes:
Both routes begin with the same intended shot and the same planned audio cues. Choose the rendered route only if an available feature can support it; do not purchase access just to continue. A text-only storyboard is a complete deliverable, not a failed clip.
For this step, make a truthful record of what you requested, what was produced, and what was unavailable. Do not judge motion quality or audio synchronization yet.
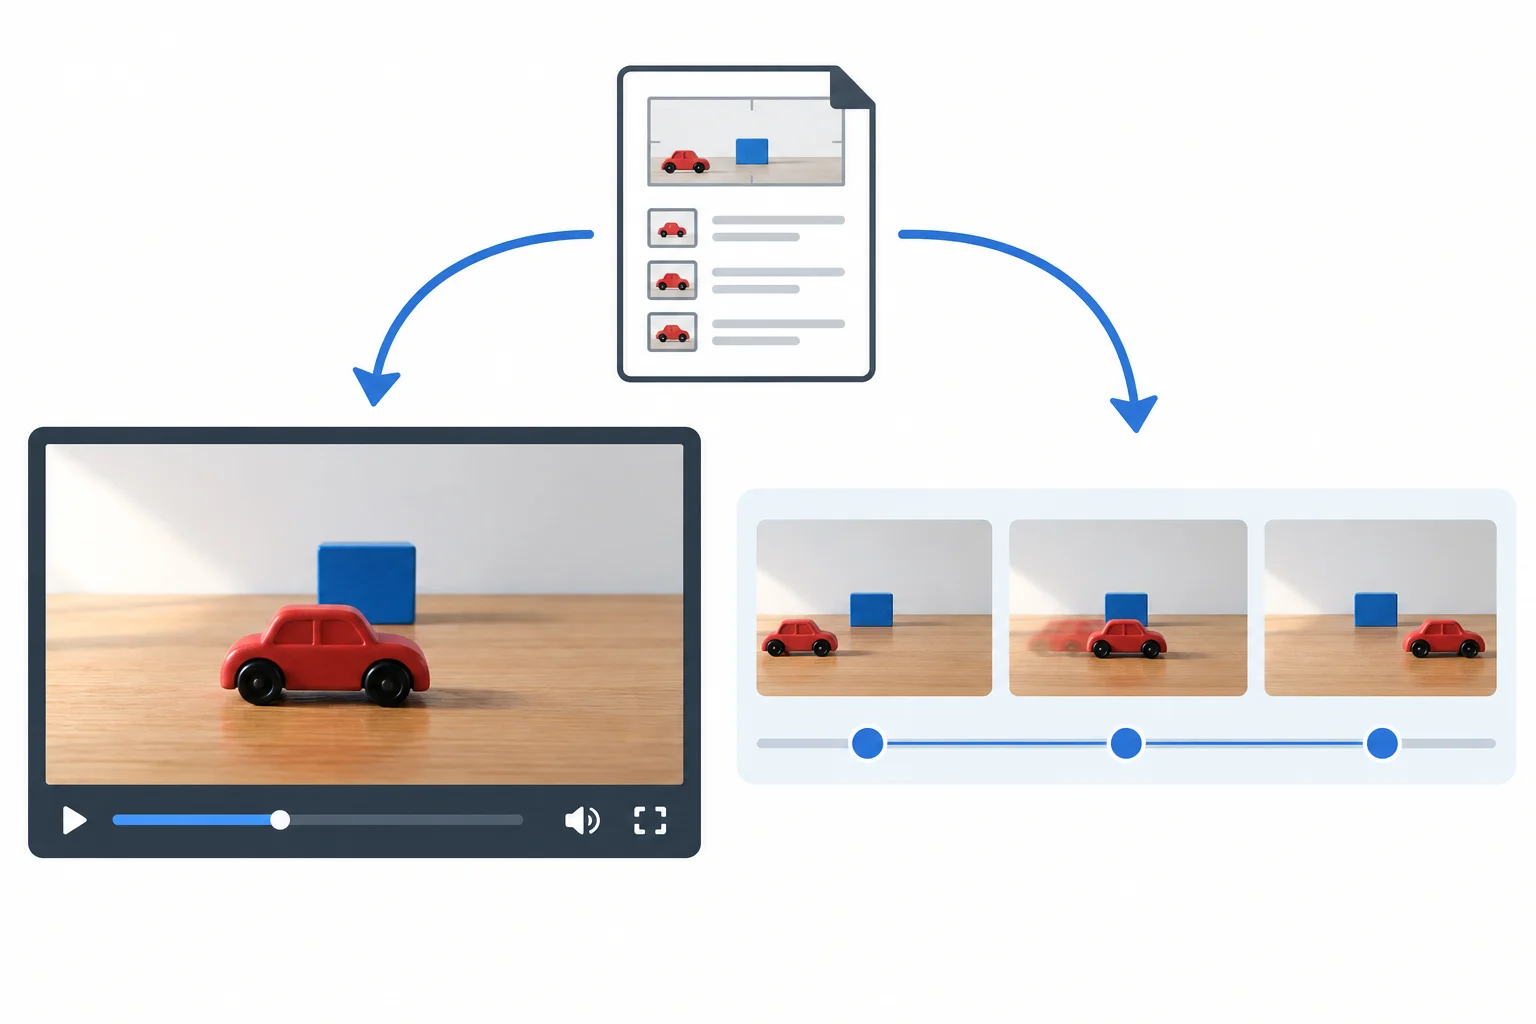
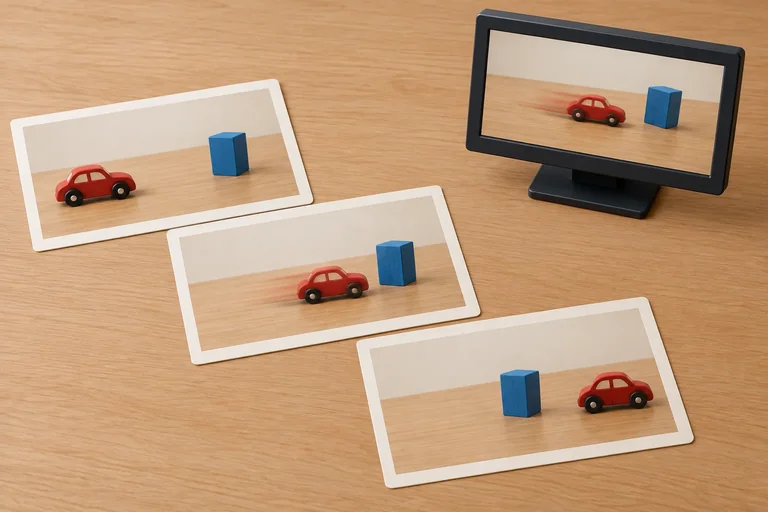
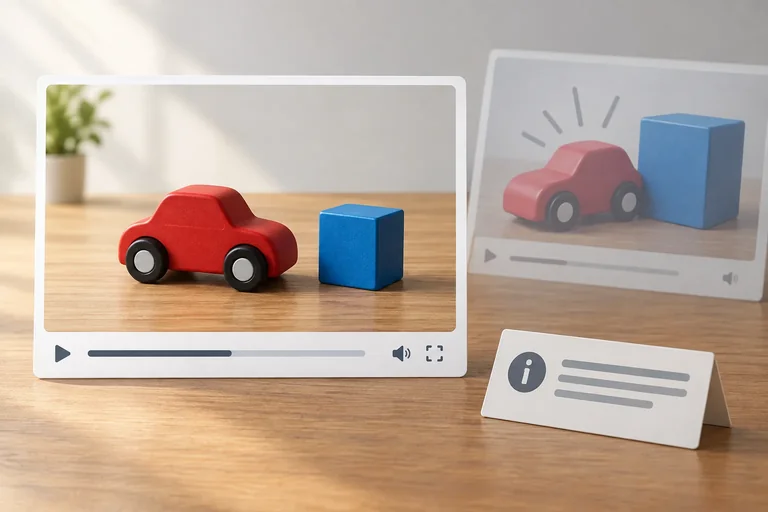
A rendered clip and a text-only storyboard can represent the same planned shot. This tutorial image is a viewing aid, not an input file for your work.
Tip
Before choosing the rendered route, check only what the tool actually offers to you now. A written request does not add features that the tool does not provide.
If you use a tool, work outside this tutorial with features you can access. Check whether it can accept a text request, offer an approximately 8.0-second output, and support the needed aspect ratio. Also note whether it requires an image or video input and whether audio is supported.
Use a self-contained text request when possible. Do not treat tutorial images as downloadable source media. If a tool requires an input image or video, use material you own or are authorized to use, then update the scene description so it truthfully matches that material.
Save or note the result as Draft 1. Record the duration the tool actually reports or produces; the requested duration remains a target. Keep the planned narration and click in the request even if the tool produces a silent clip.
Use this short record while selecting a route. Write facts, not assumptions.
| Record area | What to write |
|---|---|
| Requested | The shot request, target duration, aspect ratio, and planned audio cues |
| Actually produced | Whether a clip was produced, its actual displayed duration, and whether sound is present |
| Supported features | Features you actually used, such as a text request, 16:9 output, or audio support |
| Unavailable | Features not offered to you, such as rendering, a suitable duration, input-free generation, or audio |
Example
Draft 1 — requested shot
Action: From 0.0–2.0 s, an unbranded matte-red toy car with black wheels is stationary on the left of a wooden tabletop. From 2.0–6.0 s, it rolls rightward in front of a blue block. From 6.0–8.0 s, it remains stopped on the right.
Framing: Medium-wide; keep the car and the blue block visible throughout.
Camera movement: Locked-off camera.
Duration: 8.0 s.
Aspect ratio: 16:9.
Keep unchanged: The blue block stays at the back center. Keep the unbranded matte-red car, black wheels, wooden tabletop, and soft light from the left consistent. No people appear.
Audio: Planned narration: “The red car moves past the blue block.” from 2.0–6.0 s. Optional soft click at the stop event at 6.0 s. These cues are requested or planned, not evidence that audio exists.
Choose the text-only route when rendering is unavailable or unsuitable. Preserve the same specificity as the rendered request: every storyboard segment needs its time, visible action, framing, camera behavior, continuity requirements, and audio cue.
Label it Draft 1 and state: Text-only storyboard for a fictional AI-generated video; no video rendered. This identifies it as a plan rather than a clip. Mark rendering as unavailable in your record. The narration and click below remain planned cues; they have not been generated or attached.
You may instead deliberately choose No audio for your own version. If so, record that as your changed audio decision rather than treating it as the unchanged Red Car Demo Draft 1.
This is a complete text-only storyboard for Draft 1. The three rows are segments within one shot, not camera cuts. Its audio cues are planned, not generated.
| Time | Subject action | Framing | Camera movement | Continuity | Audio cue |
|---|---|---|---|---|---|
| 0.0–2.0 s | Car is stationary on the left. | Medium-wide; car and block visible. | Locked-off camera. | Unbranded matte-red toy car with black wheels; blue block at back center; wooden tabletop; soft light from the left. | None |
| 2.0–6.0 s | Car rolls rightward in front of the block. | Medium-wide; car and block visible. | Locked-off camera. | Keep the same car, block position, tabletop, and left-side soft light. | Planned narration: “The red car moves past the blue block.” |
| 6.0–8.0 s | Car remains stopped on the right. | Medium-wide; car and block visible. | Locked-off camera. | Keep the same car, block position, tabletop, and left-side soft light. | Optional soft click at 6.0 s. |
Tip
A text-only storyboard can establish what should later be checked, but it cannot establish that a clip or soundtrack was generated. Keep unavailable rendering and audio support separate from planned details.
Create your Draft 1 record using one route.
Rendered route: State that a clip was produced only if it truly was. Record its actual displayed duration, the features you actually used, whether audio was supported or present, and each unavailable feature. Keep the narration and click as requested or planned unless you actually have evidence otherwise.
Text-only route: Write the complete three-segment storyboard using all six fields—Time, Subject action, Framing, Camera movement, Continuity, and Audio cue—in that order. Clearly state that rendering was unavailable and that no video was rendered. Preserve the planned narration from 2.0–6.0 s and optional click at 6.0 s, unless you clearly identify No audio as your own alternative audio decision.
Keep requested details, actual outcomes, and unavailable features distinct.
Write at least 220 characters (0/220).
Step 4 of 8
Inspect a rendered clip for motion and continuity defects, or identify which checks remain untested in a text-only storyboard.
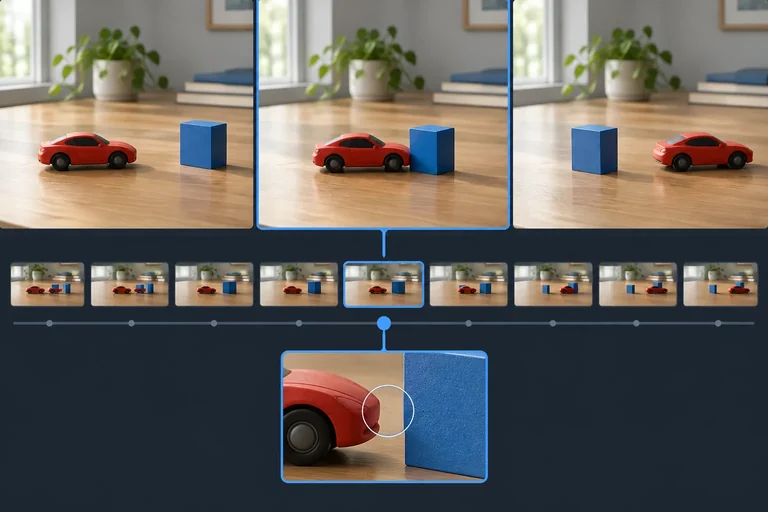
A rendered clip must be inspected across time, not judged from its first frame. Start at normal speed to notice the overall path and rhythm. Then, if your player offers it, replay more slowly and pause around the beginning, middle, and end.
Look for changes that should not happen: flicker; a change in the car’s color, shape, or wheels; a sudden position jump; inconsistent wheel movement; or acceleration that does not fit the intended action. Compare what you see with Draft 1 rather than assuming the request was followed.
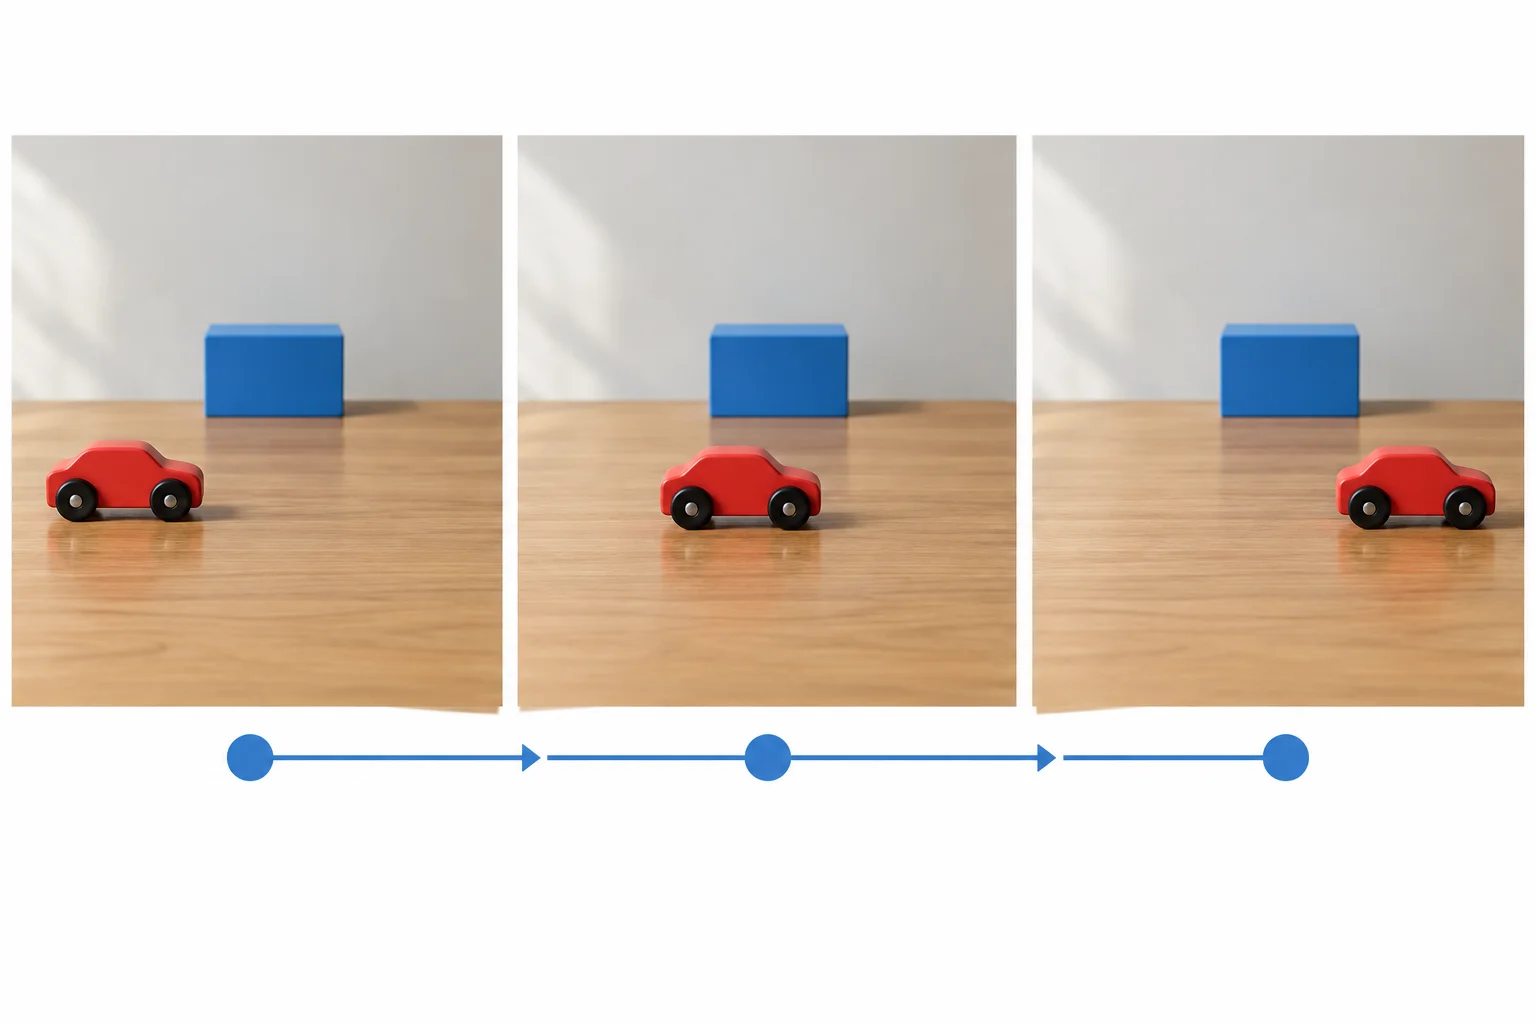
Compare selected moments for stable appearance and placement, but use playback to judge whether the motion between them is smooth.
Use a record that matches the evidence you have. Observed means you actually checked a rendered clip. Planned means the requirement appears in Draft 1 but has not been checked in rendered media. Not tested means rendered media would be needed to make the check.
A text-only storyboard can reveal contradictions, such as asking for a locked-off camera while also asking the camera to follow the car. It cannot confirm smooth movement, stable lighting, wheel behavior, or the actual delivered duration.
Check the clip against the intended action and the unchanged scene details in Draft 1.
| Review focus | What should remain or happen | Evidence to record |
|---|---|---|
| Motion path | The car travels continuously from left to right during 2.0–6.0 s | Flicker, abrupt jump, implausible acceleration, or inconsistent wheels |
| Appearance | Matte-red car with black wheels remains the same | Unintended transformation or color or shape change |
| Scene continuity | Blue block stays at back center; soft left light and framing stay stable | Object shift, lighting change, or framing drift |
| Timing | Clip is 8.0 s; start, movement, and stop occur in their planned windows | Actual duration and the observed event time |
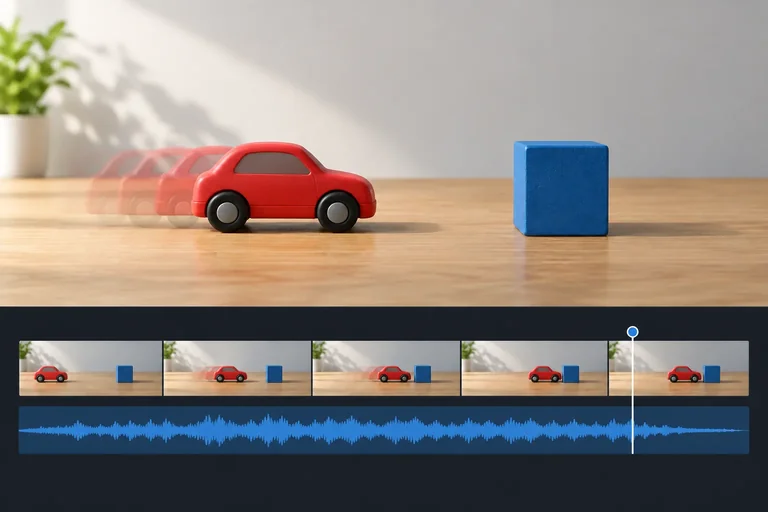
Watch the animated practice clip once at normal speed. On a replay, focus on the car during its movement and compare its path with the stable block and tabletop. Estimate the time range where the discontinuity occurs from what you see.
A single locked-off shot can still contain a temporal defect.
Choose the route that matches your result.
Rendered-media route: Use the practice clip on the previous screen as the rendered clip. Locate the defect yourself and write one record in this format:Observed | approximate time range | defect class | direct visual observation
Text-only route: If your Draft 1 is a text-only storyboard, choose the corresponding inspection needed during 2.0–6.0 s and write:Not tested | time range | planned check | why rendered media is needed
Write at least 55 characters (0/55).
Step 5 of 8
Specify narration and sound timing, then distinguish an audio plan from synchronization confirmed through playback.
Sound belongs on the same timeline as the visible action. A narration window has a duration: it is planned to occupy a span of time. An event-linked cue has a trigger: it belongs where the event is actually seen.
For Red Car Demo, the narration is planned for the car’s travel. The soft click belongs at the moment the car stops. These are different timing relationships.
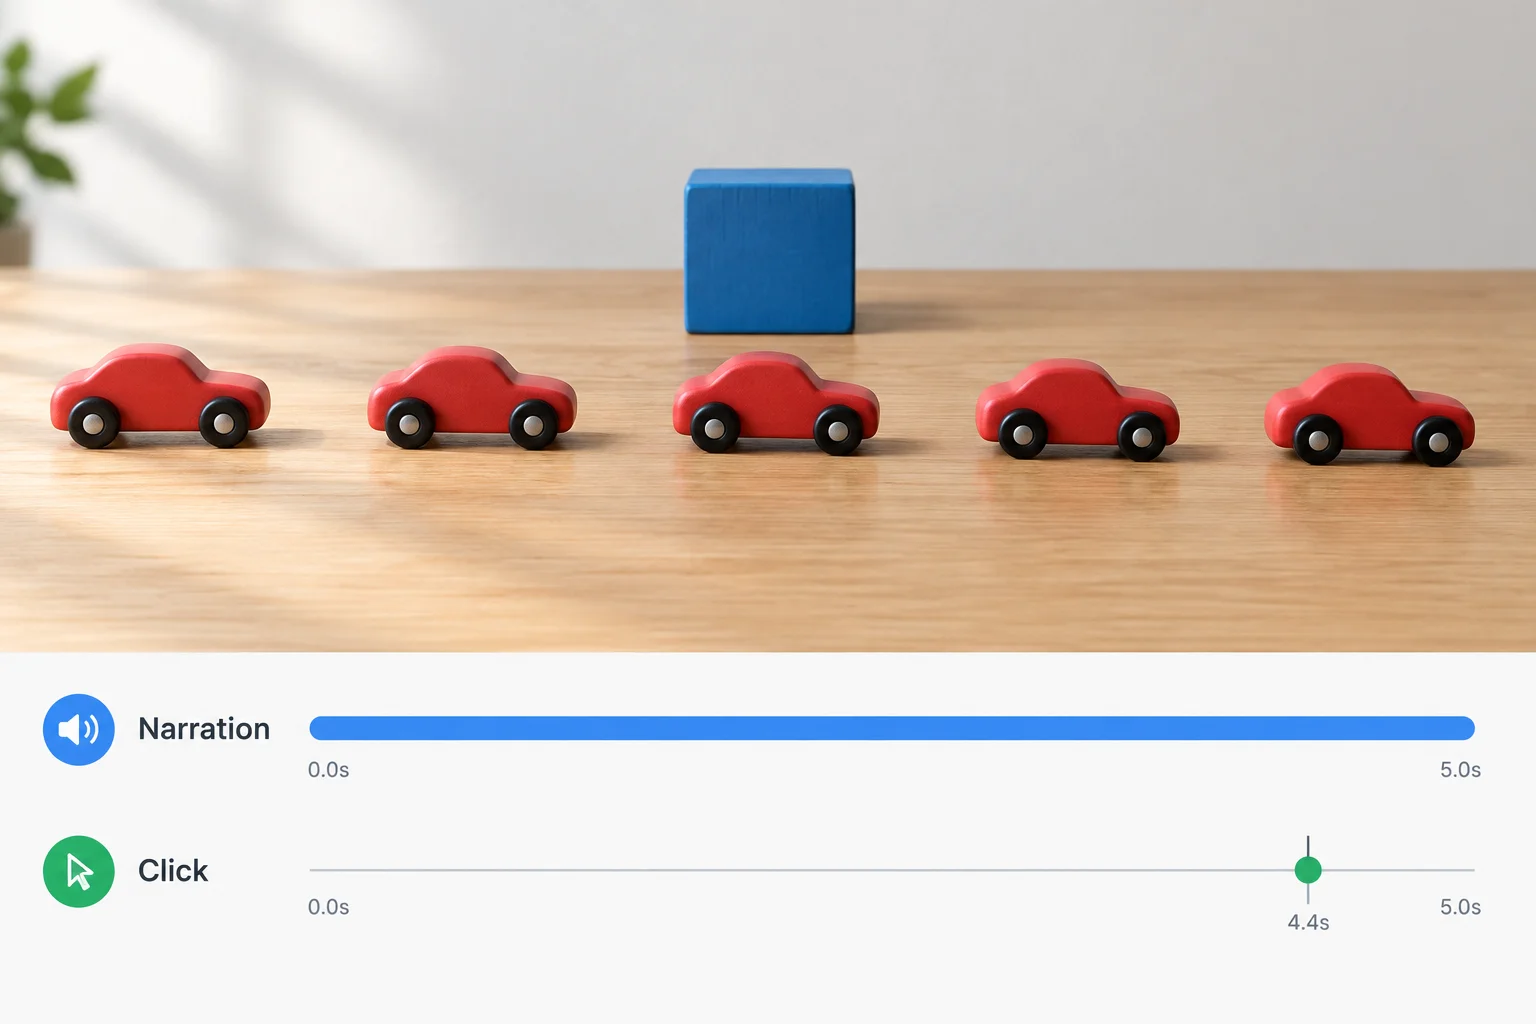
A narration occupies a time window; a click is tied to one visible event.
This is the planned audio timeline for the optional soundtrack in Draft 1. The timings are targets until audiovisual playback confirms them.
| Time | Visible event | Audio cue |
|---|---|---|
| 0.0–2.0 s | Car is stationary on the left | None |
| 2.0–6.0 s | Car rolls rightward in front of the block | Narration: “The red car moves past the blue block.” |
| 6.0 s | Car stops on the right | Optional soft click |
| 6.0–8.0 s | Car remains stopped on the right | None |
An audio instruction is only a specification. A video generator may return a silent clip, and writing an audio request does not prove that narration or a click was generated or attached.
If sound is present, play the clip. Check whether the narration fits the intended window and whether the click coincides with the visible stop. If the car actually stops at a different time, align an event-linked click with the actual stop—not merely with the requested timestamp.
Example
Use the review labels precisely:
A text-only storyboard can preserve a complete audio plan, but its synchronization remains Not tested. A deliberately silent version does not need a synchronization claim.
Tip
A fully specified soundtrack is useful even when it cannot be made yet. Keep the narration window and event-linked click in the storyboard or shot request; do not report them as heard or synchronized until playback supports that claim.
During audiovisual playback, the car visibly stops at 6.4 s. Enter the time where an event-linked soft click should be aligned.
Write three compact review records. Use the labels exactly as written.
A. In played audiovisual media, the car visibly stops at 6.3 s and a soft click is heard at that same moment.
B. Draft 1 specifies the narration from 2.0–6.0 s and a soft click when the car stops, but the available rendered clip is silent and no audio editing is available.
C. Your deliverable is deliberately silent: a text-only storyboard marked No audio.
For each record, state the cue or audio decision and the appropriate review label. For A, include the cue alignment time.
Write at least 80 characters (0/80).
Step 6 of 8
Create a focused Revision 1 that fixes one temporal issue while retaining the established storyboard requirements.
A useful revision is narrow: name the affected time range, describe the unwanted behavior, and state the replacement behavior. Do not rewrite the whole clip because one interval failed.
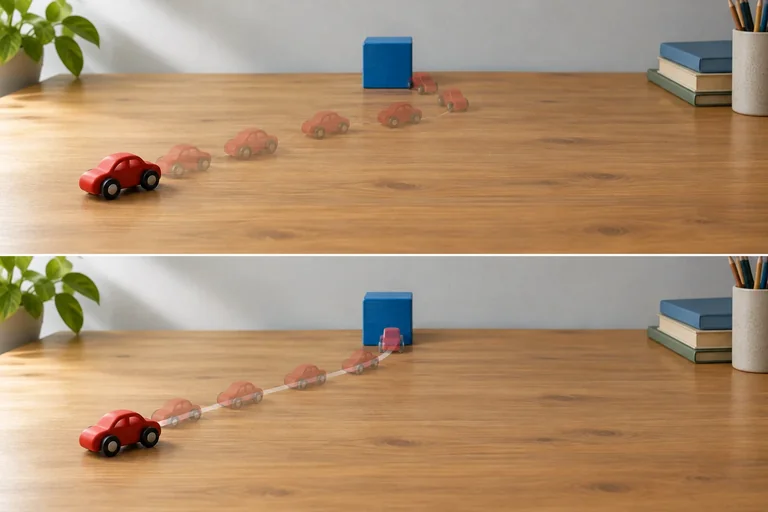
For example, a defect in 2.0–6.0 s might be abrupt acceleration or wheels that appear to slide. A targeted request can replace that movement with a steady roll while keeping the opening, ending, scene, and camera plan intact.
Use Revision 1 for the changed artifact. Keep Draft 1 as the record of what was previously requested or observed.
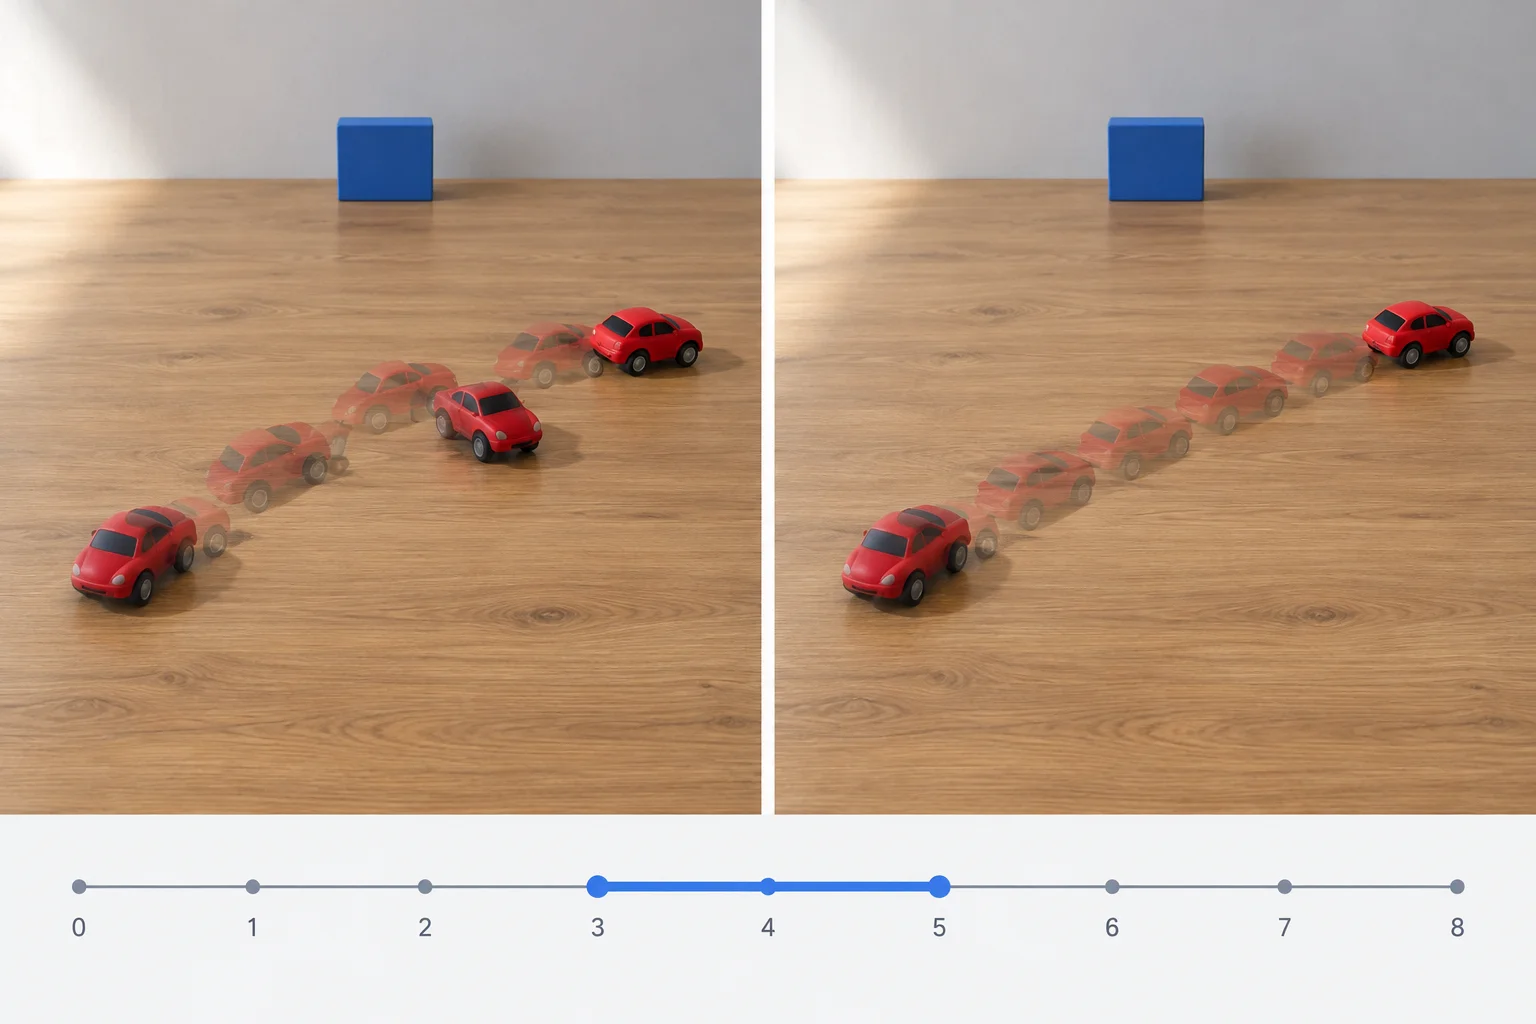
The middle interval changes; the car, block, framing, lighting, and camera setup remain consistent.
Example
Assume Draft 1 was rendered and reviewed. Observed: during 2.0–6.0 s, the car lurches at the start and its wheels appear to slide instead of supporting the roll.
Revision 1 is a new request, not a claim that the clip has already improved:
Action: The matte-red toy car stays still on the left until 2.0 s. From 2.0–6.0 s, it rolls rightward in a smooth, steady motion in front of the blue block, with wheels turning consistently. It stops by 6.0 s and remains still on the right until 8.0 s.
Framing: Medium-wide tabletop view; keep the full car and blue block visible throughout.
Camera movement: Locked-off camera.
Duration: 8.0 s.
Aspect ratio: 16:9.
Keep unchanged: Unbranded matte-red toy car with black wheels; blue block at the back center; wooden tabletop; soft light from the left; no people.
Audio: Planned — narration “The red car moves past the blue block.” in 2.0–6.0 s; optional soft click at the stop event at 6.0 s.
Revision 1 also keeps the timed storyboard precise. The changed middle segment specifies the replacement motion; the other segments preserve the original plan.
| Time | Subject action | Framing | Camera movement | Continuity | Audio cue |
|---|---|---|---|---|---|
| 0.0–2.0 s | Car is stationary on the left. | Medium-wide; car and block visible. | Locked-off camera. | Car, block, tabletop, and left-side light remain stable. | No narration yet. |
| 2.0–6.0 s | Car rolls smoothly rightward in front of the block and stops by 6.0 s. | Medium-wide; car and block remain visible. | Locked-off camera. | Matte-red car, black wheels, fixed blue block, and soft left light stay consistent. | Planned narration in this window. |
| 6.0–8.0 s | Car remains stopped on the right. | Medium-wide; car and block visible. | Locked-off camera. | No change to object placement, appearance, or light. | Optional soft click at the stop event. |
A sound mismatch also needs a single, explicit decision. If the visible stop actually occurs earlier or later than planned, decide what matters most:
Do not describe a cue as synchronized merely because a request named a timestamp. Playback of audio and video together is needed before synchronization can be Observed.
If you cannot render or play media, you can still revise the request and storyboard. Mark motion quality, visual continuity, and synchronization as Not tested rather than improved.
Warning
After regenerating, inspect both the affected interval and the rest of the clip. A smoother 2.0–6.0 s interval does not prove that the car’s appearance, the block position, lighting, opening, or ending remained stable.
Create Revision 1 for one problem in your own Draft 1. You may use an observed defect from rendered media or a clearly labeled hypothetical failure if you have no rendered clip.
Include: the affected time range; the unwanted behavior; the requested replacement behavior; details that must stay unchanged; and either your recheck result or the precise checks still awaiting rendered media. Use the shot-request headings where relevant. Separate Observed, Planned, and Not tested accurately.
Write at least 250 characters (0/250).
Step 7 of 8
Choose wording and disclosure that accurately present a rendered synthetic clip or a text-only storyboard without implying evidence of a real event.
A realistic-looking clip can be mistaken for evidence that a physical event, product test, or camera recording occurred. The risk often comes from the surrounding presentation: a title such as “Test results,” a confident narration, or an evidence-style caption can make a fictional scene sound real.
State what the artifact is where viewers will encounter it. For a rendered synthetic clip, give nearby fictional context and a clear disclosure. For a non-rendered deliverable, identify it as a plan rather than implying that it was generated, played back, or tested.
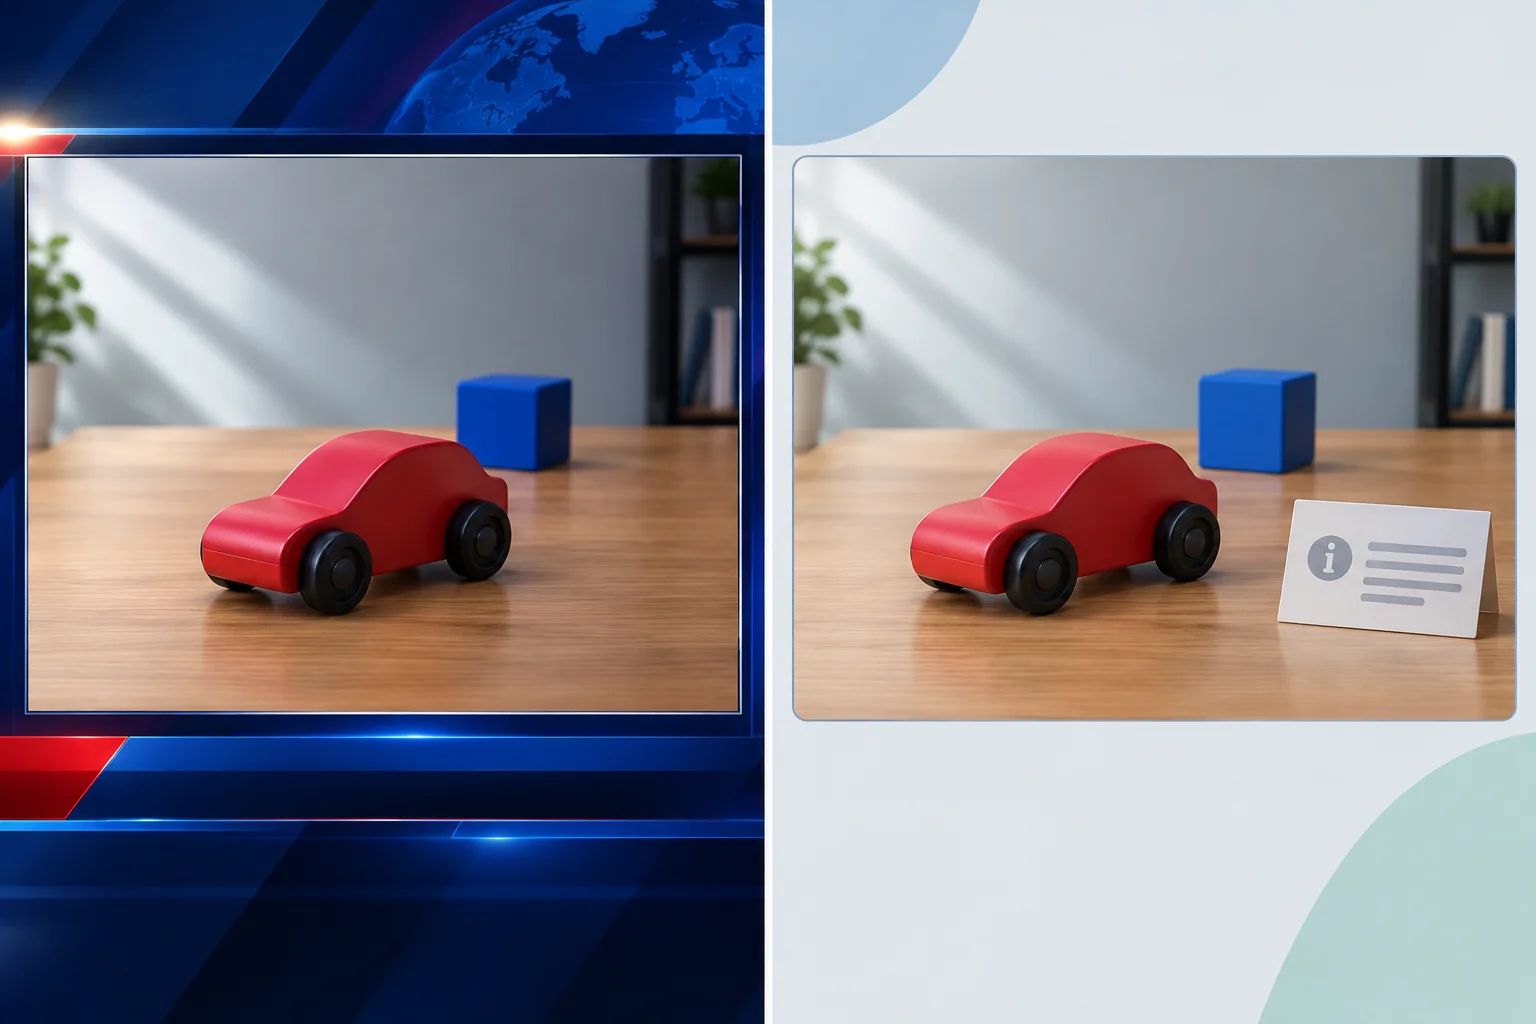
Presentation context—not only the pixels in the clip—shapes what viewers think happened.
Example
Rendered example — Revision 1
Misleading presentation:
Title: “Independent tabletop performance test”
Caption: “The footage proves the car stopped precisely beside the block.”
Better presentation:
Title: “Fictional demonstration: planned toy-car movement”
Nearby disclosure: “AI-generated fictional demonstration; not footage of a real event.”
The better version does not claim that the clip proves a physical test. The disclosure is close enough to be seen with the clip, rather than hidden elsewhere.
Example
Text-only example — Revision 1
Do not call an unrendered plan “video footage,” “a generated clip,” or “a successful test.” Present it as the plan it is.
Use this nearby label:
“Text-only storyboard for a fictional AI-generated video; no video rendered.”
A timed storyboard can specify the intended action and checks, but it cannot show that motion, continuity, or audio synchronization occurred.
Warning
A disclosure cannot fix a contradictory claim. Do not pair “AI-generated fictional demonstration” with wording such as “proof,” “real test,” “recorded event,” or “actual footage.” Change or remove the misleading title, caption, narration, and surrounding context as well.
A rendered Red Car Demo clip is about to be shared. Which presentation both avoids falsely implying a real demonstration and accurately labels the artifact?
Step 8 of 8
Finish a revised clip or faithful text-only storyboard and document what was planned, observed, and still unresolved.
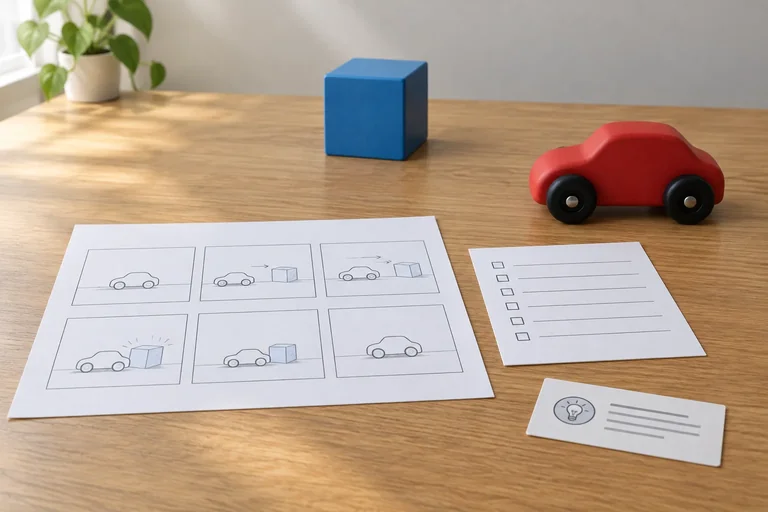
A finished result is an evidence package, not just a clip—or just a plan. Assemble the version you actually have:
Choose one honest route. A revised rendered clip can be reviewed for visible behavior. A revised text-only storyboard is complete planning work, but it does not prove motion, continuity, or synchronization.
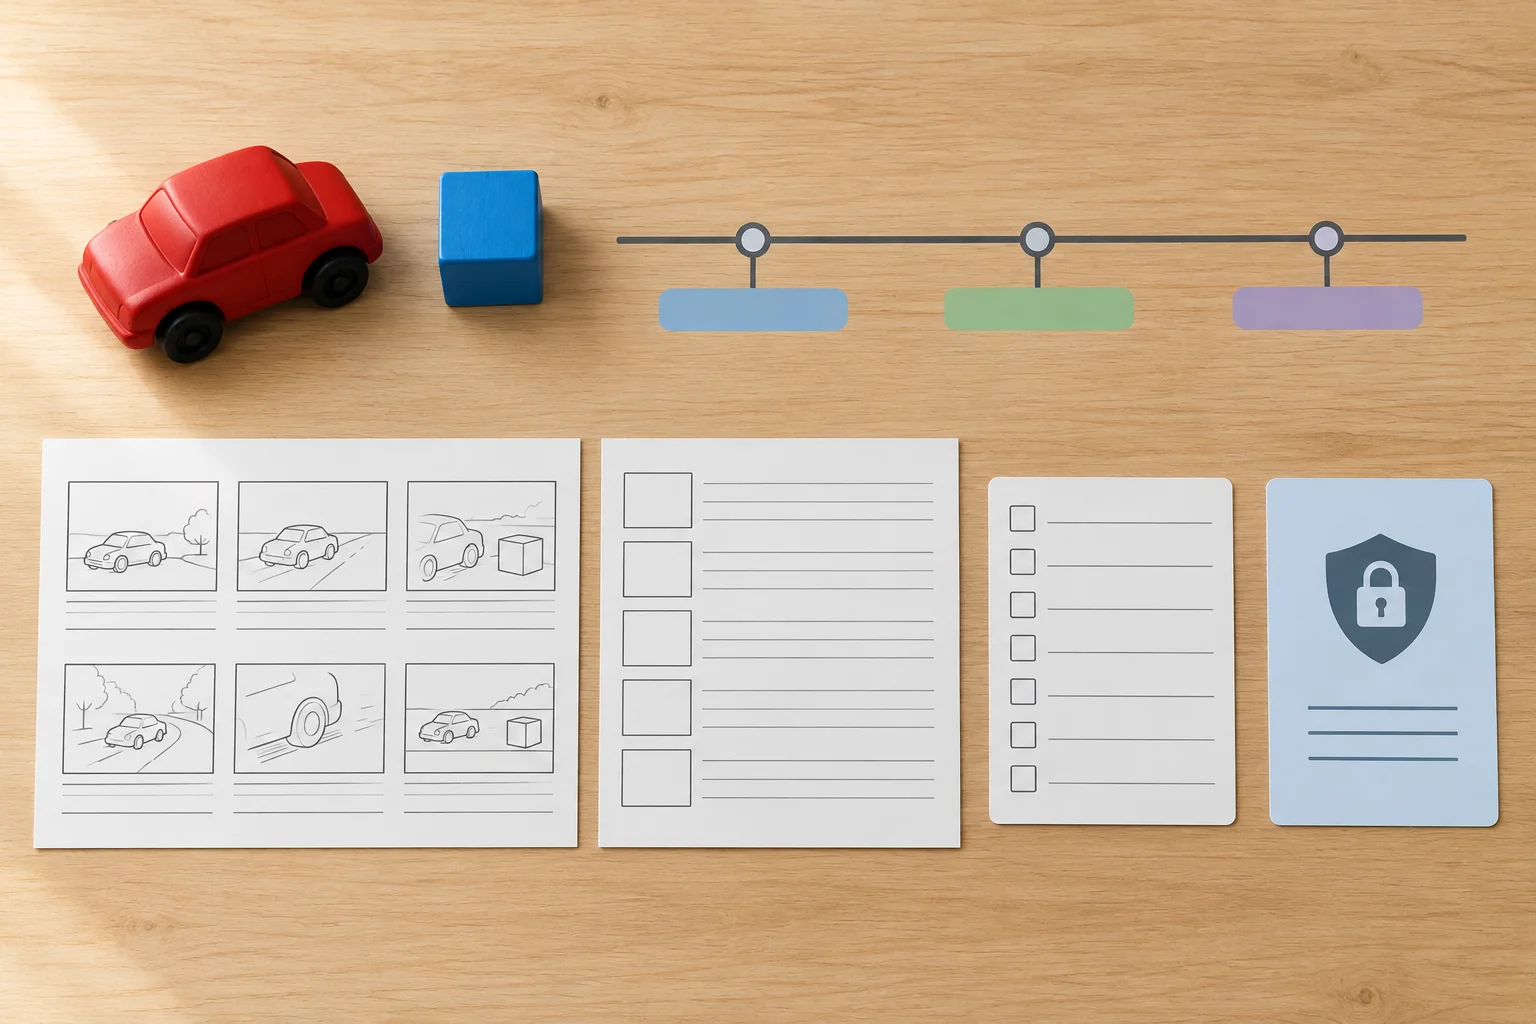
The final record connects the plan, the chosen deliverable, the review evidence, and the way viewers will be told what it is.
Use the review labels precisely.
Planned describes the intended timeline and shot request. Observed is reserved for something you actually checked in a rendered clip. Not tested marks a check that needs future rendered or audiovisual playback. Not applicable is appropriate for audio synchronization only when you deliberately chose No audio.
Do not upgrade a request into an observation. For example, a locked-off camera in Revision 1 is Planned until a rendered clip has been watched and checked.
Use this compact structure for your final record. Write your actual result rather than claiming checks you could not perform.
Use the route-specific evidence standard below.
| Record area | Rendered route | Text-only route |
|---|---|---|
| Motion and continuity | Observed after viewing the revised clip; note any remaining issue. | Not tested; list the future visual checks. |
| Audio synchronization | Observed after audiovisual playback; or Not applicable for deliberate No audio. | Not tested when audio timing is only specified; or Not applicable for deliberate No audio. |
| Disclosure | AI-generated fictional demonstration; not footage of a real event. | Text-only storyboard for a fictional AI-generated video; no video rendered. |
| Readiness decision | Ready to present with any stated limitations, or needs another revision. | Ready as a plan; rendering and media checks remain future work. |
Create your final text-based completion record for your own project, or use the Red Car Demo if you did not create another artifact.
Include all of the following:
Only mark something Observed if you personally checked it in rendered media.
Write at least 700 characters (0/700).
Congratulations! You completed: Creating a Short Video from a Storyboard
You completed this level!
Up next: AI for Everyday Work
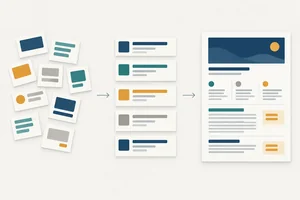 Structuring a Work Document from Source NotesTurn approved source notes into a structured workplace brief. Organize the material around the reader's needs, identify missing information, and check that the finished document is complete and internally consistent.
Thousands of online courses in video, ebooks and audiobooks.
To test your knowledge during online courses
Generated directly from your cell phone's photo gallery and sent to your email
Download our app via QR Code or the links below:.


Carry knowledge in your pocket.
Download the Cursa app.
There are hundreds of free courses available, with a free certificate of completion that is saved in your mobile image gallery.
Download the app to access the Course Completion Certificate for Free.

+ 10 million
students

Free and Valid
Certificate

60 thousand free
exercises

4.8/5 rating in
app stores

Free courses in
video and ebooks