Architectural design isn’t just about making a beautiful image—it’s about building a reliable workflow that carries an idea from an early sketch to drawings, coordination, and convincing visuals. When you understand what each tool is best at (and when to switch), you reduce rework, communicate faster, and produce deliverables that read clearly to clients, consultants, and contractors.
This guide maps a practical, software-agnostic pipeline using the tools most learners start with: AutoCAD for precise drafting, Revit for BIM and documentation, SketchUp for rapid massing, and 3ds Max + V-Ray for high-end visualization. It’s designed for aspiring architects and civil engineers who want a repeatable process—not isolated tutorials.
To explore more learning paths within design, start with the broader category https://cursa.app/free-online-art-and-design-en-courses, or go directly to the https://cursa.app/free-courses-art-and-design-en-online course collection.
1) Start with design intent: program, constraints, and a “definition of done”
Before opening any software, define the scope and the decision checkpoints. What’s the program (spaces, areas, adjacencies)? What constraints must not break (site boundaries, height limits, setbacks, structural grid assumptions)? What is the deliverable for this stage (massing options, a schematic floor plan, a coordinated BIM model, or a visualization set)?
A useful habit is to write a one-page “design brief” and a stage checklist. This reduces the most common beginner mistake: producing highly detailed models before the layout and constraints are stable.
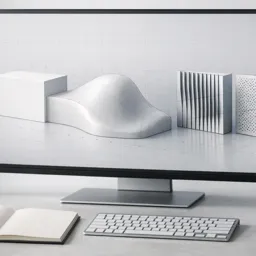
2) Rapid massing and optioning (SketchUp or conceptual BIM)
Early-stage design is about speed. Use quick massing to test volume, orientation, and circulation. Many designers like massing in https://cursa.app/free-online-courses/sketchup because it’s lightweight and encourages iteration. Keep geometry simple: primary blocks, key voids, cores, and major openings—avoid “detail gravity.”
At this stage, measure what matters: gross floor area, daylight potential, site coverage, and basic circulation logic. If you already know the project will live in BIM, you can also do conceptual massing directly in https://cursa.app/free-online-courses/revit, but the rule is the same—option fast, decide, then refine.
3) Lock a 2D “truth set” for plans: grids, levels, and core geometry
Once an option is chosen, establish the project’s backbone: structural grid assumptions, levels, and a core layout. Even if you plan to build in BIM, having a clean 2D reference plan (or a clearly defined plan logic) keeps you honest when the model gets complex.
If your workflow relies on precise drafting or consultant coordination, https://cursa.app/free-online-courses/autocadcan be the fastest way to develop and verify plan geometry. Treat this as a “geometry truth” milestone: the point where the plan is coherent enough that you can commit to modeling with confidence.

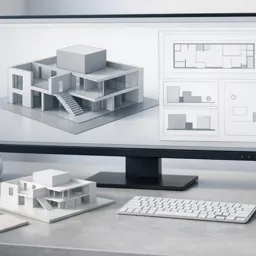
4) Move into BIM for coordination and documentation (Revit)
BIM becomes valuable when you need consistency: plans, sections, elevations, schedules, and coordinated changes. In Revit, build a model that matches the documentation intent—walls, floors, roofs, stairs, and key assemblies that drive drawings. Model what you need to document and coordinate; don’t model what you can annotate more efficiently.
Develop smart habits early:
• Name levels and grids clearly (consultants will thank you).
• Use view templates to keep graphics consistent.
• Set up sheets and keynotes gradually as decisions stabilize.
• Track changes with a simple issue log so you don’t “design by accident.”
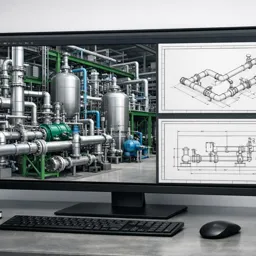
5) Know what belongs in CAD vs BIM (and how to avoid double work)
Many real-world workflows use both CAD and BIM. The key is to assign responsibilities:
• Use CAD for legacy details, fast 2D drafting, or consultant overlays.
• Use BIM for coordinated geometry, drawing sets, schedules, and revisions.
To minimize double work, decide one “source of truth” per output. For example, if Revit is the plan source, don’t keep editing a parallel CAD plan. If CAD is used for a detail library, link/import it intentionally and manage lineweights and scales.
6) Visualization pipeline: choose the level of realism at the right time
Visualization is communication, not decoration. Choose your visualization tier based on the decision being made:
• Early: simple shadows, silhouettes, and basic materials to compare options.
• Mid: lighting studies, façade rhythm, and key interior moments.
• Late: high realism for client approvals and marketing-ready imagery.
When you need high-end output, a common pipeline is exporting the model to 3ds Max and rendering with V-Ray (often written as “3ds Max + V-Ray”). Keep materials organized, name objects, and avoid overly heavy geometry in your BIM model—visualization thrives on clean structure.
7) Presentation boards that read in 10 seconds
Strong presentations are structured. A viewer should understand the concept in 10 seconds, the plan logic in 30 seconds, and the technical credibility in 2 minutes. Typical board hierarchy:
• One hero image (or diagram) that states the idea.
• Plan/section pair that explains the spatial logic.
• A small set of supporting diagrams (site, circulation, structure, envelope).
• Minimal text—only what the drawings can’t say.
If you want to strengthen post-processing for boards, https://cursa.app/free-online-courses/photoshop-for-architectsis a useful complement—especially for diagrams, entourage, linework enhancement, and consistent graphic style.
8) Quality checks: the professional habits that separate beginners from production-ready designers
Software skill matters, but quality control is what makes your work trustworthy. Build a quick QA routine:
• Plans: door swings, clearances, stair logic, and room naming.
• Sections: floor-to-floor heights, structure alignment, and headroom.
• Elevations: window alignment, parapets, and material transitions.
• Drawings: consistent scales, lineweights, and annotation standards.
For a deeper reference on drawing conventions, you can consult established drafting standards and documentation guidance from professional bodies such as the https://www.aia.org/resources (helpful for understanding typical sheet structures and practice expectations).

9) Build your learning path (free courses + certifications)
A practical way to progress is to learn in “project loops” rather than isolated commands:
- Draft a small plan in https://cursa.app/free-online-courses/autocad.
- Model and document it in https://cursa.app/free-online-courses/revit.
- Mass and iterate in https://cursa.app/free-online-courses/sketchup for alternatives.
- Produce one polished render using a visualization workflow (3ds Max + V-Ray).
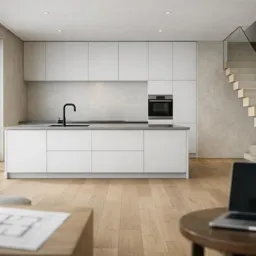
To broaden your design foundation alongside architectural tools, you can also explore related areas like https://cursa.app/free-online-courses/interior-design, which sharpens spatial planning, materials thinking, and user experience decisions that show up in every architectural project.
Conclusion: the goal is a reliable pipeline, not a single “best” software
Architectural design workflows work best when each tool has a clear job: fast optioning, accurate geometry, coordinated documentation, and persuasive visualization. Master the handoffs, keep one source of truth per deliverable, and use quality checks to maintain consistency from concept to construction set.