Video animation isn’t only about moving objects—it’s about building a repeatable workflow that helps you animate faster, iterate confidently, and deliver consistent results across multiple projects. Whether you’re creating explainer videos, short social clips, UI animations, or stylized 3D sequences, the biggest leap in quality often comes from learning how to plan, organize, and standardize your motion graphics process.
In this guide, you’ll learn a production-minded approach to video animations: how to set up a project, design motion systems, manage assets, keep revisions under control, and export deliverables without quality surprises. If you’re exploring free learning paths, start in the https://cursa.app/free-courses-art-and-design-en-online Video animations course subcategory or browse the broader https://cursa.app/free-online-art-and-design-en-courses Design and Art category to build skills that complement animation (composition, typography, color, and visual storytelling).
1) Start with a “deliverables-first” brief
Before you animate anything, define what you must deliver. This single step prevents wasted effort and helps you pick the right technique (2D, motion graphics, or 3D).
Capture these essentials:
- Format & aspect ratios: 16:9, 1:1, 9:16, or multiple outputs
- Duration: 6 seconds, 15 seconds, 60 seconds, or modular segments
- Platform constraints: file size limits, codec preferences, caption needs
- Brand requirements: colors, typefaces, logo clear space, tone
- Success metric: clarity, watch time, clicks, comprehension
A deliverables-first brief makes later decisions easier: how complex your scenes can be, how much detail to model, and whether your animation should be procedural/modular or handcrafted.
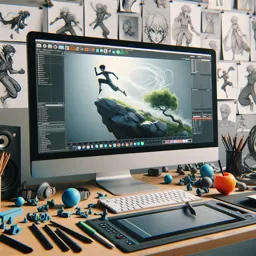
2) Build styleframes before you commit to motion
Styleframes are a small set of “still” screens that show the look of the final animation: composition, color, typography, lighting style, and icon/illustration approach. They act like a visual contract—reducing revision cycles because you validate the art direction early.
Tips for stronger styleframes:
- Design for legibility: bigger type, fewer words, clearer hierarchy
- Limit your palette and define contrast rules (foreground vs. background)
- Create a mini component kit (buttons, labels, cards, arrows, icons)
- Decide on texture: flat, grain, subtle noise, or glossy 3D
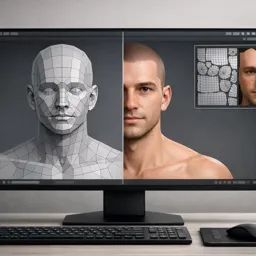
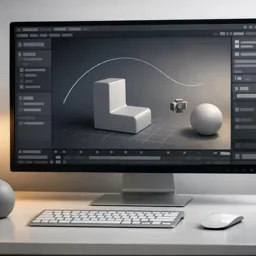
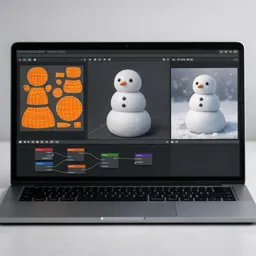
If you want to integrate 3D elements, learning fundamentals in https://cursa.app/free-online-courses/blender Blender helps you match lighting, camera, and materials to your 2D design system—especially when combining 3D objects with clean motion graphics.
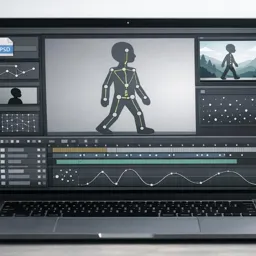
3) Turn your script into an animatic (the secret weapon)
An animatic is a rough, timed version of your piece. It can be made with simple shapes and placeholder images—what matters is timing. This is where pacing problems reveal themselves before you spend hours polishing keyframes.
A practical animatic workflow:
- Split the script into short beats (one idea per beat)
- Assign a time budget to each beat
- Add temporary voiceover (even your own) to lock pacing
- Use quick camera moves and placeholders to test rhythm
Once the animatic feels right, your final animation becomes “filling in decisions,” not searching for them.

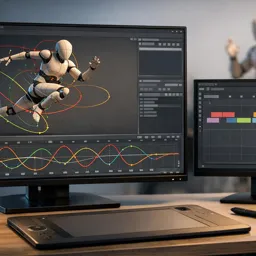
4) Design motion systems, not one-off keyframes
To animate faster and keep everything consistent, treat motion like a system. Instead of manually crafting every transition, define reusable rules:
- Easing rules: UI elements use softer ease-in-out; titles use snappier ease-out
- Timing tokens: 8–12 frames for micro-moves, 16–24 for transitions
- Spatial rules: consistent slide distances, overshoot amounts, and bounce limits
- Hierarchy rules: primary elements lead; secondary elements follow with a slight delay
This approach scales especially well for explainer series, product updates, and course content where multiple animations share the same style.
5) Keep your project organized like a studio
Organization is a quality multiplier. When you can find assets instantly, you iterate more and break fewer things.
Use a predictable structure:
- /01_Project – project files
- /02_Assets – logos, fonts, textures, audio
- /03_Scenes – shots, sequences, versions
- /04_Renders – preview and final renders
- /05_Exports – platform-ready deliverables
In 3D workflows, naming becomes even more important. Objects, collections, cameras, and render outputs should be easy to scan.
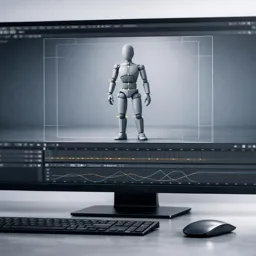
If you’re practicing scene-based animation workflows, explore https://cursa.app/free-online-courses/3d-animation3D Animation.
6) Use layers of polish: block → refine → detail
A reliable way to avoid polishing too early is animating in three passes:
- Block: big moves, timing, camera, scene transitions
- Refine: easing, arcs, offsets, and secondary overlaps
- Detail: micro-movements, texture drift, light flicker, subtle parallax
This method works for both motion graphics and 3D animation. It also makes feedback easier because timing can be approved before fine details are added.
7) Make revisions painless with versioning and checkpoints
Revisions are normal—but chaos isn’t.
Use a simple versioning strategy:
- Increment file names (example: project_scene03_v07)
- Create checkpoints at milestones (animatic approved, style locked, timing locked)
- Export review drafts with burn-ins (version + timecode)
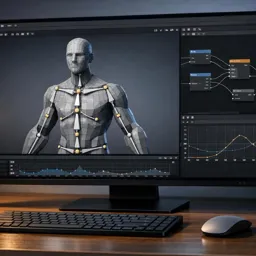
If your animation includes character performance, plan additional revision buffer. Learning posing and performance fundamentals in https://cursa.app/free-online-courses/character-animation Character Animation can improve clarity and reduce revision cycles.
8) Export with confidence: quality, speed, and consistency
Export issues usually happen when settings change late in production. Use a consistent export checklist:
- Resolution & aspect ratio: verify safe margins and cropping
- Frame rate: keep consistent throughout the pipeline
- Codec choice: balance quality with file size for the target platform
- Audio: maintain consistent loudness and clean peaks
- Color: check for unexpected gamma shifts across screens
For 3D renders, optimize early by reducing unnecessary samples, testing denoising, and rendering previews frequently.

9) A skill roadmap for video animation learners
If you want to improve systematically, follow a simple progression:
- Foundations: composition, typography, timing, easing
- Workflow: briefs, styleframes, animatics, versioning
- Production skills: asset management and scene organization
- Specialization: UI motion, explainer storytelling, or 3D visuals
- Portfolio: produce a small animation series in one consistent style
You can explore these topics in the https://cursa.app/free-courses-art-and-design-en-online Video animations catalog and expand with https://cursa.app/free-online-courses/blender Blender and https://cursa.app/free-online-courses/3d-animation 3D Animation lessons.
Conclusion: Workflow is the fastest path to better animation
Polished video animations rarely come from adding more effects. They come from clear planning, consistent motion rules, organized projects, and a review process that catches issues early.
When you build a workflow you trust, you spend less time fixing problems and more time creating—unlocking both creative momentum and professional results.