Many beginner projects fail for a surprisingly small set of reasons: input feels unresponsive, the camera makes players nauseous or lost, and collisions behave inconsistently. Before adding more content—more enemies, more levels, more effects—building a solid foundation for input, camera, and collision will make every feature you add later easier to implement and more satisfying to play.
This guide breaks down practical patterns you can use across engines and genres, with examples that translate well whether you’re creating a 2D platformer, a 3D action game, or a mobile puzzle title. For a structured learning path, explore the https://cursa.app/free-courses-information-technology-online and expand into related areas like https://cursa.app/free-online-courses/game-design.
1) Input: capturing intent, not buttons
Players don’t think in “W key down” or “left stick at 0.7”; they think in intent: move, aim, jump, interact. A robust input layer translates raw device signals into a small set of actions your gameplay code understands.
Action mapping and rebinding
Start by defining actions (Jump, Attack, Pause) and axes (MoveX/MoveY, LookX/LookY). Even if you don’t ship rebinding immediately, structuring your code around actions prevents hard-coded checks sprinkled across scripts.
- Do: Route input through a single “Input Manager” (or engine equivalent) and broadcast actions.
- Avoid: Checking device keys in multiple systems independently.
For engine-specific implementations, the learning tracks on https://cursa.app/free-online-courses/unity and https://cursa.app/free-online-courses/unreal-engine are good companions, but the core idea remains the same: isolate input from gameplay logic.
Responsiveness: buffering and coyote time
Two small techniques dramatically improve perceived control:
- Input buffering: If the player presses Jump slightly before landing, store it for a short window and execute upon landing.
- Coyote time: Allow Jump for a short window after walking off an edge.
These are not “easy mode”—they’re human-friendly interfaces that compensate for reaction time and animation timing. They also reduce frustration without changing level design.

Mobile considerations: gestures and fat-finger design
On touch devices, input design becomes UI design. Keep hit targets large, avoid placing critical actions too close to screen edges, and consider alternatives to virtual sticks (swipe-to-dash, tap-to-move, drag-to-aim) for certain genres. If you’re targeting phones, it’s worth exploring https://cursa.app/free-online-courses/mobile-game-developmentpatterns early, because they influence camera and collision choices too.
2) Camera: clarity first, style second
A great camera does two jobs: it shows the player what they need to make decisions, and it supports the fantasy of the game. Many camera issues come from trying to be “cinematic” before being “readable.”
Common camera modes and when to use them
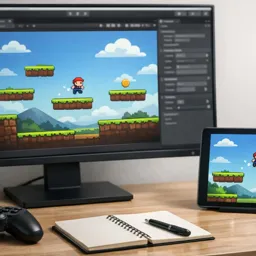
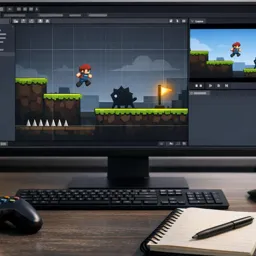
- 2D follow camera: Great for platformers; prioritize look-ahead in the movement direction.
- Top-down camera: Great for ARPGs; keep obstacles from blocking the player.
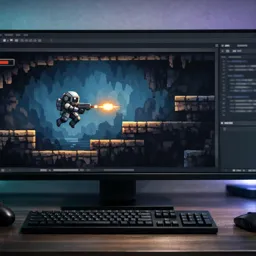
- Third-person camera: Great for action/adventure; balance visibility with aiming precision.
- First-person camera: Great for immersion; keep motion comfortable and predictable.
If you’re building in 2D, pairing camera basics with https://cursa.app/free-online-courses/2d-game-developmentfundamentals helps you avoid camera jitter and pixel-snap issues that can make movement feel off.
Smoothing, damping, and snap points
Smoothing can feel great—until it causes late reactions. A useful pattern is to combine:
- Damping for normal movement
- Snap or fast catch-up when the player changes direction, dashes, or enters a threat state
- Dead zones so micro-movements don’t shake the camera
Think of the camera as a communication tool. If enemies can attack from off-screen, consider a wider FOV, a higher camera height, or more look-ahead rather than more smoothing.
Camera + level geometry: solve occlusion early
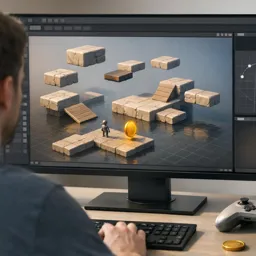
In 3D, walls and props will block the view unless you plan for it. Common solutions include camera collision, transparency fades, or level layout rules. Testing camera behavior in a graybox version of the level is ideal—if it works there, it will work with art.
3) Collision: predictable interactions build trust
Collision isn’t just physics—it’s a contract with the player. When collision is inconsistent, players stop trusting the game. When it’s consistent, they’ll accept difficulty because the rules feel fair.
Choose the simplest collider that matches the intent
Complex mesh collisions can be expensive and unpredictable. Prefer simple primitives:
- Capsule for characters
- Boxes for platforms and walls
- Separate hitboxes/hurtboxes for combat
This improves stability and makes debugging much easier.
Triggers vs solid collisions
Use solid collision for boundaries and stable movement. Use triggers for events: pickups, checkpoints, dialogue zones, and nearby interactables. Keeping these concepts separate prevents many bugs.
Physics time step and tunneling
Fast-moving objects can pass through thin colliders. Fixes include continuous collision detection, raycasts, thicker colliders, or limiting maximum speed. Even if your game is not physics-heavy, understanding the simulation step prevents jitter and inconsistent behavior across devices.

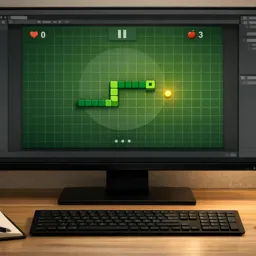
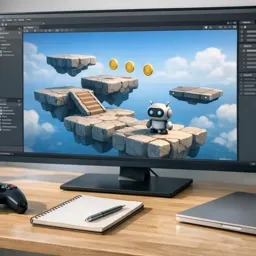
4) Putting it together: a small, powerful test scene
Create a dedicated foundation test scene that contains:
- A controllable character
- A few slope angles and steps
- Moving platforms or elevators
- Pickups
- A hazard or simple enemy
- Camera stress tests
This scene becomes your regression test: whenever you add features, you can validate that input, camera, and collision still behave as expected.
5) A focused learning path to reinforce these skills
If you want to deepen these fundamentals with hands-on projects, start with the https://cursa.app/free-courses-information-technology-online and then branch based on your goals:
- https://cursa.app/free-online-courses/unity for rapid iteration and indie workflows
- https://cursa.app/free-online-courses/unreal-engine for high-end 3D workflows
- https://cursa.app/free-online-courses/2d-game-development for camera precision and movement
- https://cursa.app/free-online-courses/mobile-game-development for touch-first design
- https://cursa.app/free-online-courses/game-design to connect mechanics to player expectations
You can also broaden your technical toolkit through the wider https://cursa.app/free-online-information-technology-courses, especially if you want stronger programming, math, or debugging skills.
Conclusion: foundations create “effortless” fun
Players rarely praise “collision correctness” or “input architecture”—they just call a game “tight,” “smooth,” or “fun.” That feeling comes from foundations working invisibly. Nail input that represents intent, a camera that communicates clearly, and collision that behaves predictably, and you’ll give every future feature a stable platform to shine.