Introduction:
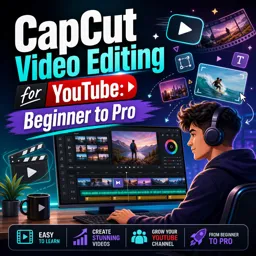
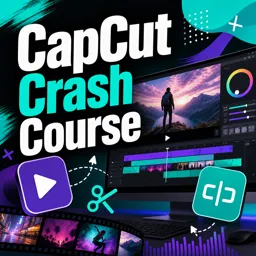
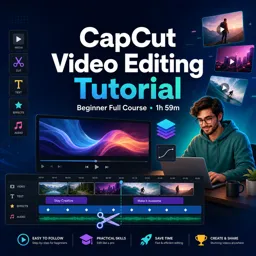
Music and sound effects can elevate your videos, setting the mood and enhancing viewer engagement. CapCut provides tools for adding and editing audio, allowing you to include background music and sound effects with ease. This step-by-step guide will show you how to add audio elements to your CapCut projects, helping you create polished, professional content.
Step 1: Importing Music
- Open Your Project and Select the Audio Tool: Start by opening your CapCut project. Tap on the Audio option at the bottom of the screen to access CapCut’s audio editing tools.
- Adding Background Music: CapCut offers a library of free music tracks, which you can browse under Sounds. You can also import music from your device by selecting Your Music and uploading a track.
- Trimming and Positioning Music: Once you’ve added your music, use the trimming tool to adjust its length. Drag the edges of the music clip to sync it with the visuals. Position the audio by moving the clip along the timeline.
Step 2: Adding Sound Effects
- Choose Sound Effects from CapCut’s Library: Tap on the Effects tab under Audio to browse CapCut’s sound effects library. Categories like Pop, Transition, and Nature provide a range of sounds to enhance different parts of your video.
- Layering Sound Effects: You can layer multiple sound effects for a richer sound design. Place effects on separate audio tracks, adjusting their timing and duration to match visual elements or actions within the video.
Step 3: Adjusting Audio Levels and Fade Options
- Volume Control: Tap on the audio clip to adjust volume levels. Lower the background music if you have voiceovers or dialogue, and increase the volume for essential sound effects.
- Fade In/Out: To create smooth transitions, apply fade-in or fade-out effects. Select the audio clip, tap Fade, and adjust the duration for gradual audio transitions.
Conclusion:
Adding music and sound effects in CapCut is straightforward, allowing you to enhance your videos with professional-quality audio. By following these steps, you can synchronize audio elements with visual content, creating a more immersive experience for your audience.