Introduction:
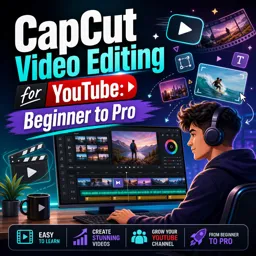
Adding text and subtitles to your videos is essential for creating engaging social media content. Captions help viewers follow along without sound, enhance accessibility, and add context to your video. This guide will show you how to add text and subtitles using CapCut’s user-friendly tools, making your content more impactful and accessible.
Step 1: Adding Text to Your Video
- Open Your Project in CapCut: Begin by opening your project or creating a new one. Import your video clip, and tap on it to access editing options.
- Select the Text Tool: Tap the Text icon at the bottom of the screen. Choose Add Text to create a new text box. A keyboard will appear, allowing you to type your desired text.
- Customize Text Appearance: CapCut offers various customization options. You can change the font style, size, color, and alignment to match the video’s aesthetic. Use the Position option to move the text around the screen and place it where you want it to appear.
- Adding Animations: For dynamic content, add animations to your text. Select Animation in the text menu to choose from fade-ins, pop-ups, and other effects. Adjust the duration of the animation to create smooth transitions.
Step 2: Adding Subtitles
- Timing Your Subtitles: Subtitles are usually displayed in sync with dialogue or narration. Add a new text box for each segment of speech and place it in sync with the audio. You can adjust the duration of each subtitle by dragging the edges of the text layer on the timeline.
- Using Auto-Captions: CapCut has an auto-captioning feature that generates subtitles based on audio. Tap on Auto-Captions in the text menu, select your preferred language, and let CapCut automatically create subtitles. Review and edit the text for accuracy.
- Style and Positioning: To ensure subtitles are clear, use a simple font and high contrast. You can add a background color or shadow effect for better readability.
Conclusion:
Adding text and subtitles in CapCut is a simple way to make your videos more engaging and accessible. With CapCut’s range of customization options, you can create visually appealing captions and subtitles that enhance viewer experience and improve content reach across social media platforms.