Introduction to Adobe InDesign for Print Design
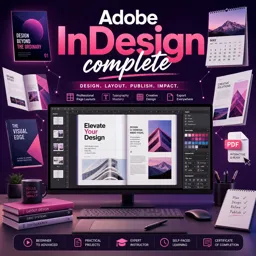
Adobe InDesign has become the industry standard for designing professional print publications, from magazines and brochures to books and newsletters. Whether you’re a graphic designer or a creative professional looking to expand your skill set, mastering InDesign opens the door to producing high-quality, visually compelling layouts tailored for print.
Why Choose InDesign for Print Projects?
Adobe InDesign offers robust tools for combining text, images, vector graphics, and color into beautiful, readable layouts. Its precise controls, extensive typographic options, and integration with Adobe Creative Cloud make it the preferred choice for designers seeking perfection in their printed creations. InDesign ensures that every element prints as expected, maintaining consistency and clarity from screen to paper.
Key Features for Effective Print Publication Design
- Master Pages: Design consistent headers, footers, and page numbers that apply throughout your publication.
- Paragraph and Character Styles: Quickly format and update text styles globally for a polished look.
- Preflight Panel: Catch potential issues before printing, including missing fonts, low-resolution images, and color profile mismatches.
- Bleed and Slug Settings: Ensure graphics and backgrounds extend properly to the edges, preventing unwanted white borders in the final print.
- Packaging Projects: Gather all necessary files, fonts, and images into a single folder for easy handoff to printers or collaborators.
Designing Your First Publication: Step-by-Step Outline
- Plan Your Layout: Sketch a rough outline on paper or digitally. Determine page size, margins, columns, and content flow.
- Set Up the Document: In InDesign, create a new document, enter page specifications, and establish master pages.
- Import Content: Bring in text and images, using frames to control placement and fit optimally to your grid.
- Apply Styles and Organize: Use styles for headings, subheads, and body text. Align graphics consistently.
- Proofread and Preflight: Check for any errors or inconsistencies and use the Preflight tool to prepare your files for printing.
- Export for Print: Export your publication as a print-ready PDF with the correct color profiles, bleeds, and marks.
Best Practices for Print-Ready Output
Ensure all images are at least 300 DPI for sharp, professional results. Choose appropriate color modes (CMYK for print) and embed fonts to prevent substitutions. Run test prints before larger production runs, and communicate with your printer about any specific requirements for trim, folding, or binding.
Conclusion
Adobe InDesign is an indispensable tool for producing eye-catching print publications with precision and creativity. By harnessing its core features and adhering to print production best practices, you can turn your design visions into tangible, i