Introduction
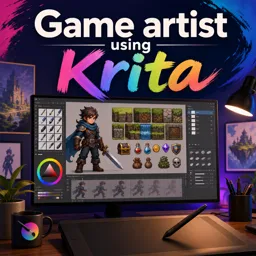
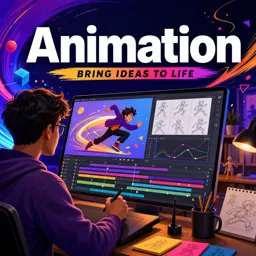
Krita, an open-source digital painting software, stands out for its impressive range of features tailored for artists, illustrators, and animators. Beyond its robust painting and drawing capabilities, Krita includes a comprehensive set of animation tools that allow artists to bring static images to life. This article explores how you can harness Krita’s animation features as part of your toolkit for creative visual storytelling.
Why Animate in Krita?
Krita’s animation workspace is intuitive, making it accessible for both newcomers and experienced animators. Whether you’re interested in creating simple GIFs, looping character animations, or full-blown shorts, Krita provides frame-by-frame animation and onion-skinning, all within a painter-friendly workflow. The seamless integration with brush engines and layer management means you can animate using your own unique style.
Setting Up Your Animation Workspace
- Access Animation Dockers: Go to Window > Workspace > Animation to transform Krita’s interface for animation work. This reveals essential dockers like the Timeline, Animation Curves, and Onion Skin.
- Create a New File for Animation: File setup is similar to static artwork, but choose your canvas size based on your final output (e.g., web GIF vs. full HD video).
- Timeline Docker: Central to Krita animation, the Timeline lets you manage frames for each layer, set keyframes, and scrub through your animation.
Frame-by-Frame Animation Basics
- Create Animation Layers: Use dedicated paint layers for each animated element or character.
- Onion Skinning: Enable onion skin to see preceding and following frames as overlays, helping with drawing in-between frames smoothly.
- Add Frames: Right-click a frame in the Timeline and select Insert Keyframe, then draw your new pose or expression on the canvas.
- Playback: Use the playback controls to preview your animation.
Tips for Polished Results
- Use Multiple Brush Engines: Krita’s brushes give your animated lines a painterly feel, perfect for distinctive style and texture.
- Leverage Clone Layers: For backgrounds or repeated elements, use clone layers to streamline consistency across frames.
- Experiment with Effects: Add motion blur or glow with filter masks for added visual impact.
- Export Your Animation: Krita lets you export as GIF, MP4, or image sequences, giving you flexibility for sharing or further editing.
Conclusion
Whether you’re animating simple stick figures or intricate scenes, Krita’s built-in animation tools provide a playground for creativity. With an artist-friendly interface, robust brush engines, and export options, Krita is more than just a painting application—it’s also a powerful entryway into the world of animation. Unlock new storytelling possibilities and make your artwork move with Krita!