Introduction
Photo retouching is an invaluable skill in the realm of image editing, offering the ability to transform ordinary photographs into stunning works of art. Whether you’re aiming to prepare images for personal projects, social media, or professional portfolios, understanding the essential tools of photo retouching can make a significant difference in the quality of your results.
What Is Photo Retouching?
Photo retouching involves applying adjustments and corrections to photographs to enhance their appearance. This process typically includes removing imperfections, improving lighting and color, and sharpening details, all intended to create a visually pleasing final image.
Must-Have Tools for Photo Retouching
- Clone Stamp Tool: This allows you to duplicate specific areas of an image, perfect for removing blemishes, dust, or other unwanted elements without leaving noticeable traces.
- Healing Brush Tool: Similar to the clone stamp, the healing brush blends the sampled area seamlessly with the surrounding pixels, ideal for smoothing skin or disguising imperfections.
- Dodge and Burn: These tools help brighten (dodge) or darken (burn) certain areas of an image, adding depth and contrast that brings a photo to life.
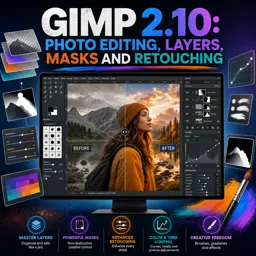
- Adjustment Layers: Use these to tweak exposure, contrast, color balance, and other image attributes non-destructively, ensuring you can refine your work at any stage.
- Layer Masks: Masks allow you to isolate changes to specific parts of an image, enabling more precise adjustments and complex effects.
- Sharpening Tools: Apply subtle sharpening to enhance definition and clarity in your retouched images.
Tips for Effective Retouching
- Always work on a duplicate layer or use adjustment layers to preserve your original image.
- Zoom in for precision, but zoom out regularly to check the overall harmony of your edits.
- Keep your adjustments subtle—over-retouching can easily make images look unnatural.
- Use high-quality images as your starting point for the best results.
Practice Makes Perfect
Photo retouching is a skill that improves with time and practice. Experiment with different tools and techniques, observe the work of professional retouchers, and challenge yourself to enhance a variety of image types for balanced, natural looks. As you develop your expertise, you’ll find new ways to elevate your photographs to a professional standard.
Conclusion
Mastering essential photo retouching tools empowers you to create polished and captivating images. With patience and practice, you can transform your photography and produce professional-quality results that truly stand out.