Introduction to Studio Lighting
Studio lighting is central to professional-quality photography, allowing you to shape, highlight, and add depth to subjects and scenes. While setting up can feel intimidating, understanding the essentials empowers you to create stunning images across any genre.
Key Components of a Studio Lighting Setup
A successful studio lighting setup includes several crucial elements:
- Main Light (Key Light): The primary light source that defines the subject’s shape.
- Fill Light: Softens shadows from the key light, balancing contrast.
- Back Light (Rim or Hair Light): Separates the subject from the background and adds depth.
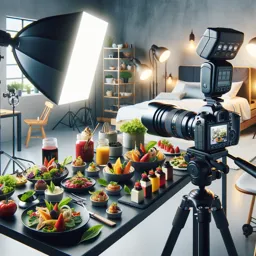
- Modifiers: Tools like softboxes, umbrellas, and reflectors diffuse or direct light for precise effects.
- Background Lighting: Illuminates or colors the backdrop, enhancing mood or focus.
Types of Studio Lights
Studio lights can be continuous or strobes:
- Continuous Lights: Such as LEDs and fluorescent bulbs, show effects in real-time—ideal for beginners or video work.
- Strobes: Flash units offering more power and control, widely used in professional photography.
Setting Up Your Space
To build an effective lighting setup:
- Choose a space with minimal ambient light for better control.
- Position the main light at about a 45-degree angle to your subject for dimension.
- Place a fill light on the opposite side at lower intensity to soften shadows.
- Add a back light behind or above to accentuate outlines and create separation.
Creative Light Shaping
Experimenting with light positioning, intensity, and modifiers opens creative possibilities. Use reflectors for gentle highlights, grids for focused lighting, and layer lights for dramatic, classic, or natural effects.
Conclusion
Mastering studio lighting starts with understanding core components and experimenting with arrangements. Whether shooting products, portraits, or artistic projects, a thoughtful lighting setup elevates your photography to a professional level.