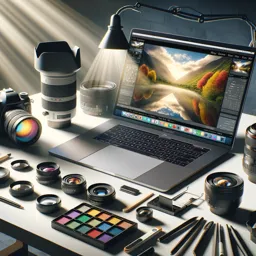
Introduction
Studio lighting is a vital element in professional photography, giving photographers control over mood, atmosphere, and image quality. Whether shooting products, fashion, or conceptual art, understanding studio lighting principles can elevate your work. This guide explores setups, equipment, and creative techniques to master studio lighting.
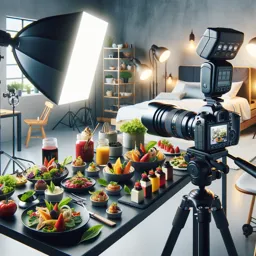
Understanding the Basics of Studio Lighting
Studio lighting involves the intentional use of artificial light in a controlled environment to enhance form, texture, and impact. Key components include:
- Key Light: The primary source of illumination, often placed at a 45-degree angle to the subject.
- Fill Light: Reduces shadows created by the key light for balanced exposure.
- Back Light (Rim Light): Positioned behind the subject to separate them from the background.
- Background Light: Illuminates the backdrop, adding depth and interest.
Types of Studio Lights
Common studio lighting equipment includes:
- Continuous Lights: Constant illumination, ideal for beginners to visualize effects in real time.
- Strobe Lights (Flash): Intense, short bursts of light for precise exposure control and motion freezing.
- LED Panels: Versatile, energy-efficient, with adjustable color temperatures.
Popular Lighting Setups
Classic setups form the foundation of professional studio lighting:
- One-Light Setup: Great for dramatic shadows; control mood through positioning and distance.
- Two-Light Setup: Adds fill or back light to reduce shadows and highlight contours.
- Three-Point Lighting: Combines key, fill, and back light for balanced, professional results.
Modifiers and Accessories
Light modifiers help shape and diffuse light for creative effects:
- Softboxes: Soften and spread light for flattering, even illumination.
- Umbrellas: Produce broad, soft light, suitable for groups or large subjects.
- Reflectors and Flags: Direct or block light to control highlights and shadows.
Tips for Creative Studio Lighting
- Experiment with Angles: Move lights horizontally and vertically to sculpt subjects.
- Control Light Intensity: Adjust power, distance, or use dimmers for subtle effects.
- Use Colored Gels: Add color washes to backgrounds or subjects for artistic flair.
- Layer Textures: Cast patterns using grids or cutouts to create dynamic shadow effects.
Conclusion
Studio lighting combines art and science. Mastery comes from understanding fundamentals and experimenting with setups and techniques. With practice and creativity, you can craft striking, professional images that stand out.