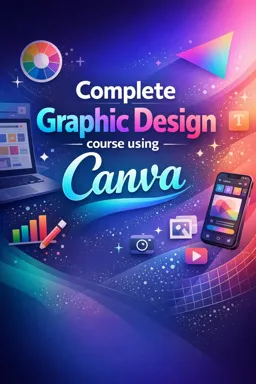
Canva is an online graphic design tool that allows you to create banners, posts for social networks, presentations, business cards, invitations, among others, easily and quickly. With an intuitive interface and a variety of ready-made templates, Canva is ideal for those new to more complex design software. In this text, we'll detail how to use Canva to create banner designs.
Step 1: Accessing Canva
To get started, go to the Canva website (www.canva.com) and log in to your account. If you don't have an account yet, you can create one for free. After logging in, you will be taken to the homepage where you can choose the type of design you want to create. To create a banner, click "Create a design" and select "Banner".
Step 2: Choosing a template
After selecting "Banner", you will be taken to the edit page where you can choose from a variety of ready-made templates. Templates are divided by categories such as "Business Banners", "Event Banners", "Blog Banners" and others. Choose a template that suits your need and click on it to start editing.
Step 3: Editing the template
With the chosen template, you will be able to change all the elements present in it. To change the text, just click on it and type what you want. To change the background image, click on it and then click "Replace" on the top toolbar. You can choose a new image from Canva's library or upload an image from your computer.
Step 4: Adding New Elements
In addition to editing existing elements, you can also add new elements to your banner. To do so, click on "Elements" in the left sidebar. Here, you'll find a variety of shapes, lines, images, and icons that you can add to your design. To add an element, just click on it and drag it to the desired location on the banner.
- Listen to the audio with the screen off.
- Earn a certificate upon completion.
- Over 5000 courses for you to explore!

Download the app
Step 5: Saving and exporting the banner
Once you're happy with your banner, it's time to save and export it. To save the design, click "File" on the top toolbar, then click "Save". To export the design, click "Download" on the top toolbar. You will be able to choose the file format (PNG, JPG or PDF) and the quality of the image. After choosing the desired options, click "Download" to save the file on your computer.
With these steps, you'll be able to create banner designs in Canva quickly and easily. Remember that practice makes perfect, so don't give up if your first design doesn't turn out exactly as you envisioned. Keep experimenting and discovering all the possibilities that Canva has to offer!