What These Artifacts Tell You (and What They Don’t)
Prefetch files, LNK shortcuts, and Jump Lists are Windows artifacts that commonly reveal how a system was used: which programs were executed, which files were opened, and when those actions likely occurred. They are “traces” created by normal Windows usability features (faster app launching, convenient shortcuts, and recent-items lists). In investigations, they help you answer questions like: Was a specific executable run? Which document was opened with which application? Which removable drive path was referenced? Which user profile performed the action?
These artifacts are not perfect ground truth. They can be absent due to configuration, OS version differences, cleanup tools, profile deletion, or limited disk space. Timestamps can reflect multiple events (creation vs. last execution vs. last modification), and some artifacts can be copied between systems. Treat them as corroborating evidence and cross-check with other sources you already know how to use for timeline building.
Prefetch: Program Execution Traces
Concept: Why Prefetch Exists and What It Records
Windows Prefetch is a performance feature designed to speed up application startup. When enabled, Windows creates a .pf file per executable (with some nuances) that records information about the executable’s launch and the files it accessed during startup. Forensics value comes from the fact that Prefetch often provides: (1) evidence that an executable ran, (2) approximate last-run time(s), (3) run count (varies by version), and (4) a list of referenced files and directories that can hint at program behavior.
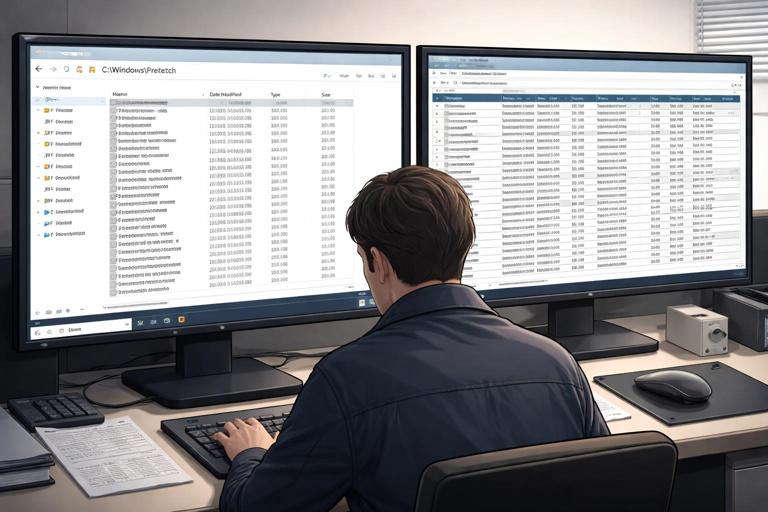
Prefetch is typically stored at C:\Windows\Prefetch. File names usually look like APPNAME.EXE-3F2A1B9C.pf, where the hash portion helps distinguish executables with the same name from different paths. Prefetch is most useful on workstation endpoints where interactive execution happens; it may be less useful on some server configurations or where Prefetch is disabled.
Key Fields You’ll Commonly Extract
- Executable name and full path hints: The .pf file name contains the executable name; inside the file you often find the path(s) that were referenced.
- Last execution time(s): Many parsers show one or multiple last-run timestamps (depending on Windows version). Multiple timestamps can indicate repeated launches.
- Run count: Often available, but interpretation depends on OS version and parser behavior.
- Referenced files: A list of files and directories accessed during startup. This can reveal DLLs, configuration files, and sometimes user documents if the program loads them early.
Practical Workflow: Triage and Analysis Steps
Step 1: Identify the OS version and expectations. Prefetch behavior differs across Windows versions. Before interpreting “run count” or “multiple last run times,” confirm what your parser expects for that OS. Also note that SSD systems still use Prefetch in many cases, but the behavior and related features can vary.
- Listen to the audio with the screen off.
- Earn a certificate upon completion.
- Over 5000 courses for you to explore!

Download the app
Step 2: Locate Prefetch files and capture metadata. In a mounted image or collected artifact set, navigate to C:\Windows\Prefetch. Record directory listing metadata (file names, sizes, created/modified times). Even without parsing, the presence of a .pf for a suspicious executable is a strong lead.
Step 3: Parse Prefetch with a reliable tool. Use a Prefetch parser that outputs structured results (CSV/JSON). Common outputs include executable name, last run time(s), run count, and referenced file list. Keep both the raw .pf and the parsed output in your case workspace so you can reproduce results.
Step 4: Validate “execution” interpretation. Prefetch generally indicates the executable was launched, but edge cases exist (e.g., certain system processes, prefetching behavior, or artifacts copied from another system). Corroborate with other execution traces and with the context: user profile activity, file locations, and surrounding timestamps.
Step 5: Use referenced files to pivot. The referenced file list can reveal where the executable lived (e.g., C:\Users\Alice\Downloads\tool.exe) and what it loaded. Pivot to those paths to look for the executable, related configuration, dropped files, or logs. If the executable is missing, Prefetch may still preserve evidence of its prior presence and path.
Example: Interpreting a Suspicious Tool Execution
Suppose you find RCLONE.EXE-*.pf in Prefetch. Parsing shows last run time yesterday at 21:14 and referenced paths including C:\Users\Alice\AppData\Roaming\rclone\rclone.conf and C:\Users\Alice\Desktop\Finance. This suggests rclone was executed and likely accessed its configuration and a target folder. Your next steps would include locating rclone.conf, checking whether the executable still exists, and identifying whether the Desktop folder contents were staged for transfer.
LNK Shortcuts: File and Folder Access Traces
Concept: What a Shortcut Reveals
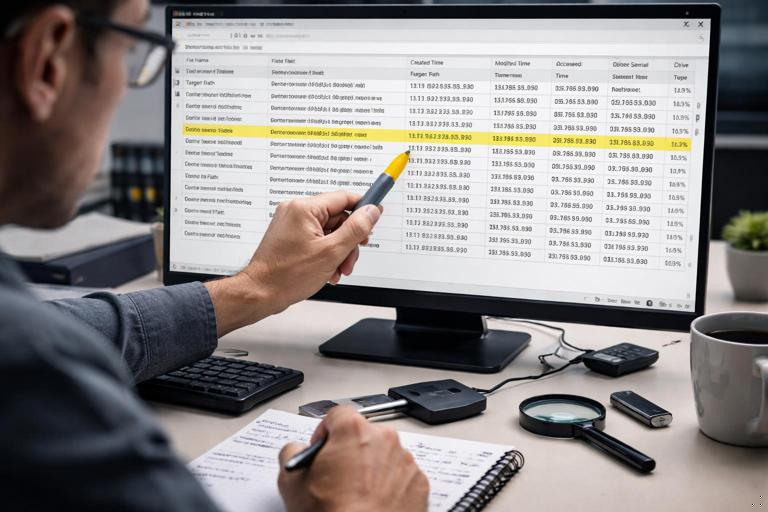
LNK files (Windows shortcuts) are created when users open files, access folders, or pin items in various ways. They are extremely valuable because they can preserve details about the target and the environment at the time the shortcut was created or updated. A single LNK can contain: the target path, file size, timestamps copied from the target, the working directory, command-line arguments (sometimes), and volume information (including a volume serial number) that can help identify removable media.
Common locations include %AppData%\Microsoft\Windows\Recent (Recent Items) and various places on the Desktop or within user folders. LNKs can also appear in application-specific contexts. Because LNKs are per-user, always tie them to the user profile path you are analyzing.
What to Extract from LNK Files
- Target path: Local path, UNC path (network share), or removable drive path.
- Target timestamps: Many LNKs store the target file’s timestamps as they were when the shortcut was created/updated (useful if the original file is gone).
- LNK timestamps: Created/modified/accessed times of the LNK itself can indicate when the shortcut was generated or updated.
- Volume information: Volume label and serial number can indicate which removable drive was used.
- Network share details: If the target is a UNC path, you may see share names and sometimes hints of the remote system.
Practical Workflow: Step-by-Step LNK Analysis
Step 1: Enumerate per-user LNK locations. For each user profile, collect LNKs from C:\Users\<User>\AppData\Roaming\Microsoft\Windows\Recent and also check Desktop and other common folders. Keep the directory structure in your evidence workspace so you can attribute each LNK to a user.
Step 2: Parse LNKs into a table. Use a shortcut parser that extracts target path, timestamps, and volume/network data. Export to CSV so you can sort by time, filter by keywords (e.g., “Downloads,” “Temp,” “\\server\share”), and group by volume serial number.
Step 3: Correlate LNK timestamps with user activity windows. LNK created time often aligns with first access, while modified time can align with subsequent access. Compare these times to your broader timeline to see whether the access aligns with suspected incident windows.
Step 4: Use volume serial numbers to connect removable media usage. If multiple LNKs reference E:\ but the drive letter could change, the volume serial number can help tie those accesses to the same physical device. Group LNKs by serial number to see what was accessed from that device.
Step 5: Pivot to missing targets. If the target file no longer exists, the LNK may still provide the original path, file name, and size. Use that to search unallocated space (in full forensics) or to identify which directories should be examined for remnants, copies, or related files.
Example: Document Access from a Network Share
You parse a LNK in Recent showing a target of \\FS01\Finance\Q4\Payroll.xlsx. The LNK created time is Monday 08:12, and volume/network info indicates it is a network location. This can support a finding that the user accessed that spreadsheet at that time. You can then look for additional LNKs referencing the same share, identify other files accessed in that folder, and determine whether the access pattern matches normal work or suspicious bulk access.
Jump Lists: Recent Items and App Usage at Scale
Concept: AutomaticDestinations and CustomDestinations
Jump Lists are the “recent” and “frequent” items you see when right-clicking an application on the taskbar or Start menu. They are stored per user and per application. Forensics value is high because Jump Lists can record a history of files opened with a specific application, even when the user did not explicitly create a shortcut.
Jump Lists are stored in two main formats: AutomaticDestinations and CustomDestinations. AutomaticDestinations are created by Windows automatically and are common. CustomDestinations are created by applications that implement their own jump list behavior. Both can contain references to files, folders, and sometimes network locations, along with timestamps and other metadata.
Typical locations include: C:\Users\<User>\AppData\Roaming\Microsoft\Windows\Recent\AutomaticDestinations and ...\CustomDestinations. Files are named with long identifiers (often tied to an application). Mapping an identifier to an application is a key step in interpretation.
What Jump Lists Can Reveal
- Files opened with a specific application: For example, documents opened with Word, images opened with a viewer, or scripts opened with an editor.
- Order and recency: Many parsers provide entry order and timestamps that help reconstruct sequences.
- Network and removable paths: Jump Lists frequently store UNC paths and removable drive references.
- User attribution: Because they are stored under a user profile, they strongly indicate activity by that user context.
Practical Workflow: Step-by-Step Jump List Analysis
Step 1: Collect Jump List files per user. For each user profile, copy both AutomaticDestinations and CustomDestinations directories. Preserve file names because the identifier is part of the evidence and helps map to applications.
Step 2: Map Jump List identifiers to applications. Use a reference list or your parsing tool’s built-in mapping to determine which application each Jump List file corresponds to. Document the mapping you used (e.g., “identifier X corresponds to explorer.exe” or “identifier Y corresponds to winword.exe”) so another examiner can reproduce your interpretation.
Step 3: Parse entries and normalize paths. Export entries to a table with fields like application, target path, entry timestamp, and any flags indicating pinned vs. recent. Normalize paths (case, slashes) so you can deduplicate and search effectively.
Step 4: Look for clusters that indicate staging or exfil behavior. A burst of entries from a sensitive folder (e.g., HR or Finance) opened within minutes, especially to a removable drive or network share, can indicate staging. Combine with LNK evidence to strengthen the narrative: Jump Lists show “opened with app,” while LNKs often show “accessed path/target with volume info.”
Step 5: Identify application context and user intent. If Jump Lists show a file opened with a compression tool, a scripting editor, or a remote access tool, that context matters. For example, opening a CSV in Excel is normal; opening credential dumps in a text editor is suspicious. Use the application association to interpret intent.
Example: Reconstructing a Sequence with Jump Lists
Imagine Jump Lists for a ZIP utility show entries for C:\Users\Alice\Desktop\Finance\Q4 followed by E:\Transfer\Q4.zip within a short time window. Another Jump List for File Explorer shows navigation to the same Desktop folder and then to E:\Transfer. This combination suggests the user navigated to the folder, created an archive, and interacted with a removable drive destination. You would then pivot to LNKs referencing E:\Transfer and group by volume serial number to identify the device used.
Correlation Strategy: Using Prefetch, LNK, and Jump Lists Together
Build a “Program → File → Destination” Story
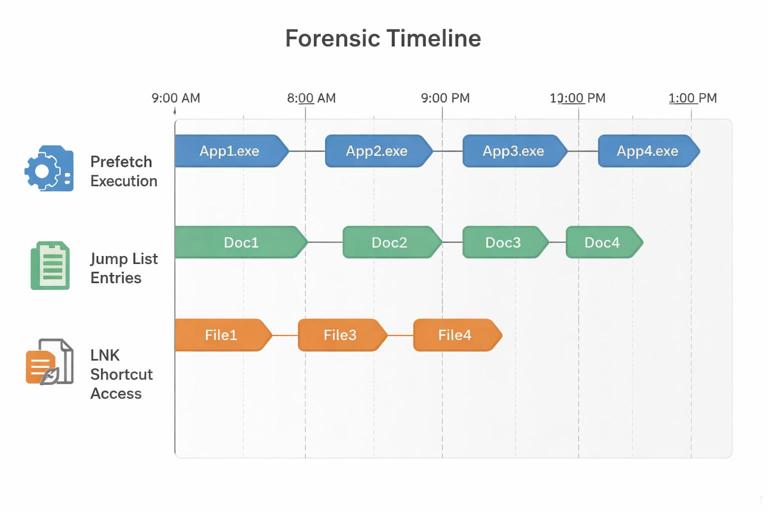
These artifacts complement each other. Prefetch is strongest for “program execution,” Jump Lists are strong for “files opened with a program,” and LNKs are strong for “file/folder access with device/network context.” A practical correlation approach is to build a chain: (1) identify the program executed (Prefetch), (2) identify which files were opened by that program (Jump Lists), and (3) identify where those files lived and whether removable/network locations were involved (LNK volume/UNC data).
Practical Step-by-Step Correlation Checklist
Step 1: Start with a hypothesis and keywords. Examples: a suspicious executable name, a sensitive folder name, a known project code, or a removable drive folder like “Transfer.” Prepare a keyword list to search across parsed outputs.
Step 2: Parse all three artifact types into consistent tables. Create three CSVs (Prefetch, LNK, Jump Lists) with consistent columns: user, timestamp, artifact type, application (if applicable), target path, and notes. Consistency makes filtering and sorting much faster.
Step 3: Time-align events. Sort by timestamp and look for tight clusters: Prefetch last run time near Jump List entries and LNK created/modified times. Tight clusters can indicate a single session of activity.
Step 4: Attribute to user profiles carefully. Prefetch is system-wide, while LNK and Jump Lists are per-user. If Prefetch shows execution but only one user has Jump List entries for the related files, that helps attribute who likely performed the activity.
Step 5: Resolve path ambiguity. If Jump Lists show a file name but not a full path in a clean way, use LNK targets and Prefetch referenced paths to resolve the directory. If a drive letter is ambiguous, use LNK volume serial numbers and labels to identify the device consistently.
Common Pitfalls and How to Avoid Them
Prefetch Disabled or Missing
If Prefetch is disabled, cleared, or the system is configured differently, you may have no .pf files for the period of interest. Avoid over-interpreting absence as proof of non-execution. Instead, treat Prefetch as one layer: if present, it is helpful; if absent, you rely more heavily on other execution and access traces.
Shortcut Creation Does Not Always Mean “Opened”
LNKs are often created when a user opens a file, but they can also be created by other actions (e.g., dragging, saving, or application behaviors). Interpret LNKs as evidence of interaction with a target path and corroborate with Jump Lists (opened with an app) and other timeline sources.
Jump List Entries Can Be Pruned
Jump Lists have size limits and can be pruned as new entries appear. A lack of older entries may simply reflect normal rotation. When you see partial history, focus on what is present and correlate with LNKs and Prefetch to fill gaps.
Copying Artifacts Between Systems
In some scenarios (profile migration, backups, manual copying), LNKs or Jump List files could be moved. Volume serial numbers, UNC paths, and internal metadata can help detect inconsistencies. If a LNK references a volume serial number that never appears elsewhere in the case, treat it as a lead that requires confirmation rather than a definitive statement.
Hands-On Mini-Lab: From Suspicious EXE to User Actions
Scenario Setup
You are told a user may have run a portable tool from Downloads and accessed sensitive documents. Your goal is to determine: (1) whether the tool executed, (2) which documents were accessed, and (3) whether a removable drive or network share was involved.
Step-by-Step Mini-Lab Procedure
Step 1: Search Prefetch for the tool name. In C:\Windows\Prefetch, look for a .pf matching the executable name (e.g., TOOL.EXE-*.pf). Parse it and record last run time(s), run count, and referenced paths. Note any references to Downloads, Temp, or user profile directories.
Step 2: Identify the likely user. If Prefetch references a path like C:\Users\Alice\Downloads\tool.exe, that suggests which profile to prioritize for LNK and Jump List review.
Step 3: Parse LNKs for that user’s Recent Items. Extract all LNKs from C:\Users\Alice\AppData\Roaming\Microsoft\Windows\Recent. Filter for sensitive folder names and for removable drive letters (D:, E:, F:) and UNC paths (\\). Record volume serial numbers for any removable references.
Step 4: Parse Jump Lists for relevant applications. Focus on Jump Lists for File Explorer and for the applications likely used to open the sensitive documents (e.g., Office apps, PDF readers, archive tools). Filter entries for the same sensitive folder names and for the same removable/network destinations found in LNKs.
Step 5: Build a single activity slice. Create a short table of events around the suspected time window: Prefetch execution time(s) for the tool, Jump List entries showing files opened, and LNK entries showing paths and device/network context. This slice becomes your working narrative and guides deeper pivots (finding the tool binary, related configs, and any staged archives).