By the end of this chapter you will be able to name about thirty places and movement signs, give simple directions such as go straight, turn left, the store is on your right, and use your first four classifiers to show a car turning or a person walking past. You already know how to assign a person a spot in the signing space from the pronoun chapter. Here you do the same thing with streets and buildings, and you let your hands stand in for cars and people.
Place signs
Each description follows the book's usual order: handshape, palm orientation, location, movement, then face.
- STORE: both flat O hands, fingertips pointing down, held in front of the chest, swing the wrists forward twice.
- BANK: many signers simply fingerspell B-A-N-K. A common sign is the dominant flat O hand, fingertips forward, pushed twice into the non-dominant C hand, as if depositing money.
- LIBRARY: dominant L handshape, palm facing out, in neutral space, draw a small circle.
- CHURCH: dominant C hand, palm facing to the side, taps twice on the back of the non-dominant closed fist, an S hand held palm down. You may also see a regional variant that uses a flat hand as the base.
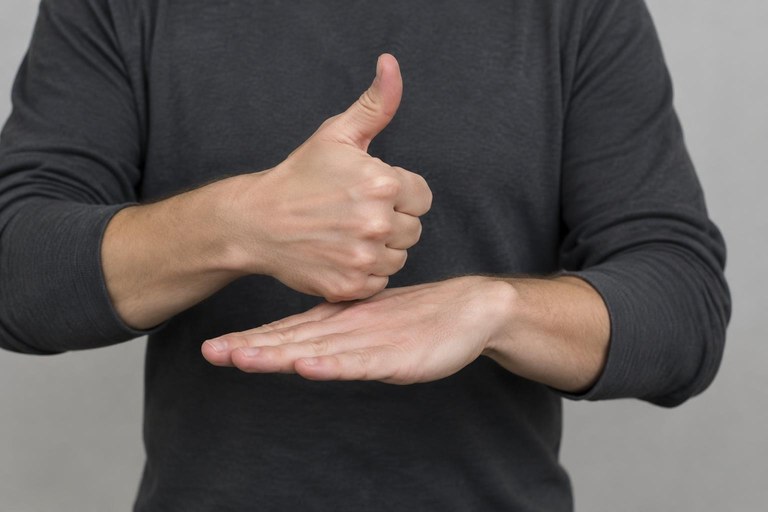
- PARK, meaning a green space: fingerspell P-A-R-K. To park a car, place the dominant 3 handshape down onto the non-dominant flat palm.
- STREET or ROAD: both flat B hands, palms facing each other about a hand's width apart, held in neutral space and moved straight forward together.
- CITY: both flat B hands, palms facing each other with the fingertips touching to make a little roof, then twist apart and touch again two or three times, drifting to the side.
- BUS: the lexicalized fingerspelling you met earlier, spelled quickly as one unit, glossed #BUS.
- TRAIN: both H hands, palms down, the dominant fingers rubbing back and forth along the top of the non-dominant fingers.
- AIRPLANE: dominant hand with thumb, index finger and little finger extended, palm down, move forward and gently upward.
- BIKE: both S hands, palms down, making alternating forward circles like pedals.
- WALK: both flat B hands, palms down, tipping forward one after the other like two feet.
- DRIVE: both S hands, palms facing in, in neutral space, pushing forward and back alternately as if steering.
Direction and position signs
- LEFT: dominant L handshape, palm out, move to your left. RIGHT, the direction, uses the R handshape, palm out, moving to your right.
- STRAIGHT: flat B hand, palm facing to the side with the thumb edge up, held near the middle of the chest, move straight forward.
- TURN: dominant 1 hand, palm down, pointing forward, swing a quarter circle to the side you mean.
- NEAR: both flat B hands, palms facing in, the non-dominant hand still while the dominant hand moves toward it and stops close.
- FAR: both A hands with thumbs up, knuckles touching, then the dominant hand arcs forward and away.
- HERE: both flat B hands, palms up, held low in front, moving in flat horizontal circles.
- THERE: dominant 1 hand, palm out, point to a distant spot and hold, eyes following your finger.
- UP and DOWN: dominant 1 hand pointing up with a small lift, or pointing down with a small drop.
- IN: dominant flat O hand, fingertips forward, slide into the non-dominant C hand. OUT: start inside the C hand with an open hand and pull up and out, closing the fingers.
- NEXT-TO: both flat B hands, palms down, side by side; the dominant hand hops sideways to sit beside the non-dominant hand.
- BEHIND: both A hands, thumbs up, the dominant hand moving back behind the non-dominant hand.
- IN-FRONT-OF: both flat B hands, palms facing each other, the dominant hand placed just in front of the non-dominant hand.
- WHERE, a review: dominant 1 hand, palm out, shaken quickly side to side, with the WH face of furrowed brows.
Your first classifiers
A classifier is a handshape that stands in for a whole category of thing, so your hand becomes the object and can move exactly the way the real object moves. Name the thing first with its regular sign, then switch to the classifier. Four beginner classifiers carry most everyday conversation.
- The vehicle classifier, glossed CL:3, is the 3 handshape with the palm facing to the side and the thumb up. It stands for a car, bus, bike, truck or boat. Drive it forward, curve it around a corner, stop it short, or park it.
- The person classifier, glossed CL:1, is the 1 handshape held upright, fingertip up. It stands for one standing or walking person. Walk it forward, turn it to face another CL:1, or move it past you.
- The surface classifier, glossed CL:B, is the flat B hand, usually palm down. It stands for a road, a table top, a wall, a shelf or a piece of paper. Held palm up it can be a flat open area.
- The bent V classifier is the bent V hand, palm down, standing for a seated person or a small animal. Set it on your flat palm to show someone sitting on a bench, or hop it along to show a cat.
The real power comes from pairing them. Hold your non-dominant flat B hand palm down as the street, then drive your dominant 3 hand along it and curve it to the left. That is a car turning left onto that street, and no separate sign for turning is needed. Or hold one CL:1 still as yourself and walk the other CL:1 past it from left to right. That is someone walking by you.
Laying out a small map in the signing space
ASL lets you build a miniature map in the air in front of you, exactly the way you assigned people to spots earlier in the book. The rules are simple. Set each place once, keep it there, and point back to the same spot every time you mention it.
- Listen to the audio with the screen off.
- Earn a certificate upon completion.
- Over 5000 courses for you to explore!

Download the app
- Name the place with its sign or fingerspelling.
- Point or place a classifier at the spot where it belongs.
- Use NEXT-TO, BEHIND, IN-FRONT-OF, NEAR or FAR to link the next place to the one already set.
For example: STORE, index to your right; then BANK NEXT-TO, with your hands placed to the right of the store's spot. Now both places live in the space and you can simply point at them for the rest of the conversation.
One point that trips up beginners. Because you are facing the person, your right is their left, so you have to make your viewpoint clear. The usual choice for a route is to take the traveller's point of view, that is, to lay the path out as the person will meet it while walking or driving it, and to support that with your body by leaning slightly into the direction of travel. A map laid out from your own point of view is also possible, since a viewer will mentally reverse it, but then stay strictly consistent so the two viewpoints never mix. Keep your eyes on the person, not on your own hands.
Giving simple directions
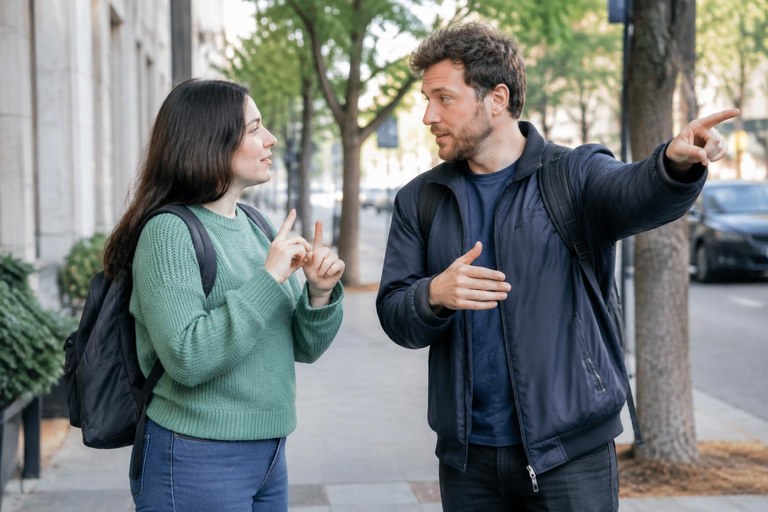
Strings of directions are signed in the order they happen, like a small journey. Notice that ASL does not need a word for to or the.
- GO STRAIGHT, TURN LEFT, STORE RIGHT-SIDE. Go straight, turn left, and the store is on your right.
- #BUS STOP NEAR. The bus stop is close by.
- LIBRARY BEHIND CHURCH. The library is behind the church.
- MY HOUSE FAR, YOU DRIVE BETTER. My house is far, so it is better to drive.
Dialogue: finding the bus stop
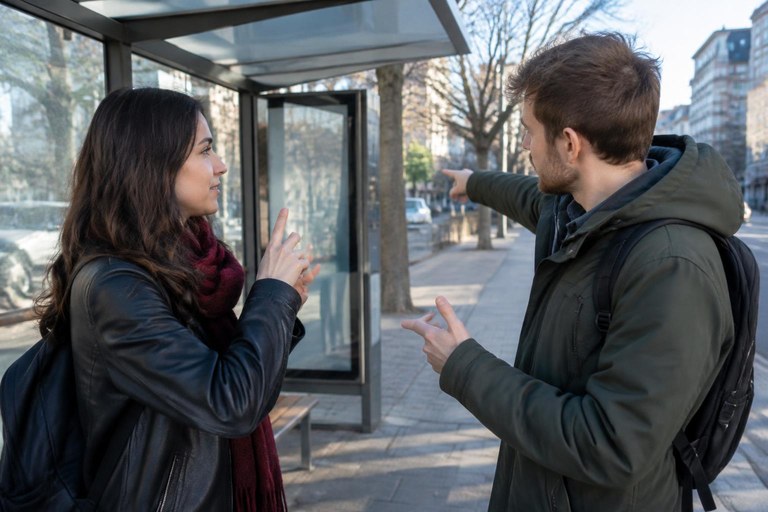
Rosa is hearing and learning ASL. Dev is Deaf. To get a stranger's attention first, step into their line of sight and wave, or tap lightly on the shoulder or upper arm. Never tap the head or face, and never grab or pull someone.
Rosa: EXCUSE-ME. #BUS STOP WHERE? — Excuse me, where is the bus stop? Her brows furrow on WHERE.
Dev: NEAR. YOU GO STRAIGHT, CL:1 walks forward, TURN RIGHT. — It's close. Walk straight ahead, then turn right.
Rosa: RIGHT. THEN? — Right. Then what?
Dev: STREET, CL:B holds the road, BANK LEFT-SIDE, #BUS STOP IN-FRONT-OF. — On that street there's a bank on the left, and the bus stop is in front of it.
Rosa: FAR? — Is it far? Brows raised, last sign held.
Dev: NO, WALK FIVE MINUTE. — No, a five minute walk.
Rosa: SLOW PLEASE, AGAIN. — Slower please, one more time.
Dev: repeats the whole route more slowly, pointing back to the same spots.
Rosa: THANK-YOU! — Thank you!
Practice drills
- Route out loud. Describe the route from your front door to the nearest store using only GO STRAIGHT, TURN, LEFT, RIGHT, NEAR, FAR and one place sign.
- Classifier movie. With your non-dominant flat B hand as the road, drive CL:3 along it, stop, turn, and park. Then do the same journey with CL:1 walking.
- Three-place map. Set STORE, BANK and LIBRARY in three fixed spots, then answer your own question BANK WHERE? by pointing back accurately.
- Self-recording. Film the bus stop dialogue as Dev. Watch it back and check that your brows furrow on WHERE, that your map spots do not drift, and that your eyes stay on your imagined partner.
Review checklist
- I can sign STORE, BANK, LIBRARY, CHURCH, PARK, STREET and CITY.
- I can sign #BUS, TRAIN, AIRPLANE, BIKE, WALK and DRIVE.
- I can sign LEFT, RIGHT, STRAIGHT, TURN, NEAR, FAR, HERE, THERE, UP, DOWN, IN and OUT.
- I can sign NEXT-TO, BEHIND and IN-FRONT-OF to link two places.
- I can ask WHERE with the WH face.
- I can use the vehicle classifier, the person classifier, the surface classifier and the bent V classifier, and pair two of them.
- I can lay out two or three places in the signing space and point back to the same spots consistently.
- I can give a three-step direction in the order the journey happens.
To recap: place signs give you the nouns, the direction signs give you the path, and classifiers let your hands act out the movement so you can show a route instead of merely describing it. Name the thing first, then switch to its classifier, set your map once and keep it still, and give directions step by step in the order the traveller will take them.