What “Batch Production” Means in a Shorts Workflow
Batch production is a system for creating many vertical videos by grouping similar tasks together (planning, filming, editing, packaging, publishing) instead of completing one video end-to-end before starting the next. The goal is to reduce context switching, minimize setup time, and keep quality consistent while increasing output. In a mobile-first environment, the biggest hidden costs are not the seconds spent trimming clips; they are the repeated resets: rebuilding a set, re-mounting a phone, re-finding props, re-opening project files, re-exporting the same formats, and re-locating the same assets.
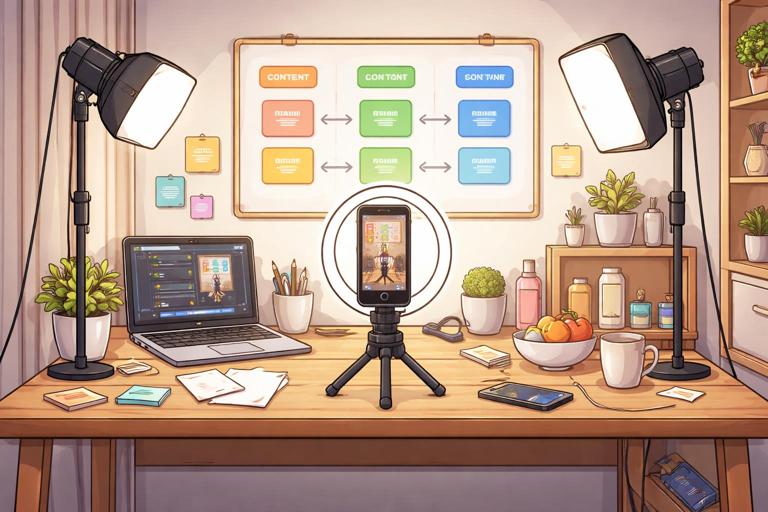
A batch system treats your content like a small production line. You define a repeatable “unit” (a short) and a repeatable “factory” (your assets, folders, presets, and checklists). You then run the factory in scheduled blocks: for example, one morning to record 12 voiceovers, one afternoon to film 12 A-roll takes, and one evening to assemble 12 rough cuts.
When batch production is the right choice
- You publish multiple times per week and want predictable output.
- Your videos share a consistent format (same framing, same on-screen layout, same music bed, similar pacing).
- You have recurring segments (tips, myth-busting, product demos, mini case studies, before/after).
- You want to delegate parts of the workflow (editor, captioner, thumbnail/cover designer, uploader).
When batch production can hurt
- Your content relies on timely trends where speed matters more than pipeline efficiency.
- You change formats frequently, making templates and asset reuse less effective.
- You don’t have a stable asset management system yet (batching amplifies chaos if your files are messy).
Designing a Batch Production System (The Four-Layer Model)
A practical batch system has four layers. If you skip a layer, you’ll feel it later as rework, lost files, inconsistent exports, or missed deadlines.
Layer 1: The “Format Library” (what you repeatedly make)
Create 3–7 repeatable short formats. Each format should have a name, a purpose, and a set of required assets. Examples:
- Format A: 3-Step Fix (problem → 3 steps → quick recap)
- Format B: Myth vs Fact (myth statement → correction → proof/demo)
- Format C: Tool Demo (show tool → 2 use cases → warning)
- Format D: Before/After (before clip → change → after clip)
For each format, define what must be consistent (intro sting, lower-third style, background music category, framing, b-roll types) and what can vary (topic, examples, props). This becomes the foundation for batching because you can film and edit multiple videos with the same “recipe.”
- Listen to the audio with the screen off.
- Earn a certificate upon completion.
- Over 5000 courses for you to explore!

Download the app
Layer 2: The “Asset Kit” (what you repeatedly use)
An asset kit is a curated set of files you reuse across videos. It should be small enough to be practical and strict enough to prevent random one-off choices that break consistency. Typical asset kit categories:
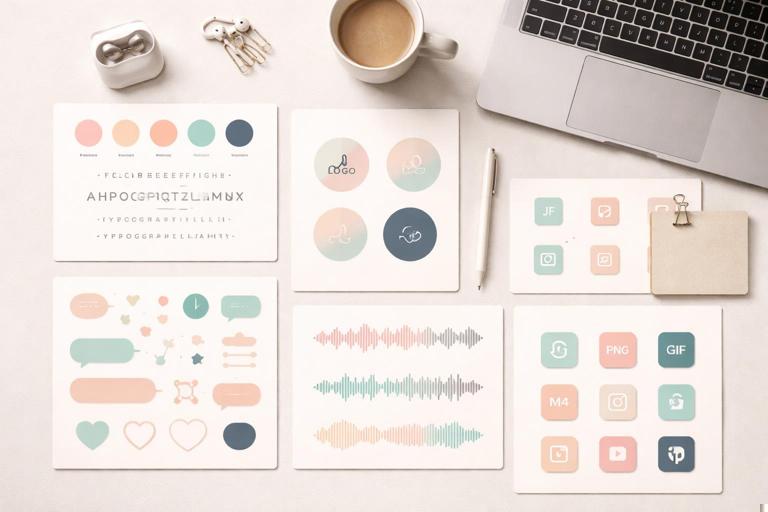
- Brand kit: logo (if used), color palette, fonts, icon set, background textures.
- Audio kit: music beds, risers, whooshes, taps, UI clicks, room tone, noise print samples.
- Visual kit: overlays, frames, stickers, arrows, highlight boxes, blur/mosaic presets.
- Export kit: platform export presets, naming conventions, cover image template (if used).
Keep the kit versioned (e.g., “BrandKit_v3”) so you can update it without breaking old projects.
Layer 3: The “Pipeline” (how work moves)
Your pipeline is the sequence of stages and handoffs. A simple pipeline for shorts might be:
- Backlog (ideas)
- Script/outline
- Record (A-roll/VO)
- Assemble (rough cut)
- Polish (graphics, captions, sound)
- QC (quality check)
- Export + package
- Schedule/publish
Batching means you do the same stage for many videos at once. For example, you might move 10 videos from “Script” to “Record” in one session.
Layer 4: The “Operating System” (rules, checklists, and tracking)
This is where efficiency becomes reliable. Your operating system includes:
- Checklists for filming, editing, QC, and exporting.
- File naming rules and folder structure.
- Tracking board (spreadsheet, Kanban, or project manager).
- Time blocks and capacity planning (how many shorts per week is realistic).
Step-by-Step: A Weekly Batch Schedule You Can Copy
This schedule assumes you publish 5–7 shorts per week. Adjust the numbers, not the structure.
Step 1: Monday — Build the batch (60–120 minutes)
- Pick 7 topics from your backlog that fit your existing formats.
- Write micro-outlines (not full scripts unless your niche requires precision).
- For each video, define: key claim, supporting example, required b-roll/props, and any on-screen text needs.
- Assign each video a unique ID (e.g., “S2026-01-10_01”). This ID will follow the video through filenames and folders.
Practical example: If you run a fitness channel, you might batch “7 common form mistakes” as seven separate shorts using the same format. The asset list becomes predictable (same mat, same camera position, same lighting, same music bed category).
Step 2: Tuesday — Record audio in a single block (45–90 minutes)
- Record all voiceovers or A-roll audio for the entire batch.
- Keep a consistent mic position and input gain.
- Record 10–20 seconds of room tone at the start of the session for noise reduction consistency.
- Immediately label takes with the video ID (spoken slate or file name).
Tip: If you record A-roll with camera audio and also a separate mic, keep the file names aligned using the same ID so syncing is fast and unambiguous.
Step 3: Wednesday — Film A-roll and repeatable b-roll (2–4 hours)
- Film all A-roll for the batch first, in order of format (not topic). This reduces mental switching.
- Then film “utility b-roll” that can be reused across multiple shorts (hands typing, pointing at screen, walking shots, close-ups of tools, generic reaction shots).
- Capture 5–10 seconds longer than you think you need; it prevents micro-reshoots later.
Practical example: For a productivity channel, you can film one set of b-roll (opening laptop, writing in notebook, phone scrolling) and reuse it across multiple shorts, as long as it’s not misleading. The key is to label it as reusable and store it in a dedicated b-roll library.
Step 4: Thursday — Assembly line editing (2–4 hours)
- Create one project per video or one project with multiple sequences (depending on your editor preference).
- Do a “rough pass only” on all videos: trim, arrange, and get timing correct.
- Do not polish one video to completion yet; keep moving to maintain speed.
- Mark gaps with a placeholder (e.g., “BROLL NEEDED” marker) instead of stopping to search.
Step 5: Friday — Polish + QC + export (2–4 hours)
- Polish pass: add graphics, captions, sound polish, and final b-roll inserts.
- QC pass: watch each short twice—once with sound, once muted—to catch clarity issues.
- Export using consistent presets and naming conventions.
- Generate covers/thumbnails if your platforms use them.
QC checklist example:
- Is the first frame visually clean (no accidental mid-blink, no messy overlay)?
- Are captions within safe areas and not cut off by UI?
- Is the loudness consistent across the batch?
- Are there any accidental brand conflicts (unintended logos, private info on screens)?
- Is the final file named correctly and stored in the correct folder?
Efficient Asset Management: The System That Prevents Rework
Asset management is the practice of storing, naming, versioning, and retrieving everything that goes into your shorts: footage, audio, graphics, project files, exports, and documentation. A strong asset system makes batching possible because you can reliably find what you need in seconds.
Core principles
- One source of truth: each asset lives in one “master” location; duplicates are controlled.
- Predictable structure: every project folder looks the same.
- Stable naming: filenames sort correctly and communicate what they are.
- Version control: you can update assets without losing track of what changed.
- Fast retrieval: you can locate any clip, sound, or export quickly under pressure.
Folder Structure Template (Copy/Paste Logic)
Use a two-level system: a Library for reusable assets and a Projects area for each batch.
Library (reusable across all videos)
Library/BrandKit_v3/Fonts/Library/BrandKit_v3/Colors/Library/BrandKit_v3/Overlays/Library/AudioKit_v2/MusicBeds/Library/AudioKit_v2/SFX/Library/Broll_Library/Hands/Library/Broll_Library/Desk/Library/ExportPresets/Projects (organized by batch and video ID)
Projects/2026-01_Batch01/01_S2026-01-10_01/01_Footage/CameraA/01_Footage/ScreenRecord/02_Audio/VO/02_Audio/MusicRef/03_ProjectFiles/04_GFX_Local/05_Exports/06_Deliverables/07_Notes/Projects/2026-01_Batch01/02_S2026-01-10_02/...Why “GFX_Local” exists: sometimes you’ll customize a graphic for one video. Store that customization inside the project folder so it doesn’t pollute the global library.
Naming Conventions That Scale
Good naming prevents “final_final2_reallyfinal.mp4” chaos and makes search reliable.
Recommended filename pattern
[VideoID]_[AssetType]_[Description]_[v##]
- VideoID: S2026-01-10_01
- AssetType: AROLL, BROLL, VO, SFX, GFX, PRJ, EXP
- Description: short human-readable label
- v##: version number (v01, v02, v03)
Examples:
- S2026-01-10_01_VO_3stepfix_v02.wav
- S2026-01-10_01_AROLL_take03.mp4
- S2026-01-10_01_EXP_1080x1920_v01.mp4
- S2026-01-10_01_EXP_1080x1920_v02.mp4
Rule: never overwrite exports
Always increment versions. If a platform flags an issue or you need to compare performance between edits, you’ll be able to trace exactly what changed.
Asset Intake: How to Ingest Footage Without Creating a Mess
Ingest is the moment most creators lose time later. A clean intake process turns a chaotic camera roll into a production-ready folder.
Step-by-step ingest checklist
- Create the project folder using your template.
- Copy footage into 01_Footage (never edit directly from an SD card or phone storage).
- Rename files in batches using the video ID and take numbers.
- Verify playback of at least the first and last clip to ensure the copy is complete.
- Back up immediately (see backup section below).
- Only then import into your editing software.
Practical example: If you filmed 20 clips for three shorts, split them into subfolders by video ID before you import. Even if clips are similar, this prevents accidentally using the wrong take in the wrong short.
Building a Reusable B-Roll Library (Without Losing Track)
A b-roll library is one of the highest ROI assets in a batch workflow, but only if it’s searchable and ethically usable (not misleading). Treat b-roll like stock footage you own.
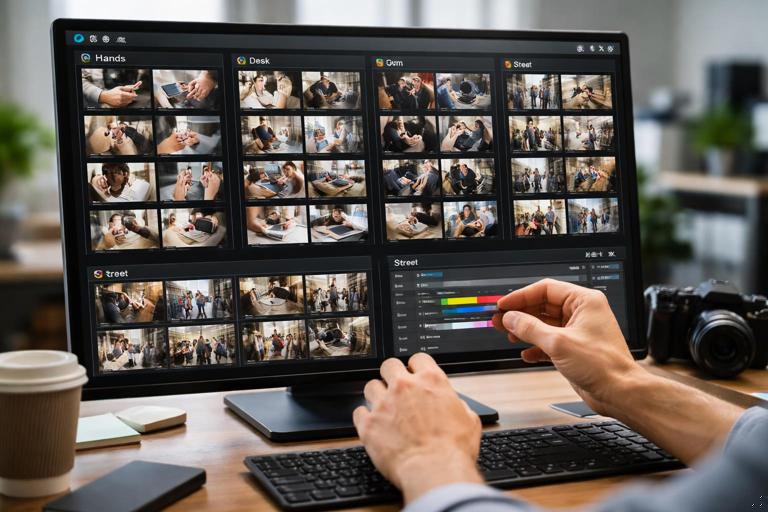
How to organize b-roll
- By subject: Hands, Desk, Kitchen, Gym, Street, Screen, Tools.
- By action: Typing, Pointing, Opening, Pouring, Unboxing.
- By mood: Calm, Energetic, Serious (optional).
Metadata you should track
- Date and location (helps match continuity).
- Camera/phone model and settings if you use multiple devices.
- Any restrictions (e.g., “no client logos visible,” “only for Format C”).
Practical rule: If b-roll includes a specific product, app, or identifiable person, store it in a “Restricted” subfolder and note usage permissions to avoid accidental misuse later.
Audio Asset Management: Keeping Sound Consistent Across a Batch
Batching audio is powerful: you can standardize levels, reduce noise consistently, and reuse the same categories of sounds. But audio assets can quickly become cluttered.
Practical system
- Keep a small set of music beds (e.g., 10–20) and tag them by energy level and mood.
- Keep SFX in a limited palette (e.g., 30–60 core sounds) to avoid random sound choices.
- Store “session room tone” files by date so you can match noise profiles when needed.
Example naming:
- MusicBed_Calm_90bpm_v01.wav
- SFX_Whoosh_Short_v03.wav
- RoomTone_StudioA_2026-01-10.wav
Versioning and Change Logs (So You Can Fix Fast)
When you batch, you often apply the same change across multiple videos (e.g., adjusting a caption style, swapping a music bed, changing an overlay). Without versioning, you’ll lose track of which exports include which changes.
Simple change log per batch
Create a text file in the batch folder: Projects/2026-01_Batch01/CHANGELOG.txt. Each time you make a batch-wide change, add a line:
2026-01-10: Updated caption background opacity from 70% to 55% (applied to videos 01–07)2026-01-11: Swapped music bed to MusicBed_Energetic_100bpm_v02 for videos 03–05This prevents confusion when comparing performance or responding to feedback.
Quality Control as a Batch Asset
QC is not just a step; it’s an asset: a repeatable checklist and a set of reference exports that define “correct.”
Create a “gold standard” reference
- Pick one of your best-performing shorts and store its project file and final export in a Reference folder.
- Use it to compare loudness, color, caption readability, and pacing density across new batches.
Batch QC workflow
- Watch all exports in a playlist on your phone (the actual viewing environment).
- Take notes in a single QC document with video IDs.
- Fix issues in one editing session, then re-export only the affected videos with incremented versions.
Storage, Backup, and Archiving (So Batching Doesn’t Eat Your Drive)
Short-form creators often underestimate storage because each video is short, but high-resolution vertical footage and multiple takes add up quickly. A batch system needs a storage policy.
Practical 3-tier storage approach
- Active: current batch projects on your fastest drive.
- Nearline: recent batches (last 1–3 months) on a larger external SSD/HDD.
- Archive: older batches compressed or moved to long-term storage.
Backup rule of thumb (3-2-1)
- 3 copies of important data
- 2 different types of storage (e.g., internal + external)
- 1 copy stored separately (offsite or cloud)
What counts as “important” for shorts: project files, final exports, original A-roll, and any custom graphics. You can often discard redundant b-roll takes after a set period if you have a b-roll library and clear retention rules.
Archiving checklist per batch
- Confirm final exports are present and correctly named.
- Save project files with media relinked properly.
- Remove cache files and render previews (they can be regenerated).
- Zip the batch notes and changelog with the exports.
Team Handoffs: Asset Management for Collaboration
If you work with an editor, captioner, or virtual assistant, asset management becomes a communication tool. The goal is to make it impossible to misunderstand what file is current.
Handoff package (minimum viable)
- Project folder for each video ID (or a consolidated project file with clearly labeled sequences).
- Audio kit references (exact filenames of music/SFX used).
- Brand kit version number (e.g., BrandKit_v3).
- Export requirements document (resolution, frame rate, bitrate targets, file naming).
- QC checklist and “gold standard” reference export.
Practical rule: never send loose files
Always send a folder that preserves structure. Loose assets in chat or email lead to missing links, wrong versions, and wasted time.
Common Failure Points (and How to Fix Them)
Failure: batching creates sameness and fatigue
Fix: batch the production mechanics, not the creative choices. Keep a “variation list” per format: rotate backgrounds, props, camera distance, b-roll categories, or example types. Plan variations during Monday topic selection so they’re intentional.
Failure: you can’t find anything later
Fix: enforce the video ID system and folder template. If you skip naming for “just one day,” the batch will cost you hours later. Use a single intake checklist and do not import until files are placed correctly.
Failure: exports are inconsistent across the batch
Fix: use one export preset and a QC playlist review on phone. If you change settings mid-batch, log it in the changelog and re-export affected videos with new version numbers.
Failure: the b-roll library becomes a junk drawer
Fix: curate monthly. Delete unusable clips, move restricted clips into a restricted folder, and rename the best clips with descriptive labels. A smaller library you trust beats a huge library you avoid.